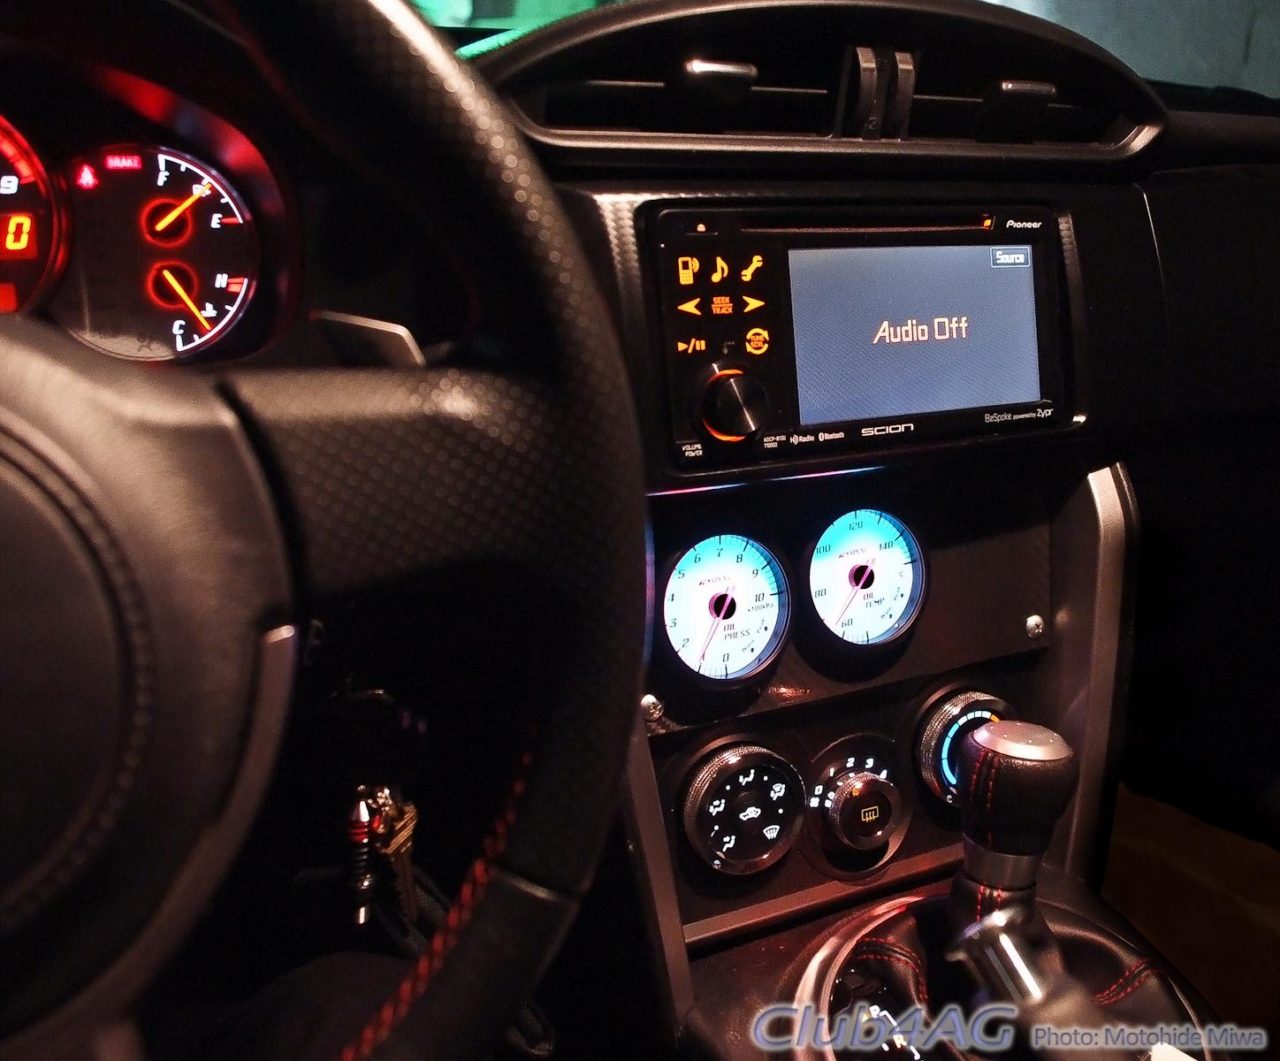
I've spent a bit of time to reorganize the Scion FR-S center console today, since I missed my chance to get out to CES...
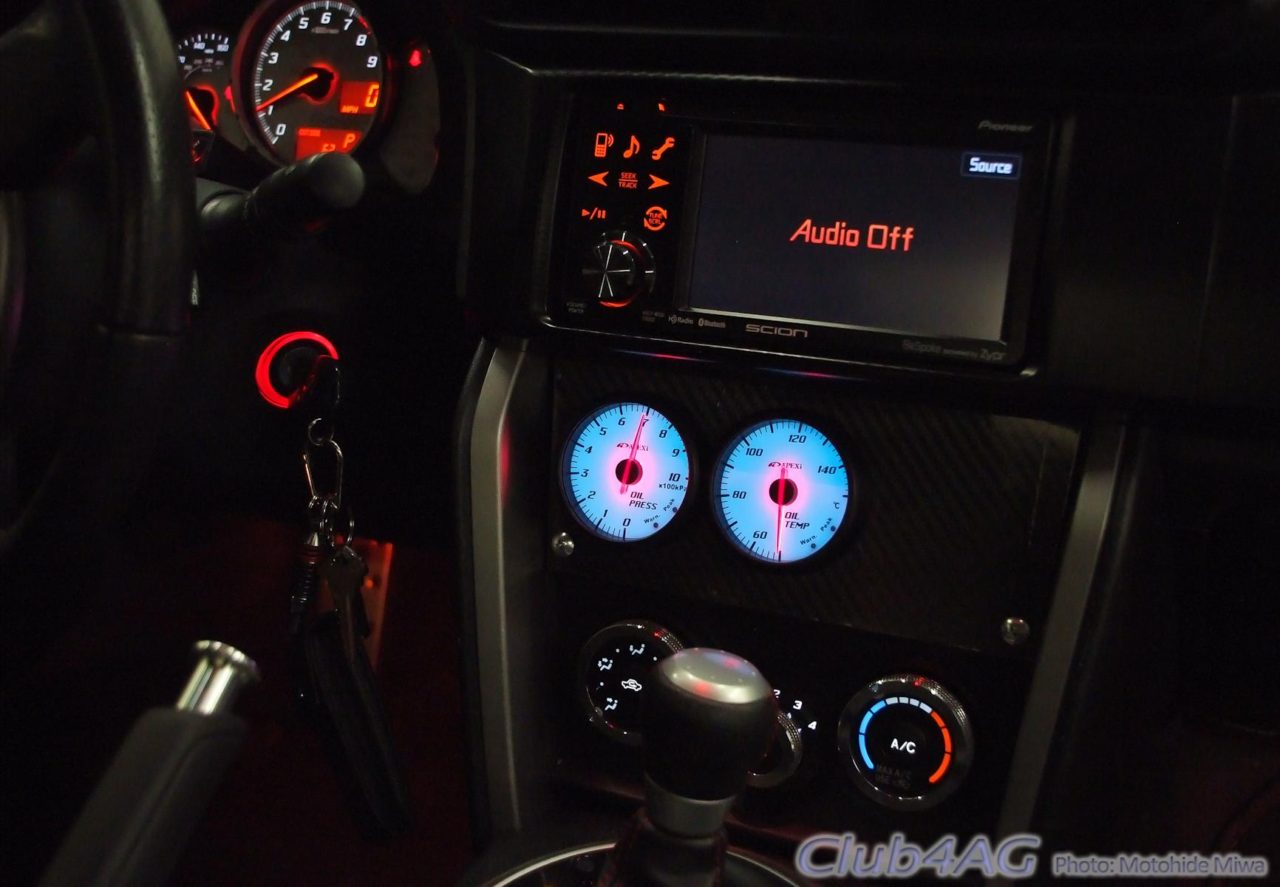
I had on hand a pair of APEXi EL-II Metering gauges, so I spent a bit of time last week, trying to find a cleaner installation than simply screwing pods on the top of the dash, or using any of those gaudy pillar clusters that block your view.
But be forewarned, as this method invloves a lot of cutting, drilling, griding, and hacking the potentially expensive HVAC controller bezel and parts of the dash. 😉 Only if you are comfortable with DIY and have done these things before, I would recommend.
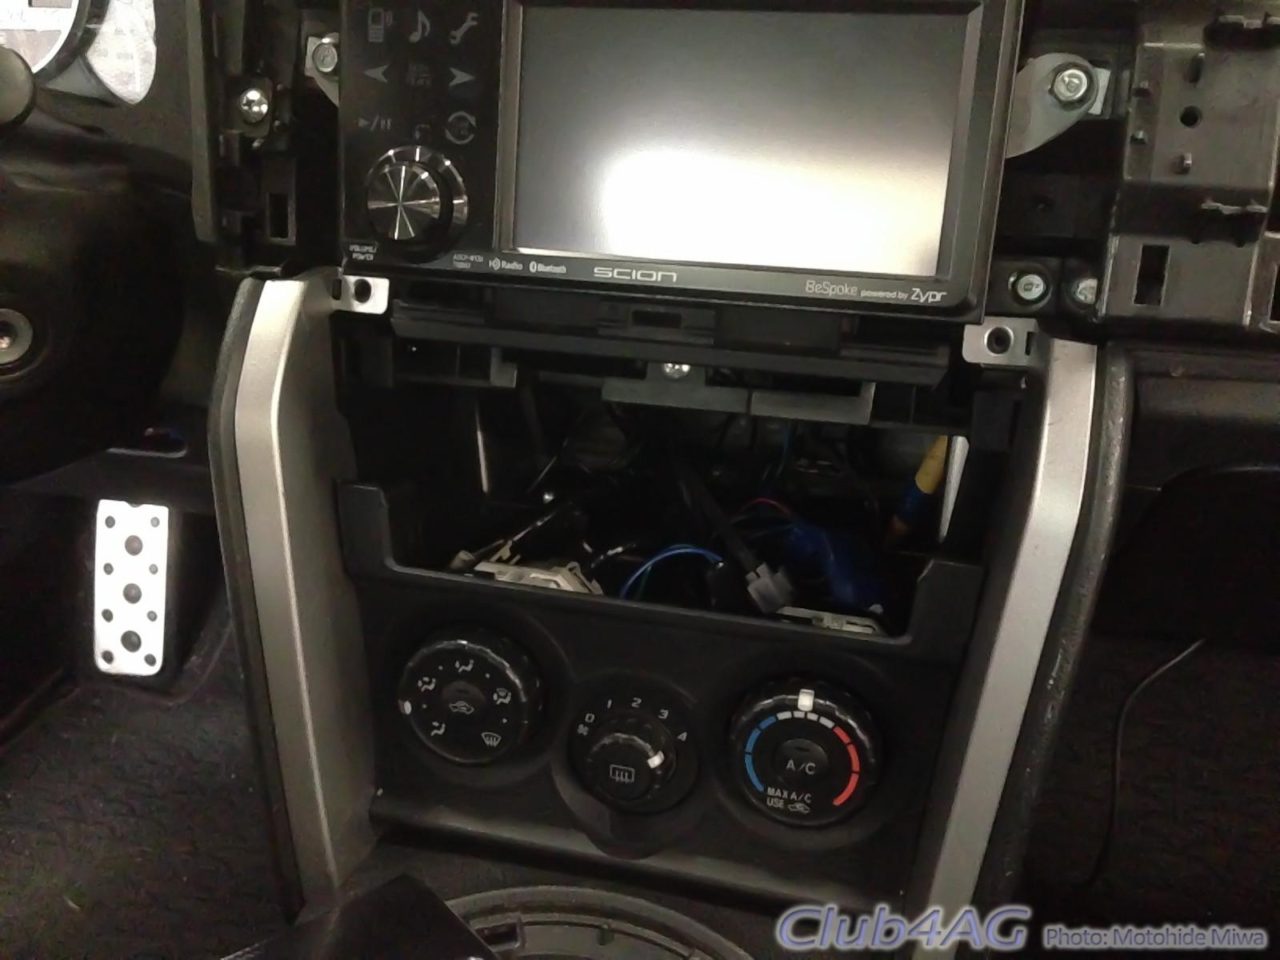
I knew there was enough space but the original HVAC controllers and warning display panel, and the bottom pocket, all stylish but sort of wasting a lot of space in the layout.
I've trimmed the HVAC controller panel to drop it lower into the console taking up space that was previously occupied by the pocket and the USB cable socket.
Next I trimmed off the stay and frame of the clock, seat-belt warning, and hazard switch, moved the hazard switch using a more generic one hidden away. I left the belt warning and clock off the panel as I have enough devices that tell me the time of day, and I really didn't need my car reminding me I should wear a belt. I wear a seat-belt anyway, regardless.
The carbon look panel over lexan acrylic panel I created from scratch. I usually use lexan for making prototypes, so I can see through it during fabrication and makes pinpointing screw bases and pin holes to exact locations easier.
APEXi, A'PEXi, Apexi USA, #Scion #Club4AG #FRS #86DDA,Club4AG, Club4AG