


Moto-P's AE86...
by Moto-P
Part I, introduction to Moto-P AE86 #5...
Back in February of 2000, I had the opportunity to plan a
project AE86. After much discussion
and thought, I had decided on the following menu for the car to be assembled, a
3door hatch 1986 AE86, 20V 4A-GE, Full Programmable ECU…so here it
goes...
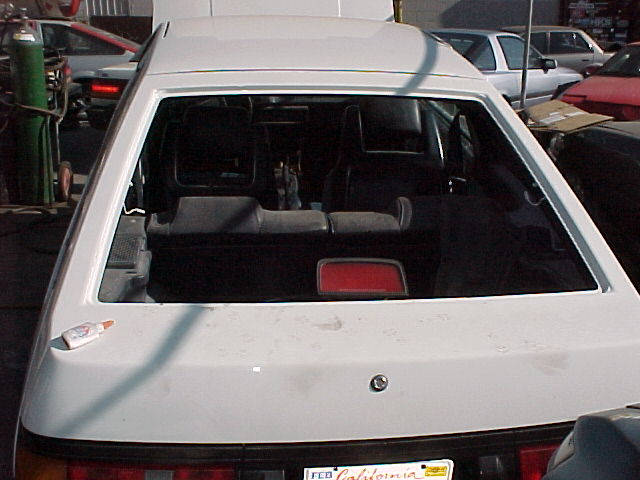
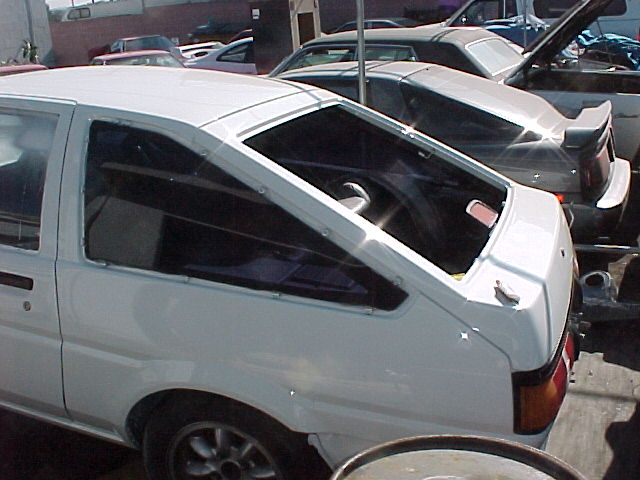
I started out with a 1986 Corolla GTS 3 door hatchback… why hatch? Well, no other reason than the fact that it was the one that was readily available at the time. Knowing the deficiency of structural rigidity of the 3 door (actually the 2 door as well to lesser extent), my first goal was to give it an overall reinforcement without hurting the interior space and convenience. The front inner aprons were replaced to make sure there were no damages and stress cracks. After body alignment, additional spot welds were added to the front clip at many places I saw possibility of weakness and potential damage. The locations were the frame rail meets the firewall bulkhead, I welded a L-brace to divert the stress and increase welded surface, as it is common to have cracks here. The second step in structural reinforcement involves the use of expansion polyurethane to fill doorsills and rocker panels. The 2 part, high-density mix is used to solidify hollow areas of the mid-chassis and cabin floor pan. It has been tested to increase torsional rigidity of the AE86 3 door by 45% percent as opposed to 11% by 6 point roll cage, though I suppose the roll cage would be stronger in a roll over… I hate the idea of having metal bars all over the interior to hit my head on (I don’t drive with a helmet to work…) Anyway; I’m still trying to decide on the last 3rd of the car, the back end… I decided that spot welding, seam welds, and tower cross bar would be the logical way…
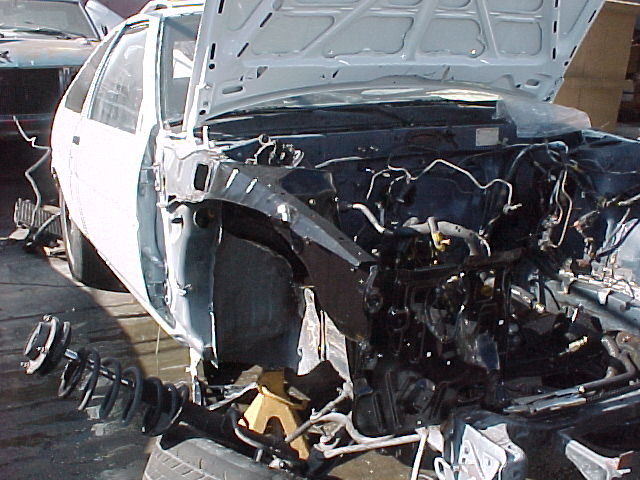
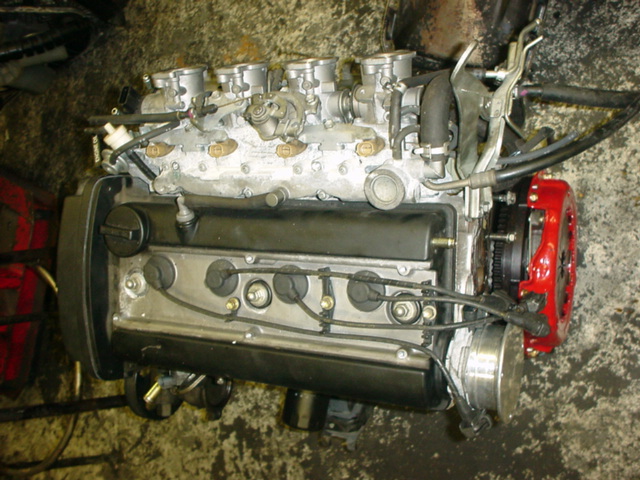
When it came time in May for me to decide on the engine, I had a firm mind set on using the 20V 4A-GE as I liked it the most from past experience. The GZE was in the list as well but again, I saw more opportunities with working with the 20V as it’s a current line up and more parts will become available as time goes by. Mostly though, I just could not do away with the harmony of the 4-throttle induction. As I waited for the body to be painted with Toyota Super White II (or similar color anyway), I came across a “black-cover” AE111 engine…a seldom occasion; I took it for the project. In loading the 20V, my major concern (and complaint) of the last 20V car was the gaping hole that needed to be cut for the distributor to clear through the firewall bulkhead. As I searched for the answer, Freedom ECU from E&E systems of Japan made sense. It allowed me to use all original sensors, while giving me the flexibility to run a 4A-GZE DLI ignition system…and it’s self learning fuel map and Windows 98 programmability for Motec M4 level tuning was a big bonus… Solving my distributor problem. The cap and rotor could be removed and covered as the DLI takes only the crank angle signal to run the ignitor and direct coils. Aside from that, small shaving of the water outlet and some custom pipes and hoses pretty much loaded the engine in a neat fashion (although it’s debatable and not a show grade job). More on this Freedom ECU another day…
It’s July by this stage, and still not complete, I rush the project between all the other crazy things being assembled at Toysport, my long acquaintance and shop of joys and horrors…(Yes, I had built a turbo Previa minivan there in the past as well as my AE86 4A-GZE and 20V…) The anonymous customer’s 2JZ-GTE SC300, and Toyota’s own product development GS300+HKS 2JZ-GTE, 3S-GTE Rav4, and other cars pushed through simultaneously. (Thanks Toysport for squeezing precious time!)
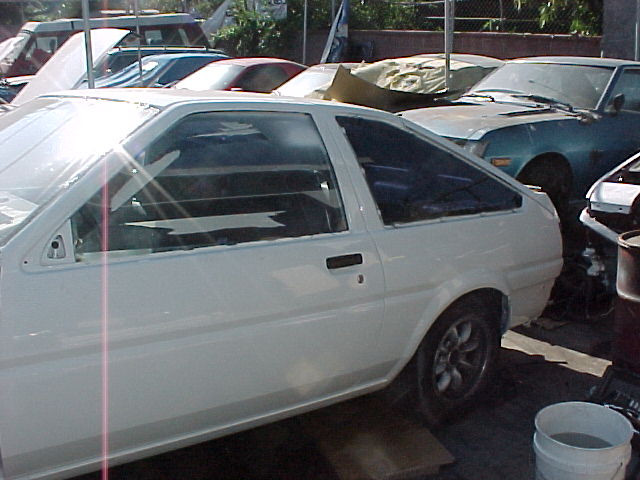
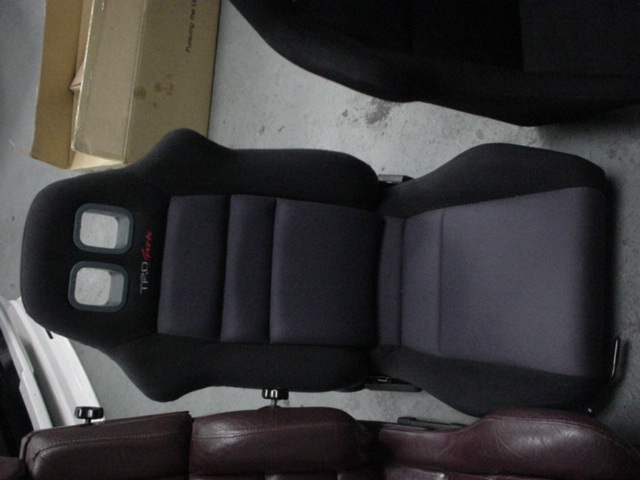
Mid August, the white paint was re-coated to give extra brightness (again on Toysport’s time and expense.) But this time the engine was once removed to coat the engine bay as well. Realizing that the late model (1986-87) fenders will not clear wide tires due to the fender trim, I had the trim removed and filled, fender openings rolled. Since front fenders had to be replaced from previous damage, I put yet another dent in my American Express account for a Levin front fascia, as per Toysport’s recommendation…geez! They are GOOD at making you spend your cash… So new fender, bumpers, lights, grill and hood all were shipped from Japan at a cost of $2200, in Toyota OEM boxes…yes, new panels…(my wife is ready to kill me by now). And on top of that, he recommended I get the interior re-covered…to which I said, “yes”…what? So another long session with my checkbook and wife lecture.
It’s now September…after a long incubation and mind-strengthening patience. This week is my delivery. I anxiously wait the day, as I write this…
Go to Part II, if you are really curious about this stuff...