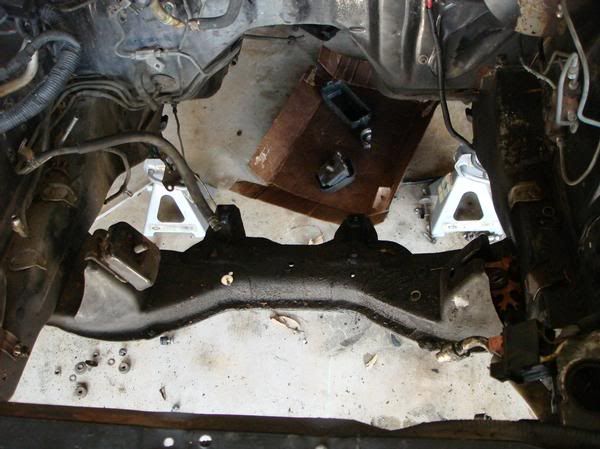
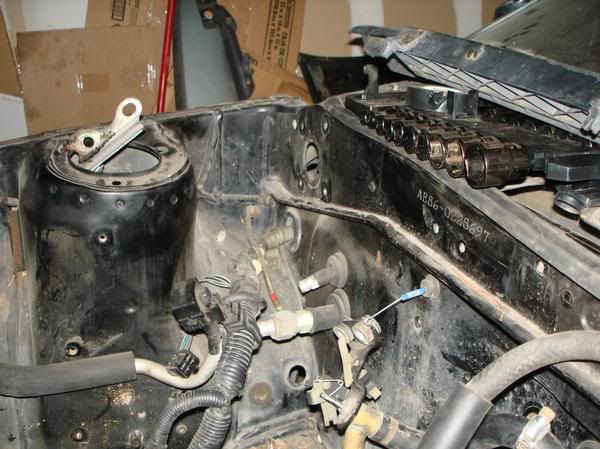
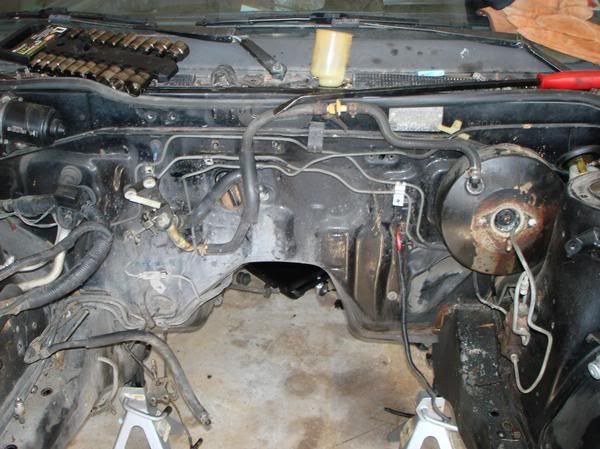
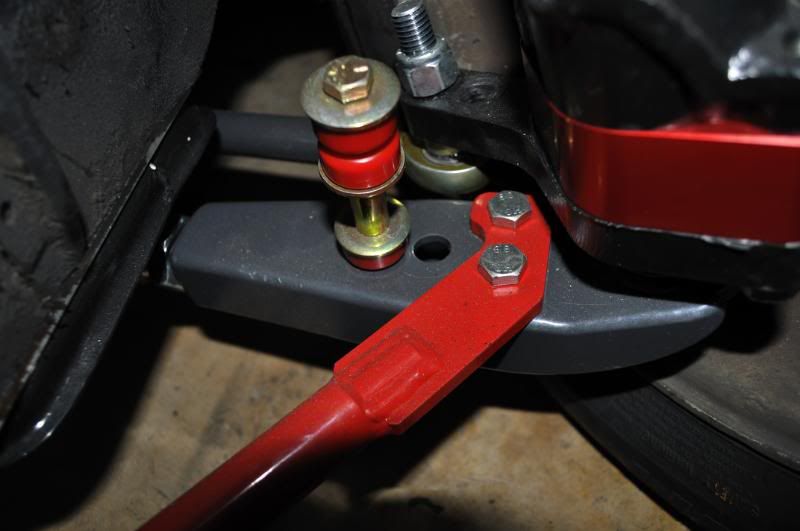
Project CAE86

GTSRolla34
Club4AG Regular
Posts: 43
Joined: Fri Jan 11, 2013 10:01 pm

Project CAE86

Postby GTSRolla34 » Sun Jan 20, 2013 5:38 pm

I pulled this car from the junkyard in 2004. It was comlete at the time and I couldn't imagine it being left in the yard just waiting to be crushed, so, I bought it the day after it was put in the yard. The only problem was a bent tie rod on the passenger side. I had roughly 145,XXX miles on it when it was salvaged.

Since my progress in my previous thread was spread all over the place, I've tried to categorize things. Everything should be posted in order of when I did them, per category. Once I get everything posted up I'll start making updates as I do things.

Chassis & Body:
Image
Image
Image
Image
Image
Image
Image
Image
Image
Image
Image
Image
Image
Image
Image
Image
Image
Image
Image
Image
Image
Image
Image
Image
Image
Image
Image
Image
Image
Image
Image
Image
Image
Image
Image

GTSRolla34
Club4AG Regular
Posts: 43
Joined: Fri Jan 11, 2013 10:01 pm

Re: Project CAE86

Postby GTSRolla34 » Sun Jan 20, 2013 5:38 pm

Image
Image
Image
Image
Image
Image
Image
Image
Image
Image
Image
Image
Image
Image
Image
Image
Image
Image
Image
Image
Image
Image
Image
Image
Image
Image
Image
Image
Image
Image
Image
Image
Image
Image
Image
Image
Image
Image
Image

I've had these for a couple months. I just forgot to take photos. I bought them from a dealer online for 110 shipped. Not too bad. Cibie E-Code H4 housings, brand new, with some free halogen H4 bulbs.

Image
Image
Image
Image
Image

GTSRolla34
Club4AG Regular
Posts: 43
Joined: Fri Jan 11, 2013 10:01 pm

Re: Project CAE86

Postby GTSRolla34 » Sun Jan 20, 2013 5:38 pm

Image
Image
Image
Image
Image
Image
Image
Image
Image
Image
Image
Image
Image
Image
Image
Image

Image
Image
Image

Image
Image
Image
Image

Some photos of the work on the doors and driver's fender:

Image

I haven't done too much to the fender except roll the inner lip. The outer was pushed out slightly, but will take some hammering to get where I want it.
Image
Compared to the passenger stock fender:
Image

Started on the passenger fender:
Image
Image
Image
Image
Image

GTSRolla34
Club4AG Regular
Posts: 43
Joined: Fri Jan 11, 2013 10:01 pm

Re: Project CAE86

Postby GTSRolla34 » Sun Jan 20, 2013 5:39 pm

So last night I primed my driver-side door. I didn't want it to start rusting heavily and I figured I'd see any serious imperfections after the primer had settled.

Image
Image
Image
Image

This morning I wanted to do some more work on the driver-side fender. I was hesitant to start hammering on it without really knowing what I was doing, but I figured what the hell. This is my progress after two hours with a hammer and dolly.

Passenger-side for reference:
Image
Driver-side:
Image
I measured from this point on both sides:
Image
Passenger-side:
Image
Driver-side:
Image

Image
Image
Image
Image
Image

Driver-side:
Image
Image
Passenger-side:
Image
Image
Image
Image
Image

Comparisons:
Image
Image

The previous owner of these fenders...or at least one of them...drilled those three holes in the fender in order to help secure bondo to smooth out a dent in the fender. After I cleaned up a bit of the bondo, I stretched the metal a bit and evened out the area so there wasn't an evident dent. Now I just need to weld up those three little holes.

GTSRolla34
Club4AG Regular
Posts: 43
Joined: Fri Jan 11, 2013 10:01 pm

Re: Project CAE86

Postby GTSRolla34 » Sun Jan 20, 2013 5:39 pm

Started to play with the rear fenders just to see what result I could get. I didn't spend too much time on them. I was more interested in finding the location of heavily rusted spots. The rubber edge trim is really a pain when it comes to this. I didn't roll the rear fender lips b/c if I end up putting flares on them, it would get cut anyway.

Driver-side:
Image
Image
Image
Image
Image
Image
Image
Image
Image

Passenger-side:
Image
Image
Image
Image
Image

Image
Image

-Front bumper is mounted...at least in the front. I manufactured a pretty sturdy mount out of some threaded rods, thin plates, washers, and nuts. The sides are still loose, but I have a couple ideas on how to support them. I just have to decide on either a combination of them or which one would work best.

Image
Image
Image

-I started mocking up the flares. I really don't want to cut up my fenders until I absolutely have to. I spent a lot of time on hammering my own stock flares I really can't bring myself to cut them up until I know exactly how I'm going to execute things.

Image
Image
Image

Here is the fastener I made for the front portion of the bumper (rondell bar fastener):([Temporary]

Image

I also started working on setting the fenders up to run the flares. I cut a small portion of the bumper out to try to smooth out the arc of the flares. I also cut a large chunk out of the flare I hammered into the stock fender arches:

Image
Image
Image
Image
Image

The flares will fit nicely over those quick disconnect pieces too, no problem. Now the bumper is completely supported. I still need to support the lower side edges of the bumper to take the flexibility out of the entire setup:

Image

GTSRolla34
Club4AG Regular
Posts: 43
Joined: Fri Jan 11, 2013 10:01 pm

Re: Project CAE86

Postby GTSRolla34 » Sun Jan 20, 2013 5:39 pm

Interior:

Image
Image
Image
Image
Image
Image
Image
Image
Image
Image
Image
Image
Image
Image
Image
Image
Image
Image
Image
Image
Image
Image
Image
Image
Image
Image
Image
Image
Image
Image
Image
Image
Image
Image
Image
Image
Image
Image
Image
Image
Image
Image
Image
Image
Image
Image
Image
Image
Image

GTSRolla34
Club4AG Regular
Posts: 43
Joined: Fri Jan 11, 2013 10:01 pm

Re: Project CAE86

Postby GTSRolla34 » Sun Jan 20, 2013 5:40 pm

4AGE Engine:

Image
Image
Image
Image
Image
Image
Image
Image
Image
Image
Image
Image
Image
Image
Image
Image
Image
Image
Image
Image
Image
Image
Image

GTSRolla34
Club4AG Regular
Posts: 43
Joined: Fri Jan 11, 2013 10:01 pm

Re: Project CAE86

Postby GTSRolla34 » Sun Jan 20, 2013 5:40 pm

Steering & Suspension:

Image
Image
Image
Image
Image
Image
Image
Image
Image
Image
Image
Image
Image
Image
Image
Image
Image
Image
Image
Image
Image
Image
Image
Image
Image
Image
Image
Image
Image
Image
Image
Image
Image
Image
Image
Image
Image
Image
Image
Image
Image
Image
Image
Image
Image
Image
Image
Image
Image
Image
Image
Image
Image
Image
Image
Image
Image
Image
Image
Image
Image
Image
Image
Image
Image
Image

GTSRolla34
Club4AG Regular
Posts: 43
Joined: Fri Jan 11, 2013 10:01 pm

Re: Project CAE86

Postby GTSRolla34 » Sun Jan 20, 2013 5:40 pm

Fender brace install:

Image
Image
Image
Image
Image

Image
Image
Image
Image
Image
Image

Image
Image
Image
Image

You can see the column is just past the retaining bolt for the u-joint.
Image
Image

Image
Image

Installed the Tanabe Sway bar and Cusco Lower Radius Bar:

Image
Image
Image
Image
Image

GTSRolla34
Club4AG Regular
Posts: 43
Joined: Fri Jan 11, 2013 10:01 pm

Re: Project CAE86

Postby GTSRolla34 » Sun Jan 20, 2013 5:41 pm

Drivetrain:

Image
Image
Image
Image
Image
Image
Image
Image
Image
Image
ImageImage
Image
Image
Image
Image

Got the rear end back today. It looks great. Definately beefier than the GTS rear. Now to get the rear brake equipment ordered so I can do some final measurements in order to purchase the axles. I already have all of the diff/lsd rebuild items, including carbon lsd clutches from Ford Racing.

Image
Image
Image
Image
Image
Image
Image
Image
Image
Image
Image
Image
Image

Here are some photos of the rear diff components I have so far. With the customizing to the housing I would say I have about $600 in the rear differential so far.

From left to right:

-Ford Racing Carbon Fiber LSD Clutch pack with new spring clip.
-ARP Carrier Bearing Studs
-ARP Ring Gear Bolts
-Timken Axle Wheel Bearings
-Ford Trak-Loc LSD differential
Image
Image

-Jegs differential rebuild kit
Image

-Close up of the factory LSD
Image
Image

-Motive Gear Performace Series 4.88 Ring and Pinion
Image

-Some shots of the rear diff as it sits right now...in need of a good cleaning and a coat of paint
Image
Image
Image
Image

GTSRolla34
Club4AG Regular
Posts: 43
Joined: Fri Jan 11, 2013 10:01 pm

Re: Project CAE86

Postby GTSRolla34 » Sun Jan 20, 2013 5:41 pm

Brakes:

Image
Image
Image
Image

GTSRolla34
Club4AG Regular
Posts: 43
Joined: Fri Jan 11, 2013 10:01 pm

Re: Project CAE86

Postby GTSRolla34 » Sun Jan 20, 2013 5:41 pm

CA18DE: purchased in 2003

Here are some updated photos. My dad had a brand new looking CA18DE laying in wait in his garage. He bought it in 2003 and we've been eager to see how it runs so we decided to try and swap it into the junkyard car for now. Here are some photos of the misc parts I now have. I'll get pics of the trans and engine once they're in the garage.

Image
Image
Image
Image
Image
Image
Image
Image
Image
Image
Image
Image
Image
Image
Image
Image
Image
Image
Image
Image
Image
Image
Image
Image
Image
Image
Image
Image

In the wiring box is a complete Pulsar 1.8L DE chassis harness, a DE Engine harness, a CA16DE engine harness and a cut section of a CA16DE chassis harness. The two ECUs are both DEs, one US DE from an 88 Pulsar and one Canadian DE from an 88 Pulsar. I should have the engine on a stand sometime this week, and the transmission is up in the air at the moment.

Here are some photos of the spare CA head I have. My dad traded a spare ignitor for the head...he ended up getting a complete head, cam gears, RWD intake manifold (with throttle body, injectors, fuel rail, etc.). Not bad. Still clearing space in the garage to bring the engine home. I need to make room for another engine stand.

Image
Image
Image
Image
Image
Image
Image
Image
Image
Image
Image
Image
Image

My dad and I thought this would be pretty fun if it was actually put to use.

Image

GTSRolla34
Club4AG Regular
Posts: 43
Joined: Fri Jan 11, 2013 10:01 pm

Re: Project CAE86

Postby GTSRolla34 » Sun Jan 20, 2013 5:41 pm

Here are some photos of the engine. I still haven't trucked it back to my garage to put on an engine stand though.

Image
Image
Image
Image
Image
Image
Image
Image
Image
Image
Image
Image
Image
Image
Image

It looks fairly unused. When my dad got it back to his garage it still had a brand new factory oil filter on it, the oil that was still in the engine was extremely clean, the cams had no wear marks, the timing belt and all of the seals were brand new, all of the sensors were as near to new as the get, and the O2 sensor showed very little signs of use. It's literally as if the owner drove the car off of the lot and destroyed the car it was in. We're still looking for the flywheel and clutch...it's somewhere in his garage amidst a mountain of SVX and turbo Grand Am parts and pieces.

Image
Image
Image
Image
Image
Image
Image
Image
Image
Image
Image
Image
Image
Image

Image
Image
Image
Image

I popped the pan off of the CA. I wanted to reseal the pan, but also wanted to check the condition of things in the case. Turns out everything looks new. I really do think the Bluebird this engine was installed in either was in a wreck very early in the cars life, or the engine was replaced and the car was soon junked. All the sensors, accessory equipment, etc are all practically new.

Image
Image
Image
Image
Image
Image
Image
Image
Image
Image
Image
Image
Image
Image
Image
Image
Image

DET Pan
Image

DE Pan
Image

DET Girdle
Image

Should be ready for the 8,000 RPM range. Assuming the rods hold out.

Image

GTSRolla34
Club4AG Regular
Posts: 43
Joined: Fri Jan 11, 2013 10:01 pm

Re: Project CAE86

Postby GTSRolla34 » Sun Jan 20, 2013 5:43 pm

Crank girdle is installed and torqued down using stock main bolts:

Image
Image
Image

The counter weights look immaculate:

Image
Image

The RS*R CA18 RWD header:

Image
Image
Image
Image
Image
Image
Image
Image
Image

I started cleaning up the DET oil pan. I got most of the grime off and did an initial sand. The primer was primarily to halt flash rusting. I'll see how it comes out and if it's clean enough I may just prep and do some final coats. The only issue remaining is the oil return line. I need to weld a plug over it to cap it off to use with the DE:

Image
Image

I also got my 7" Grade 8 bolts in for the subframe and now have it firmly in place. The only thing definitely missing from the front suspension is the sway bar. After I get the clutch and have the engine installed I'll pick up a sway bar and get the front end completely finished.

Started putting some finish coats on the oil pan. I decided to keep the oil drain unplugged and use it as a oil drain for a catch can...if I go closed circuit.

Image
Image
Image

I also modified the oil pickup to work with the crank girdle.

You can see how the DE oil pickup is mounted to two points on the pan mounting face.
Image

With the girdle there is only a single mount. The DE mounting points are inaccessible with the girdle:

Image
Image
Image
Image

Once I get the inner portion of the pan cleaned up and finish painting it I'll get the pan installed (Saturday at the latest). My engine/trans mounts should be here by Friday/Saturday (with any luck).
Got the engine/trans mounts from Flipside Customs. Things look very good so far. I only have an issue with the trans mount. It was designed around the stock or Nismo mount bushing. I'm using a Peak Performance piece and it is a bit wider.

Image
Image
Image
Image
Image
Image

Started getting the radiator support ready to be a bolt on/off affair:

Image
Image
Image

GTSRolla34
Club4AG Regular
Posts: 43
Joined: Fri Jan 11, 2013 10:01 pm

Re: Project CAE86

Postby GTSRolla34 » Sun Jan 20, 2013 5:43 pm

Here you can see the space between the trans bushing and the mount bracket. The bushing actually rests on the brackets welds:

Image
Image
Image
Image
Image

Started to clean the inside of the trans. It was opened in the junkyard when I was swapping bellhousings out and I just wanted to clean things up and get the dirt/rocks that may have stuck to the gear lube out:

Image

I decided to use the clutch that was on the engine when we got it. It has low miles on it. The only reason being that I'm going to break in the rear diff, so I'd rather use a junk clutch while the rear diff is breaking in. Once I run the engine and rear diff for a while I'll upgrade the clutch and flywheel.

Image
Image
Image


Image
Image
Image

Once I get the trans cleaned the only thing I'll need is a set of flywheel bolts and a snap ring for the trans main drive gear bearing. I'm going to try to pick up some flywheel bolts today. The snap ring will have to wait until I get the bellhousing and everything bolted back together b/c I have to measure the snap ring valley after the bellhousing is torqued down.

I was able to get the engine and transmission completely bolted in on Saturday. It's in there solidly. It doesn't move a bit even when applying a lot of pressure.

Image
Image
Image
Image
Image
Image
Image
Image
Image
Image
Image

I ended up with a couple inches of clearance between the pan and the cross-member.
Image

Image
Image
Image
Image

From:

Image
Image
Image
Image
Image
Image

To:
Image
Image
Image
Image
Image
Image
Image


The machine shop still has a couple hours of machining to do on it to clean up the edges and they said they're going to polish it up. They still have to match the taper on the ITB bores as well. The figure '8' piece on the head flange had to be redesigned due to restrictions caused by the type of CNC machine they have. They're going to make a 1/2"-3/4" thick spacer flange that will have those curves included.

GTSRolla34
Club4AG Regular
Posts: 43
Joined: Fri Jan 11, 2013 10:01 pm

Re: Project CAE86

Postby GTSRolla34 » Sun Jan 20, 2013 5:43 pm

Well, I've been nervous about actually sizing it up against the head. I've only been able to test fitment by printing my workflow images from AutoCad/Inventor. Seems everything is going to be okay though:

Image
Image
Image
Image
Image
Image
Image
Image

It's not seated completely against the head in the images. I need to clearance the bolt holes a tad bit. Good thing is that all the cylinder ports and the coolant passage line up as I intended them to.
I had the bore milled close to the Silvertop ITB bore. It's actually a little indersized. I planned on using the BT ITBs from the get go, but the ST bore was easier to design. The BT bore will solve any alignment issues that are present.

Image
Image
Image
Image
Image
Image
Image
Image
Image
Image
Image
Image
Image
Image

-I mocked up the blacktop itbs on the adapter. The 1" adapter flange is at Noribilt right now getting machined out. Once I get it, all I'll have to do is finish both pieces with a die grinder/dremel. I would say I'm 85% there now. I think it looks damn good.
Image

Finally found someone to mill the injector ports. Just need to do a bit of work to clearance them for the injector grommets.

Image
Image

GTSRolla34
Club4AG Regular
Posts: 43
Joined: Fri Jan 11, 2013 10:01 pm

Re: Project CAE86

Postby GTSRolla34 » Sun Jan 20, 2013 5:44 pm

Wiring:
Just received my CAN-AM box. It's a wiring shortcut for Nissan swaps into various chassis vehicles. It was developed by some members of http://www.community.ratsun.net:

http://community.ratsun.net/topic/28097 ... -and-more/

Image
Image
Image
Image
Image
Image
Image

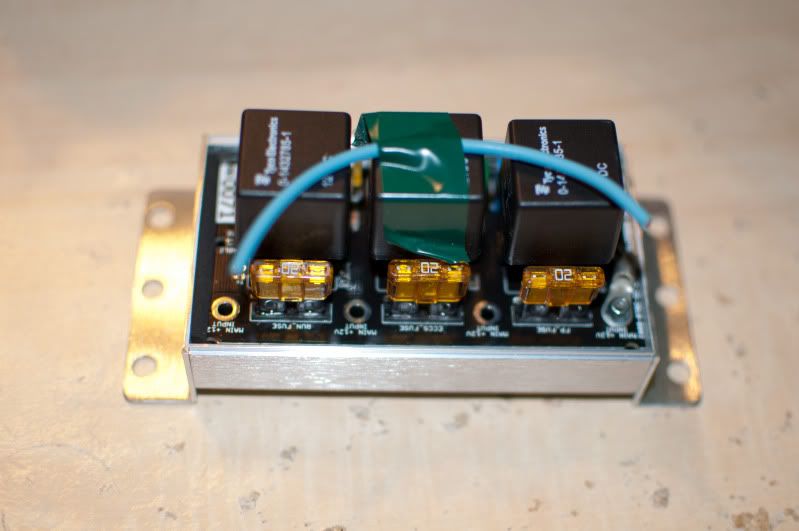
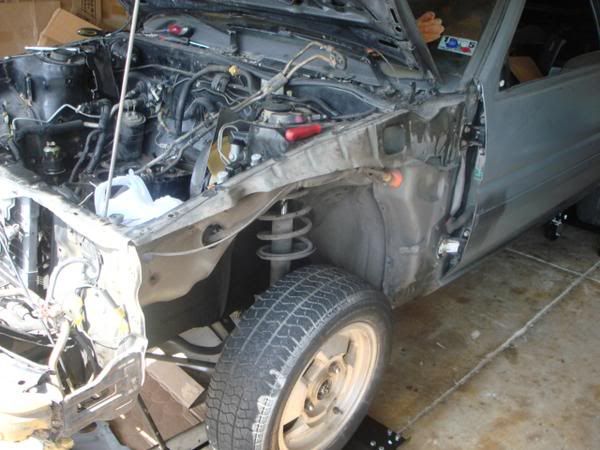
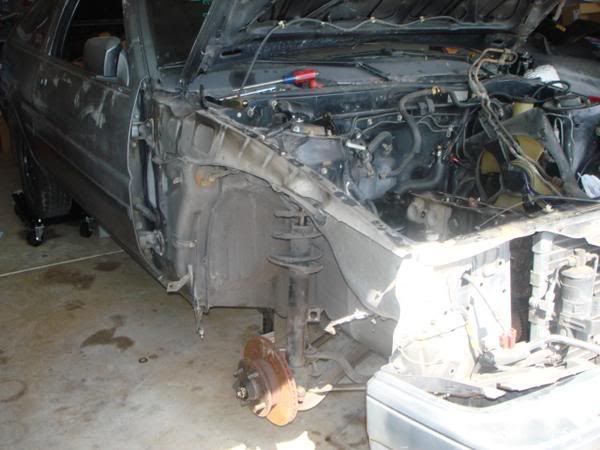
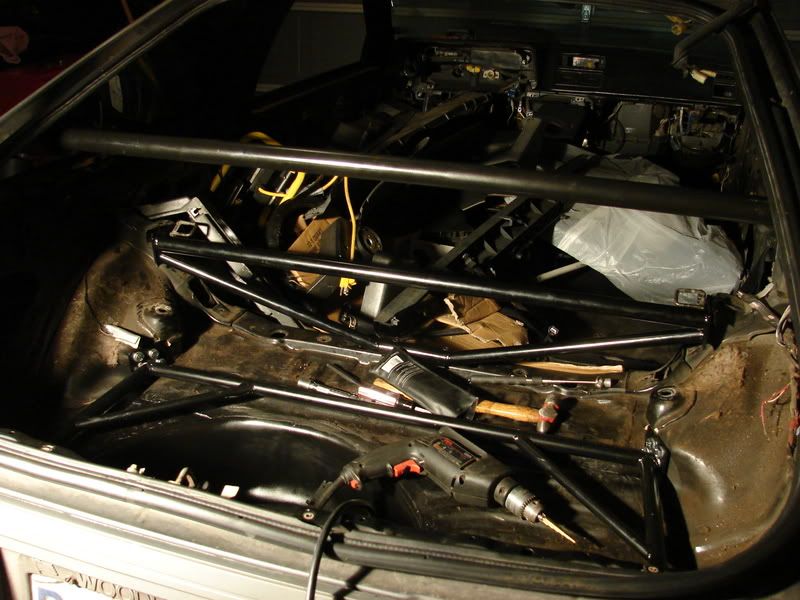
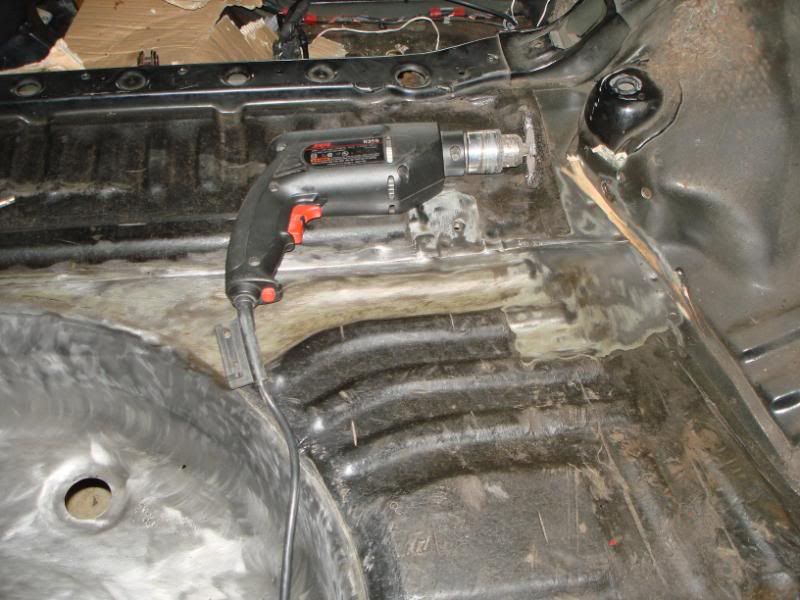
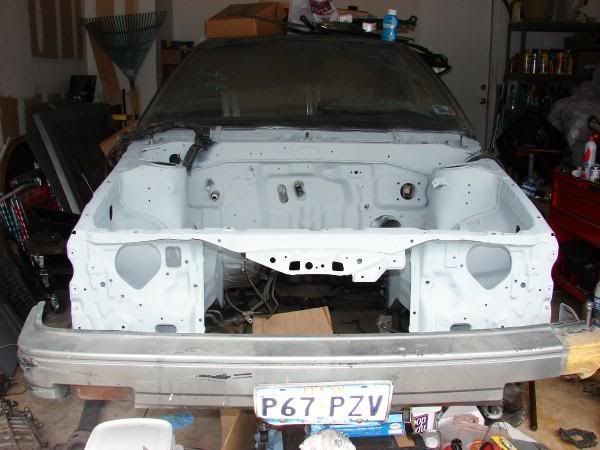
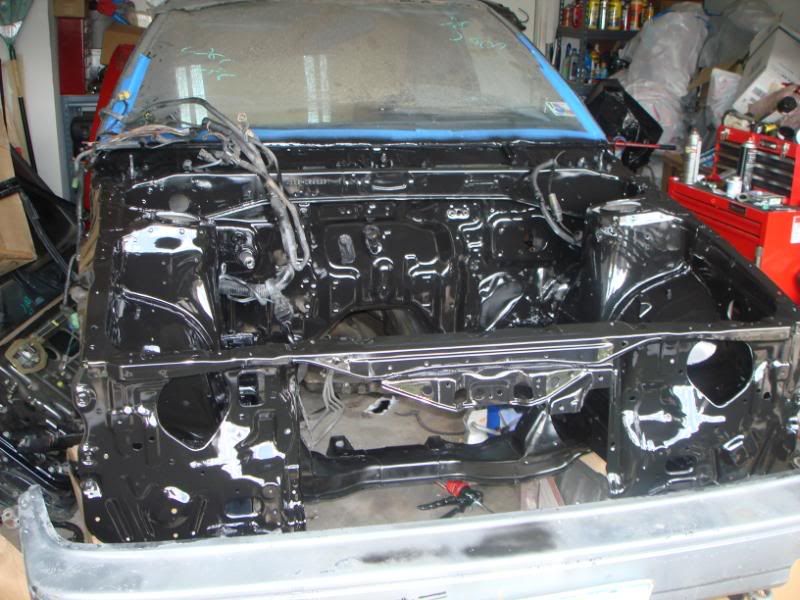
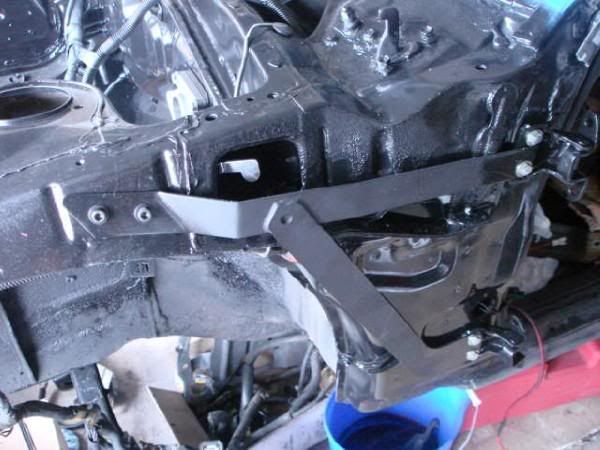
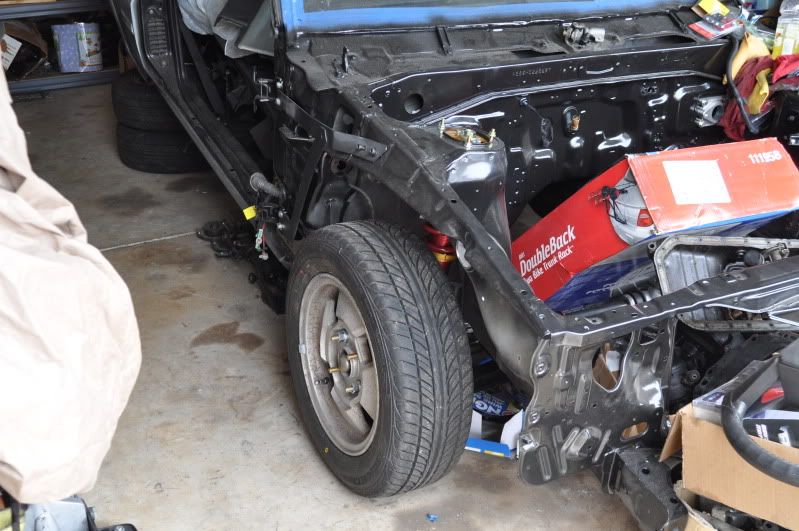
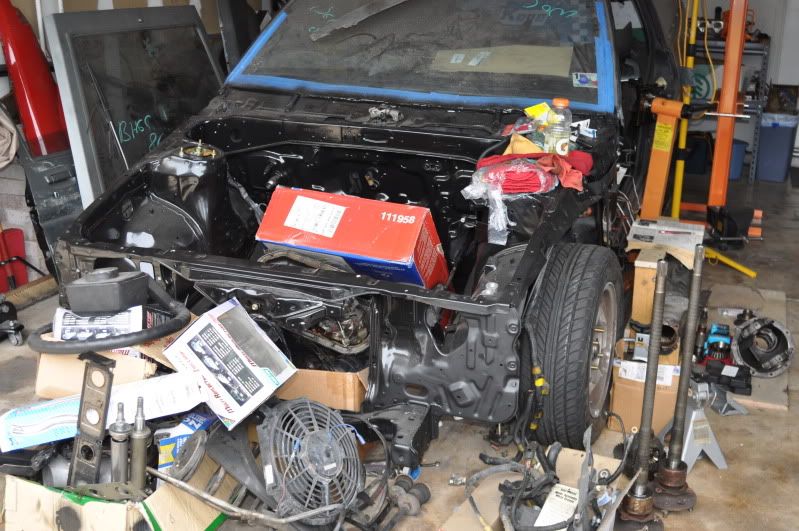
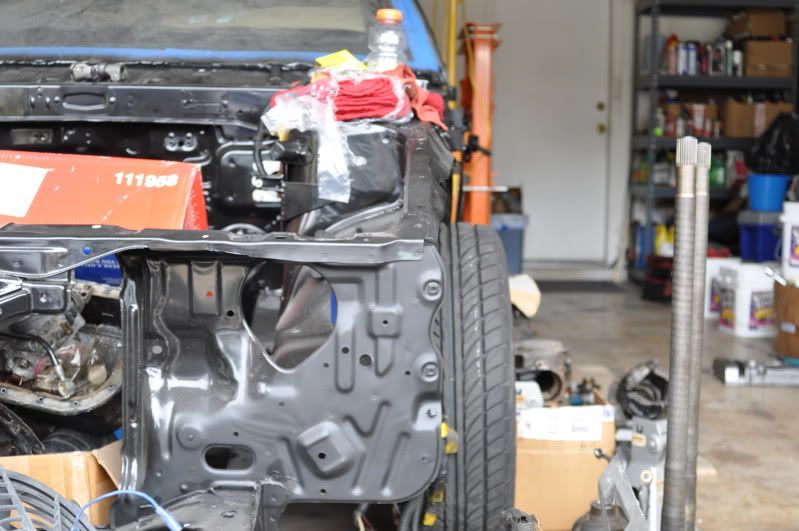
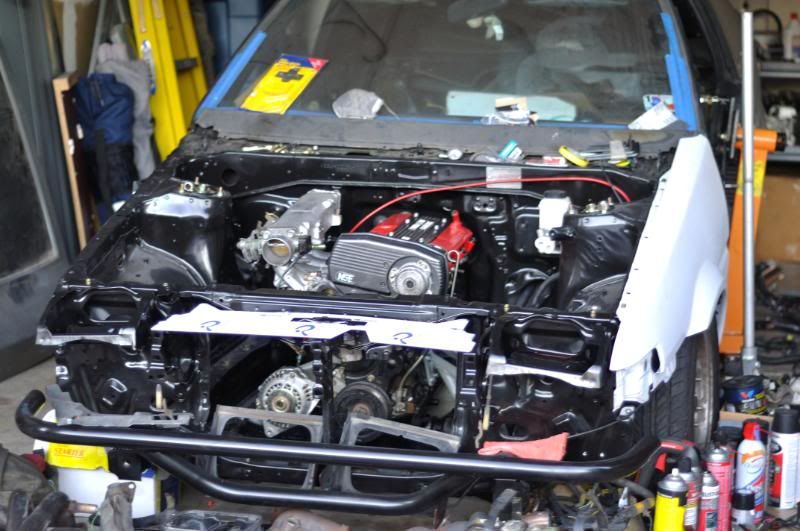
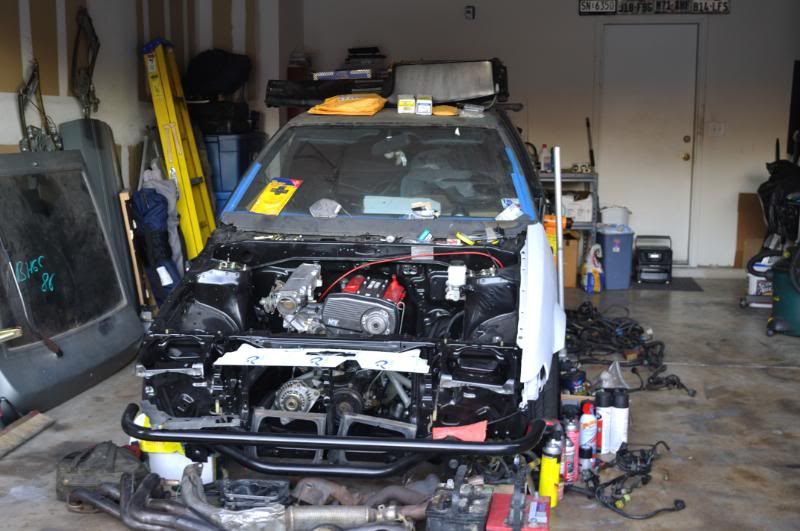
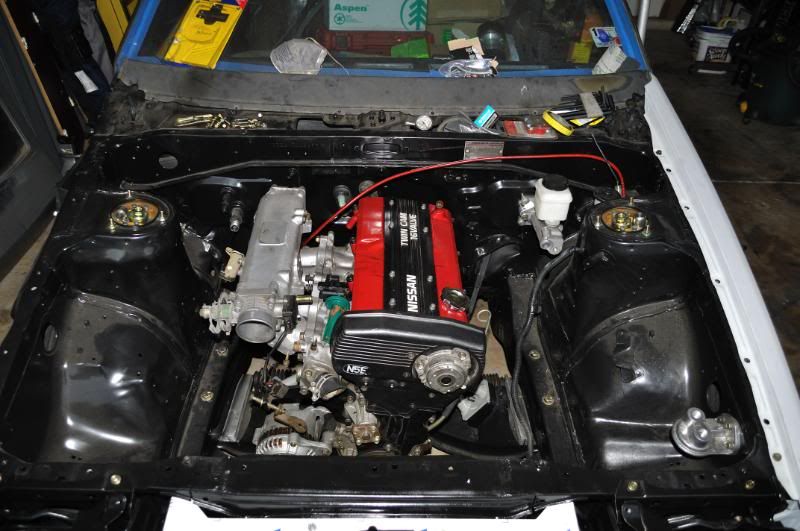
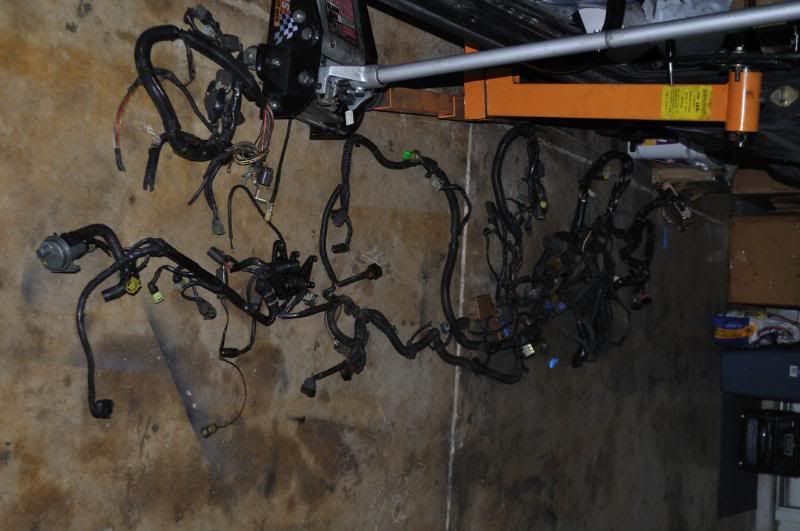
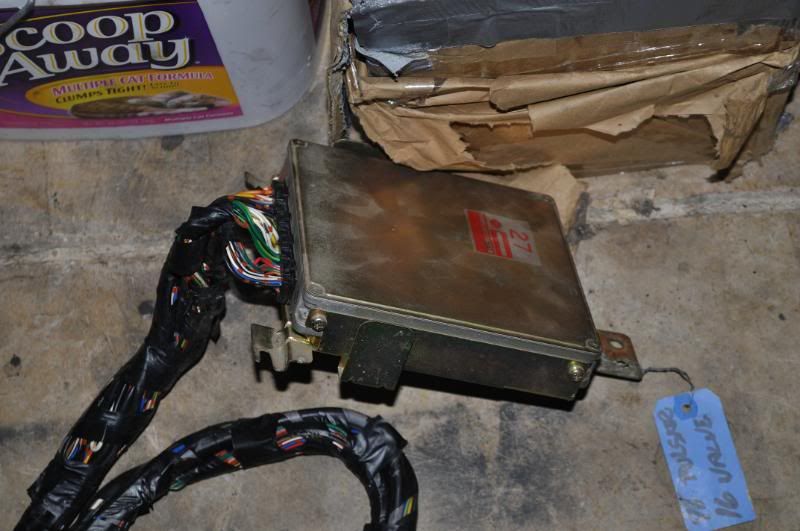
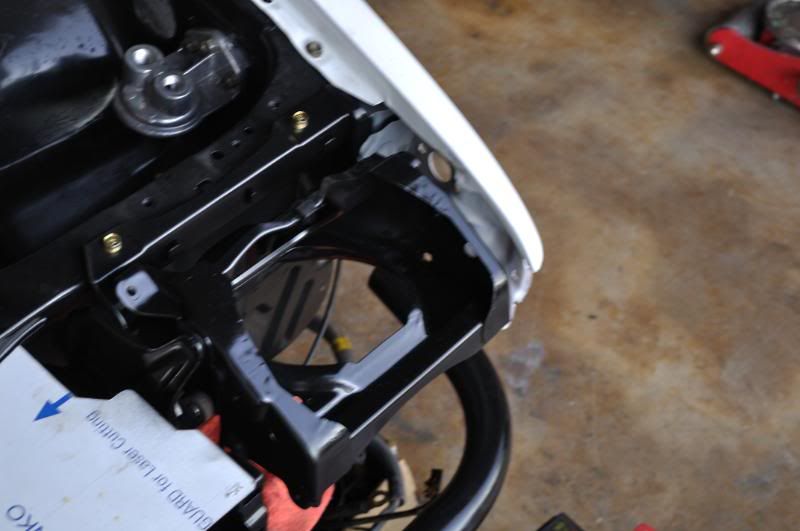
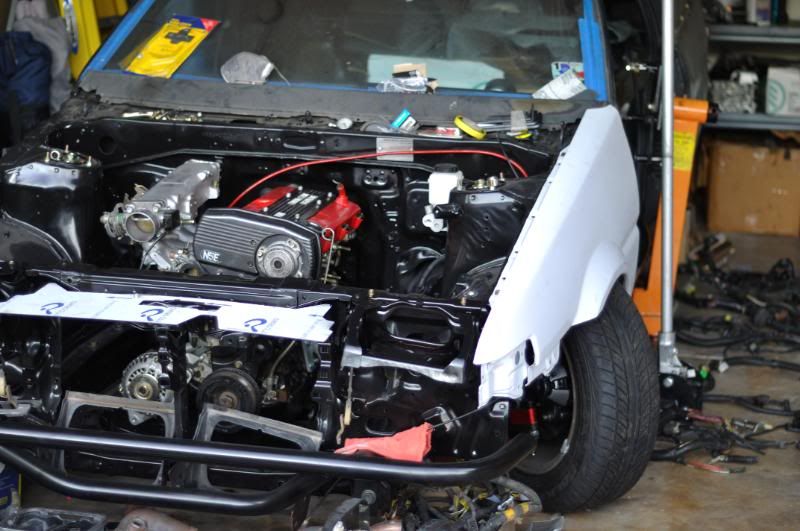
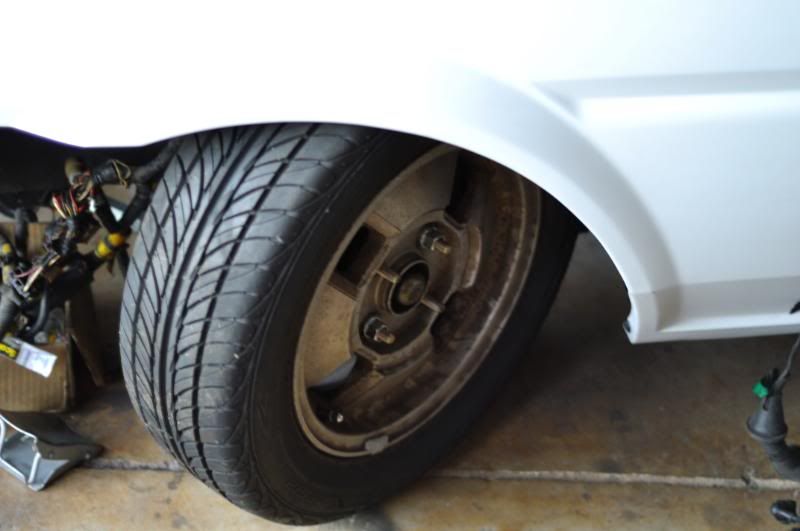
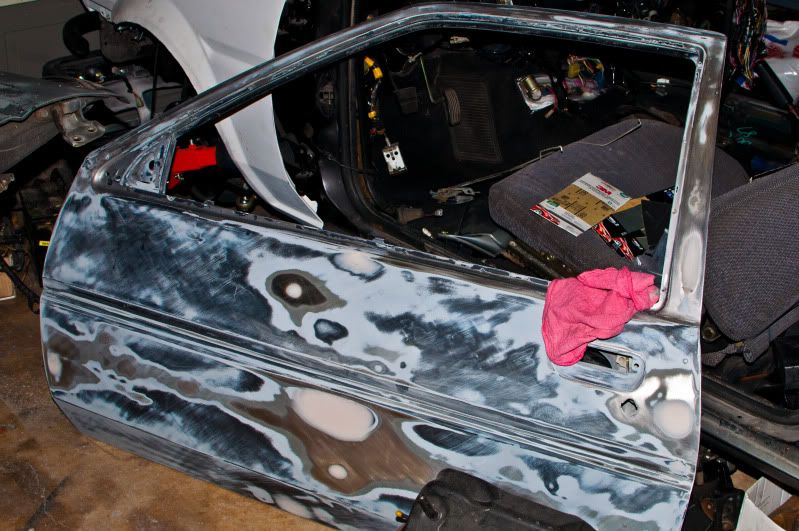
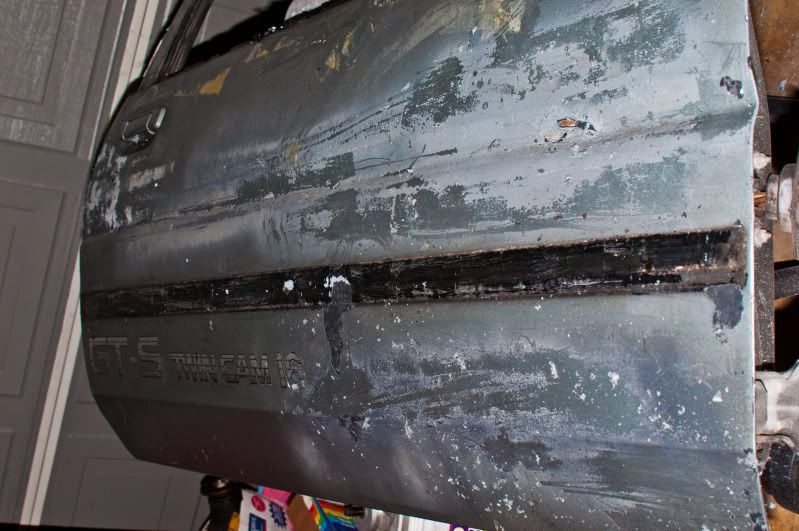
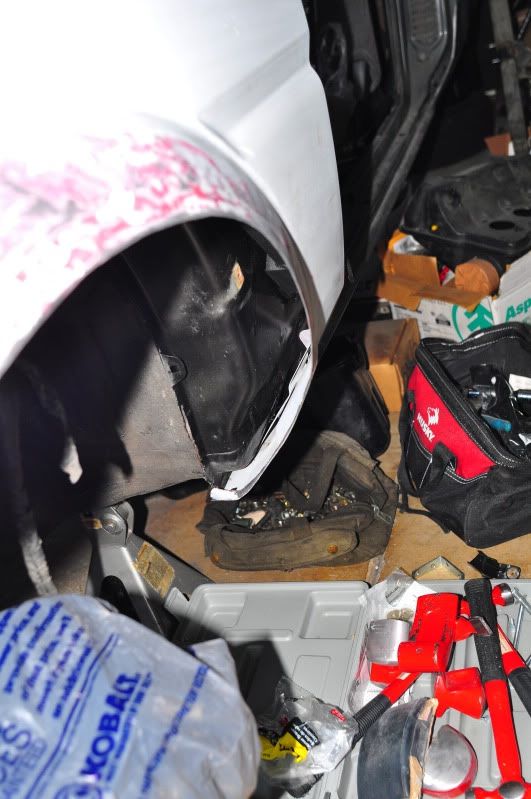
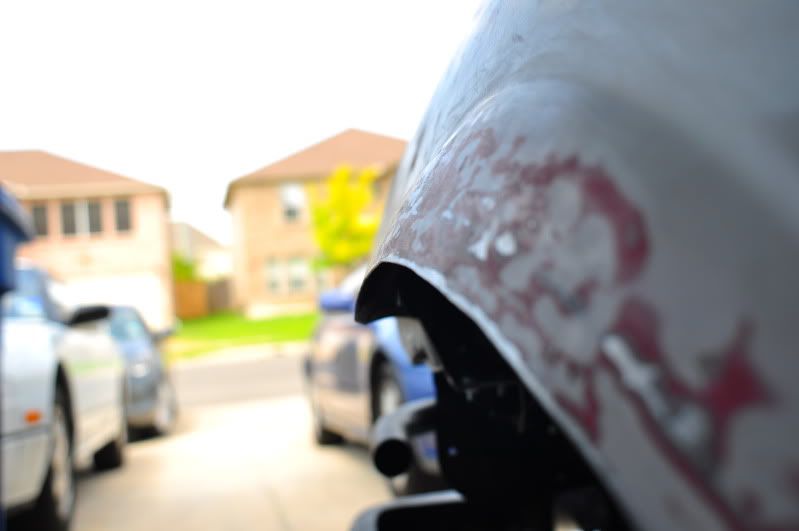
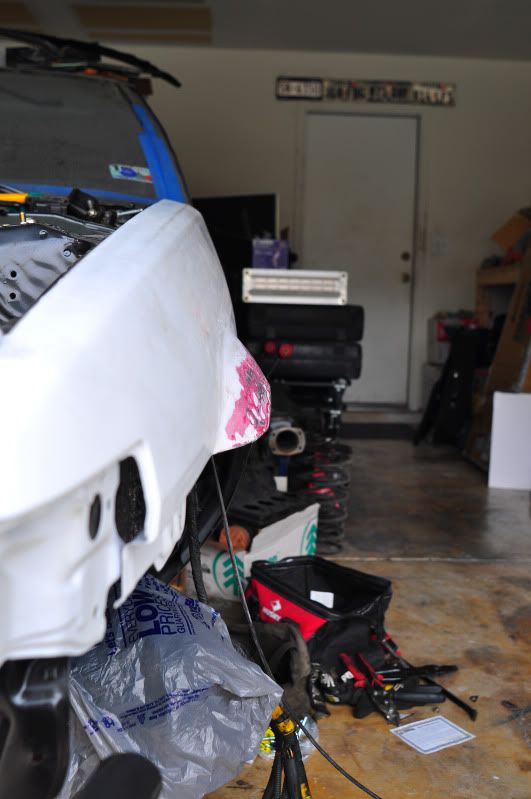
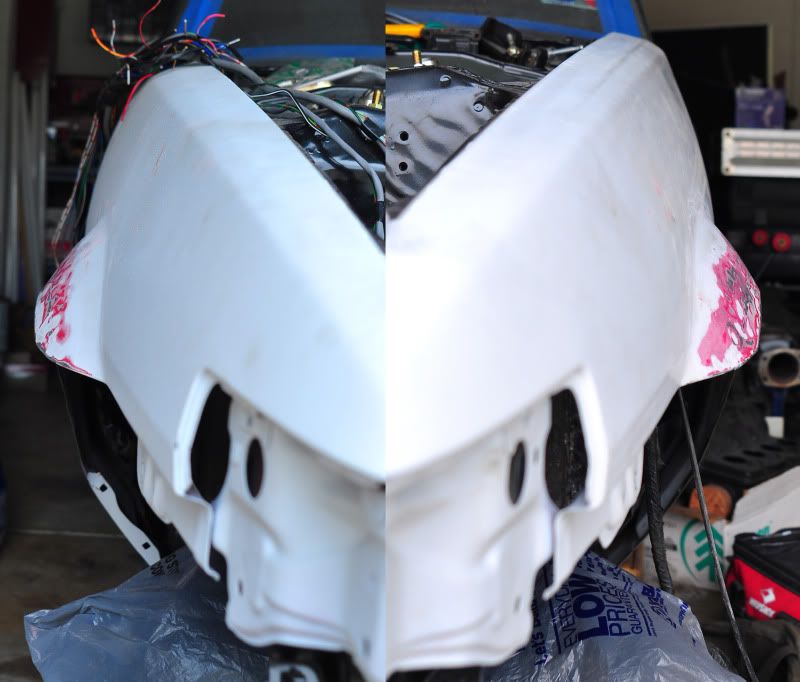
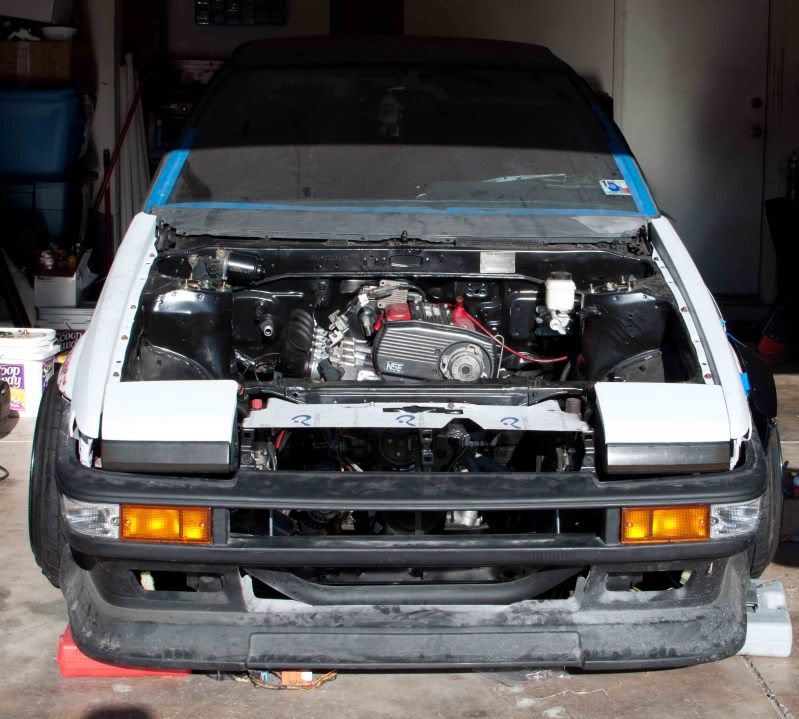
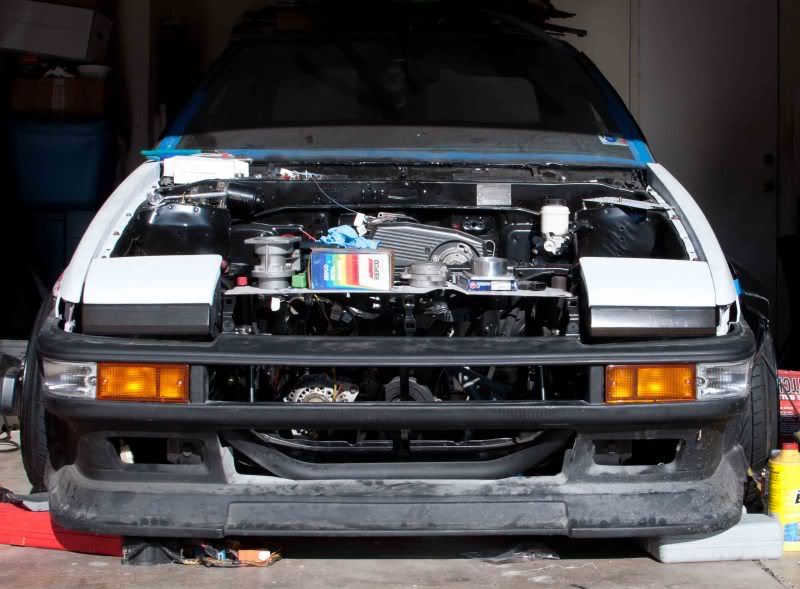
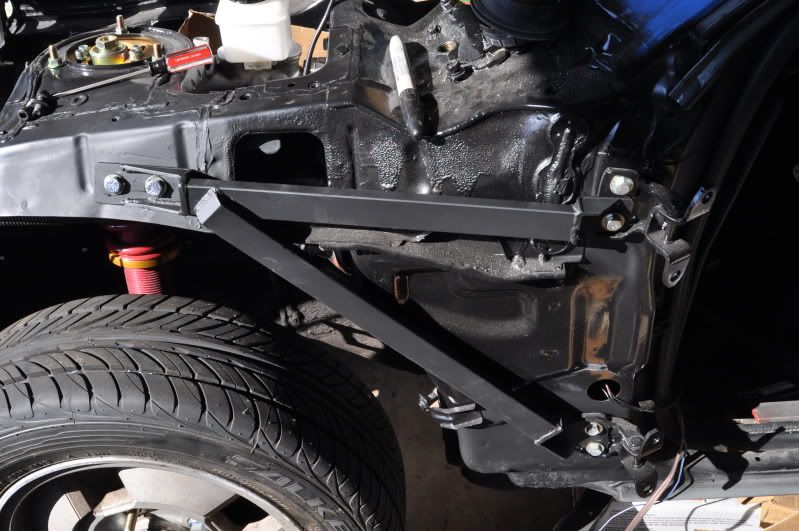
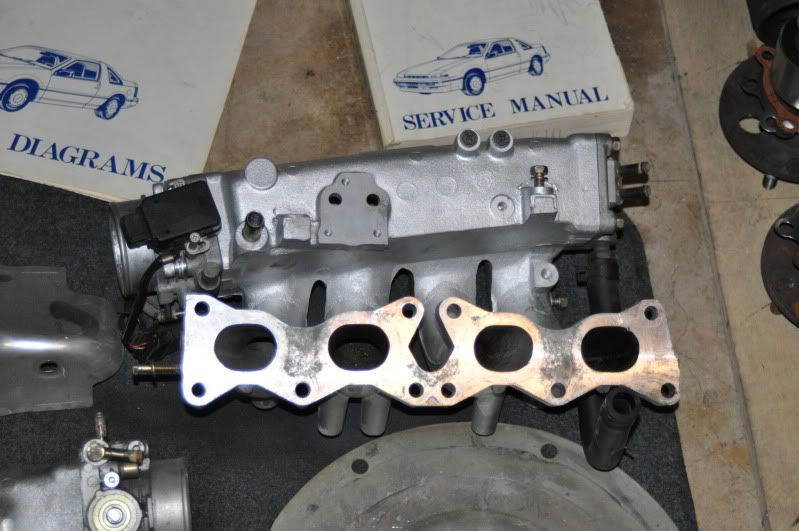
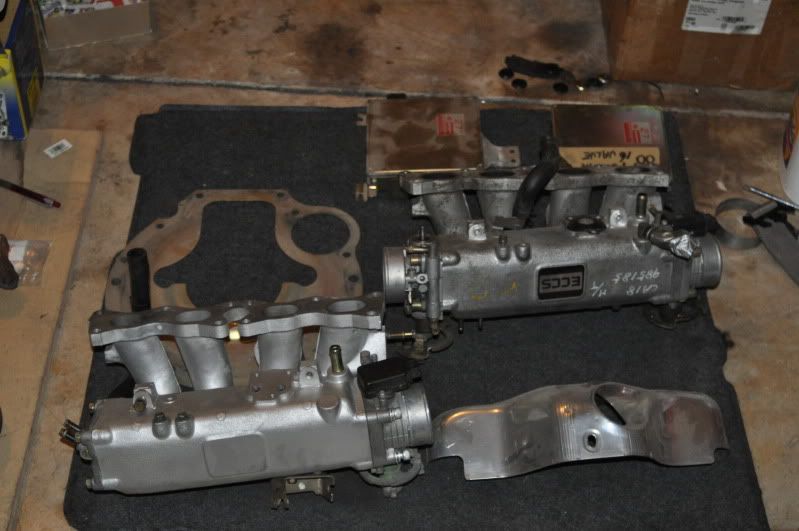
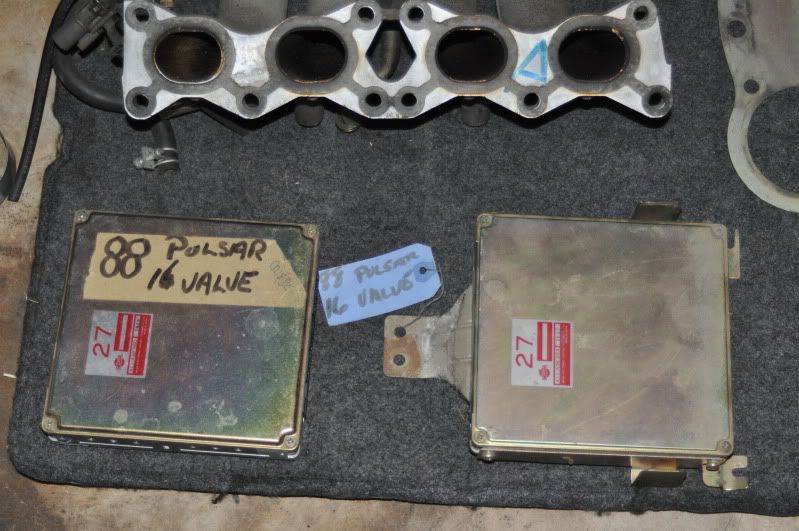
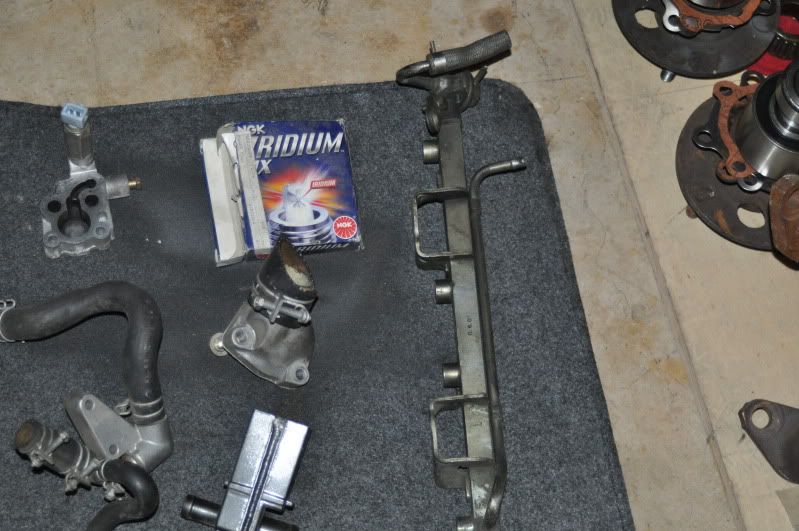
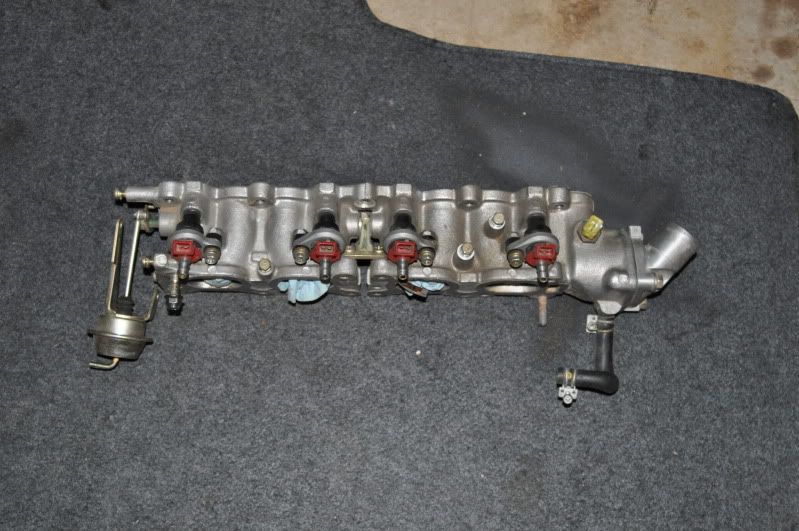
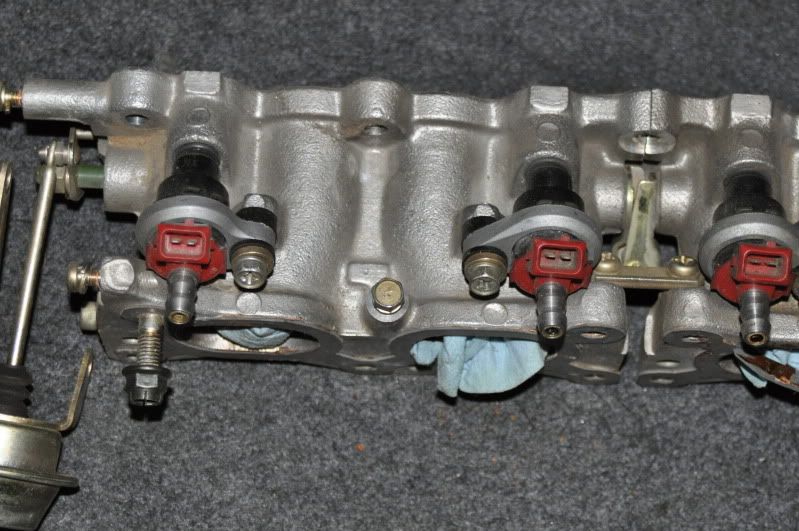
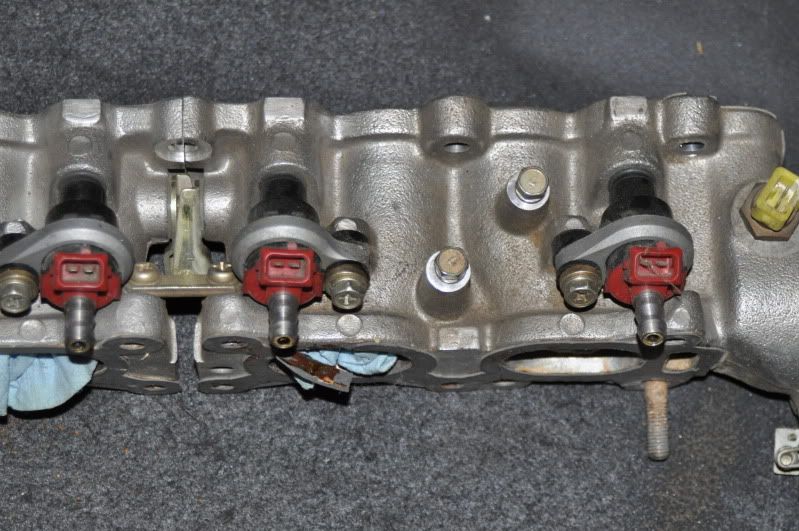
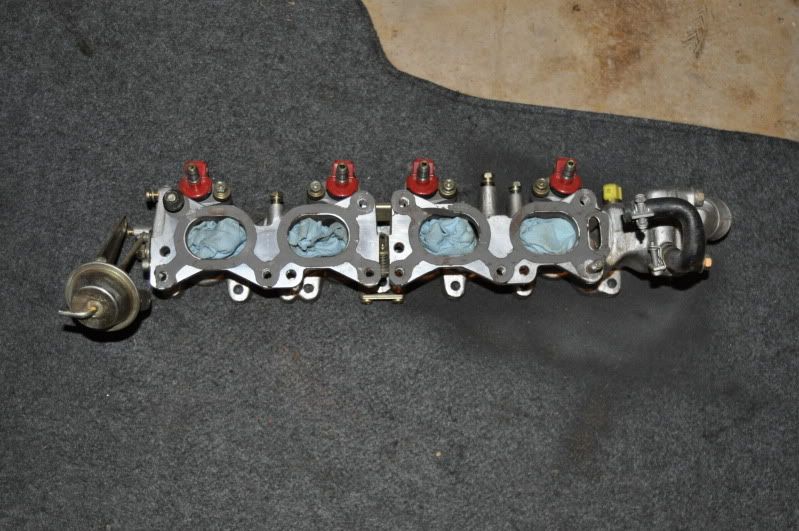
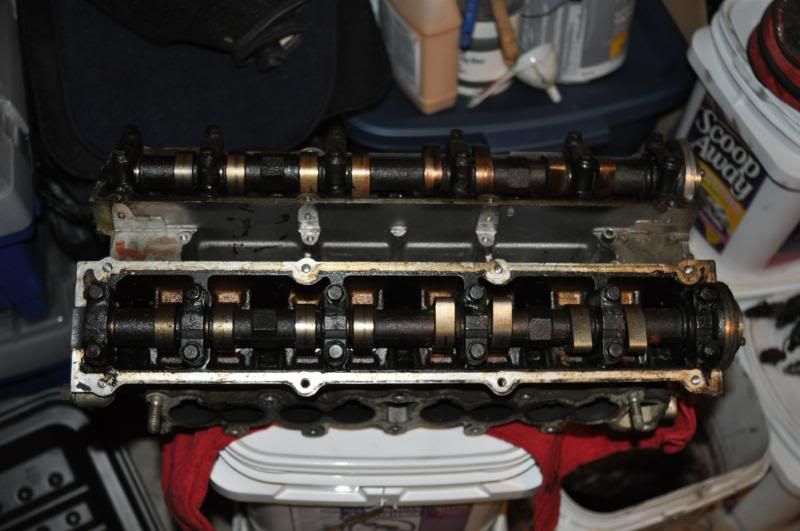
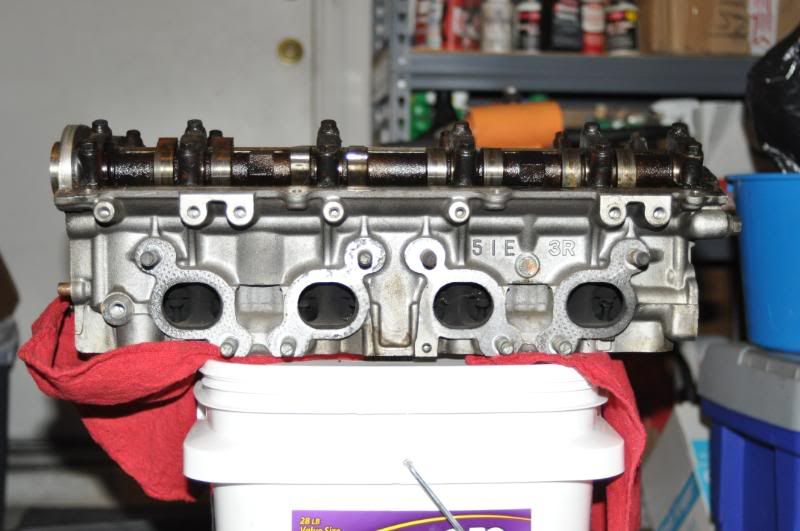
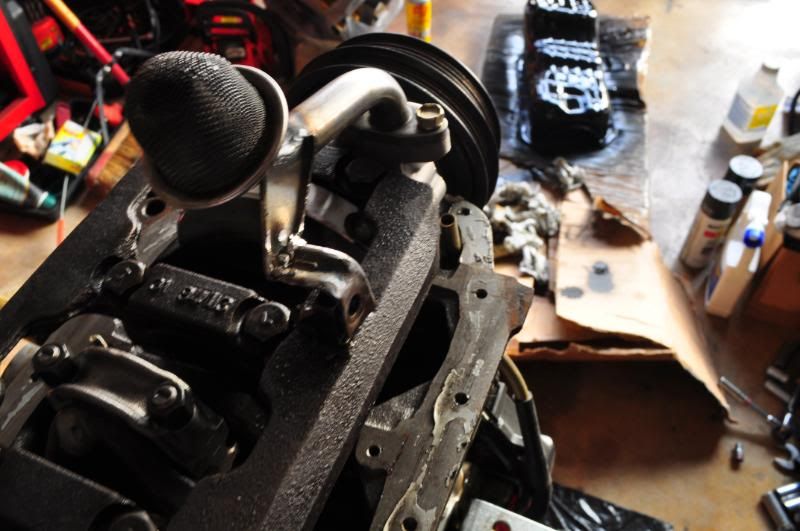
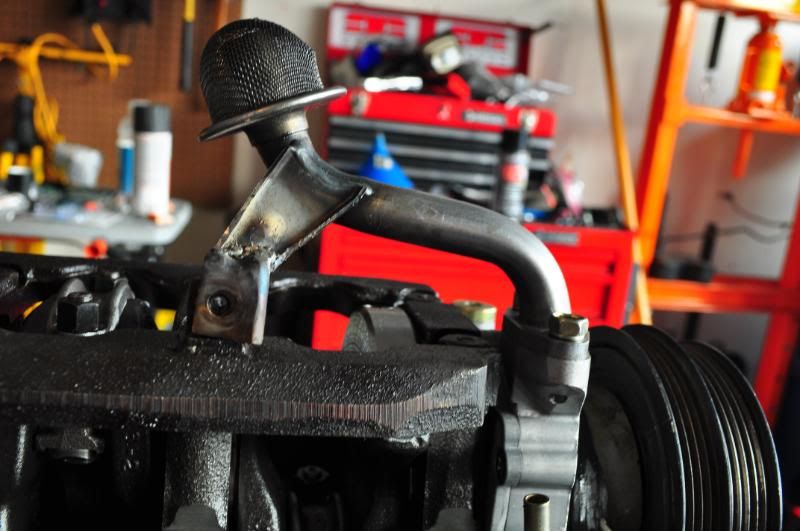
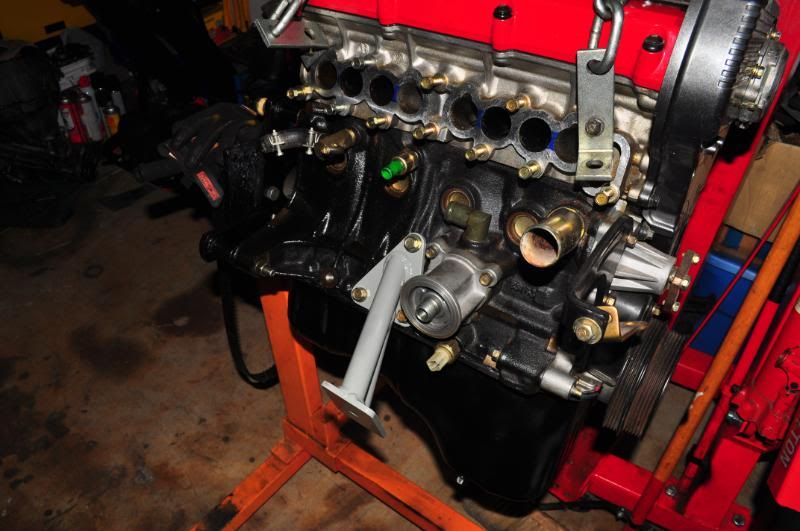
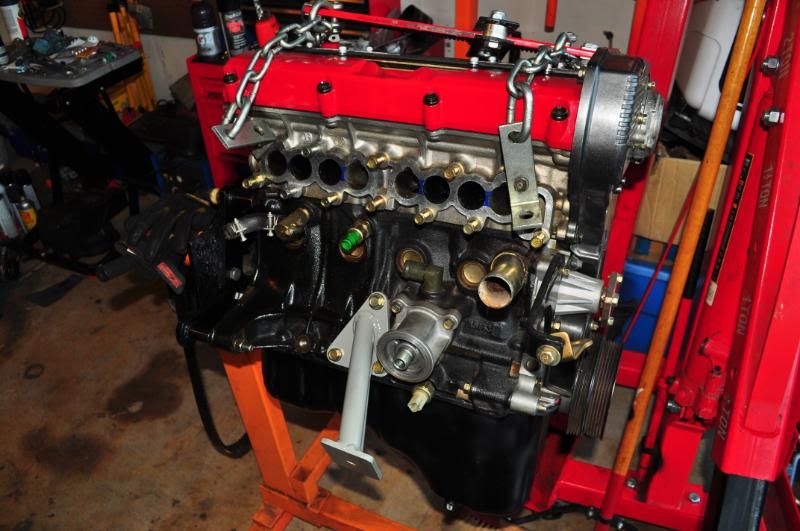
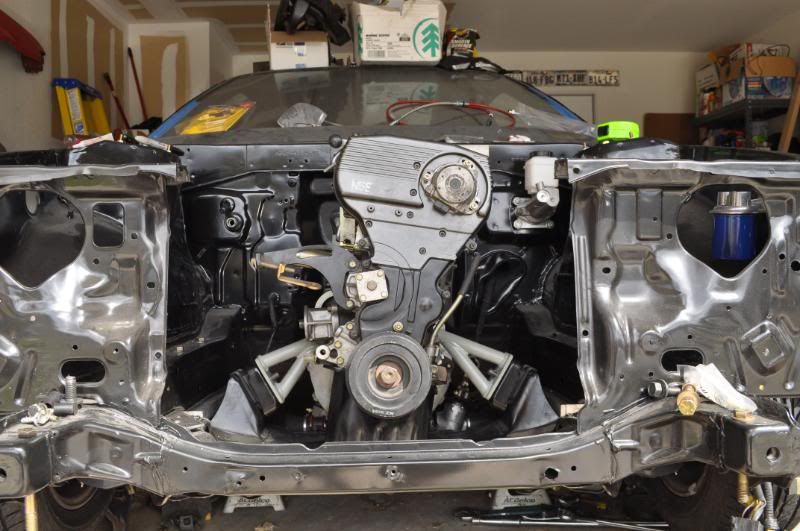
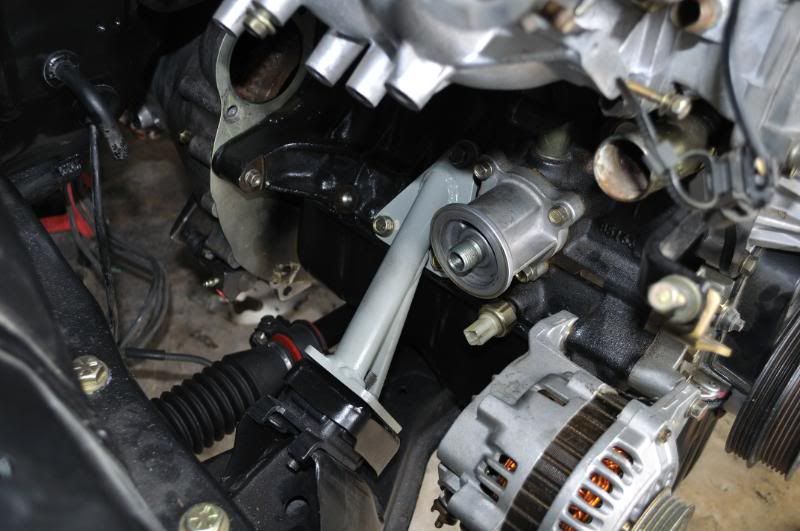
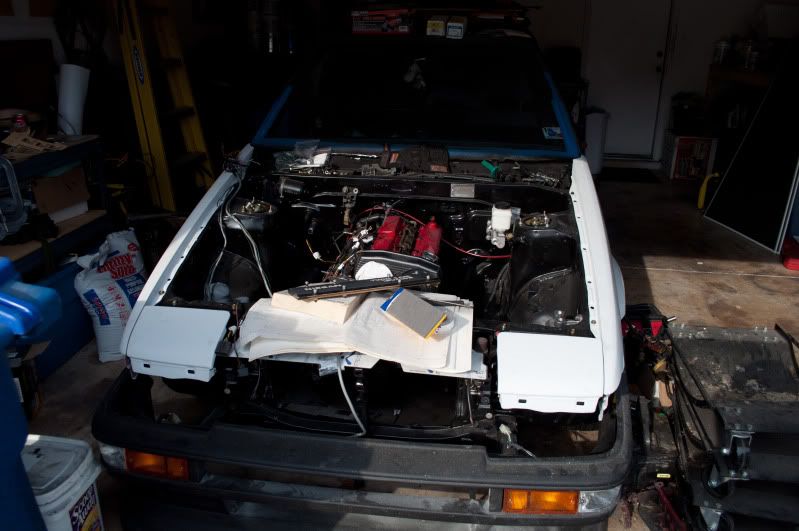
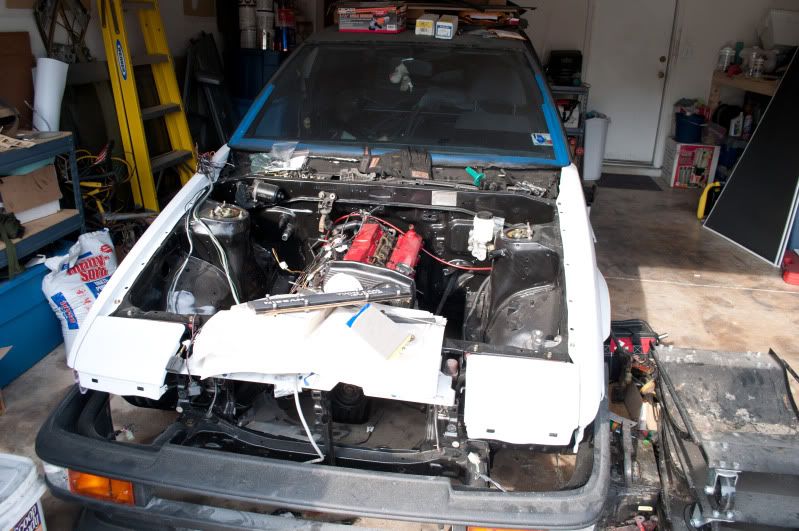
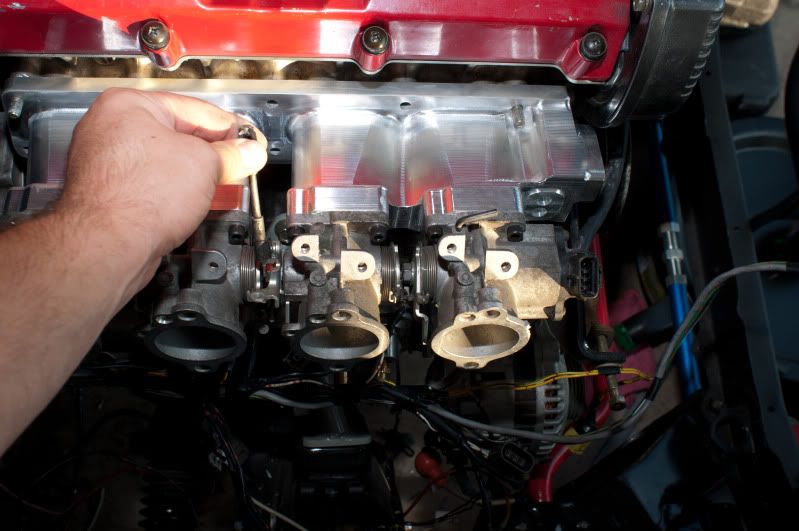
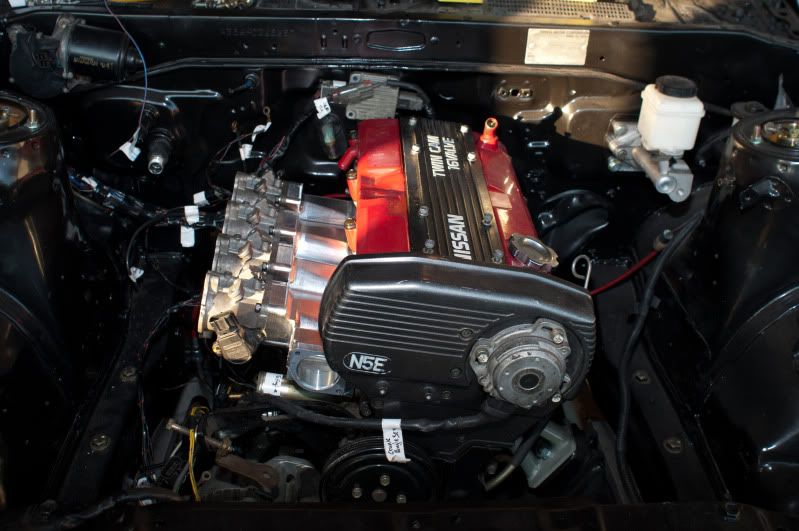
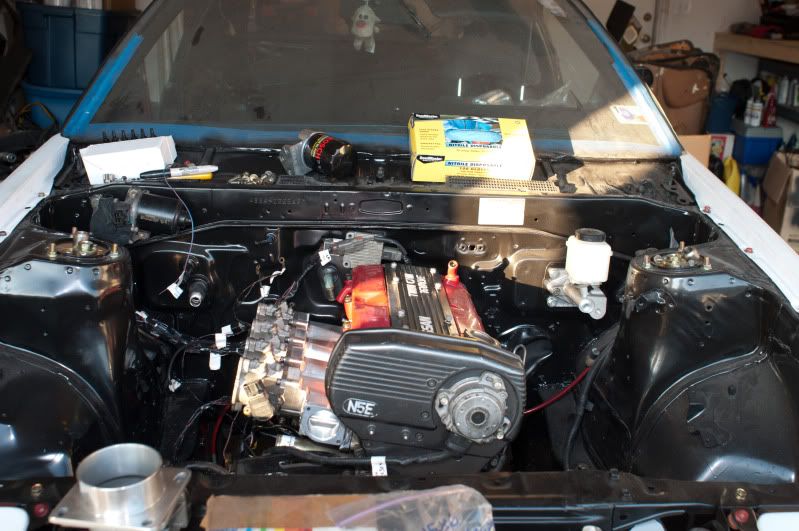
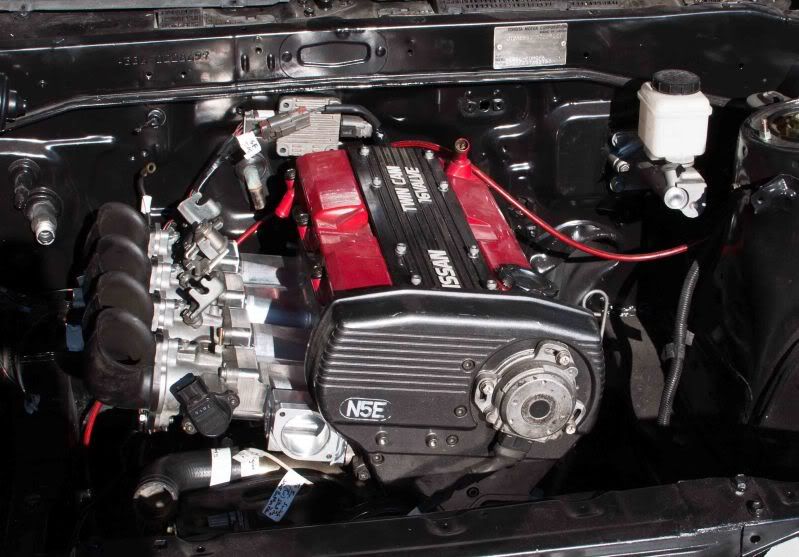
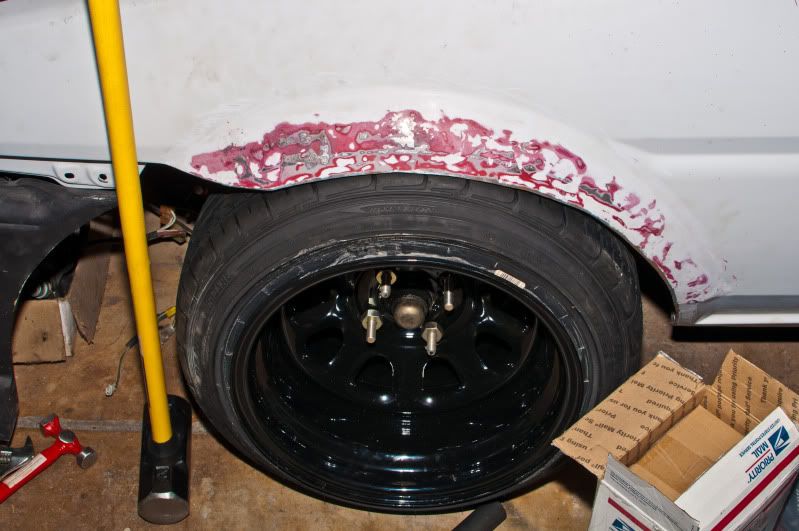
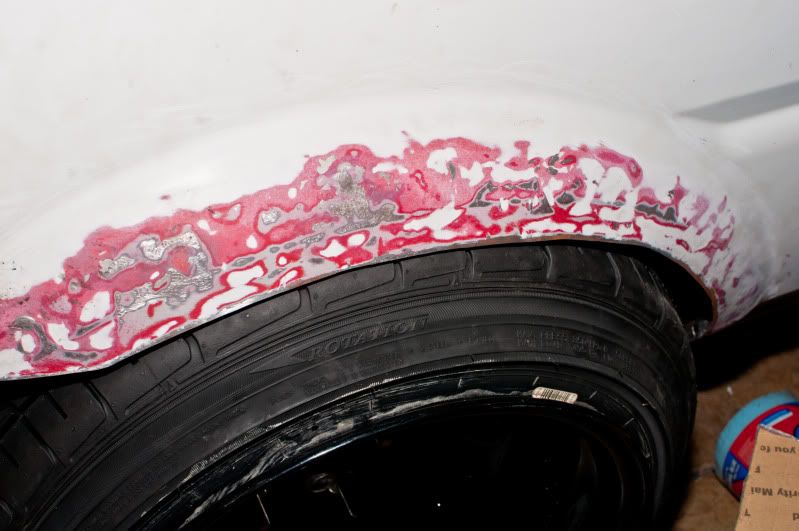
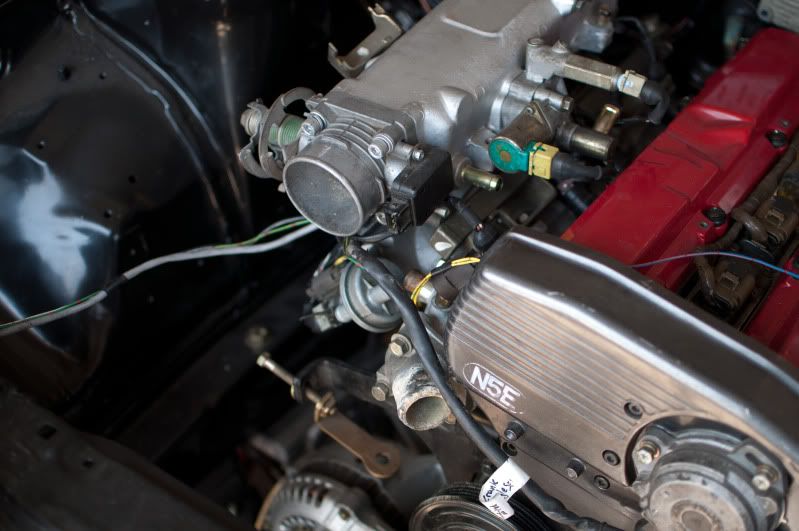
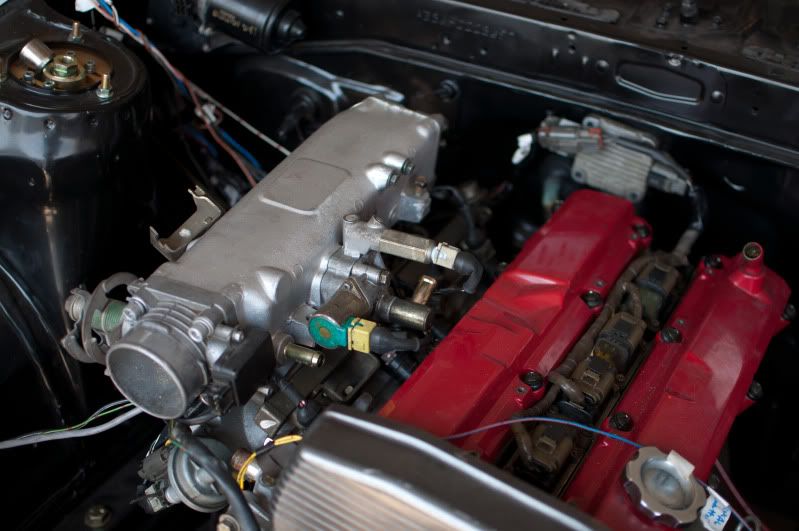
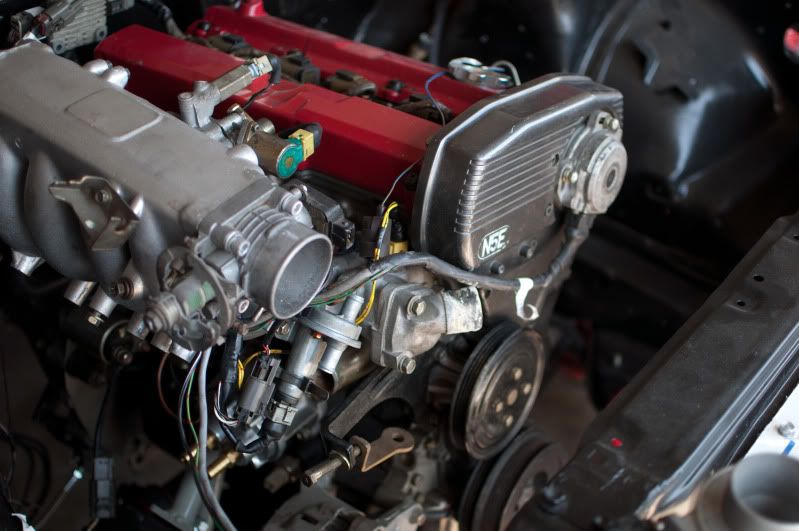
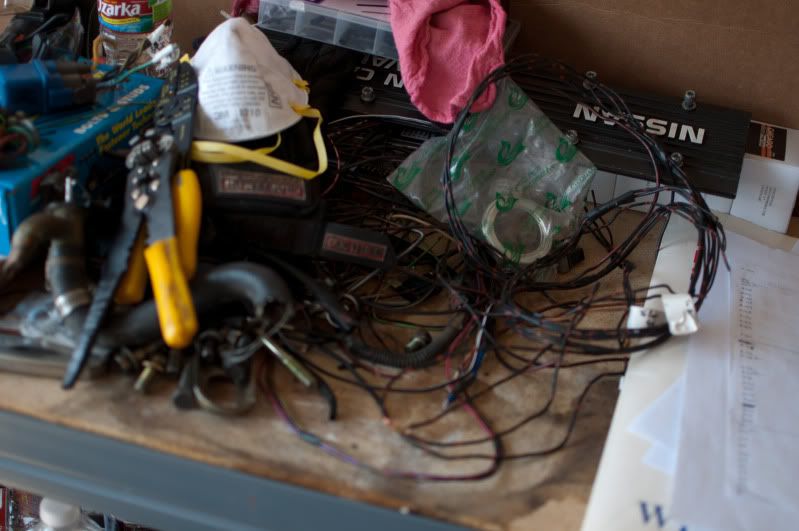
I took a break from the body work to start touching the engine harness. I originally had two engine harnesses (both FWD CA18DE Pulsar harnesses), but I cannibalized one to get good connectors. The other I decided to map out and labeled each connector. Then in a genius stroke, I cut the harness in half, save for the MAF and CAS shielded cables. Did forget to label where I cut each wire on both sides of the cut though, so I had to label each ECU pin and then find the corresponding plugs. In the end it worked out though. I was able to eliminate roughly 5' of overall wiring on each strand and routed everything so it's not too obvious across the engine.

Image
Image
Image
Image
Image
Image
Image
Image
Image
Image

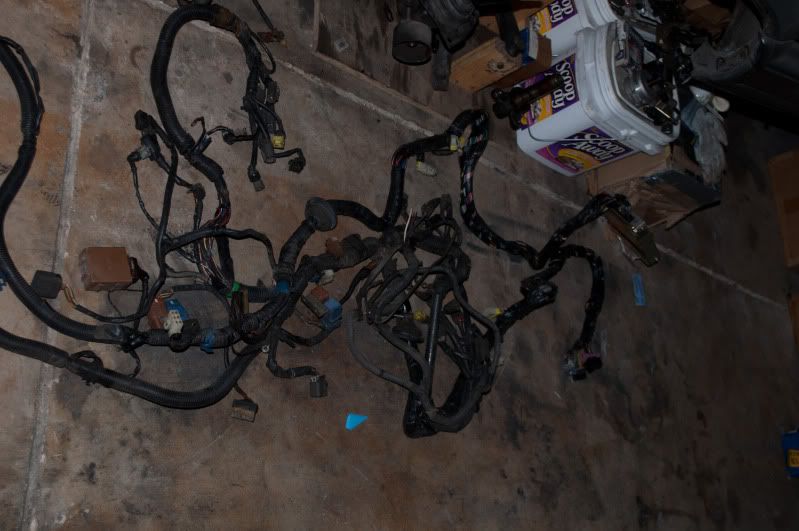
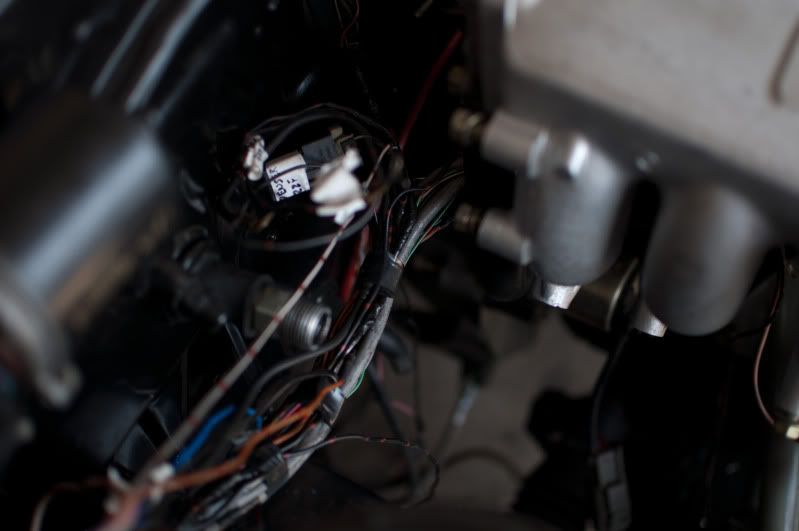
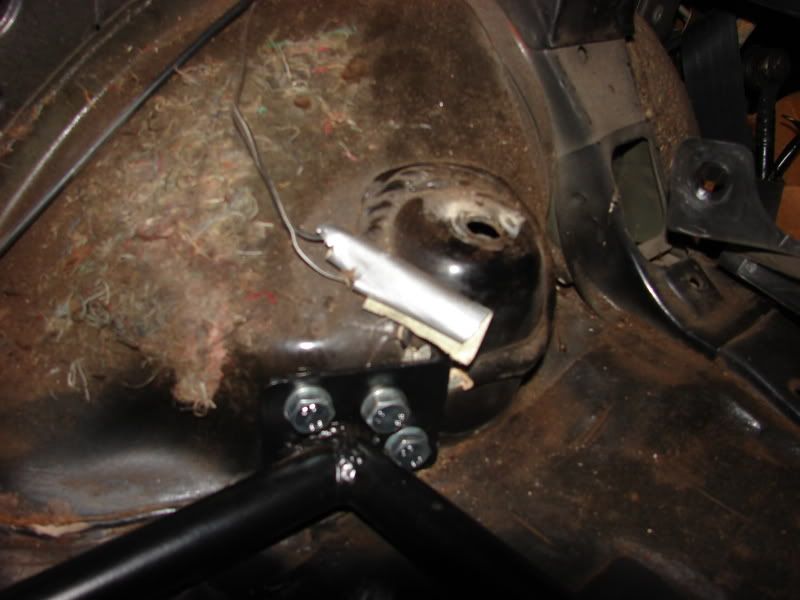
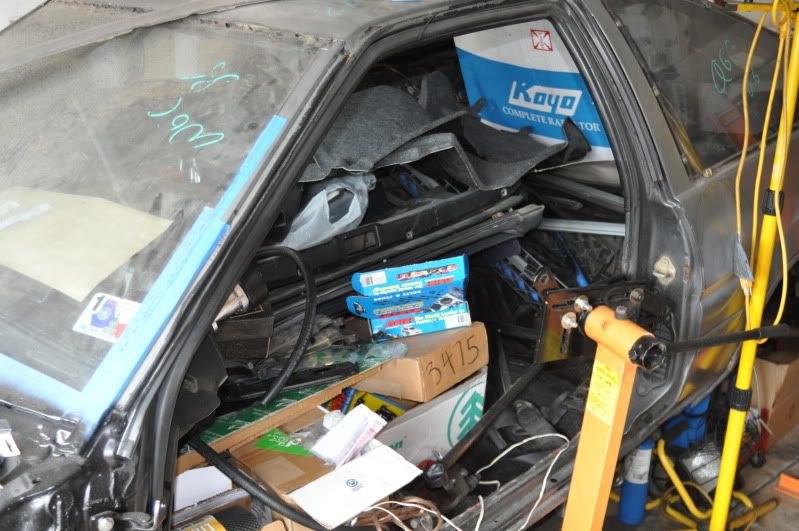
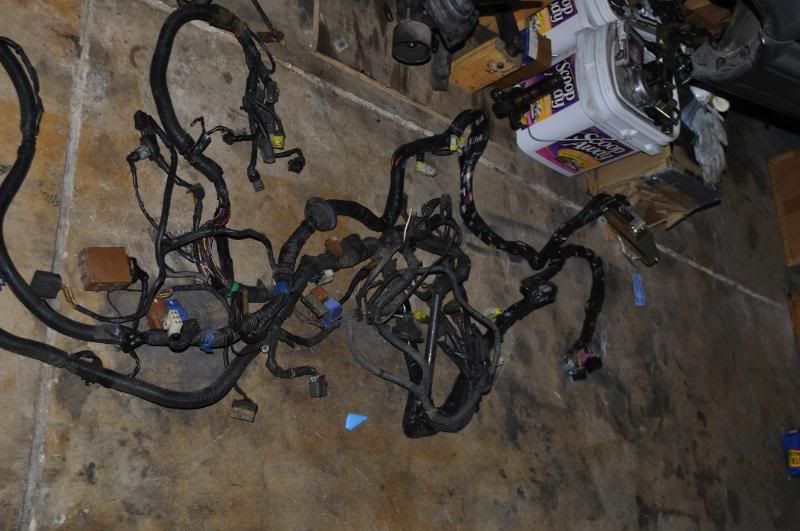
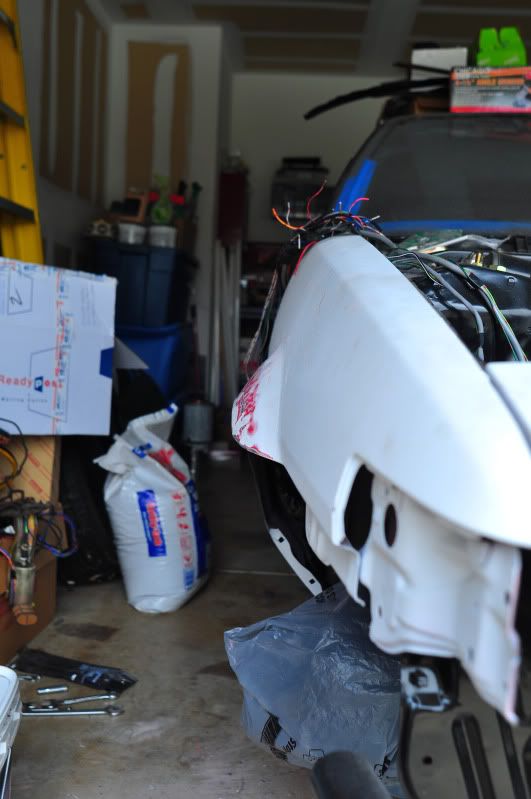
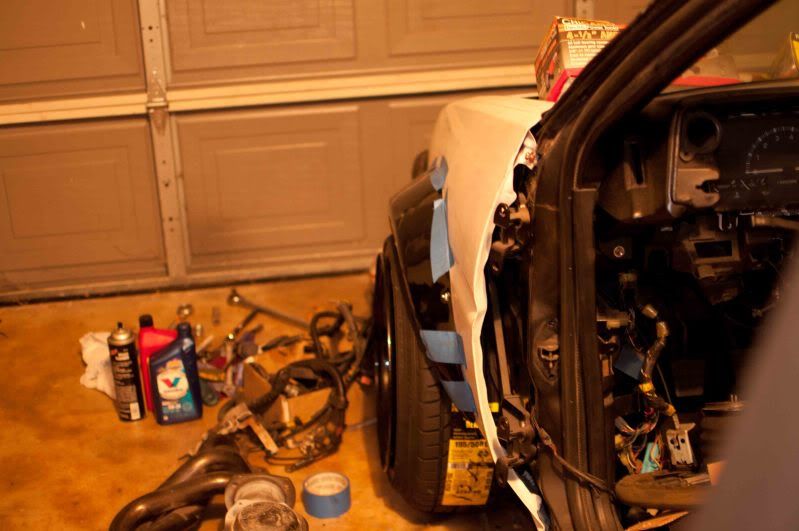
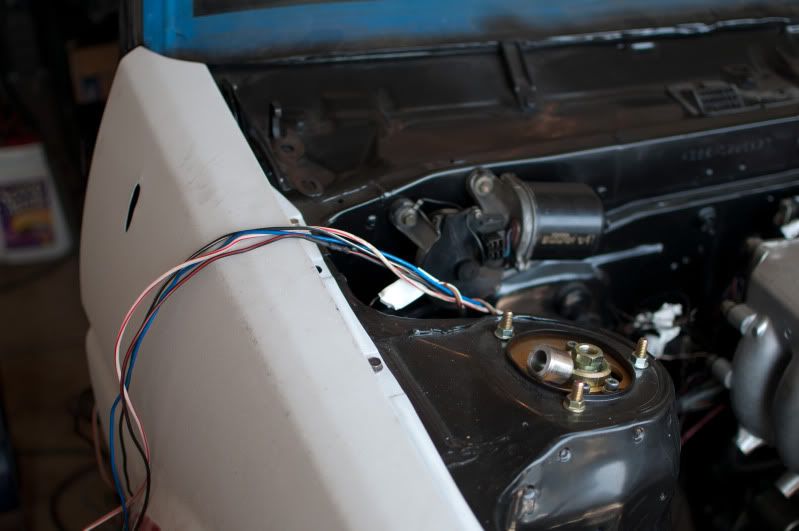
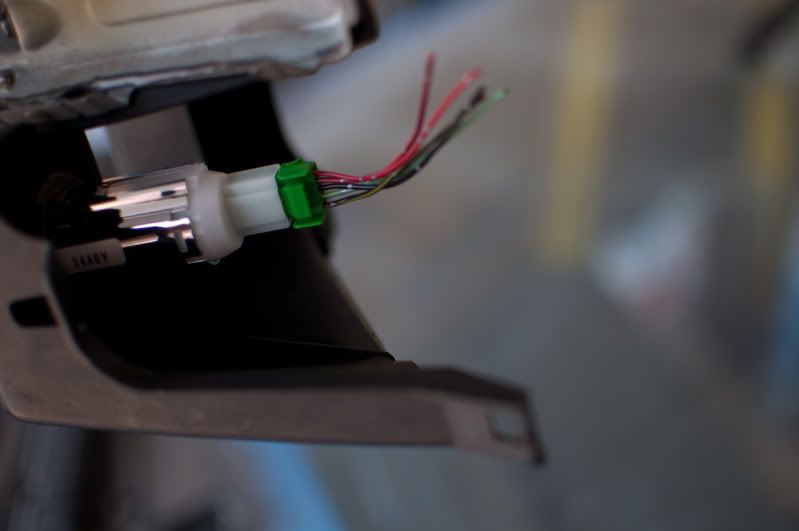
These are a few of the free wires in the bay (others are mostly ground wires I haven't trimmed out or those running to the ingition switch or gauges). These go to the fuel pump relay/efi relay/efi safety relay and I haven't decided on a location for those just yet.
Image

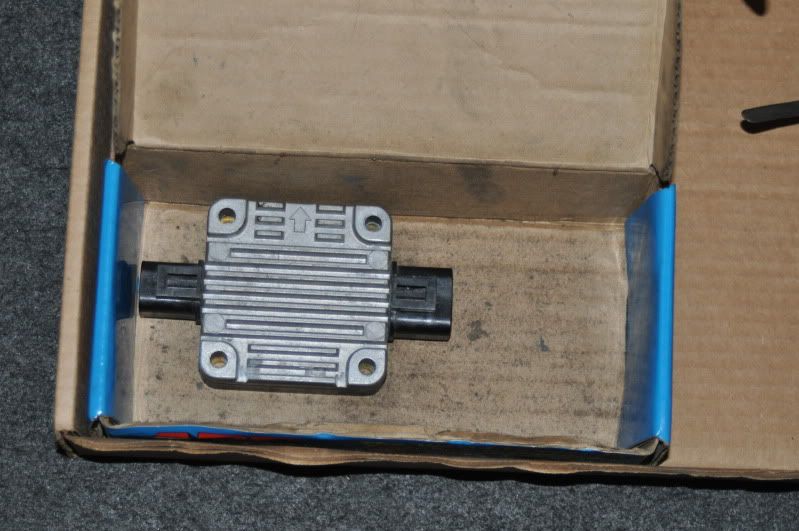
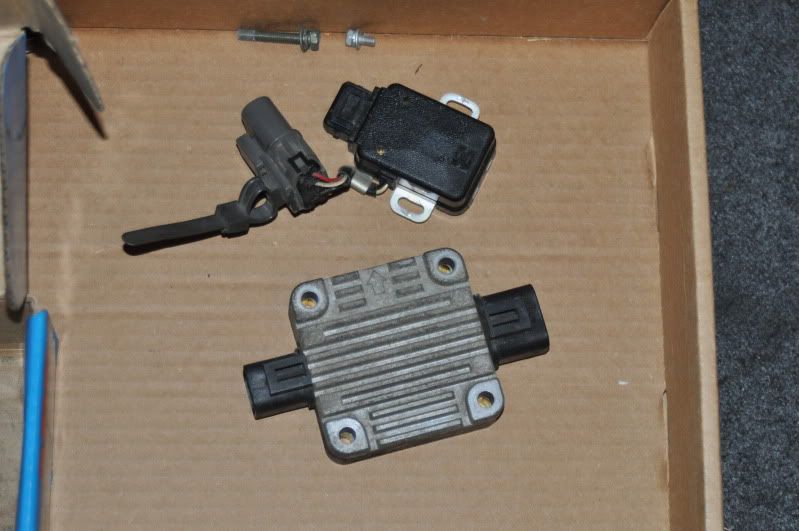
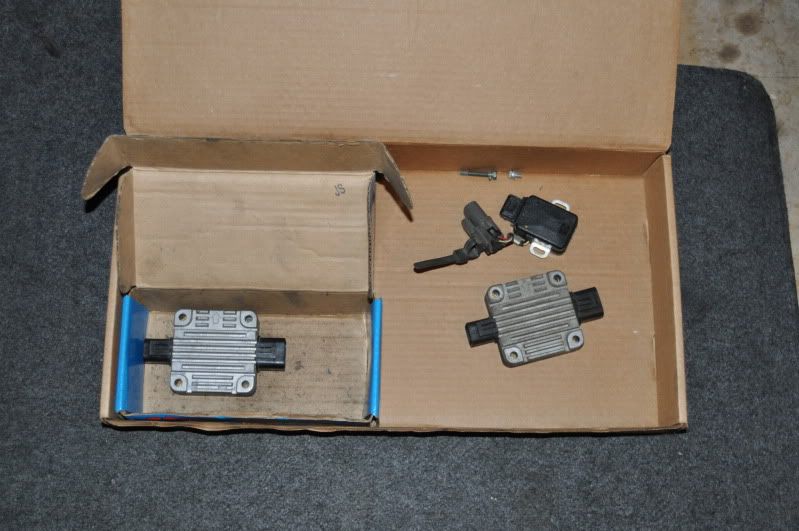
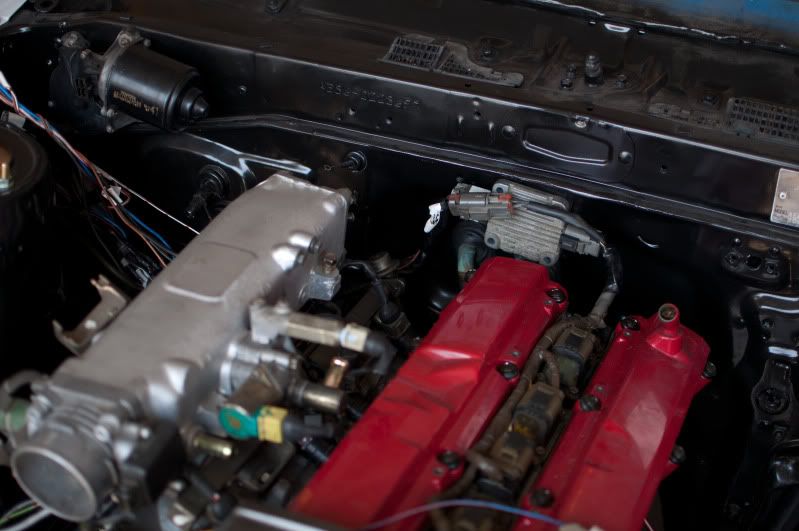
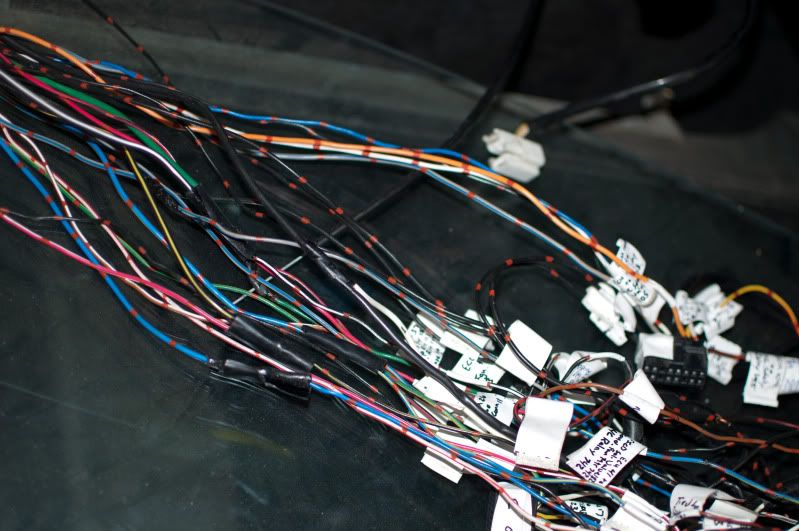
These are the wires that I haven't hooked up from the ECU, either b/c they're components are being eliminated, they're grounds that I still have to run (2 or 3 of the wires), or the components will be mounted right beside the ECU/in an undetermined, such as the efi relay/safety relay .
Image

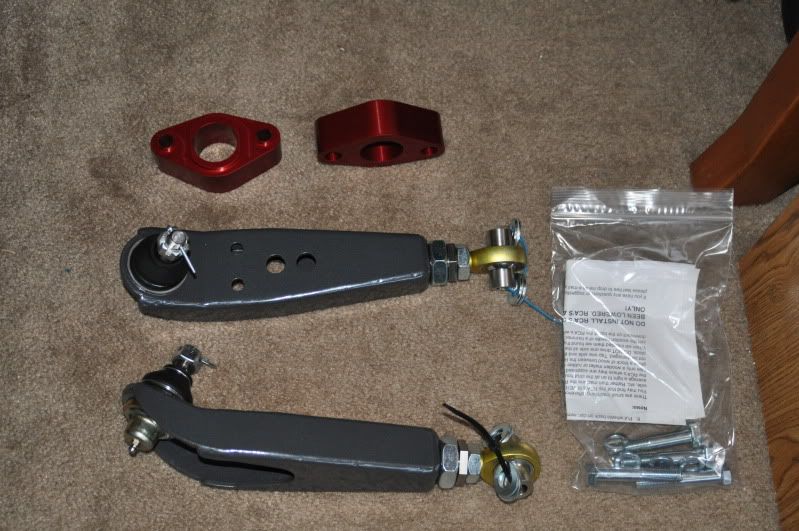
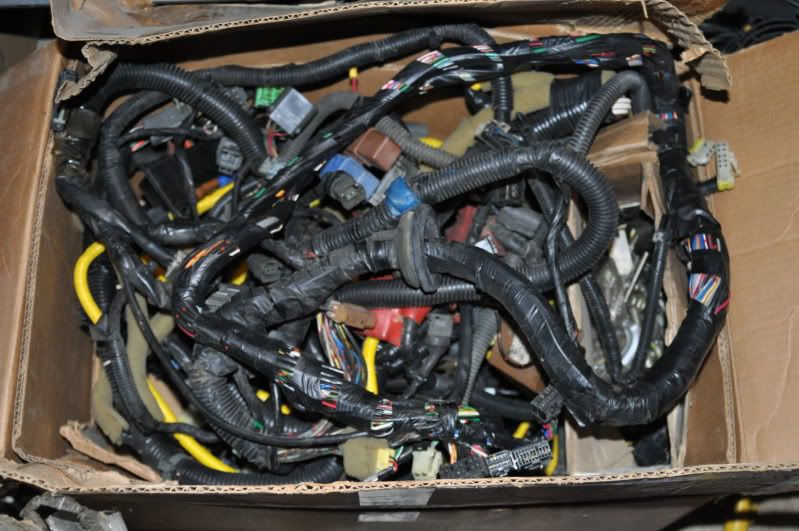
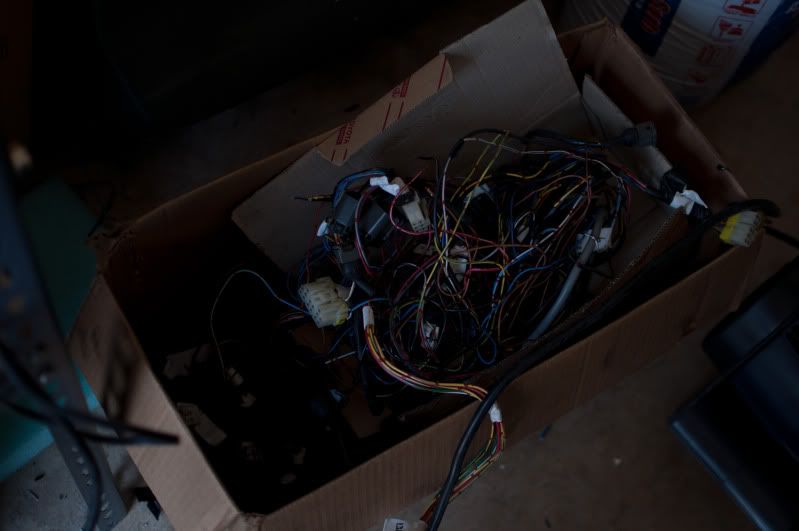
This is all the wiring that I have stored in case I need some extra length down the road, or extra plugs.
Image
Image

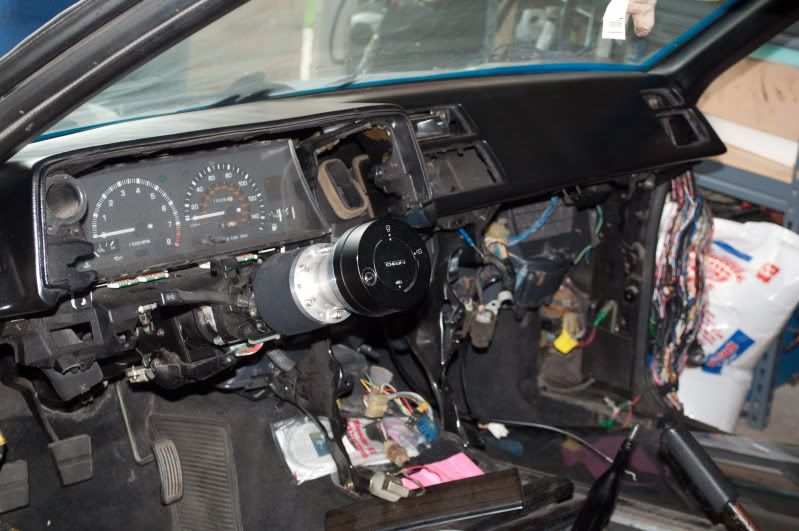
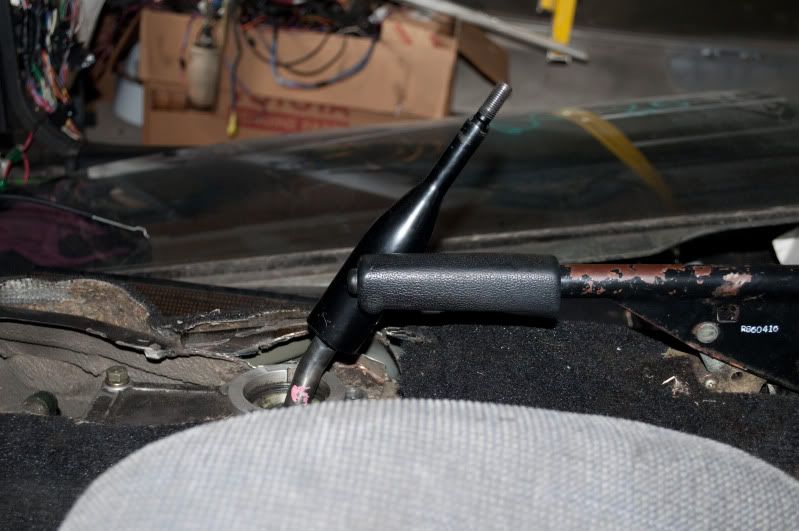
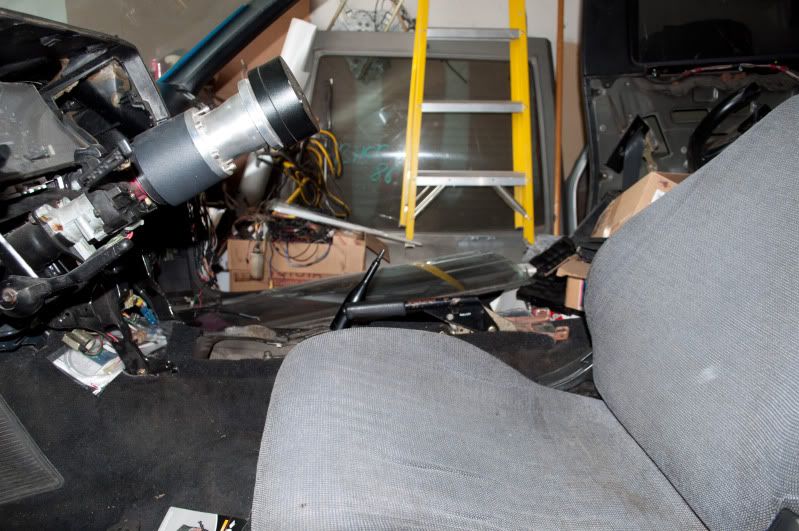
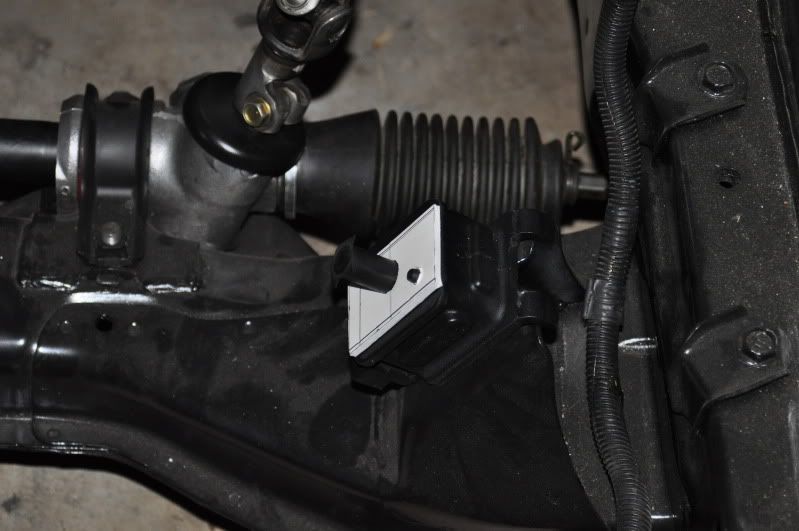
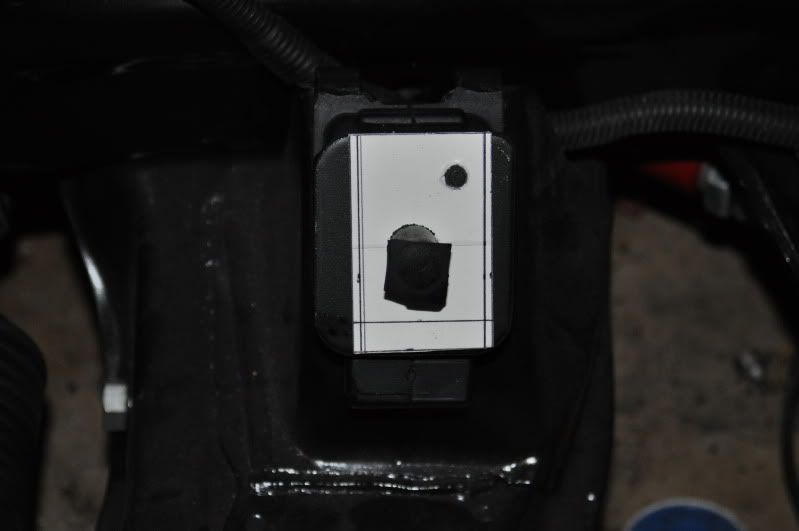
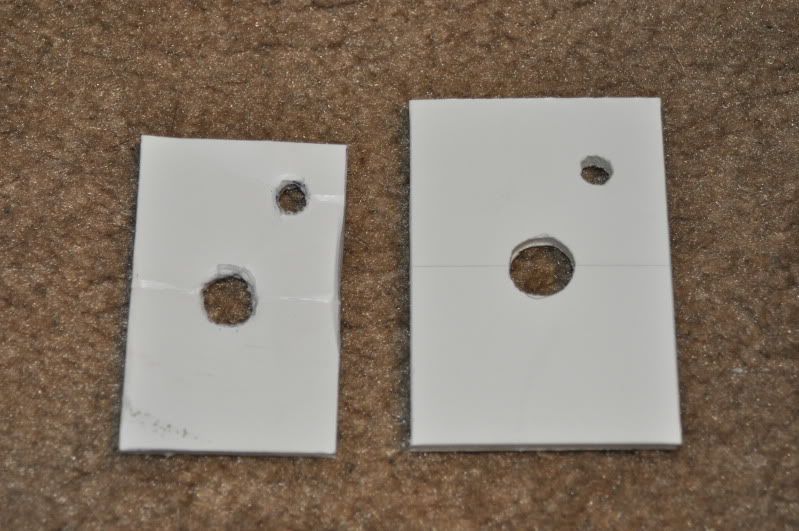
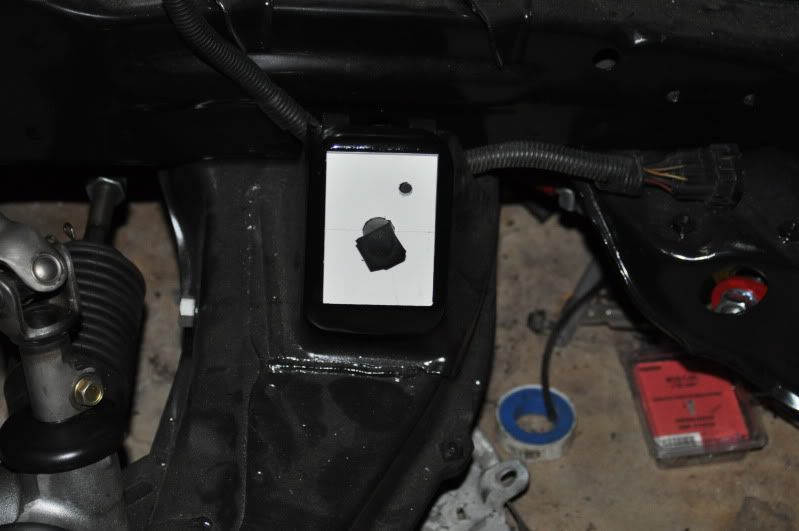
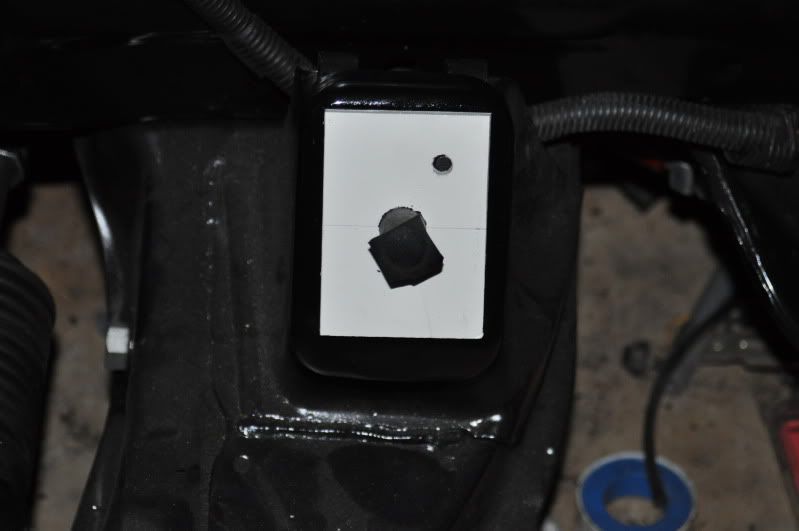
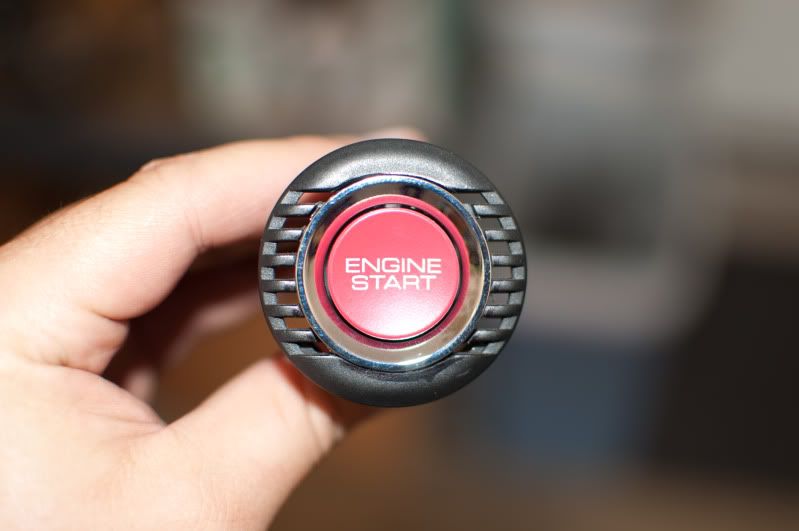
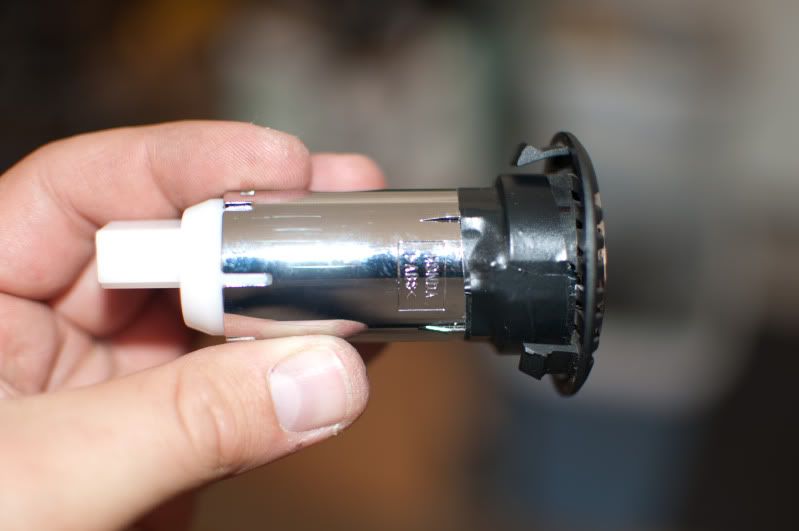
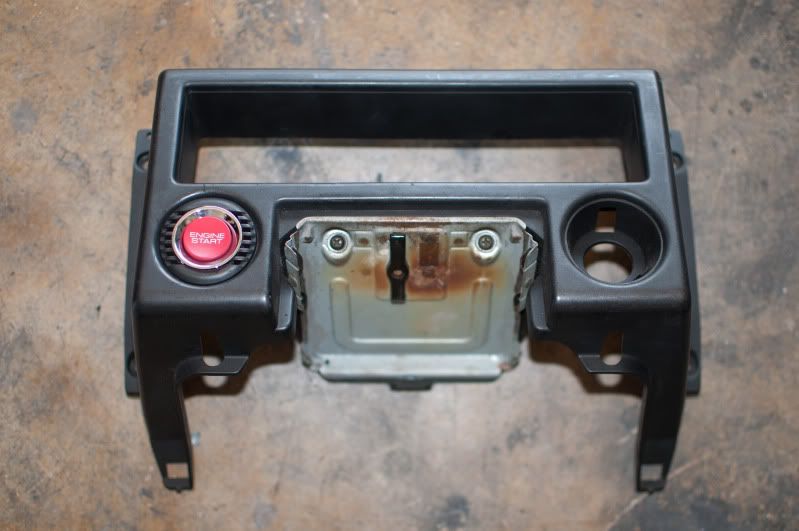
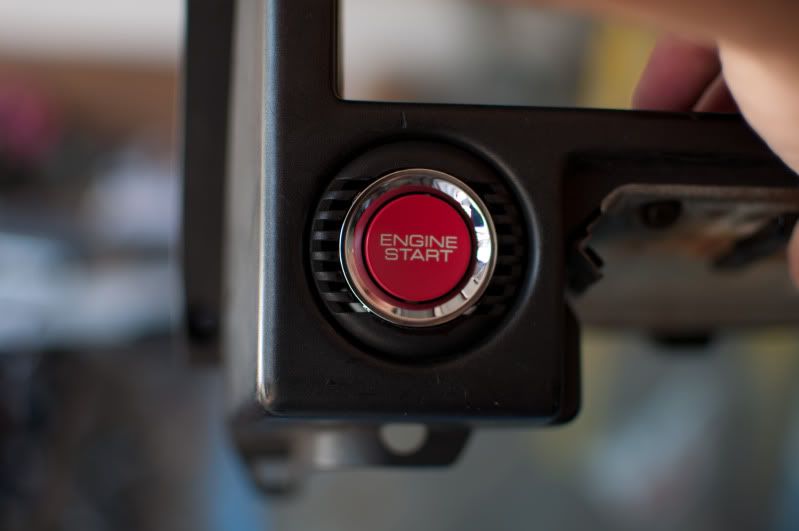
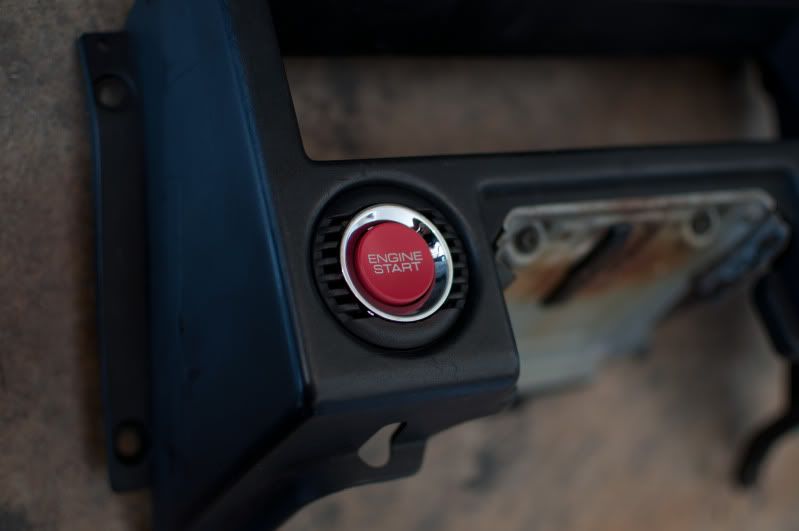
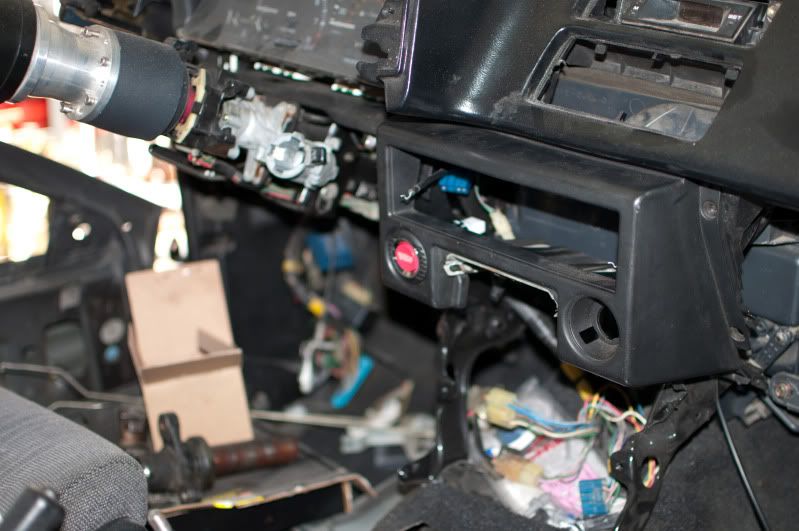
I also started working on how I'm going to finalize the in car wiring. I picked up an S2000 Start Button and found a nice place to mount it.
Image
Image
Image
Image
Image
Image
Image

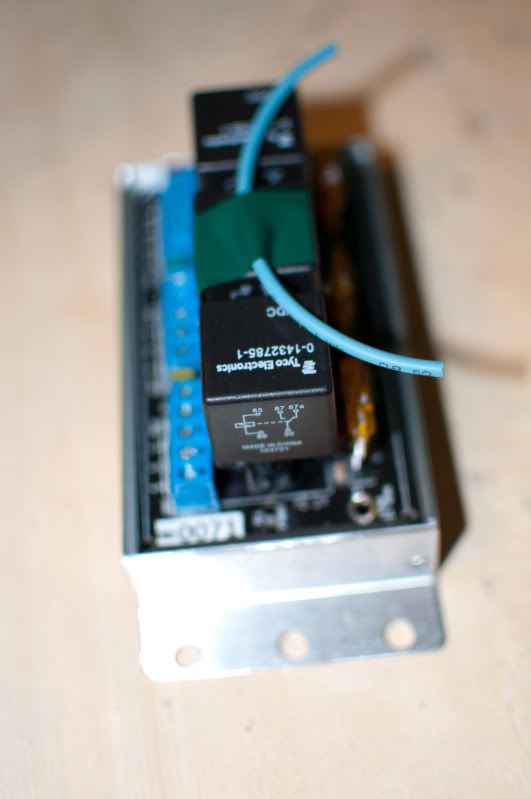
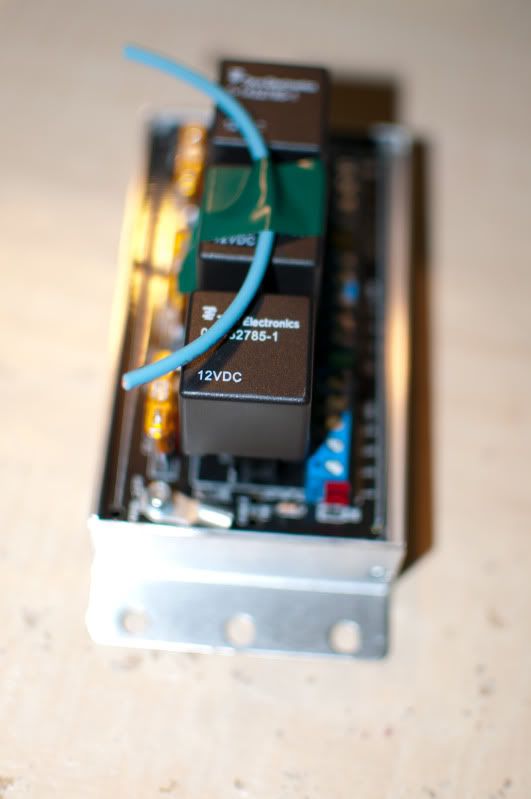
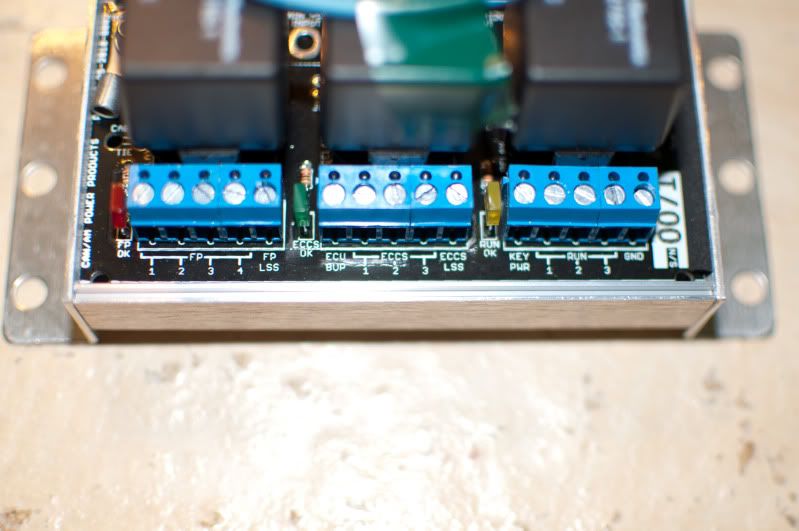
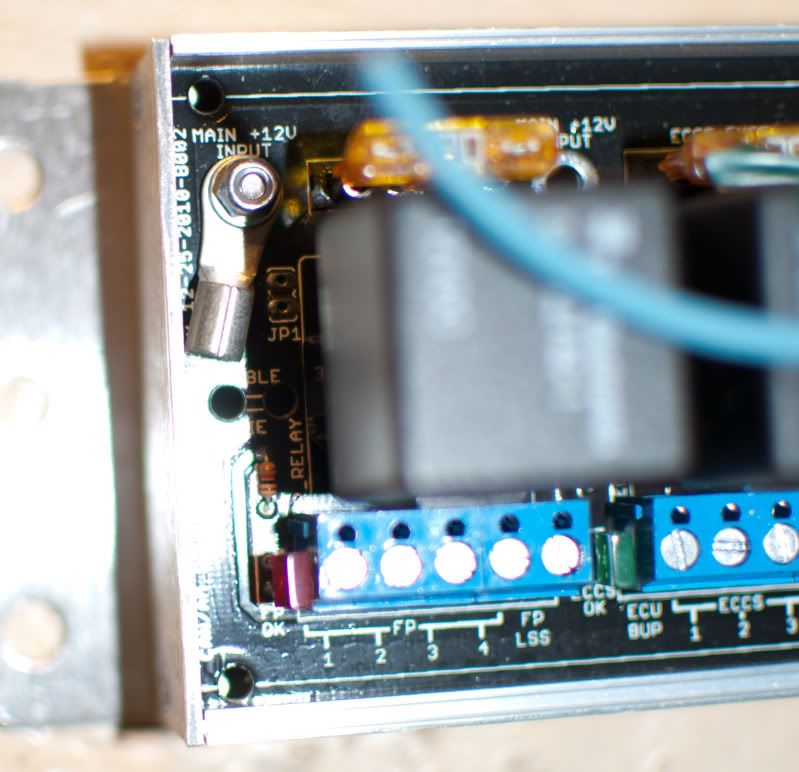
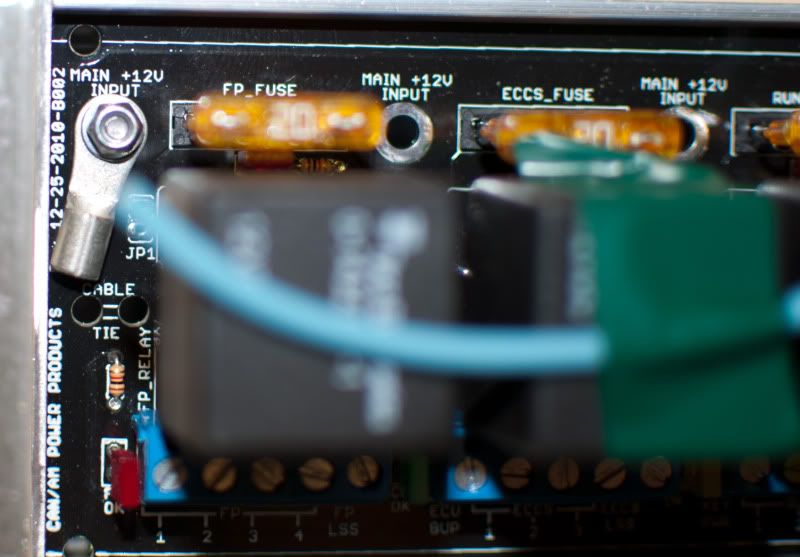
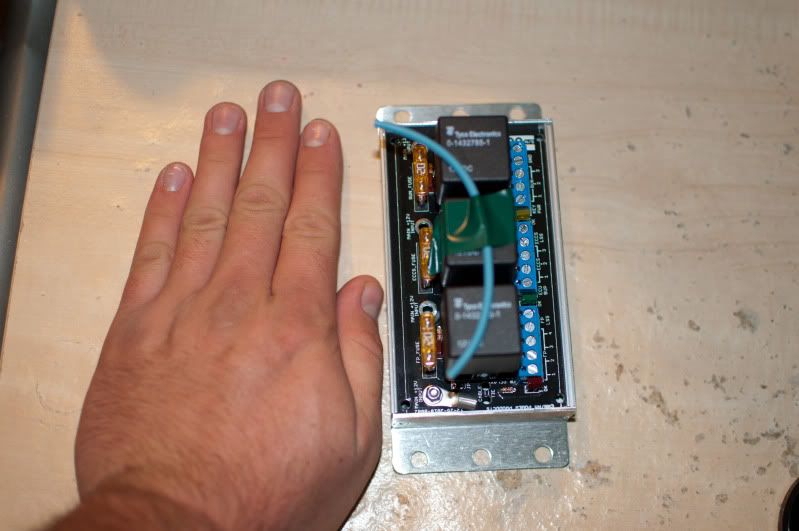
I've been tidying up the wiring as I go and I decided that I didn't want to run a handful of wires across the interior to try and splice them into the existing fuse panel. So, I purchased this:

Image
Image

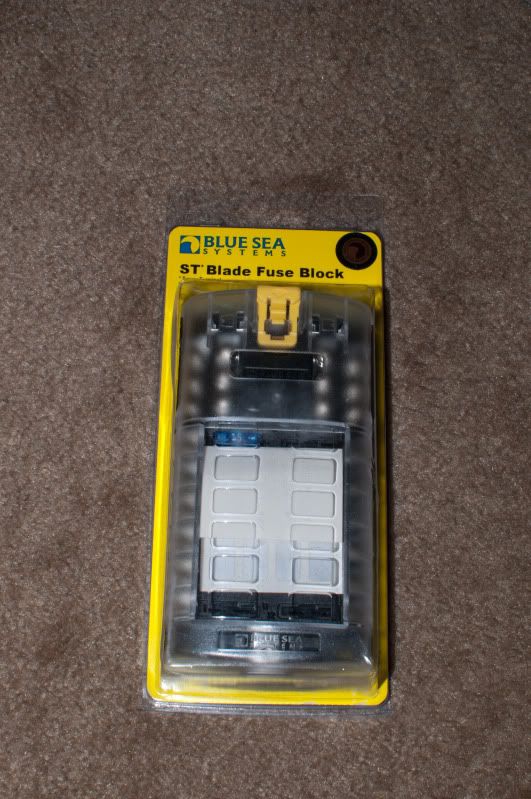
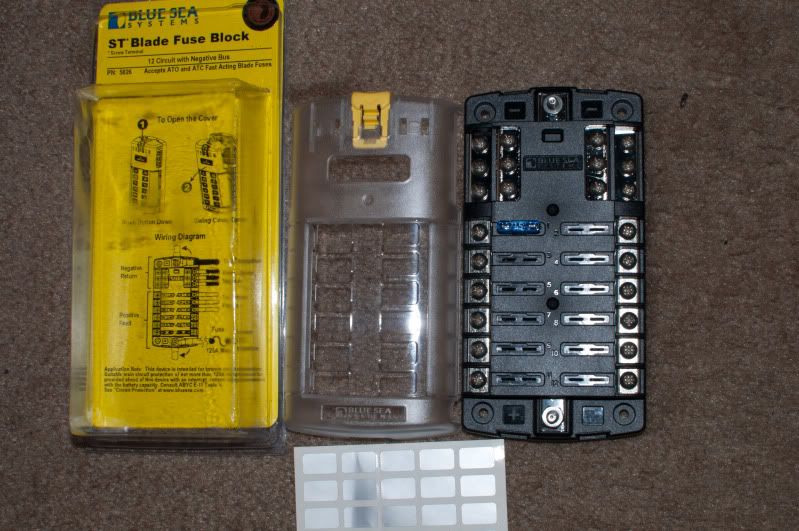
That will be enough for room to add several items down the line if needed. I'm probably going to make a mounting surface for this and the relay board I have, along with any other items that will accompany these. Then I'll put a lockable cover over them so they'll be as tamper proof as I can make them. We'll see how that goes though.

GTSRolla34
Club4AG Regular
Posts: 43
Joined: Fri Jan 11, 2013 10:01 pm

Re: Project CAE86

Postby GTSRolla34 » Sun Jan 20, 2013 5:44 pm

Wheels & Tires:
Finally picked up some new shoes for the front. Now I can start working on the rear axle. I guess the next purchase will be a set of axle shafts for the 8.8 so I can start working on getting the rear wheels and tires.

Image
Image
Image
Image
Image
Image
Image
Image
Image
Image

Not at full lock, but I seem to have quite a bit of space to spare. Should be more work on the fenders than anything else.
Image
Image
Image


Here are some of the pics. You can see from the inboard photo that there is a lot of clearance on the inside of the fender well. I just need to remove the fender and start working the wheel rearward while modifying the body as needed.

Image
Image
Image
Image
Image

Well, not too much to report. I haven't really sat out and worked on the rolla in a while. I did try some things on the wheel fitment front. I removed the 1/4" wheel spacer on the driver-side to see what effect that had. It brought the tire under the fender much better...to the point where I'm not too concerned with modifying the fenders any more. I still have tons of clearance between the tire/wheel and the suspension. I also started pulling some caster out. Took a sledghammer to make a bit more room, but I won't be able to get the space I want until I remove the suspension so I can really hammer the fender well.

Before:
Image

After:
Image

Image
Image
Image
Image
Image

When I had the wheel spacer on, I had the camber plate maxed out and the fender was still resting on the tire. With the spacer removed I've been able to take some camber out of the suspension and the makes me feel a bit better:
Image

I still have room to pull some negative camber out if I want, or to add some if I feel it necessary. I still want to pull some of the caster out of the driver-side, but that means some hammering first.

GTSRolla34
Club4AG Regular
Posts: 43
Joined: Fri Jan 11, 2013 10:01 pm

Re: Project CAE86

Postby GTSRolla34 » Sun Jan 20, 2013 5:44 pm

Fuel:
I've been talking with the guys in the weld shop at work. They had someone dump a bunch of stainless steel containers that used to hold chemicals for working on the planes. They asked if I could use any of them for personal use:

Fuel Cell
Image
Surge Tank
Image

They're going to start work on them this week. The fuel cell will be right around 15 gallons...maybe a touch under, and the surge tank should hold another 5 gallons (maybe a bit more after I have it reshaped to drain to the engine feed fitting.

I'm hoping the machine shop can get my ITB manifold finished too. They've been busy machining parts for the aircraft so my part had to be put on hold. I'm keeping my fingers crossed.

GTSRolla34
Club4AG Regular
Posts: 43
Joined: Fri Jan 11, 2013 10:01 pm

Re: Project CAE86

Postby GTSRolla34 » Sun Jan 20, 2013 5:45 pm

Most recent update:

Received my Megasquirt-III V3.57 w/ MS3X. I've been playing with Tuner Studio and the Jim Stim and things have been going pretty smoothly.

User avatar
Grant
Club4AG Expert
Posts: 407
Joined: Wed Jan 09, 2013 8:42 pm
Location: Upstate New York

Re: Project CAE86

Postby Grant » Sun Jan 20, 2013 7:05 pm

Wow you've done a ton of work on that car, nice job. Huge difference from when you got it.

I don't know about those tires though. Picture related.
Image

marley4us
Club4AG Expert
Posts: 412
Joined: Fri Jan 11, 2013 10:40 pm
Location: milpitas

Re: Project CAE86

Postby marley4us » Fri Jan 25, 2013 4:40 pm

That is some amazing work, I am really impressed! Love it! Have you looked into how your going to do the exhaust? is there any interference with the steering linkage, I know the SR has that issue.
1985 Corolla Hatch widebody w/ SR20det (The Project)
1993 5SGTE stroker widebody MR2 Turbo (drag car)
2002 Miata SE hardtop (daily Driver)
1994 4runner (The truck)

Deuce Cam
Posts: 1346
Joined: Sun Jan 13, 2013 2:41 pm
Location: AZ

Re: Project CAE86

Postby Deuce Cam » Fri Jan 25, 2013 4:47 pm

Are those the arp is300 extended wheel studs? Do you have any leftover that you'd sell?

GTSRolla34
Club4AG Regular
Posts: 43
Joined: Fri Jan 11, 2013 10:01 pm

Re: Project CAE86

Postby GTSRolla34 » Fri Jan 25, 2013 6:32 pm

I thought about the stretched tires. In the rear I'm going to go a wider. If I feel uncomfortable with the fronts I'll swap those out before I run the car on the street. By then they may end up being warped from sitting in one position for so long. May need to change them anyway. How exactly did the tire in on the car in the above pic fail?

I have a header for the CA18 made for the S13 chassis, but the collector is located right where the steering column passes the frame rail. It would have to be modified to work...or have a local shop make a custom header, which is the direction I'm leaning toward.

They are indeed Supra/IS300 wheel studs. I have 2 laying around somewhere. I still need them for the rear wheels/axles (whenever I get them). I will end up having 4 left over once I purchase the other two sets for the rear.

Deuce Cam
Posts: 1346
Joined: Sun Jan 13, 2013 2:41 pm
Location: AZ

Re: Project CAE86

Postby Deuce Cam » Fri Jan 25, 2013 7:50 pm

It sounds like we're in the same boat. I bought 2 sets and installed them on new axles I purchased a while back, and have 2 left over. Now I'm looking to do the fronts but I'm really trying to avoid buying 2 more kits. The damn things are expensive haha.

GTSRolla34
Club4AG Regular
Posts: 43
Joined: Fri Jan 11, 2013 10:01 pm

Re: Project CAE86

Postby GTSRolla34 » Fri Jan 25, 2013 8:13 pm

Would be nice if they sold them as replacement studs individually. Not everyone needs 5, but I digress. I've spent most of my spare time getting my 240 running. Once I get it buttoned up I'm going to turn and sell it. I need to make room to bring the rolla over to the new house.

yellowsnow4free
Club4AG Enthusiast
Posts: 185
Joined: Thu Jan 10, 2013 10:55 am

Re: Project CAE86

Postby yellowsnow4free » Mon Apr 29, 2013 2:27 pm

Wow, nice work GTSRolla34; I'm glad to see it's in good hands now :)

Calikid
Club4AG Enthusiast
Posts: 55
Joined: Thu Jul 16, 2015 8:01 pm

Re: Project CAE86

Postby Calikid » Tue Aug 11, 2015 4:56 pm

Its coming along nicely, Ill keep an eye on her.