Rogue-AE95 wrote:I always love seeing your work. It's the attention to detail

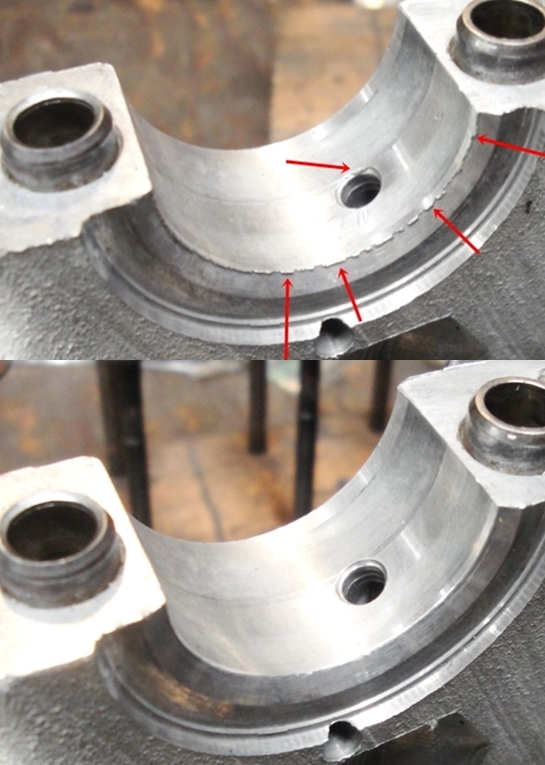
I practiced that between-buckets deburring on my "junk" bigport head. Seems like a good idea to stick a "junk" bucket (or a maybe socket) in place to ensure that the Dremel bit doesn't jump over and leave a mark there.
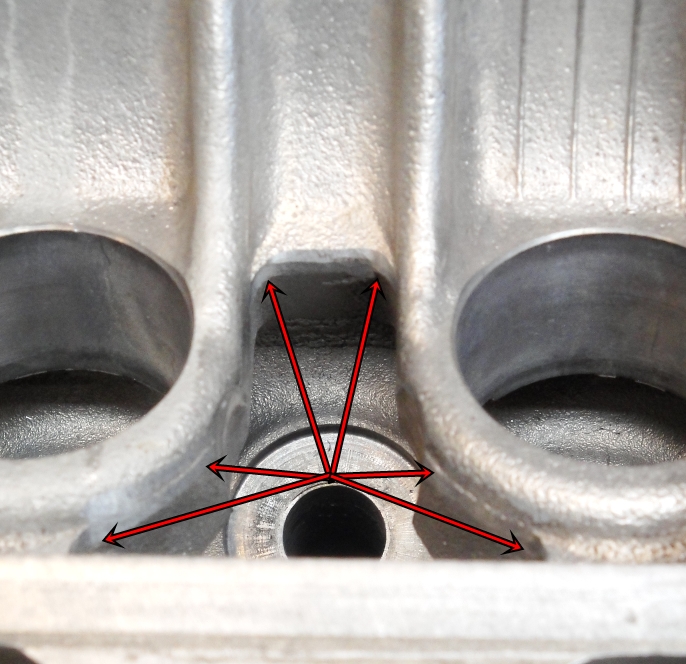
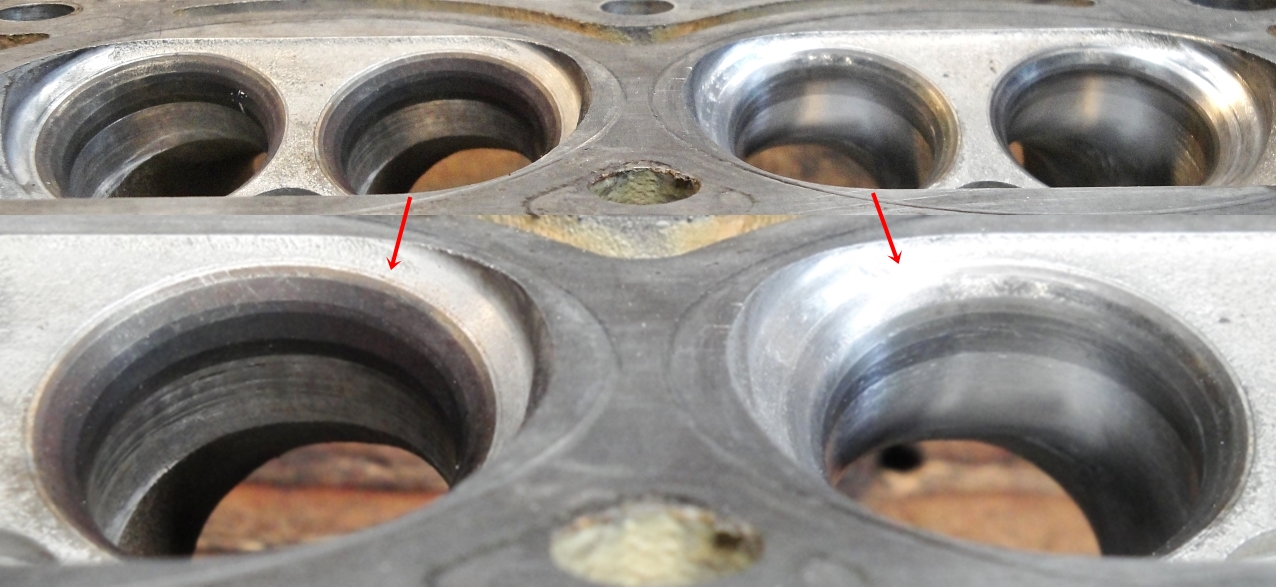
I also practiced some block deburring. There seems to be quite a bit of casting flash
inside the big oil drain on the exhaust side. Or there was on the one I was working on.
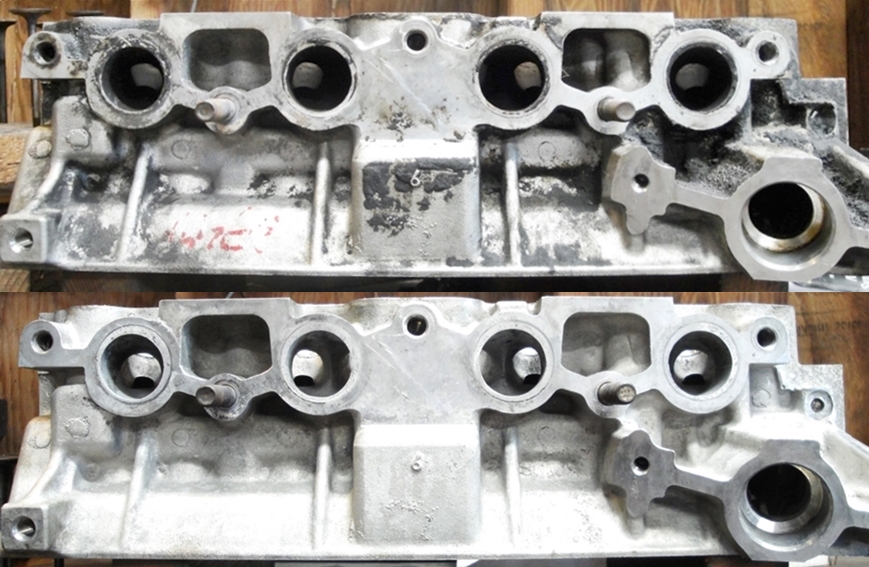
The big oil drain... isn't. The kidney shaped twin openings on the exhaust side between cyls 2 and 3 is not an oil drain, it is the breather bypass. The 4AG bigport head has 2 oil drains - both on the exhaust side, one just after cyl #1, and one at the back of the head near #4.
from another form wrote:Thanks for the info as always! One thing I was wondering about that HKS oiling mod blocking the main galley going to the block. How big is that restrictor orifice? and does it really restrict the flow as the restrictions in the head are much smaller than the hole in the block feeding it.
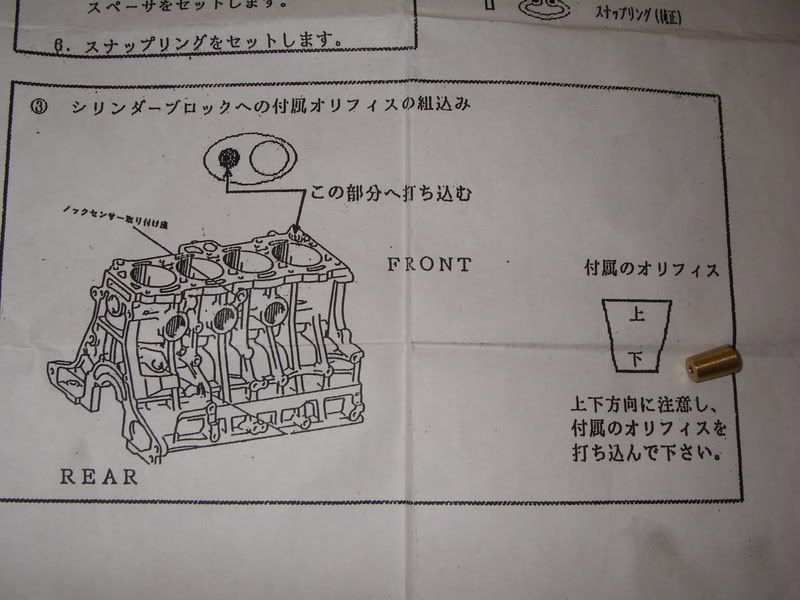
seems like it is a significant restriction..... another solution would be to add passages for the head to drain the oil back into the oil pan
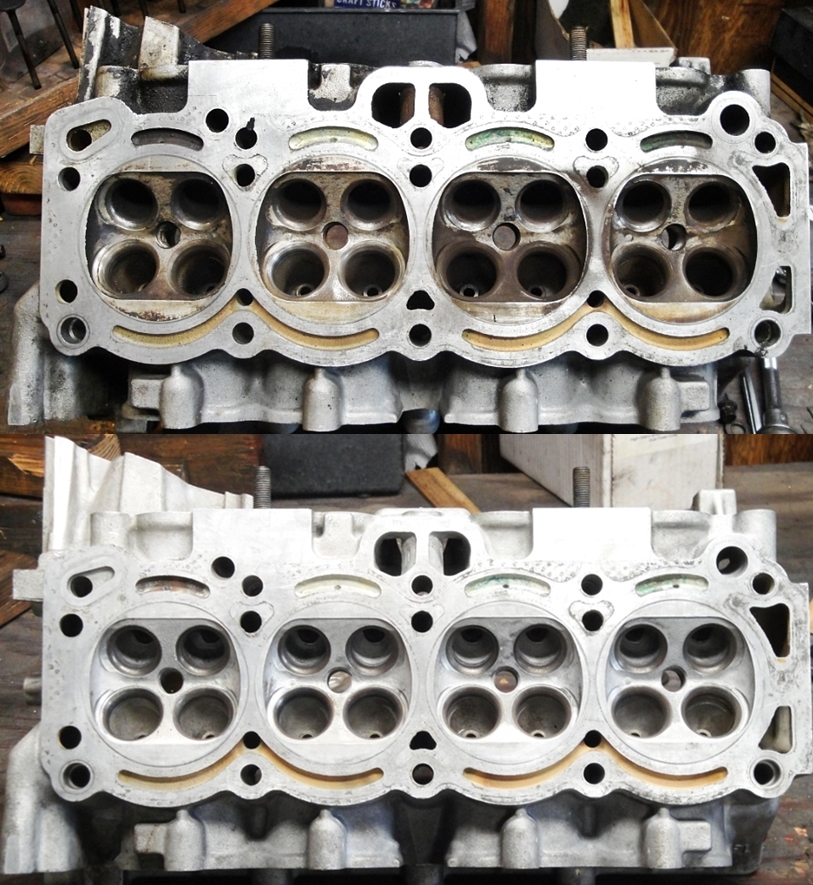
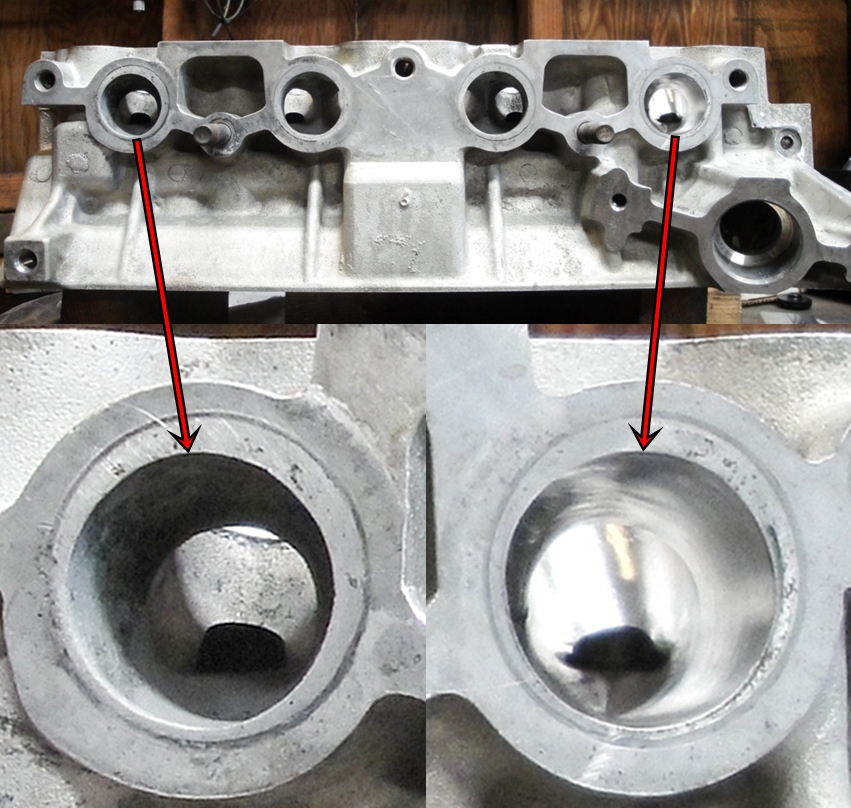
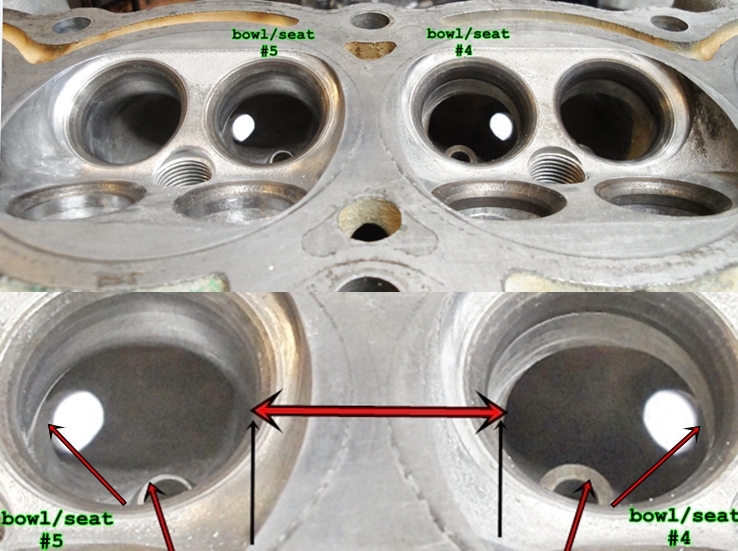
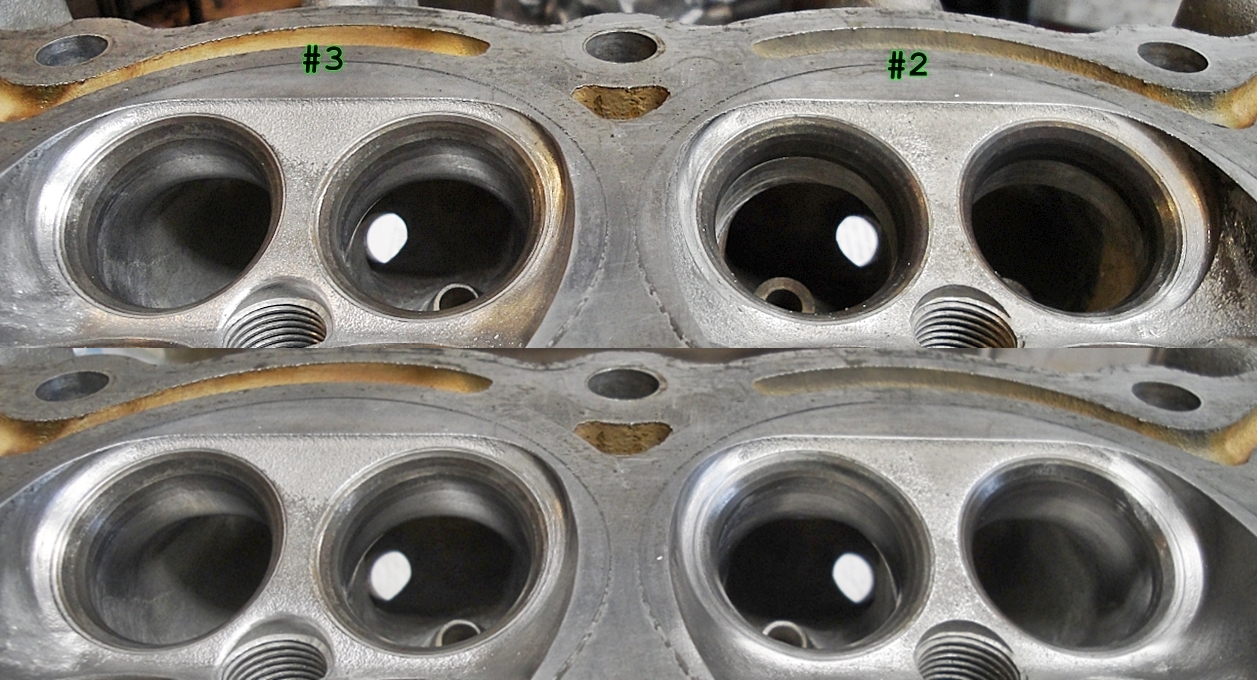
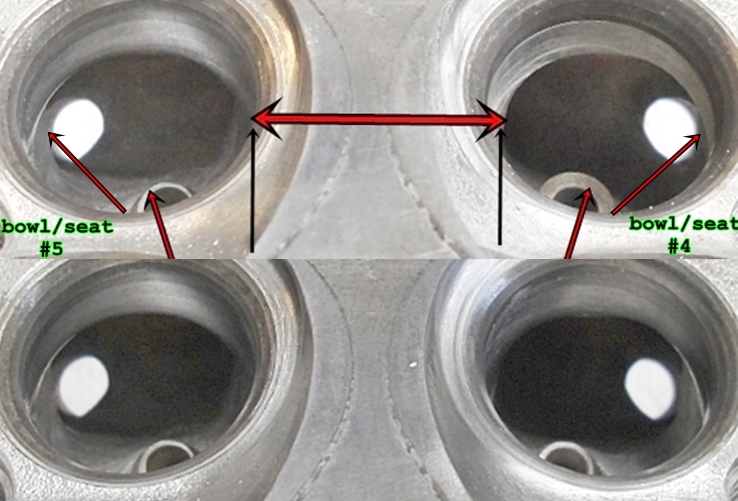
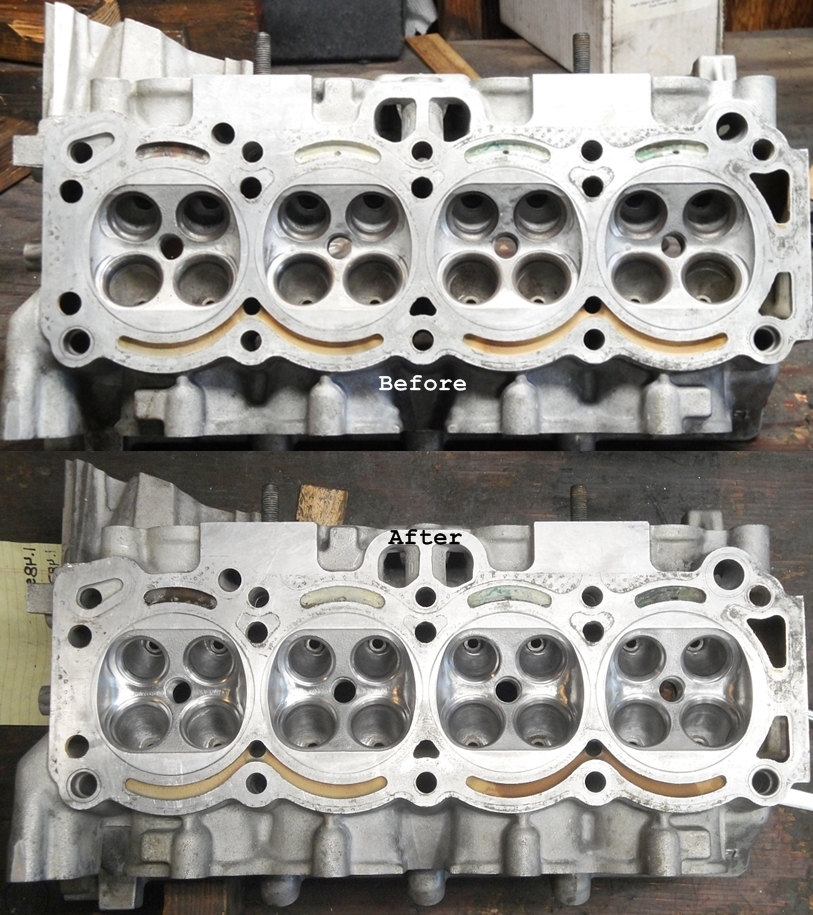
Work begins on #1.... the seat diameters are enlarge by about 3/4 mm... opening the valve to seat ratio to 85%, blending the bowl to the seat... as best as can be without over enlargening the seat. Since this head has no client yet, (contact me if interested...) this head is being built similarly to OST-032, built to boost air flow (volume AND velocity).
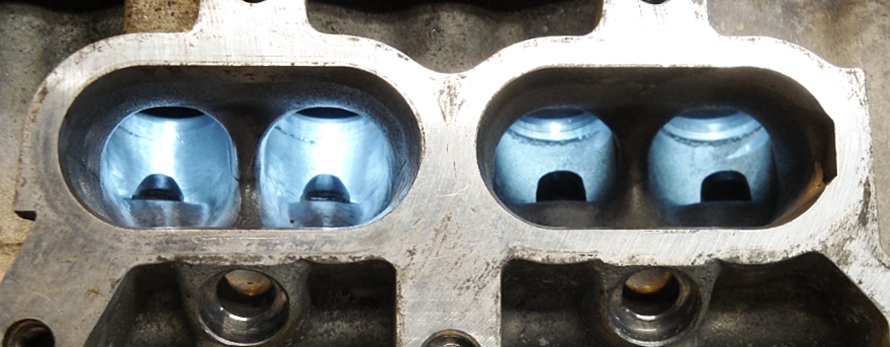
And as always... working the short radius.....
and a bit closer to show more detail on the short radius work.
more to come.......