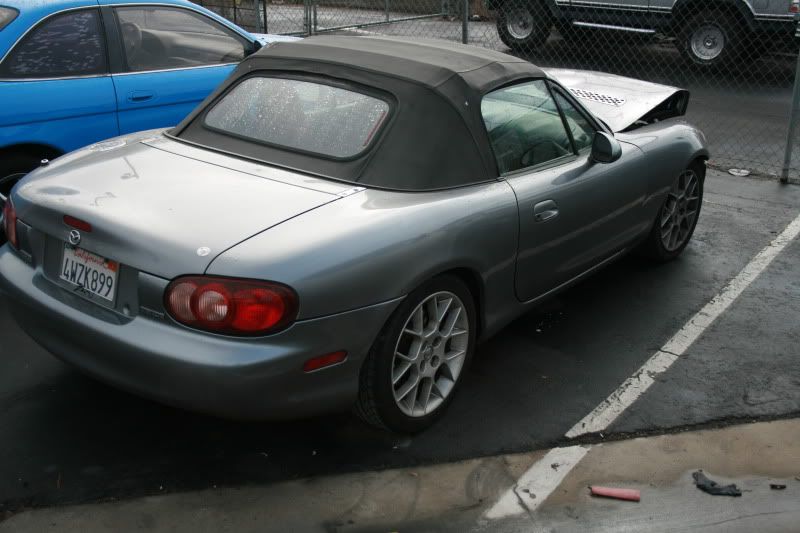
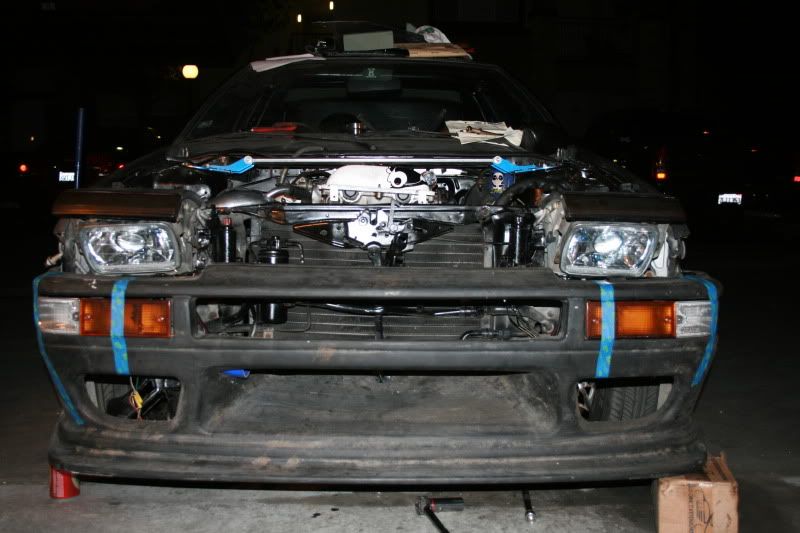
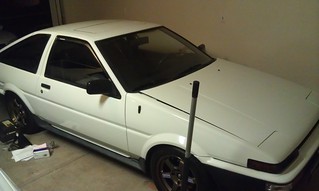
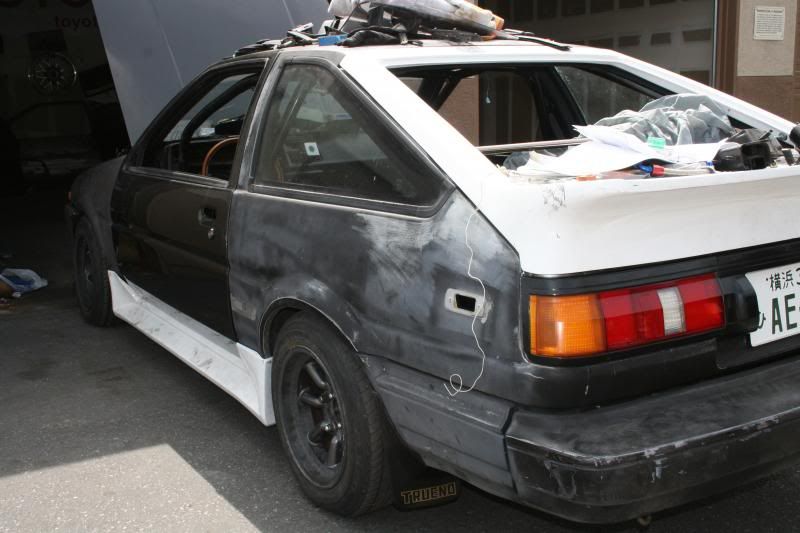
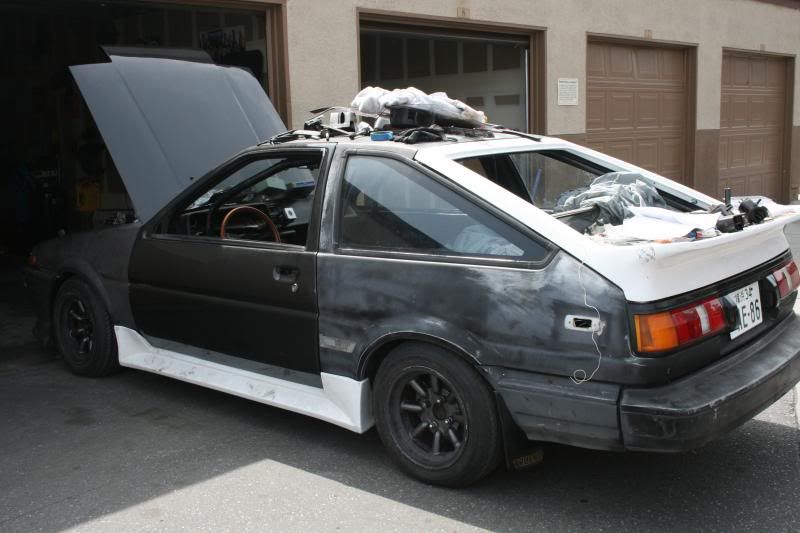
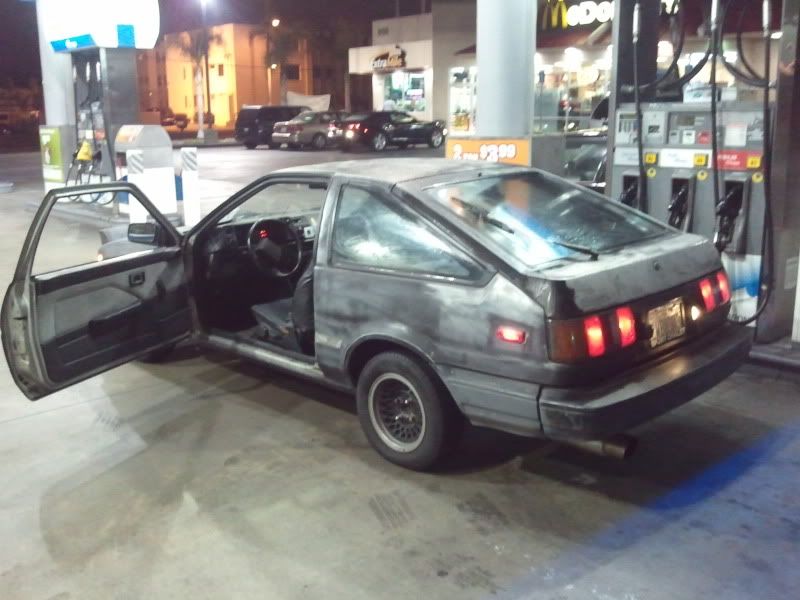
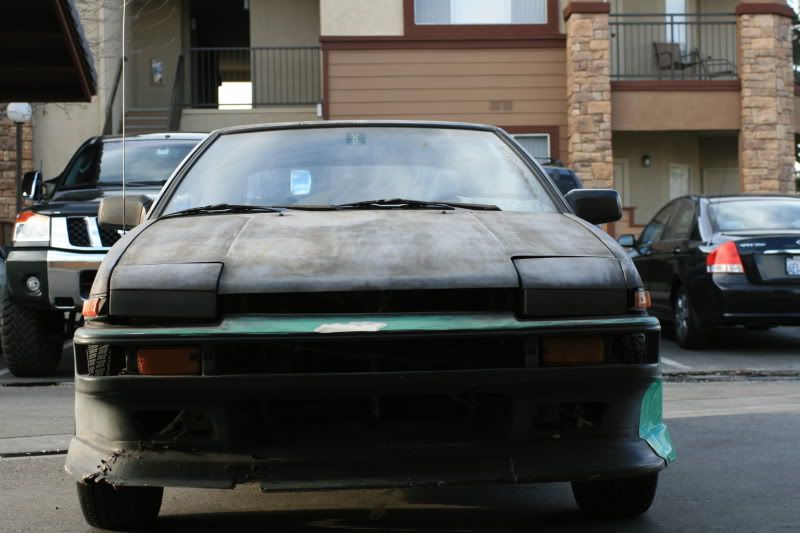
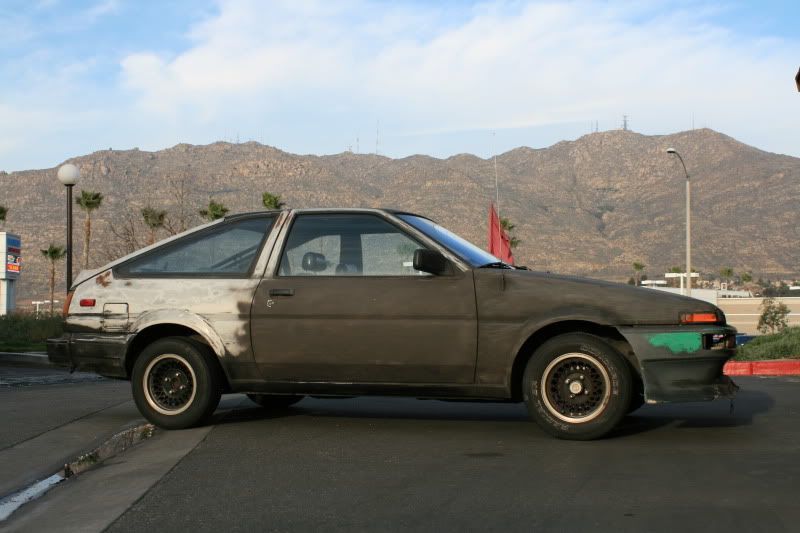
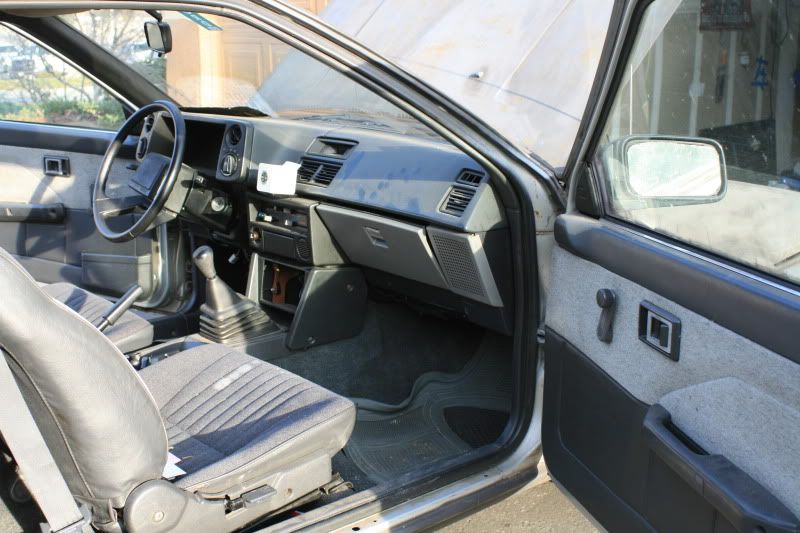
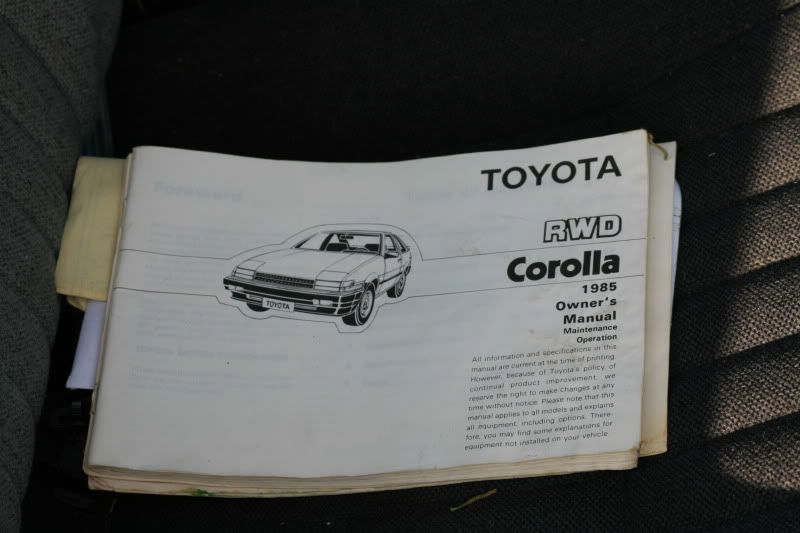
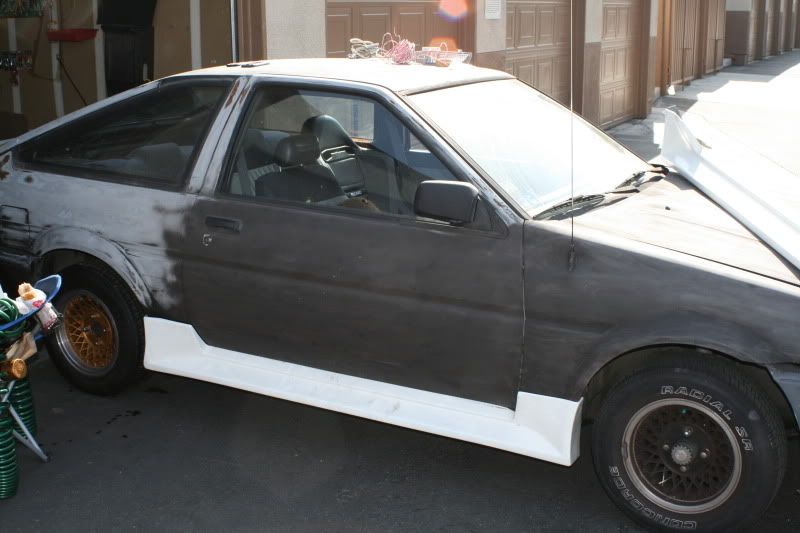
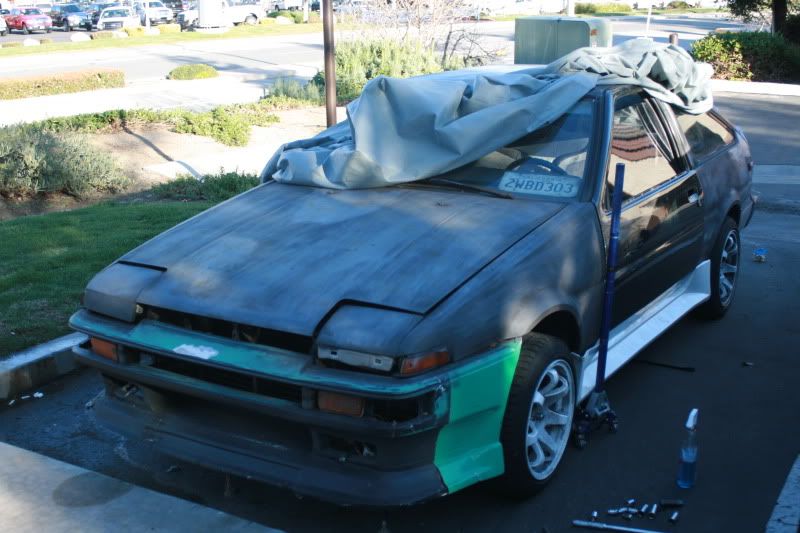
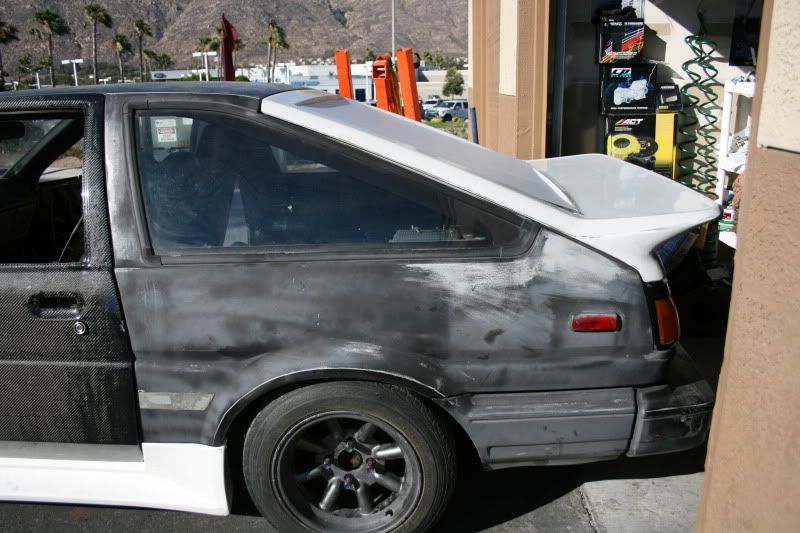
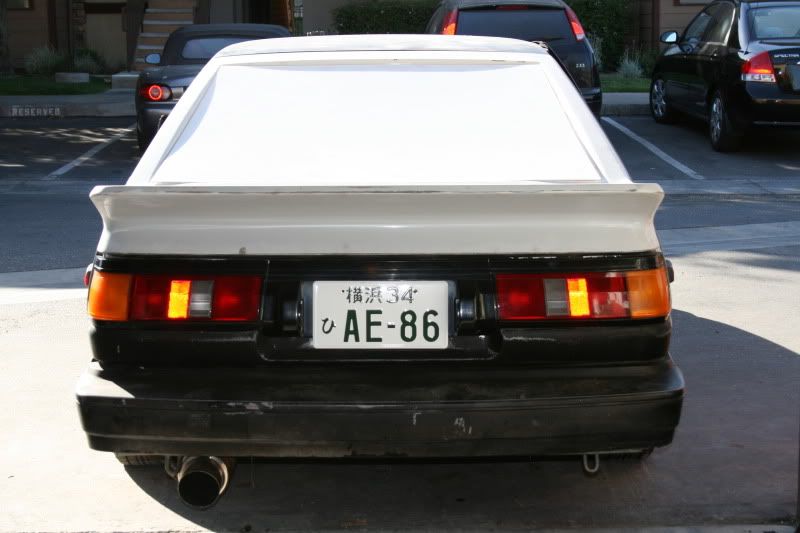
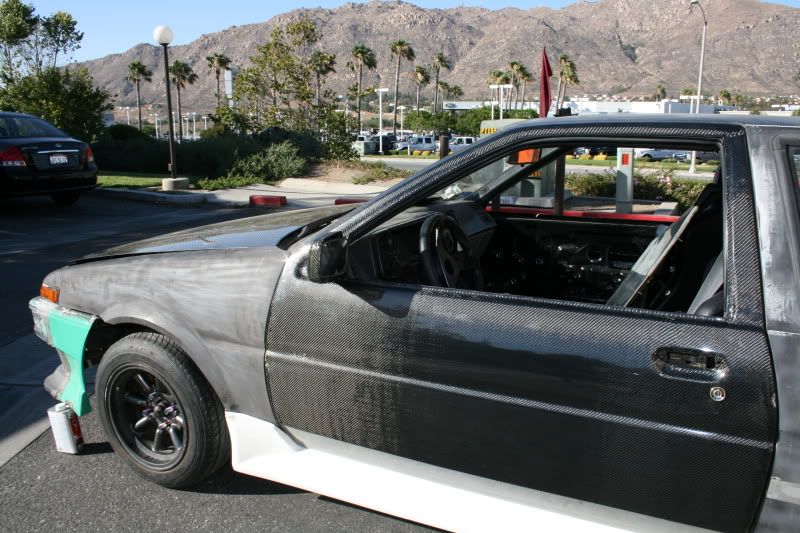
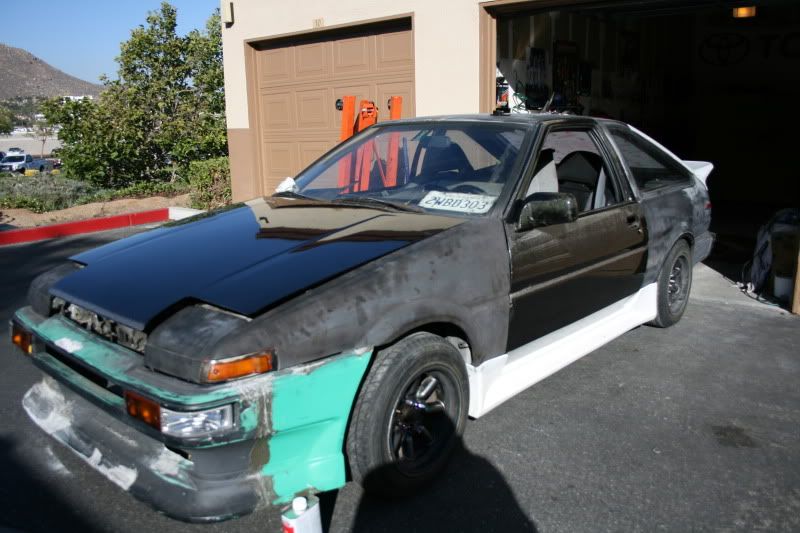
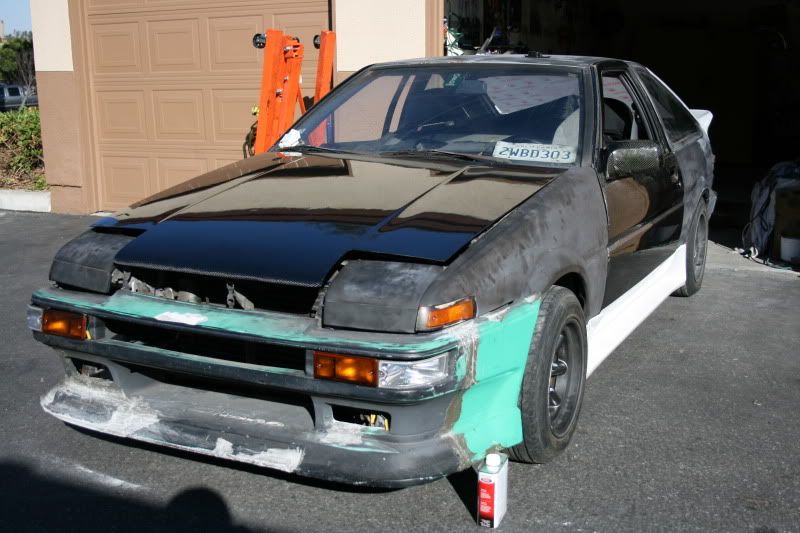
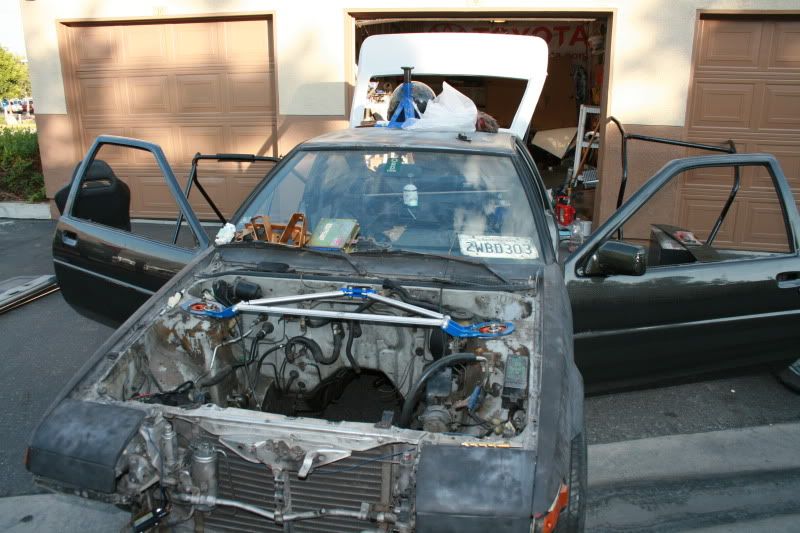
My AE86 started as this stock SR5 1985 with a blown 4ac 5speed
I wanted to do a motor swap but was unsure what to do, which was easiest, and most beneficial for my power goals etc
Ya there are a lot of motors to choose from, but I am really trying to save my self time and effort, by going with something that is simple. No R&D, no crazy custom work, with complications, or hard rare parts. Just something I can swap in real easy, and have a lot of fun.
Thus far these are what I am partial to, in order.
1. s14 sr20det ( cheap, 240hp, full swap kit availble pre made)
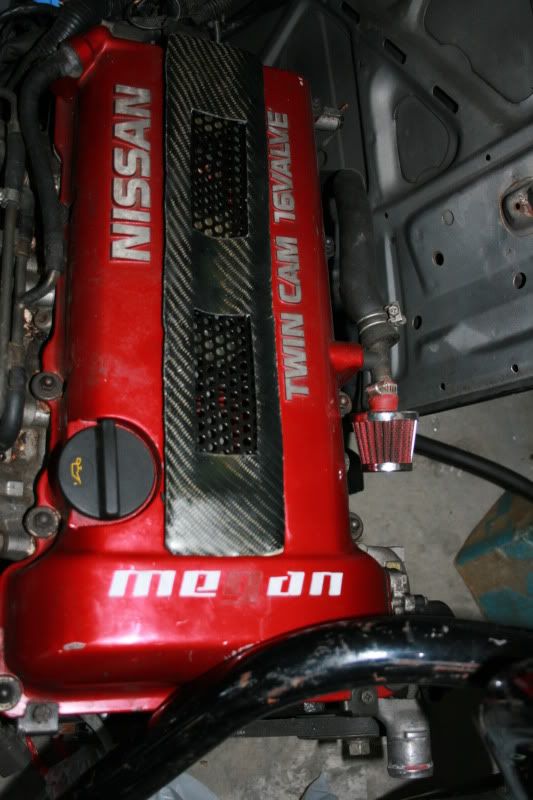
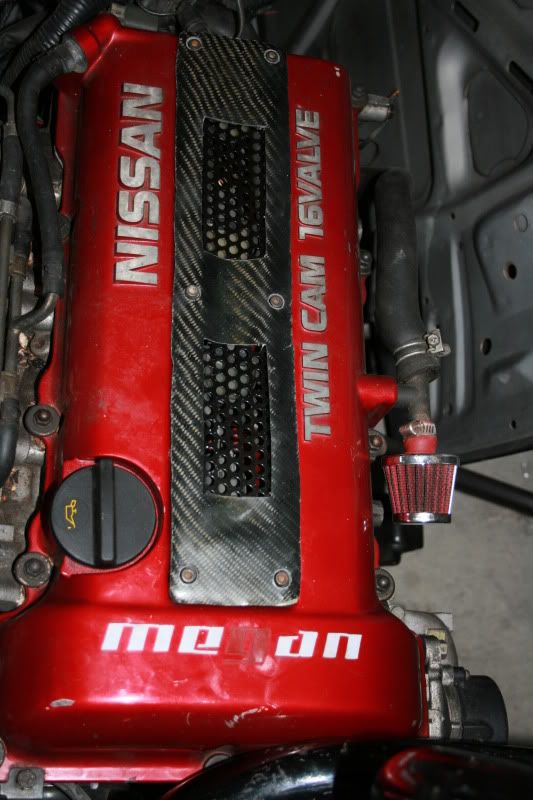
2. Beams black top ( same price, less 200hp, swap easy)
3 and 4. silvertop 20v or gen4 3sgte (silver- weak 160hp, very easy to put in or best 265hp, a lot of custom work....)
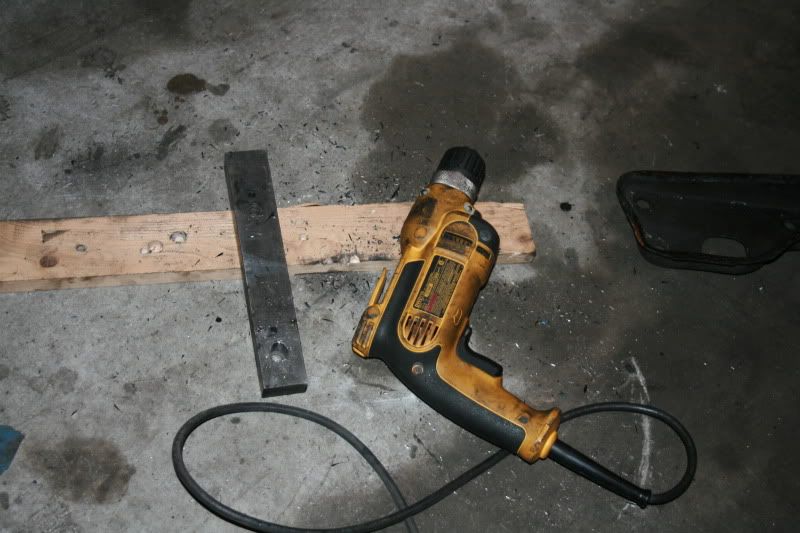
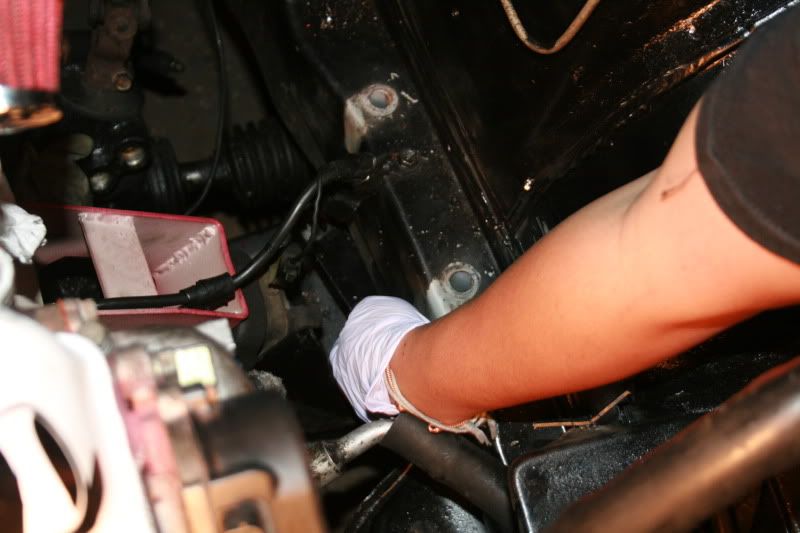
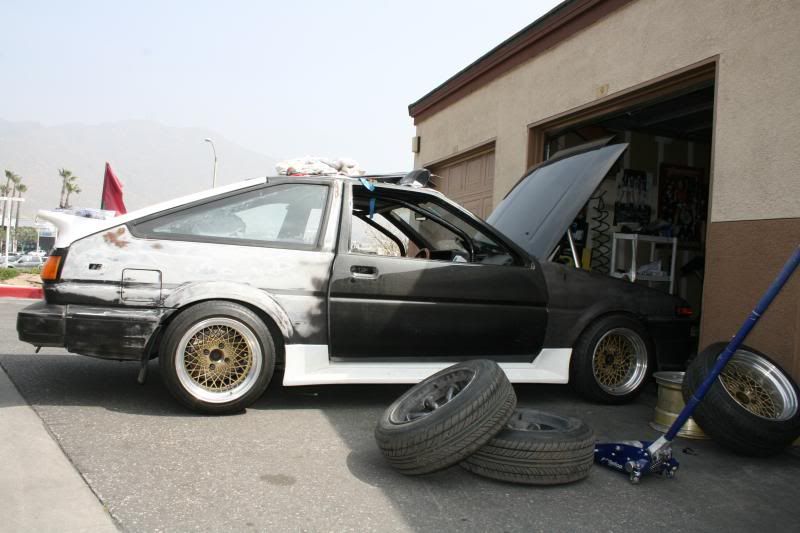
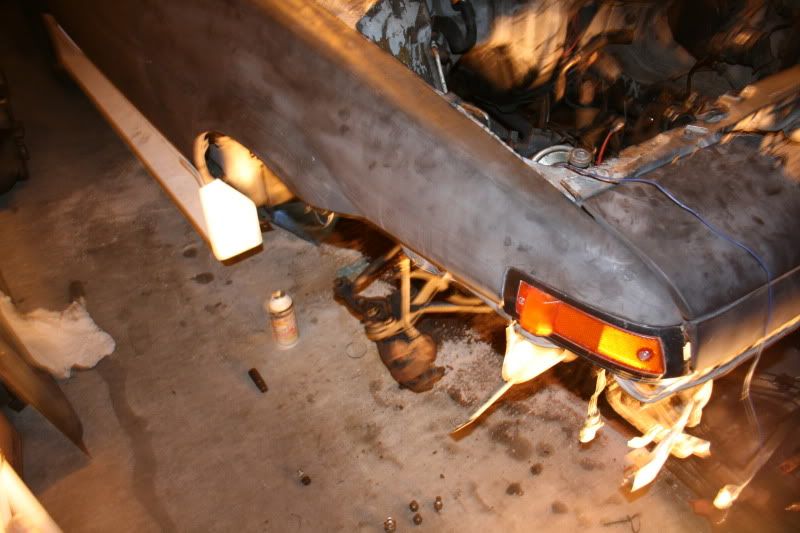
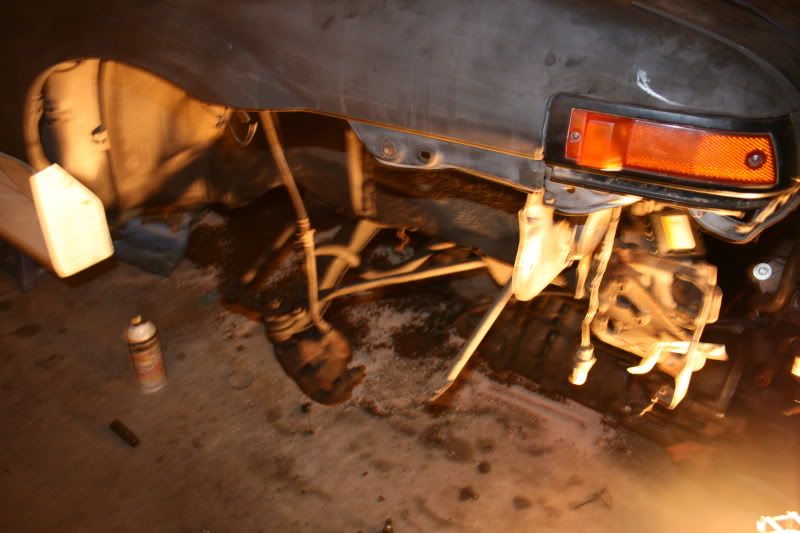
not much of a update, gosh I forgot how much a Pain in the as... OEM rusted on parts are lol.. so I am waiting on my friend to bring over air tools, so i can rip out the suspension.
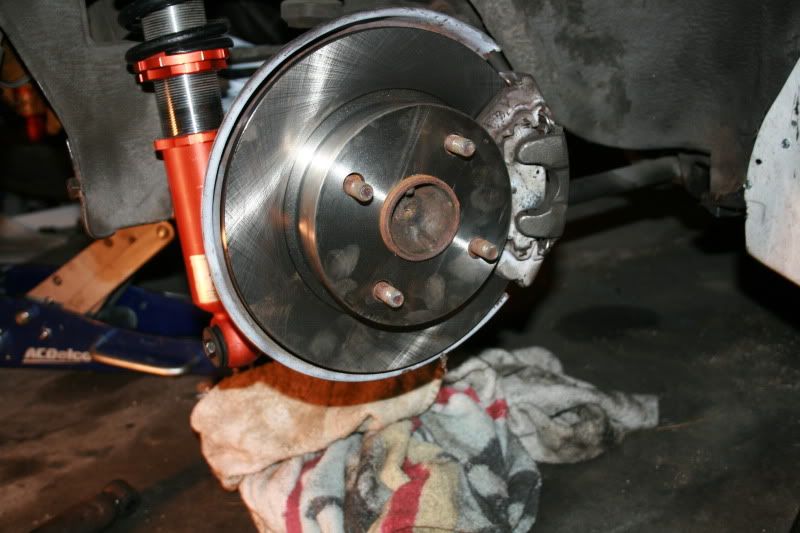
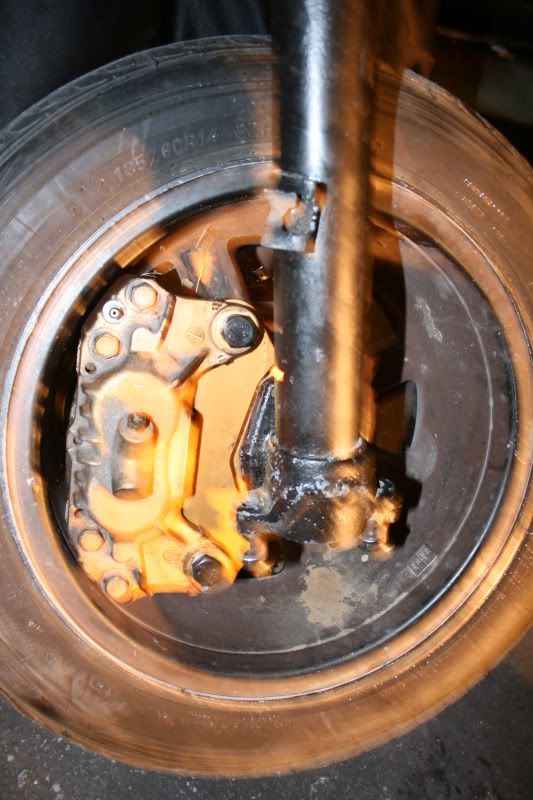
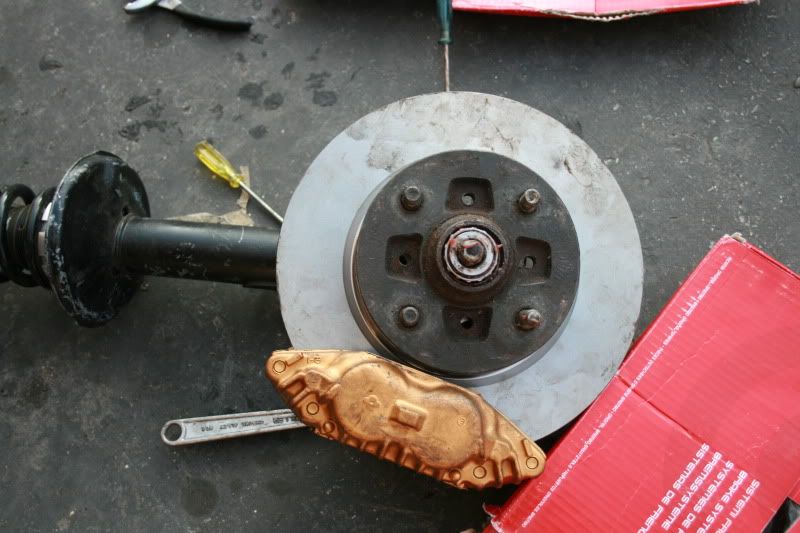
but got my ebc pads in, man they really package it nice...lol


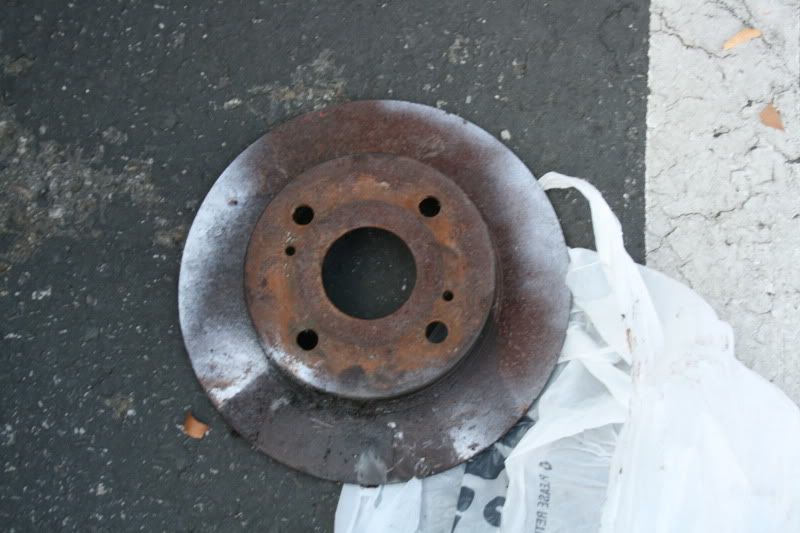
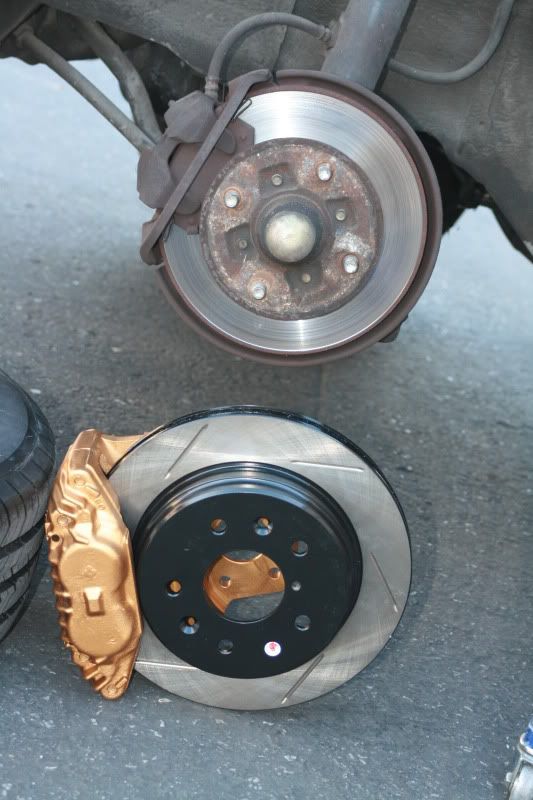
and a comparison of the the brakes oem vs rx7
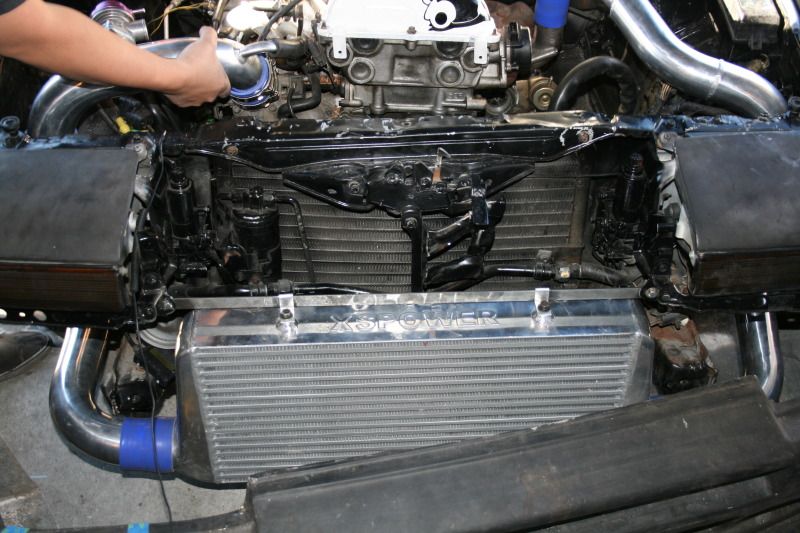
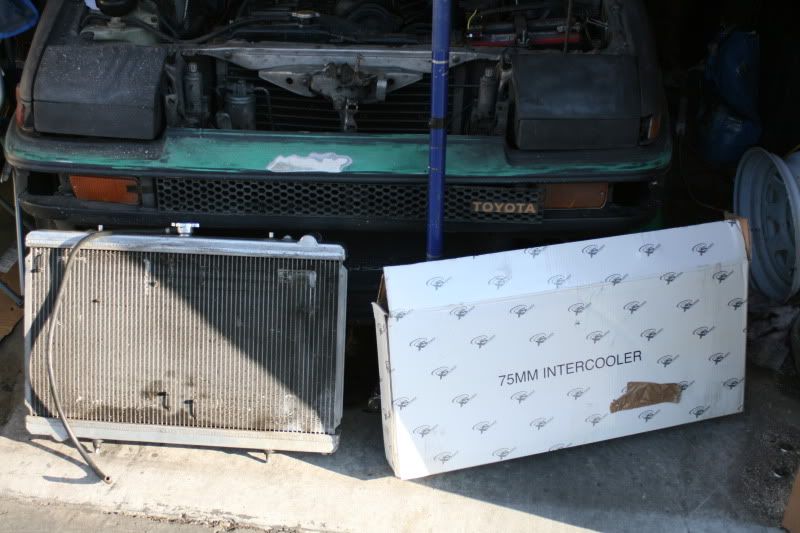
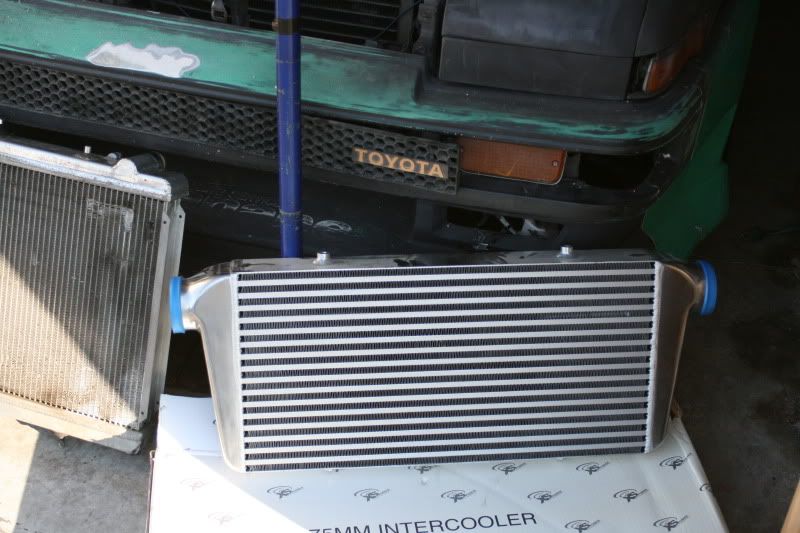
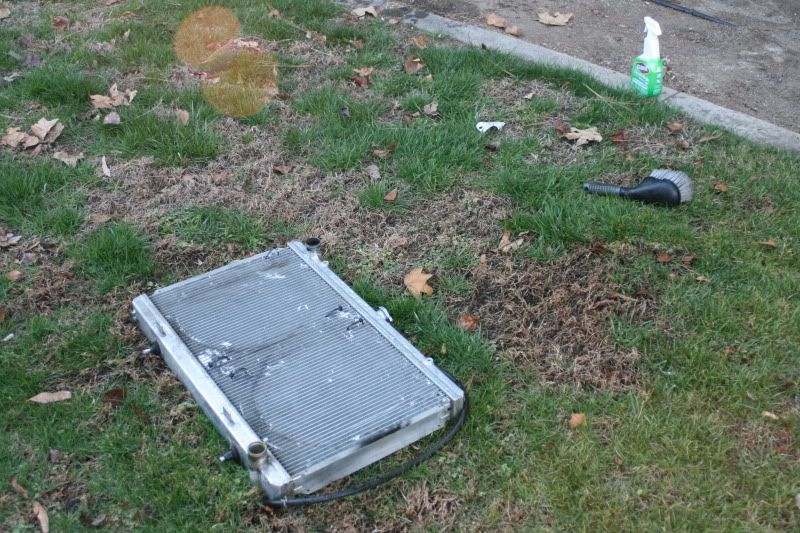
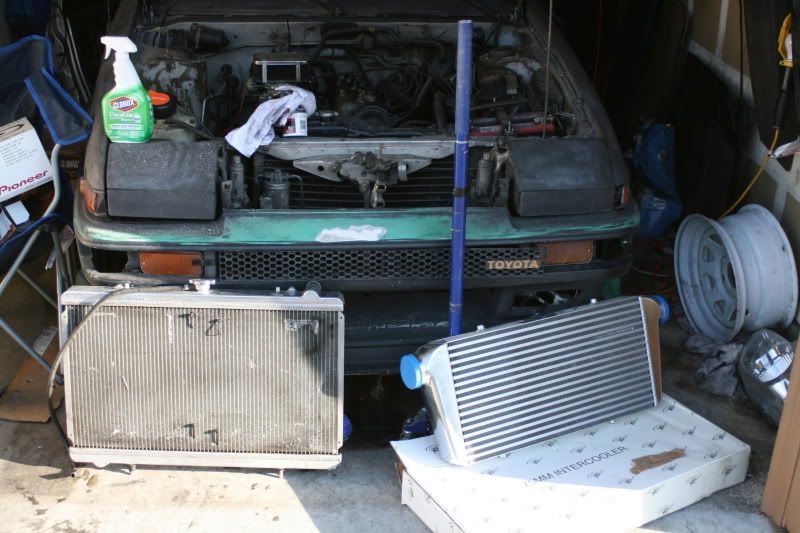
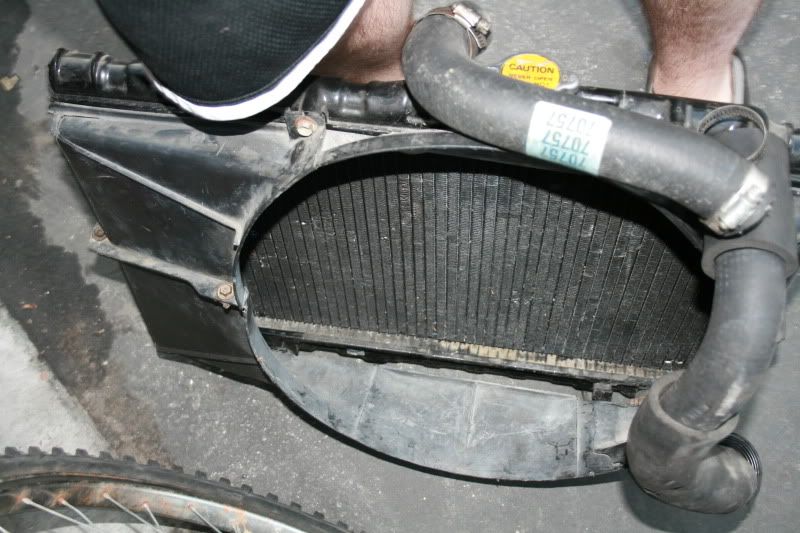
got a steal again! koyo radiator for and xs intercooler for dirt cheap!
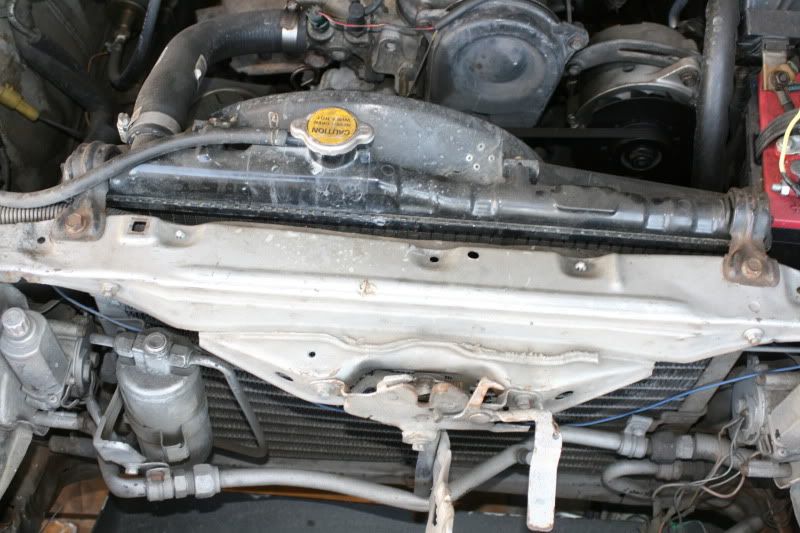
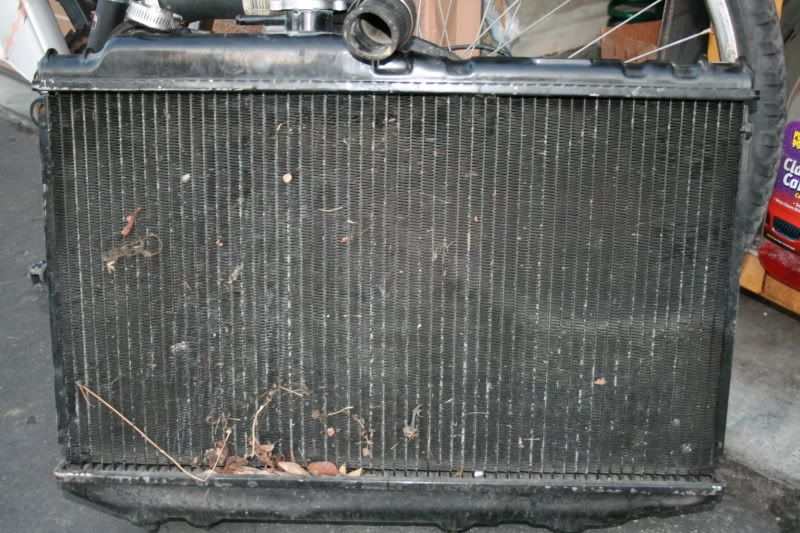
this is the factory sr5 tiny radiator.
I had to clean up the koyo, but she still looks good, just a few bent fines, that i can fix.
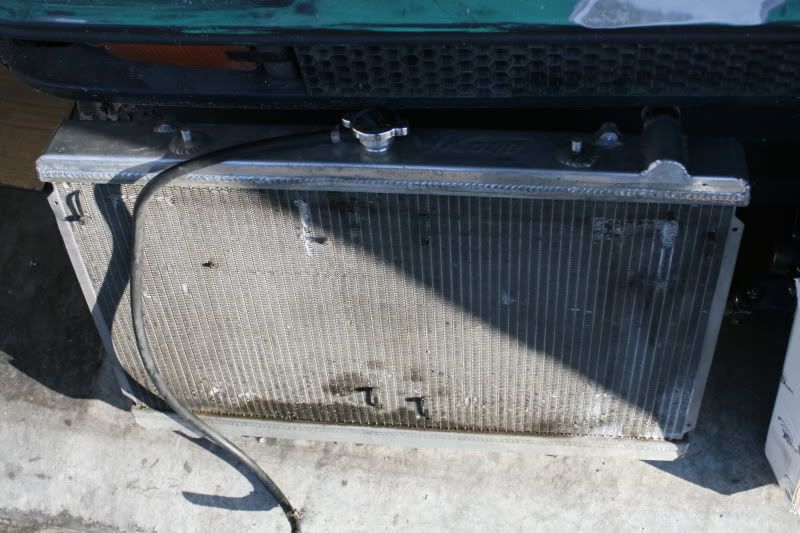
cleaning time
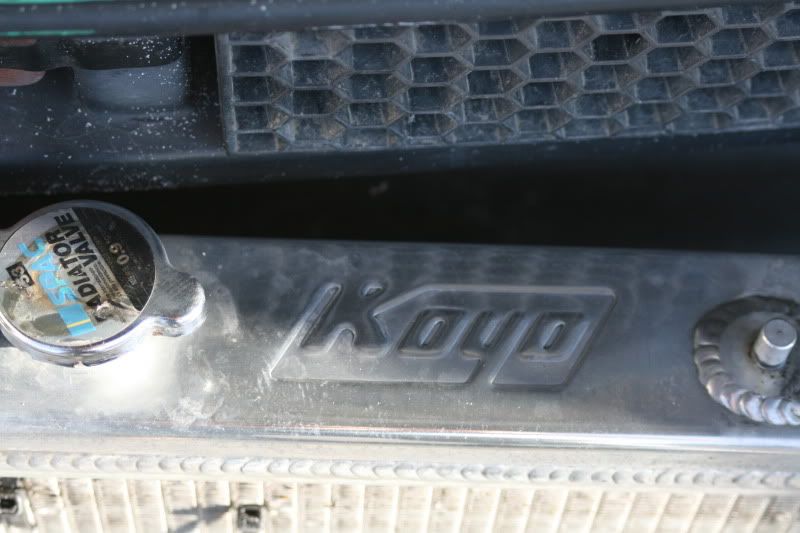
a little better but I need to get some more simple green.
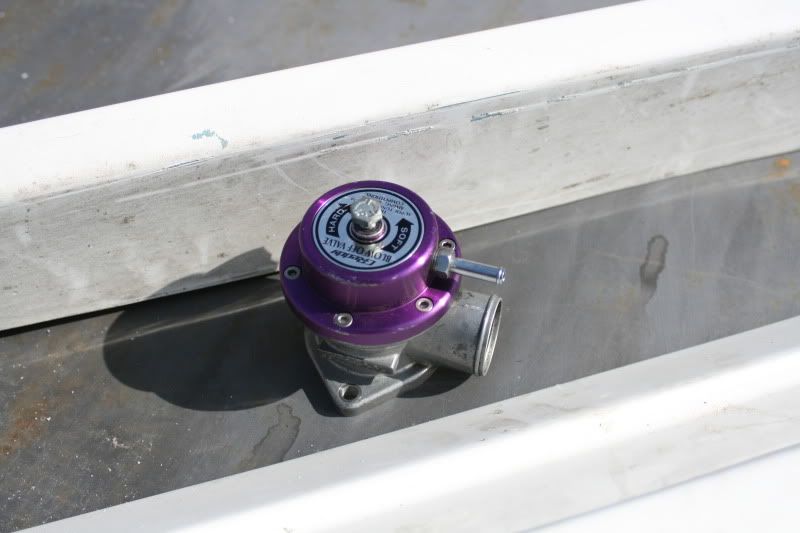
Found some killer deals!
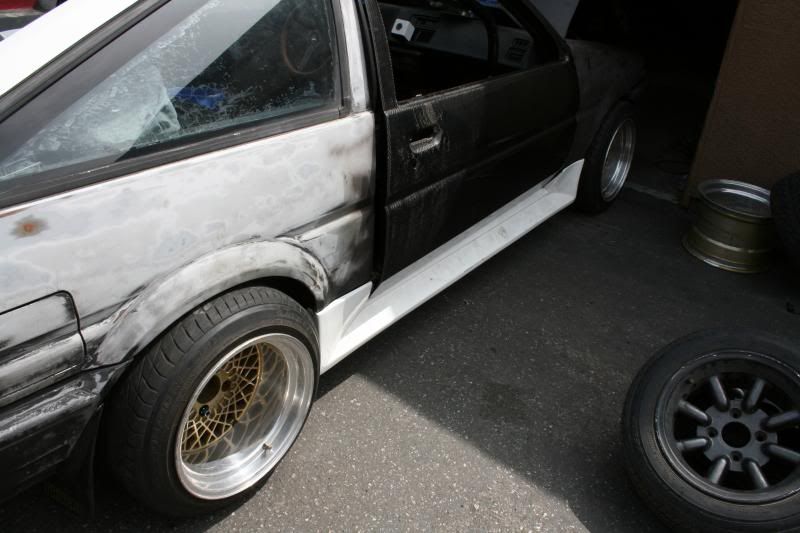
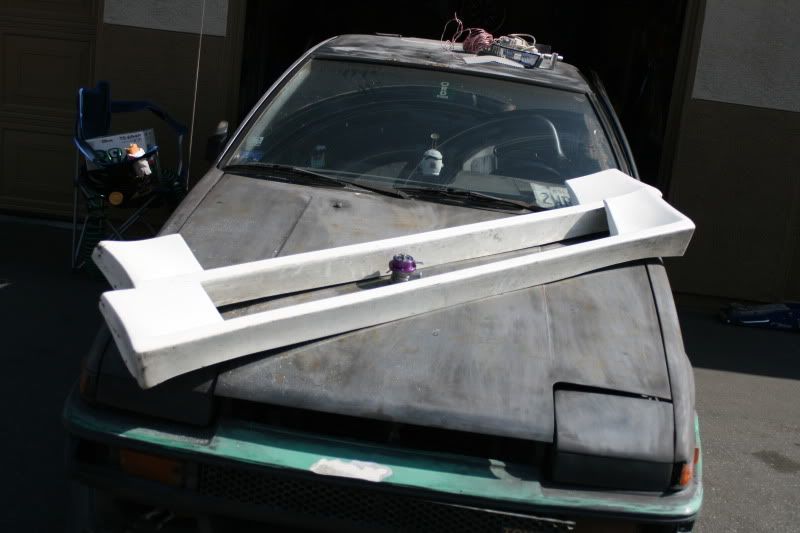
Got a set of Origin Lab Sideskirts

and a Greddy TypeS BOV
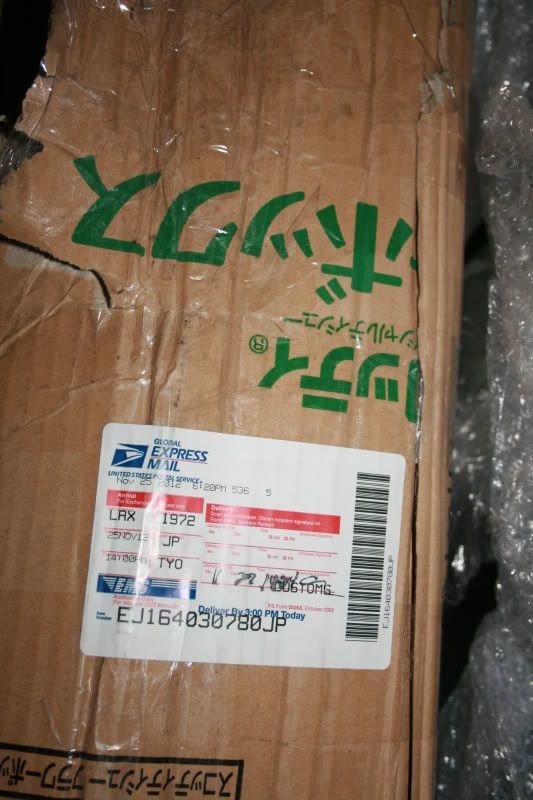
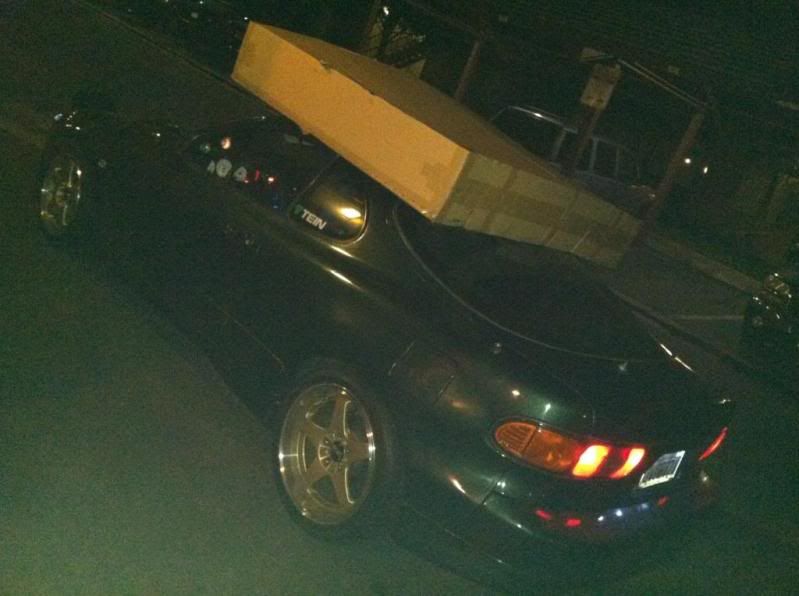
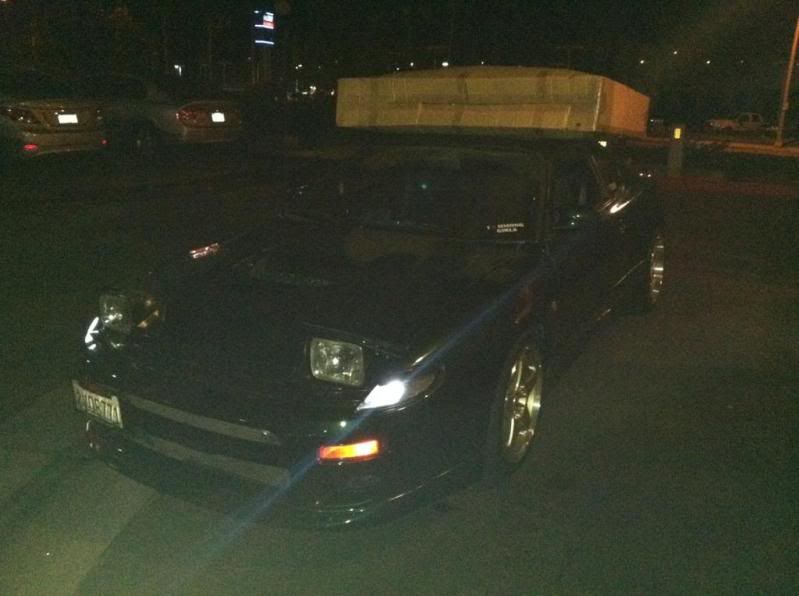
got a package in the mail today!!!!
My poor old mail lady (must be 60's) had to try to carry this heavy package into her mail truck, so I went and got it out the truck for her, and carried to my garage
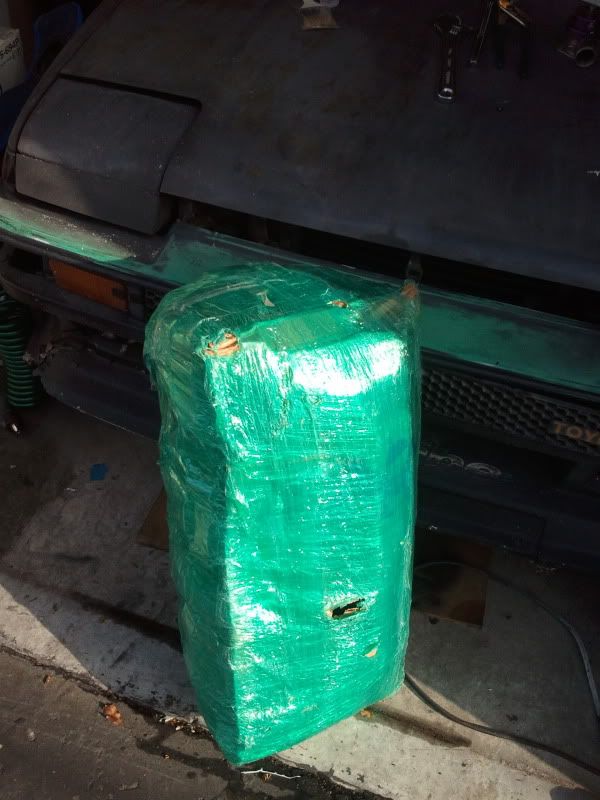
Package was beat up....
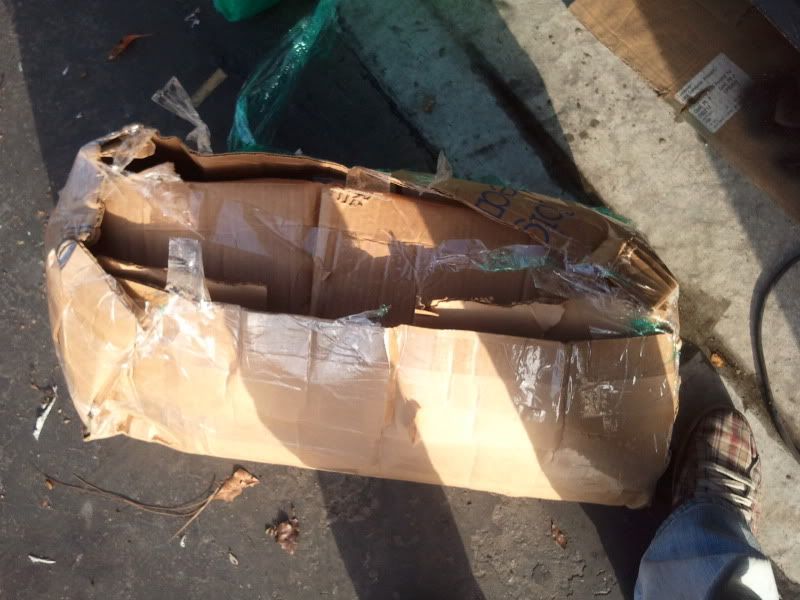
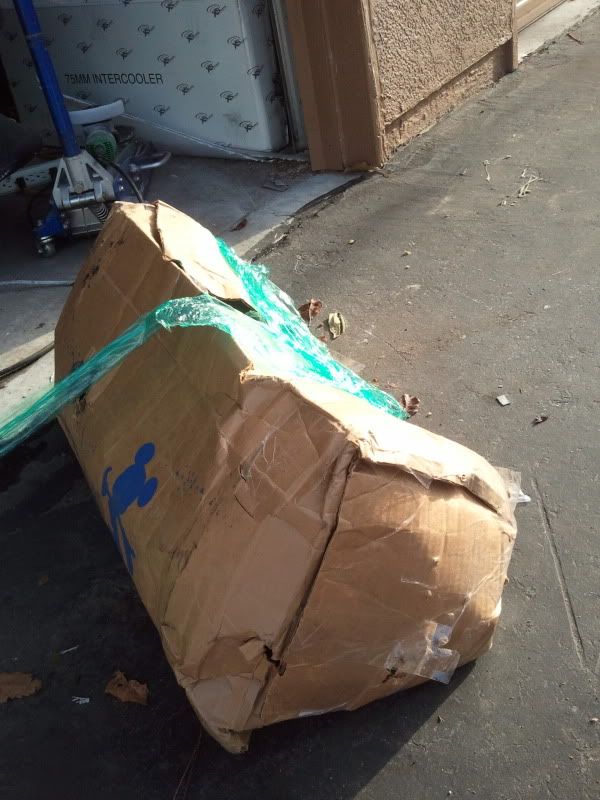
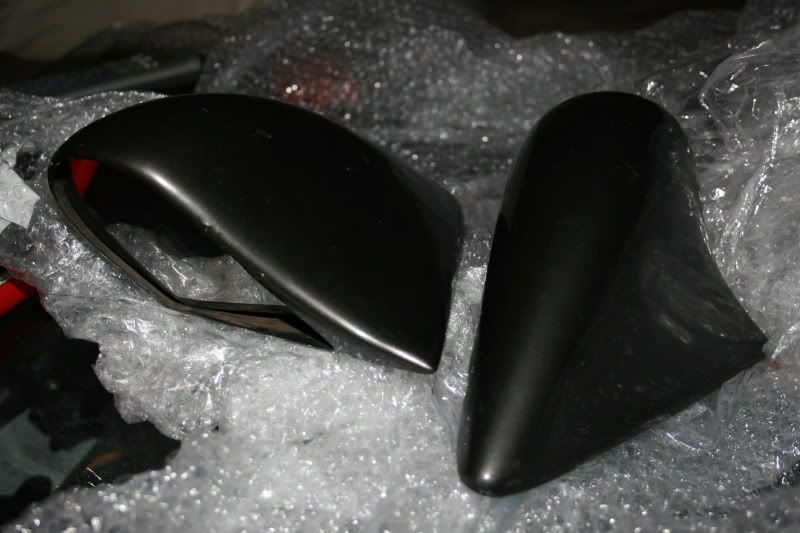
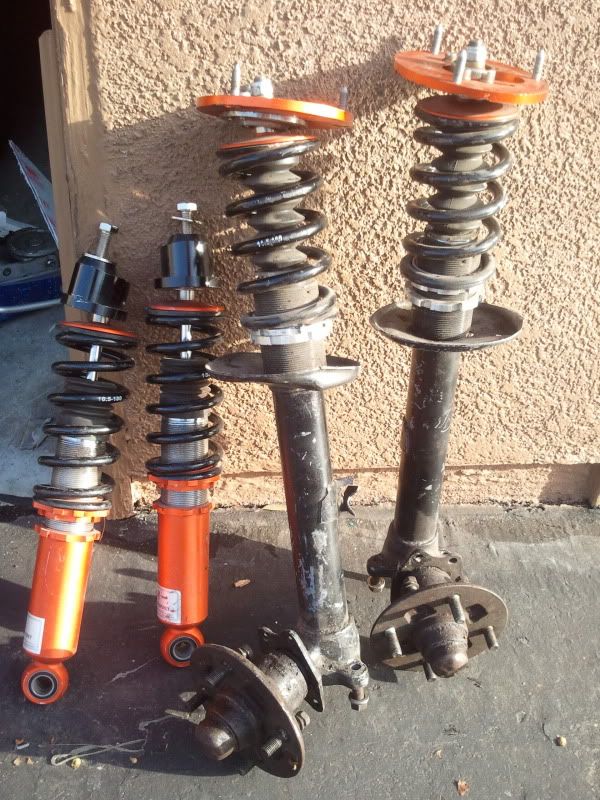
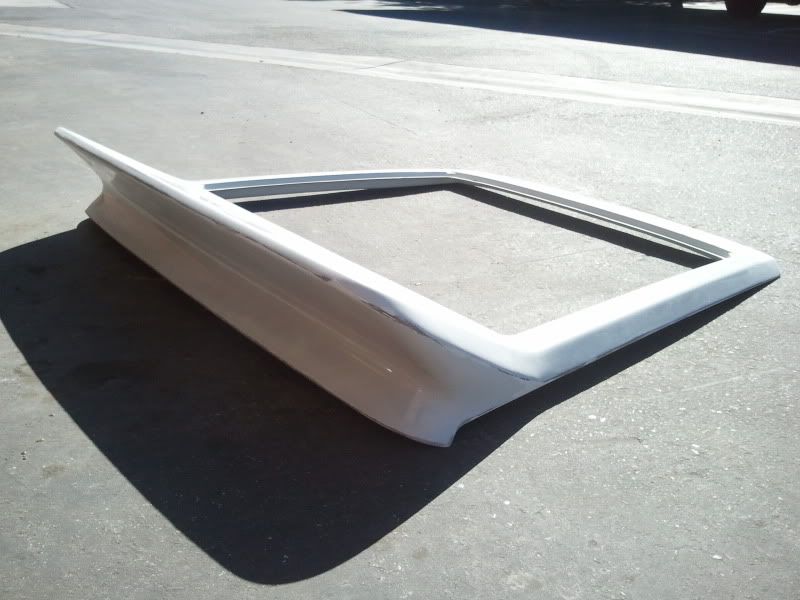
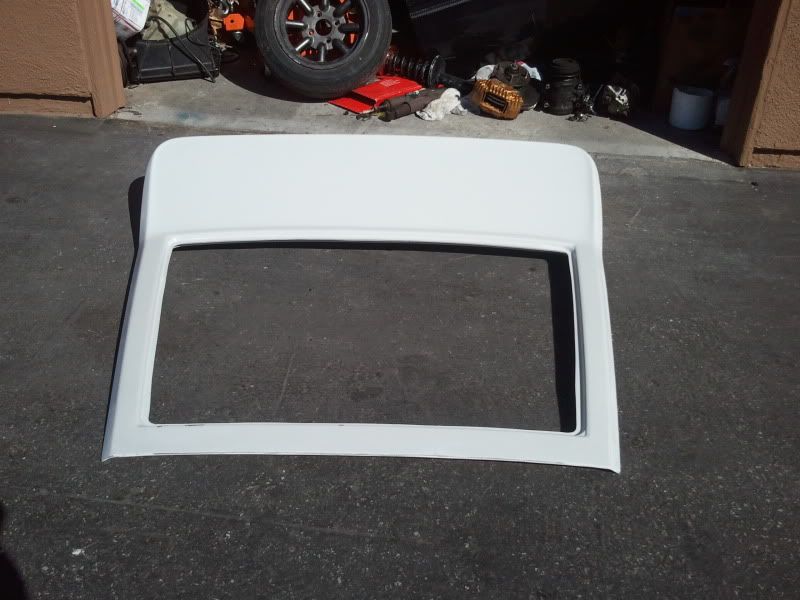
but they look amazing!
I also got these for after its painted
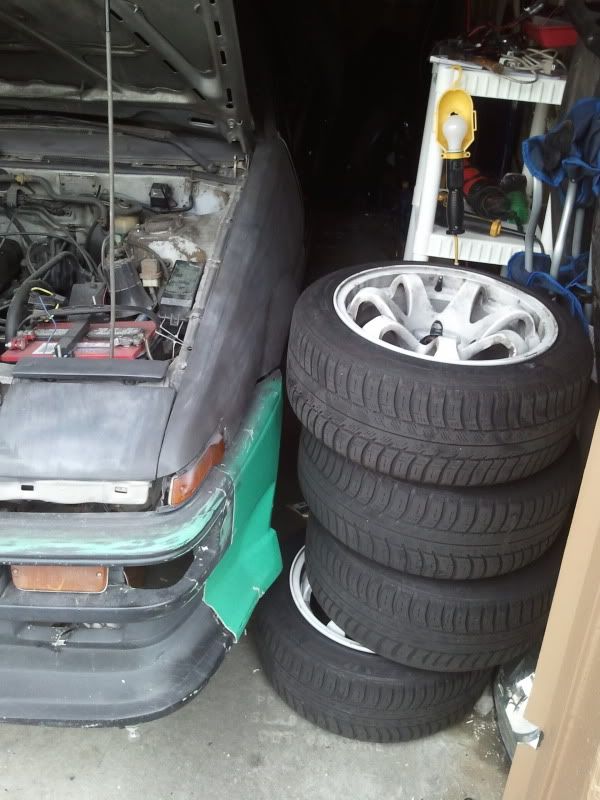
ok got some updates, I sold my old rims, and got a new set of xxr522 with tires, that actually fits my brakes for the same price!
not my favorite rims, but I am still on the hunt for some watanabi or work meisters in 15.
I also got this, but its at my parents house in Norcal, waiting for me to pick up next time I visit.
also got a greddy bov adapter from my buddy xene :0)
waiting on my sr20det to get dropped off, then I can really start working on this beast.
I still need:
1) celica supra rear end
2) reddrill RX7 rotors to fit 4x114
3) custom drive shaft
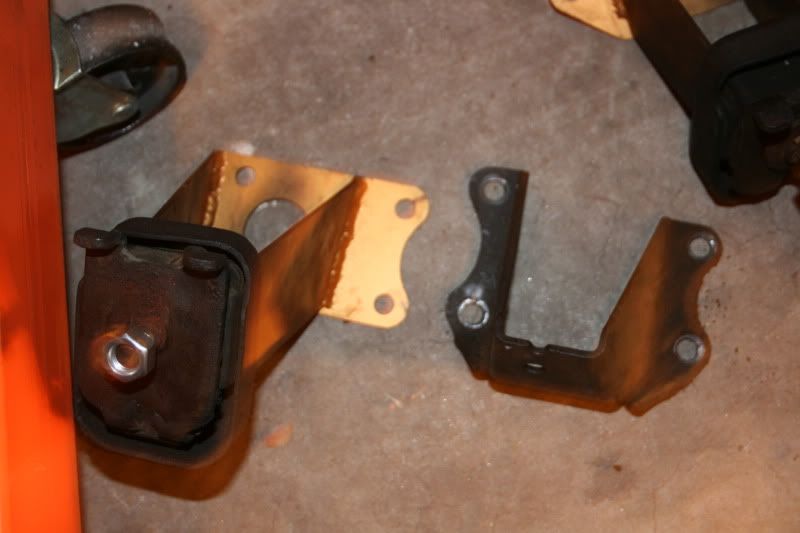
4) make motor mounts
5) fog lights
6) HIDs
7) H4 headlights
8) paint car
9) intercooler piping
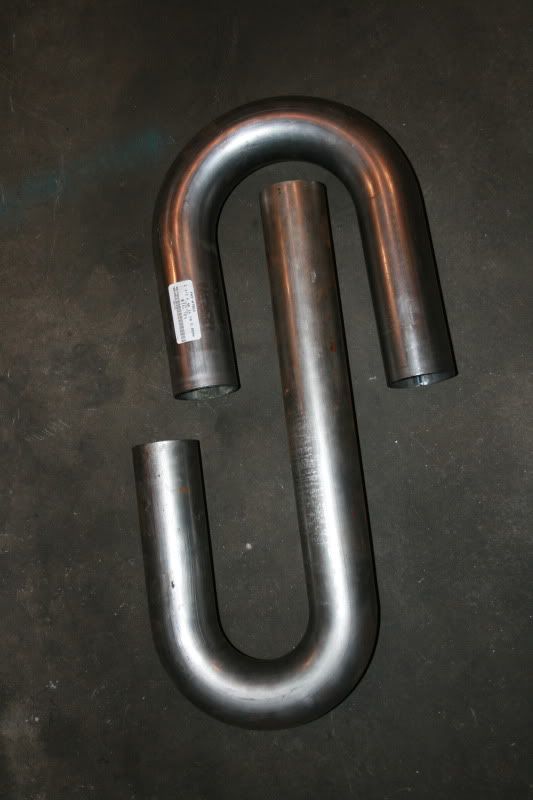
10) new exhaust
I think thats it....
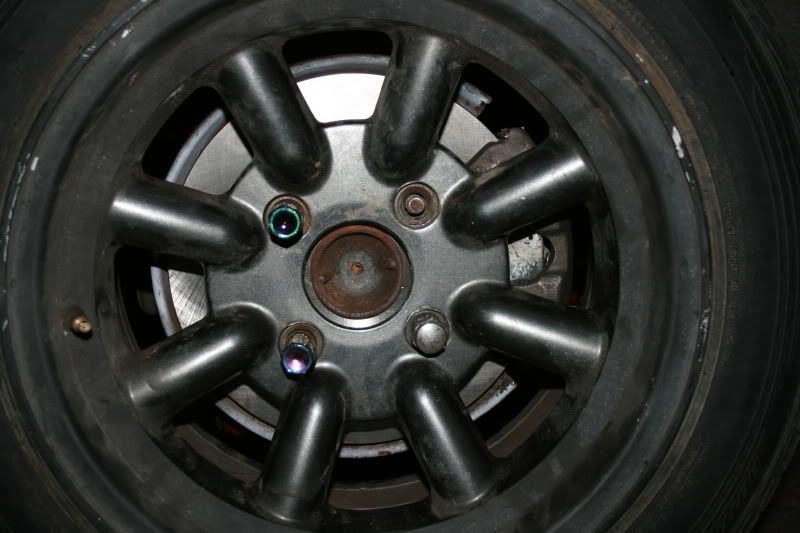
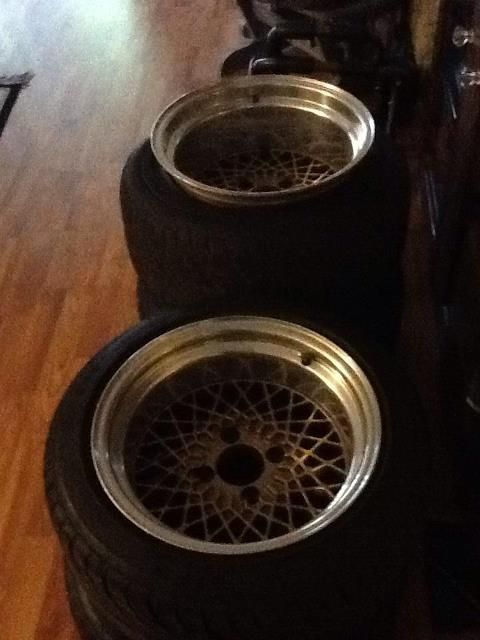
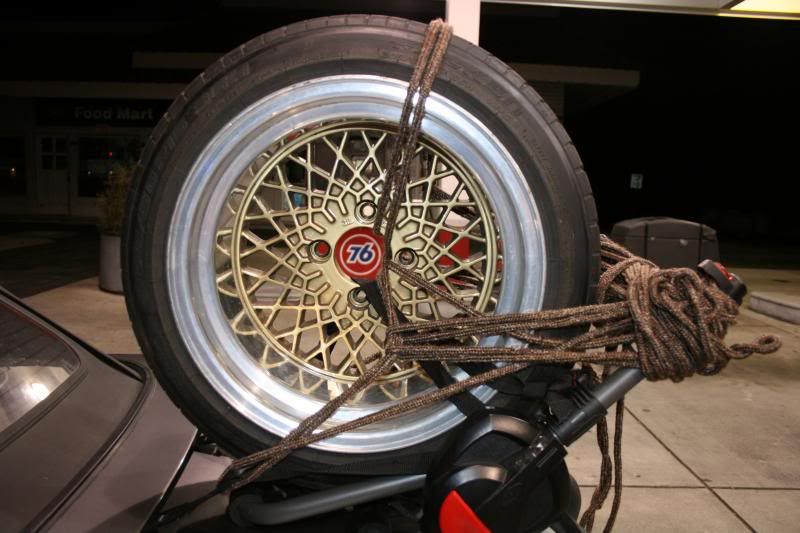
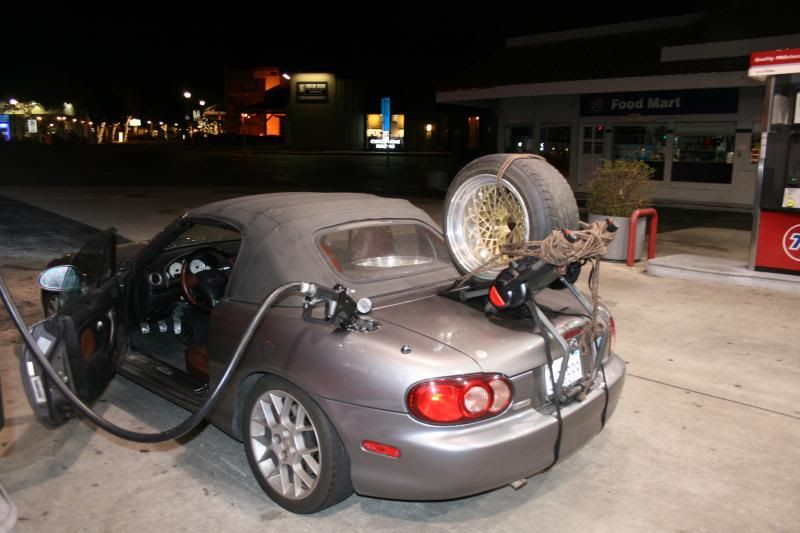
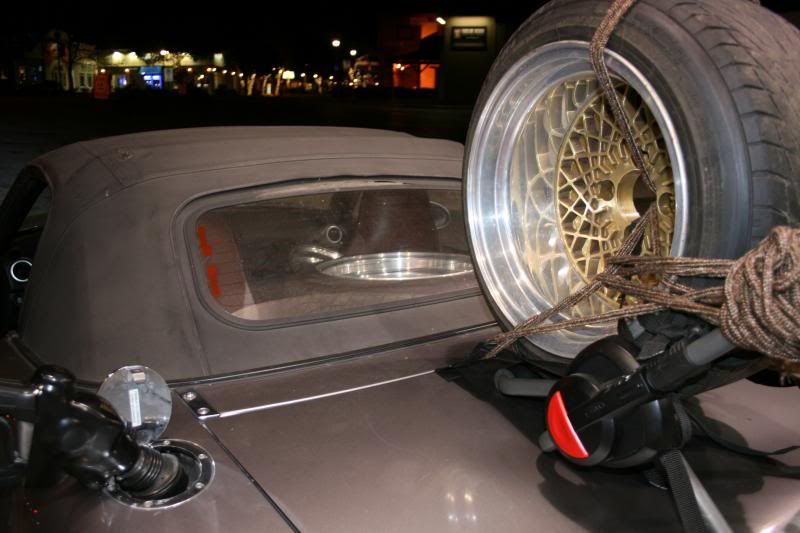
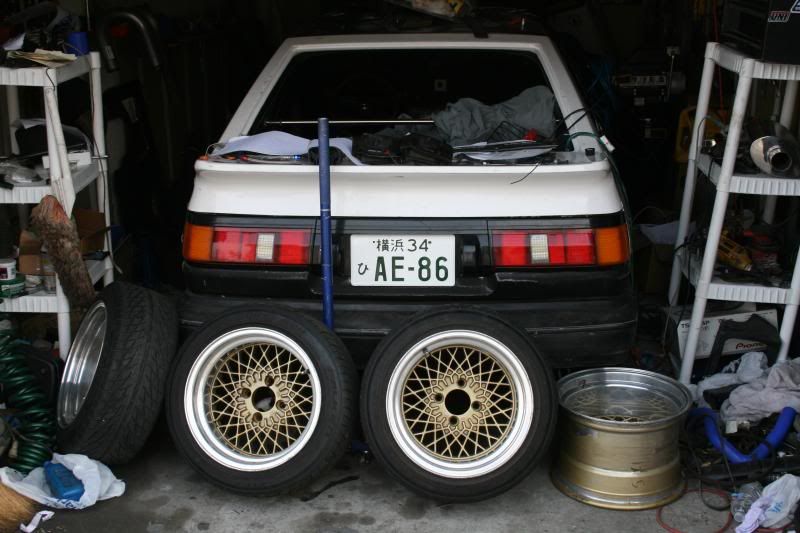
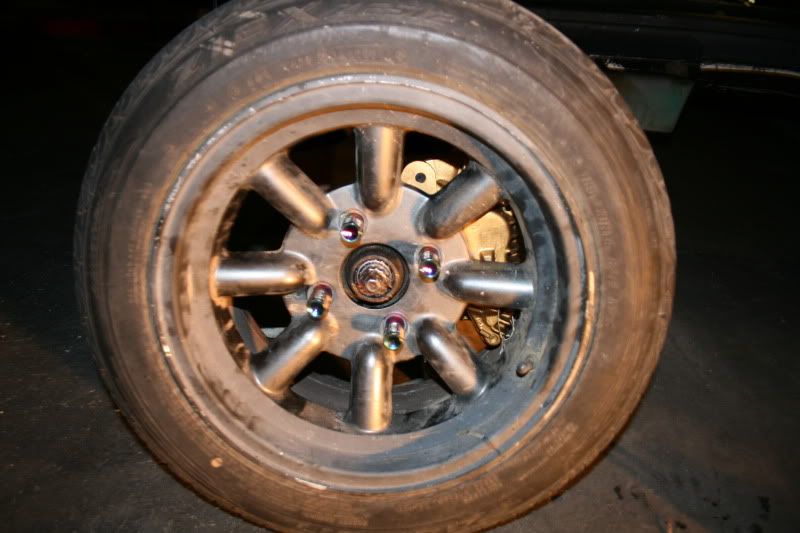
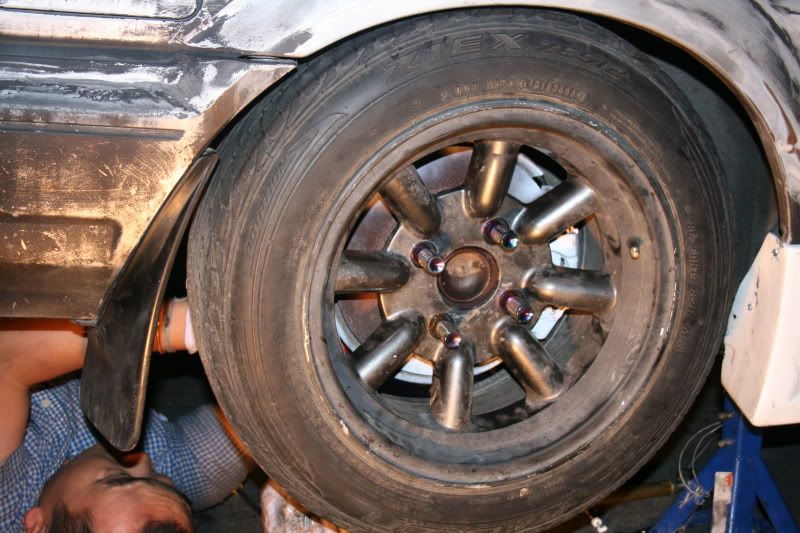
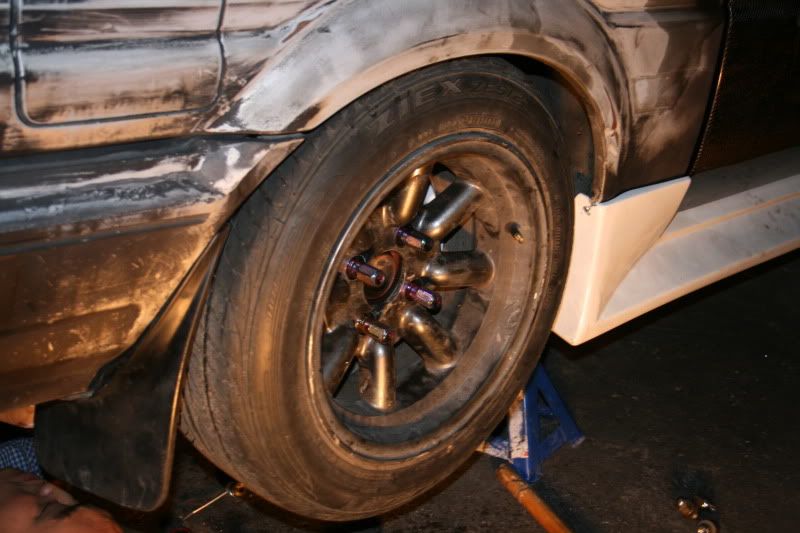
so here are the rims I only spent 20 bucks on
15x8 et0 with 195's ohhh yeah...
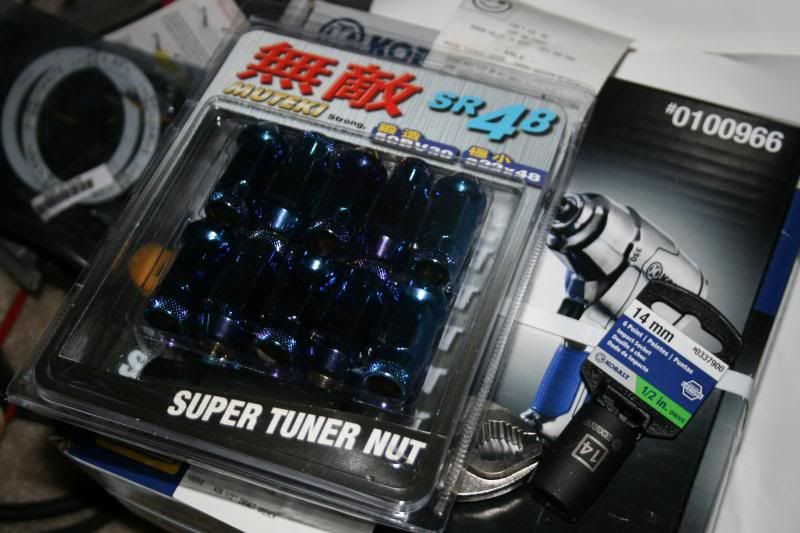
I can't lower the car down, and take better pics, till I get my tuner lugs in the mail.
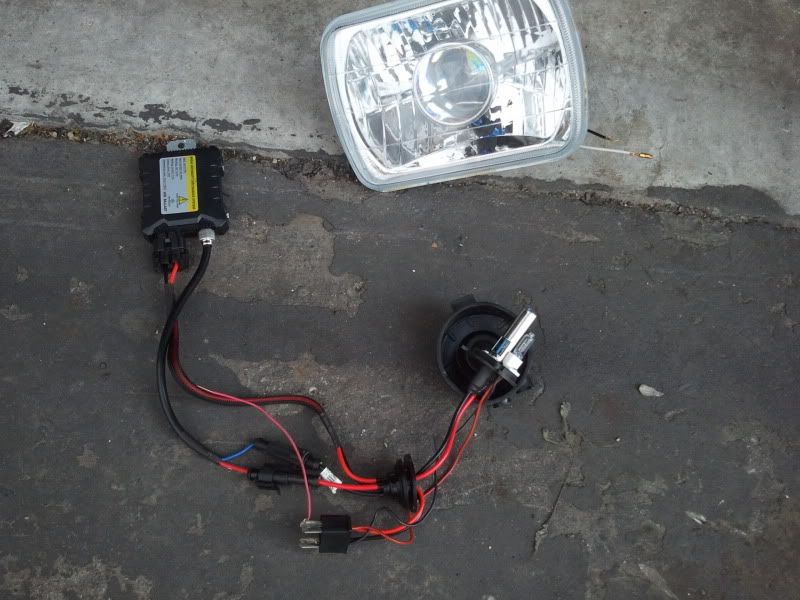
cheap H4 housing, with H4 HIDs with halogen highbeam. I will use these till I can find a good set of raybrig for a good price.
good news and bad news came in today...
lets start with bad, my friend compression tested the sr20det, and it had 125psi across all four.... :*( so he was not sure if I would want it anymore... which I don't I am not looking to rebuild it, I want one in running form. sad oh well, back to the motor searching.... ughhhh
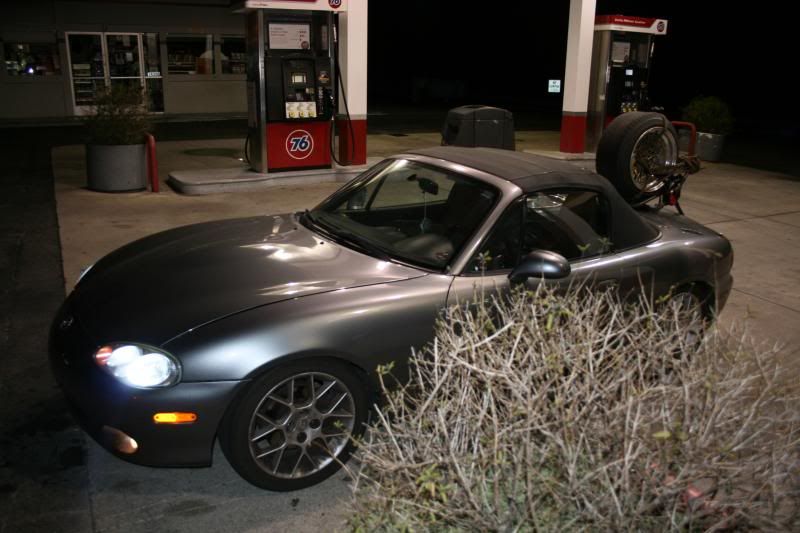
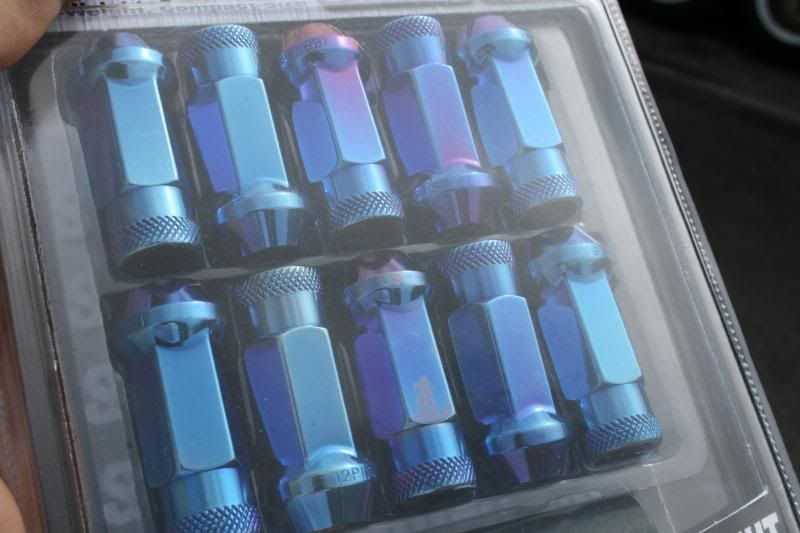
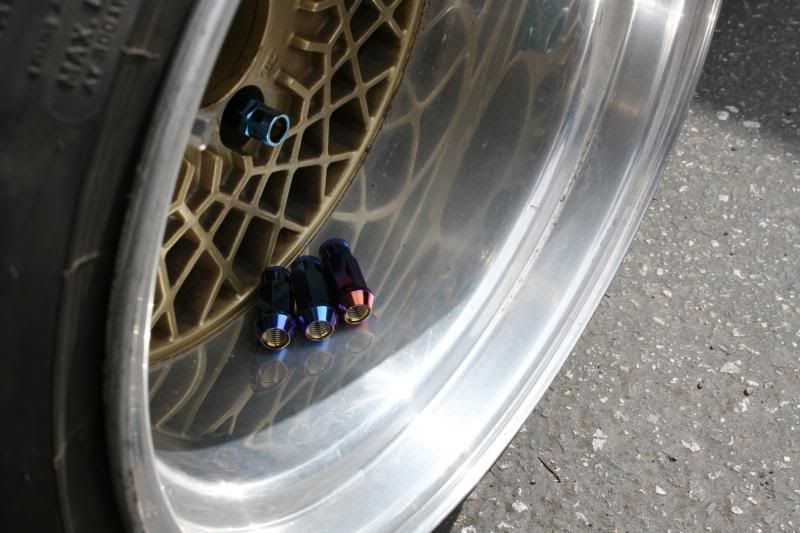
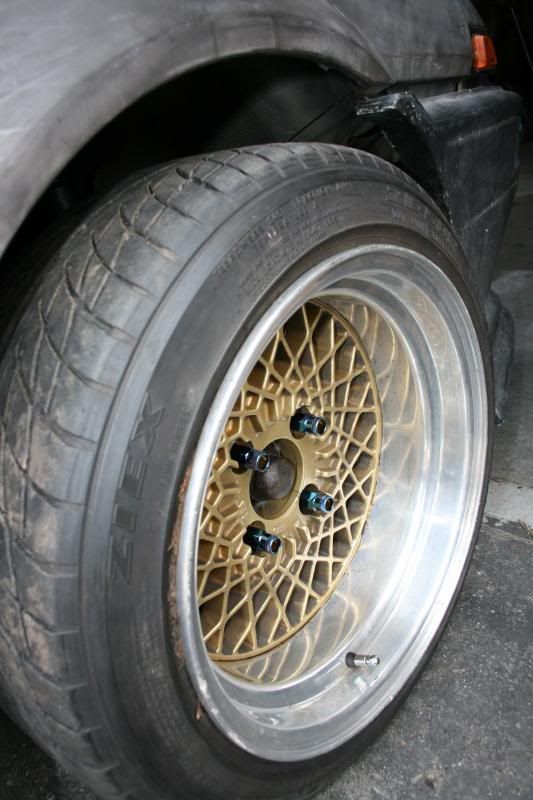
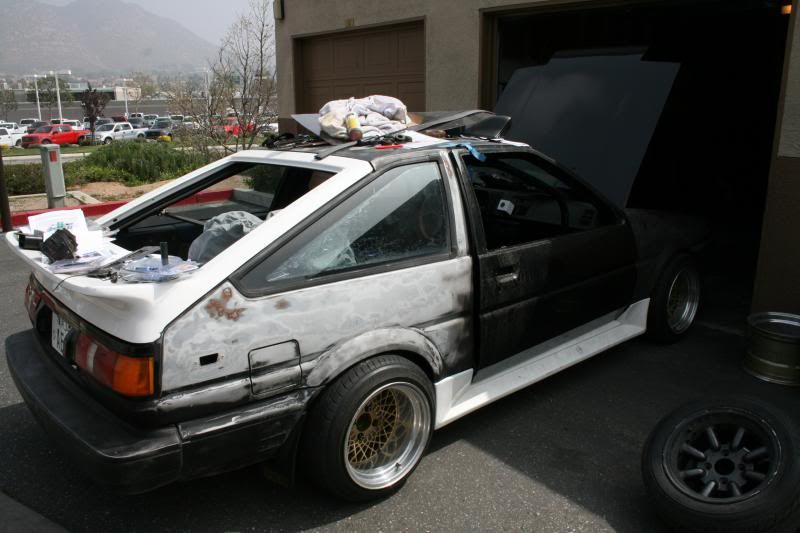
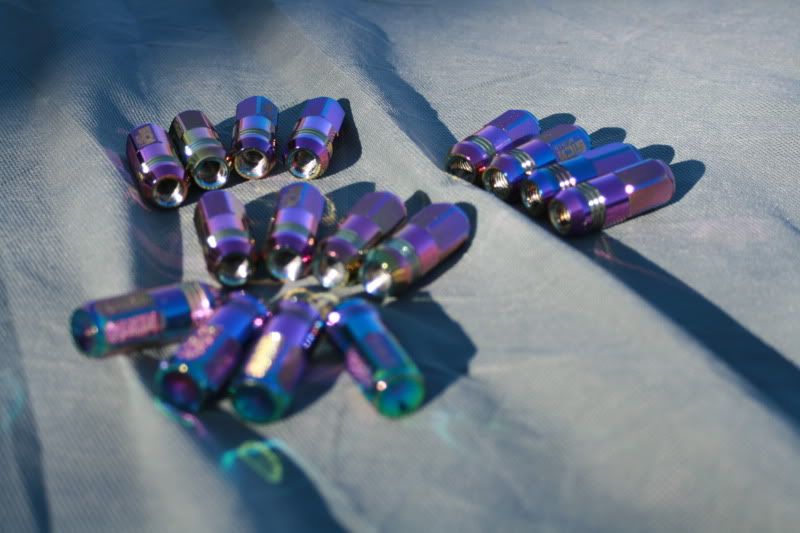
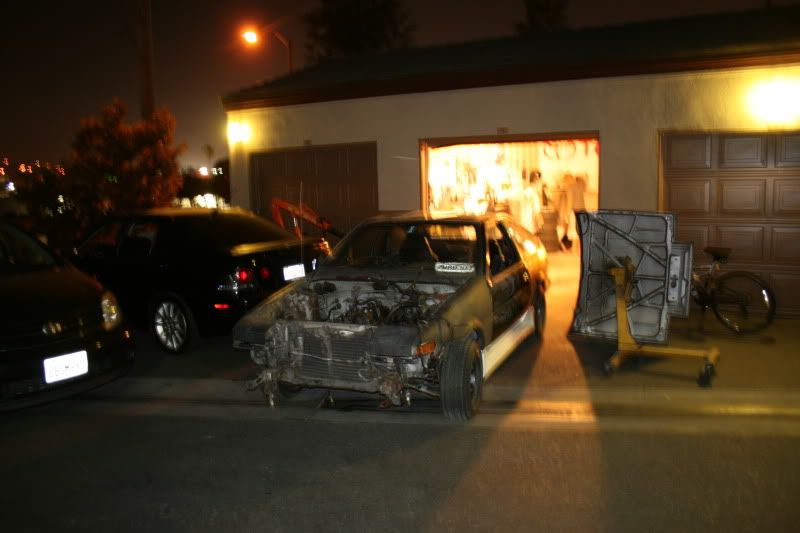
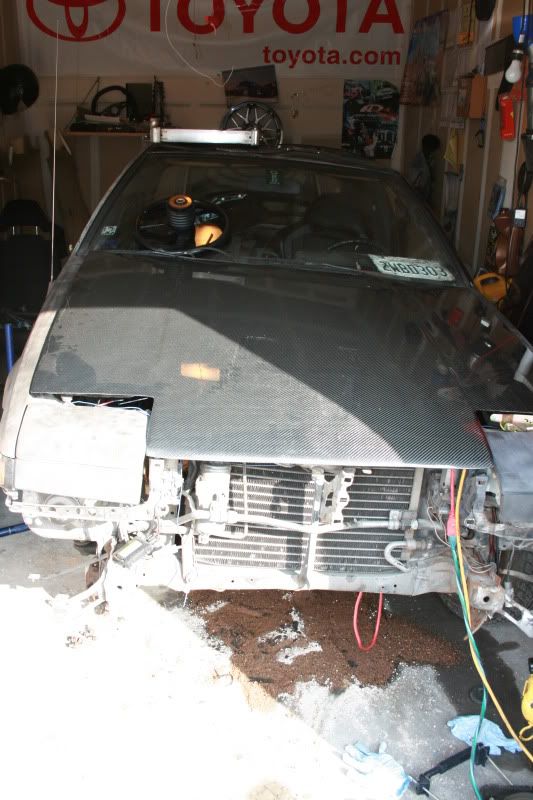
but good news, my silverlining, lugs came in the mail today. So I put the rims on, and was able to move the car out.
lugs.
Rims on.
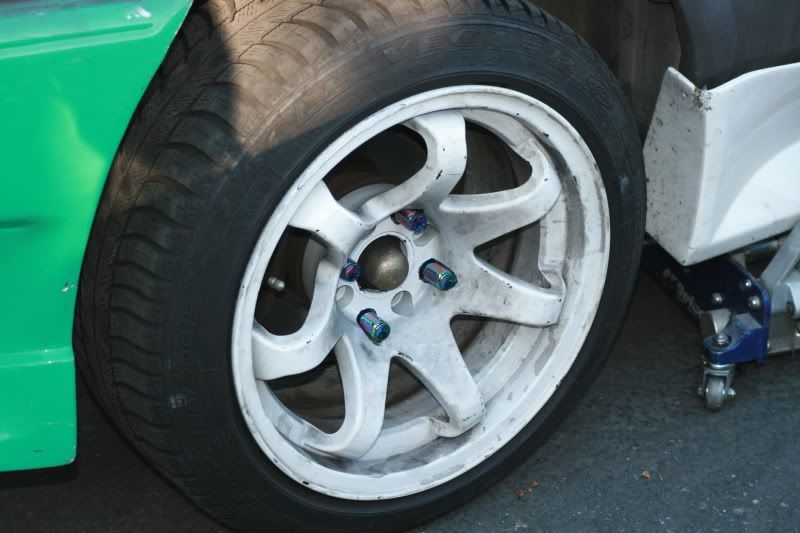
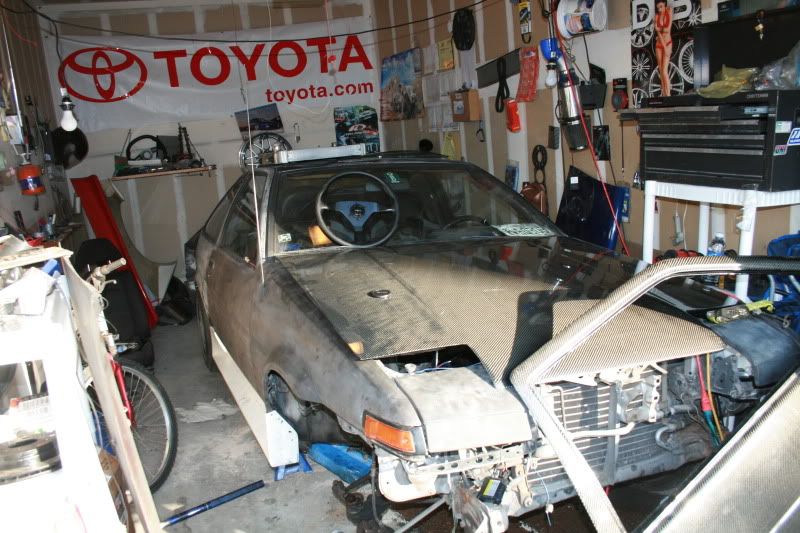
how the car is...
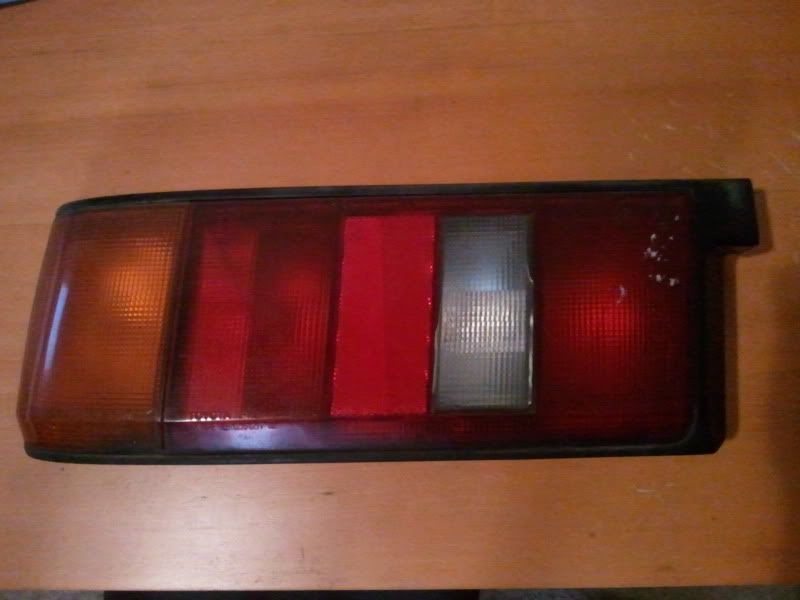
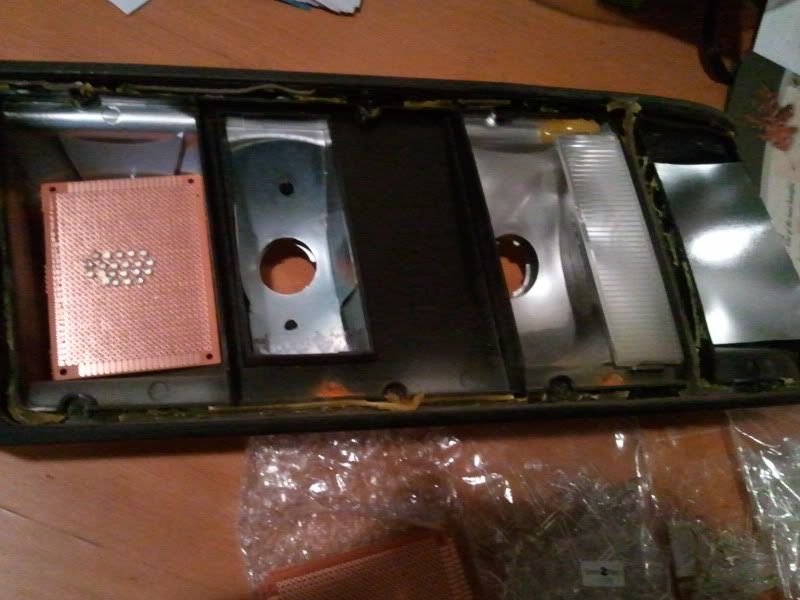
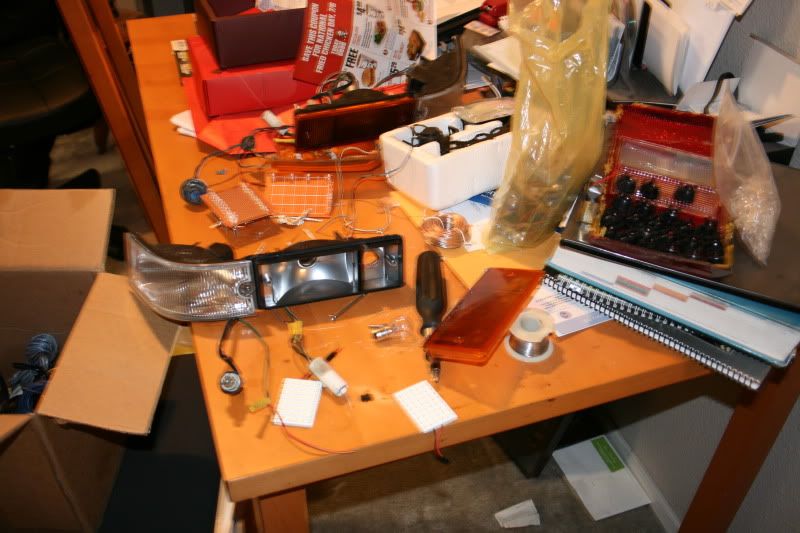
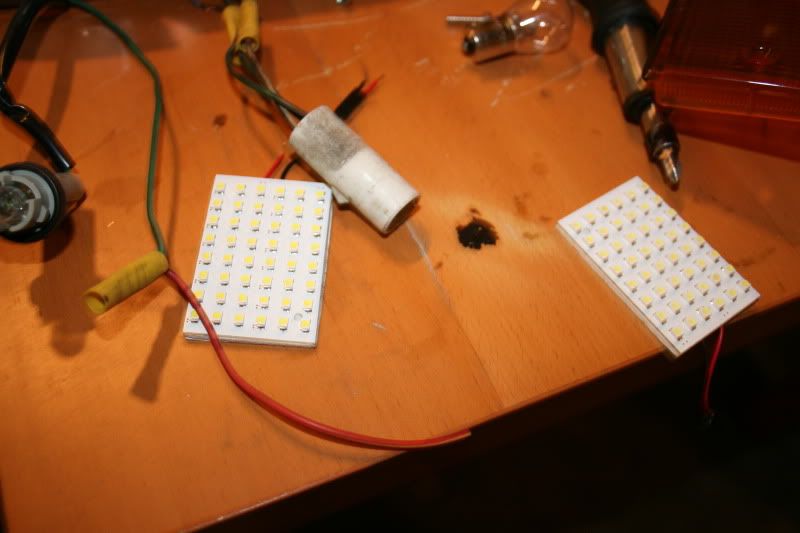
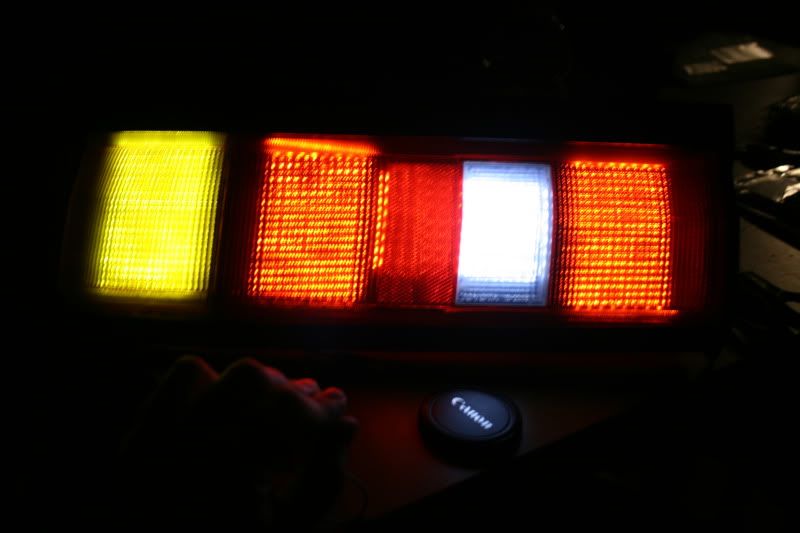
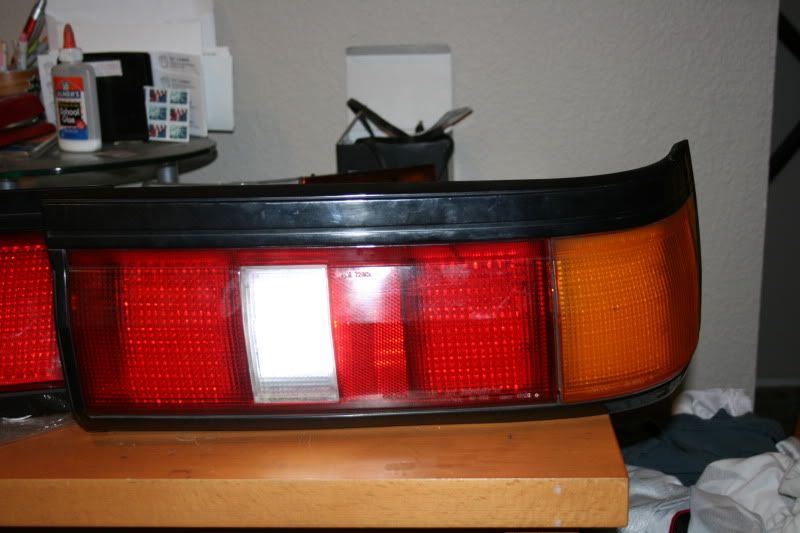
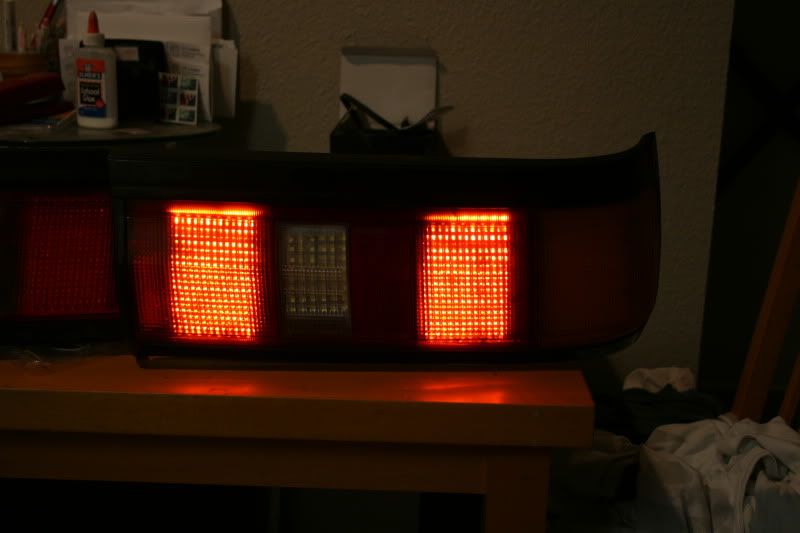
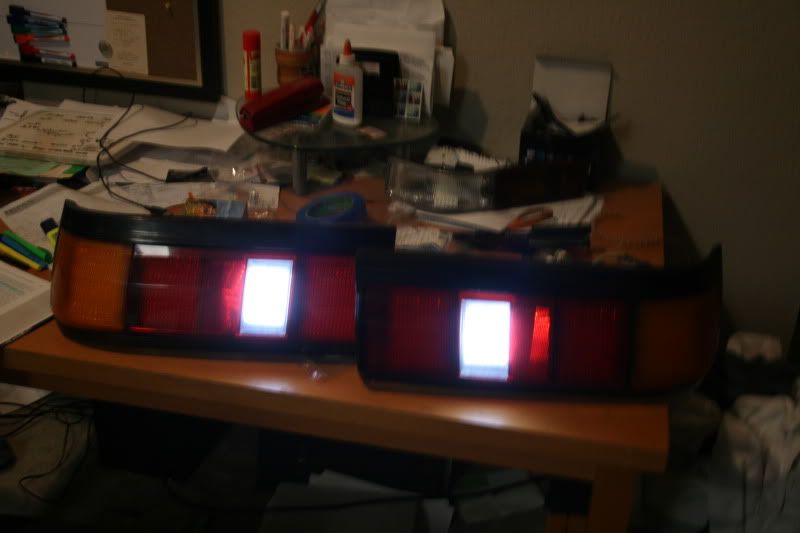
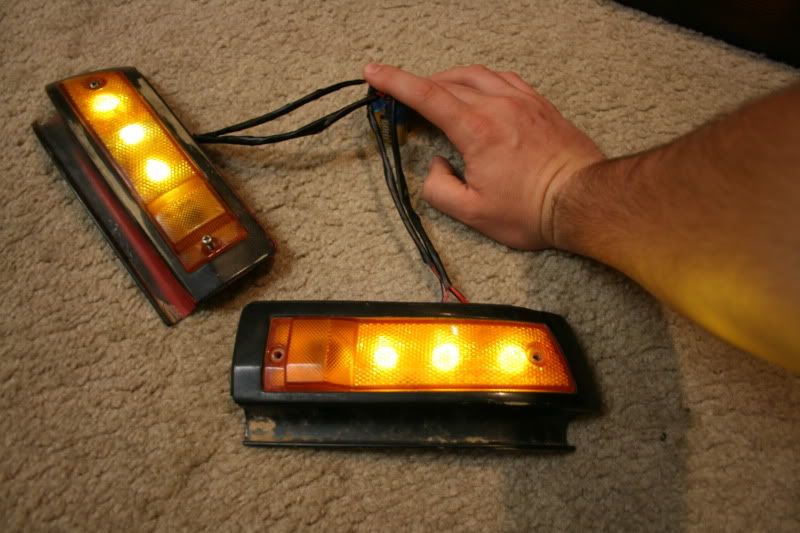
A little update. got some LEDs and PCBs so I will try to attempt a LED OEM tail lights for the ae86
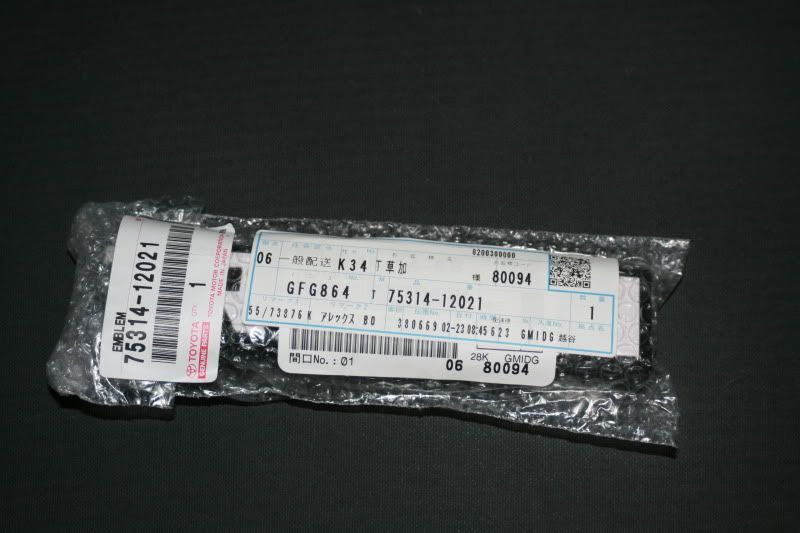
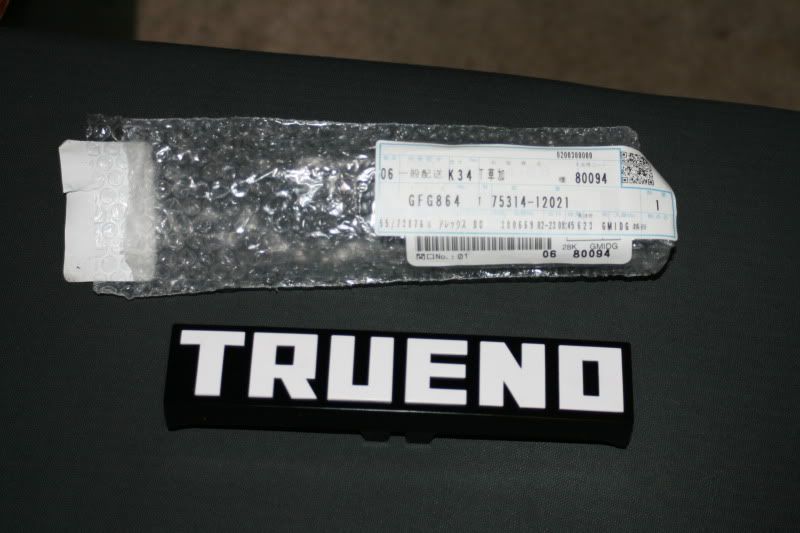
Got my self a birthday gift from japan, and it even came in today on my bday!
Got this shipped from bulgaria baby!
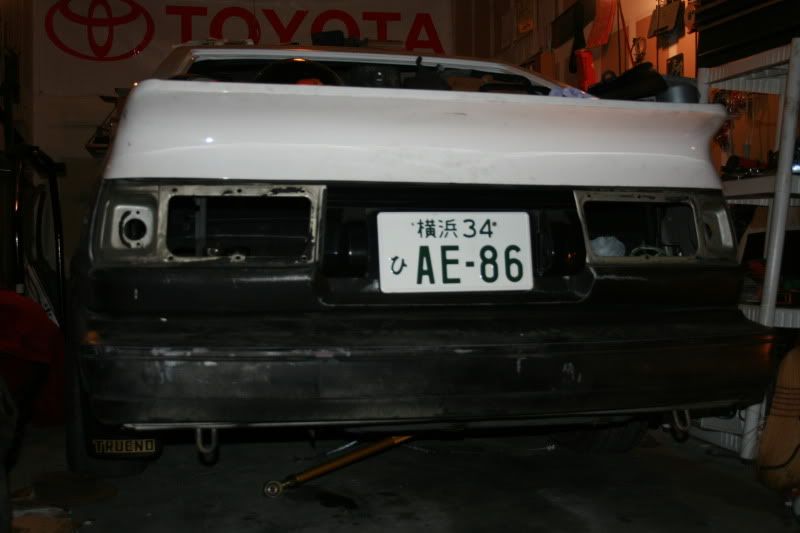
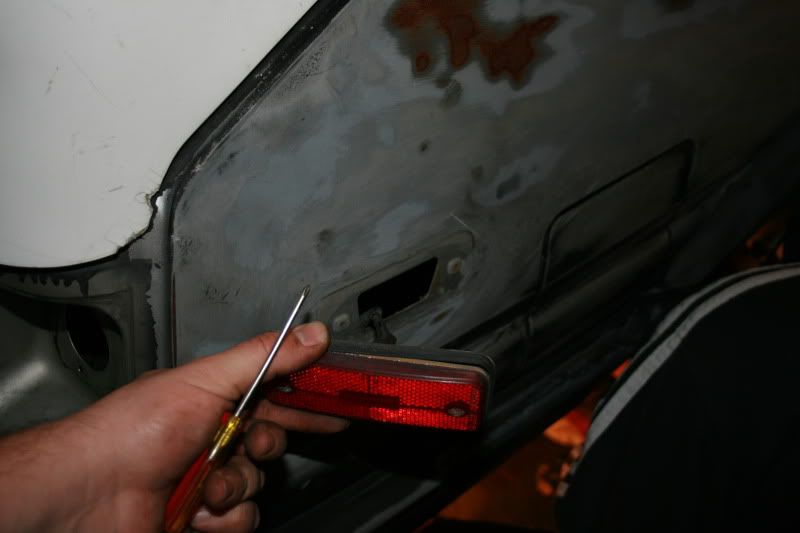
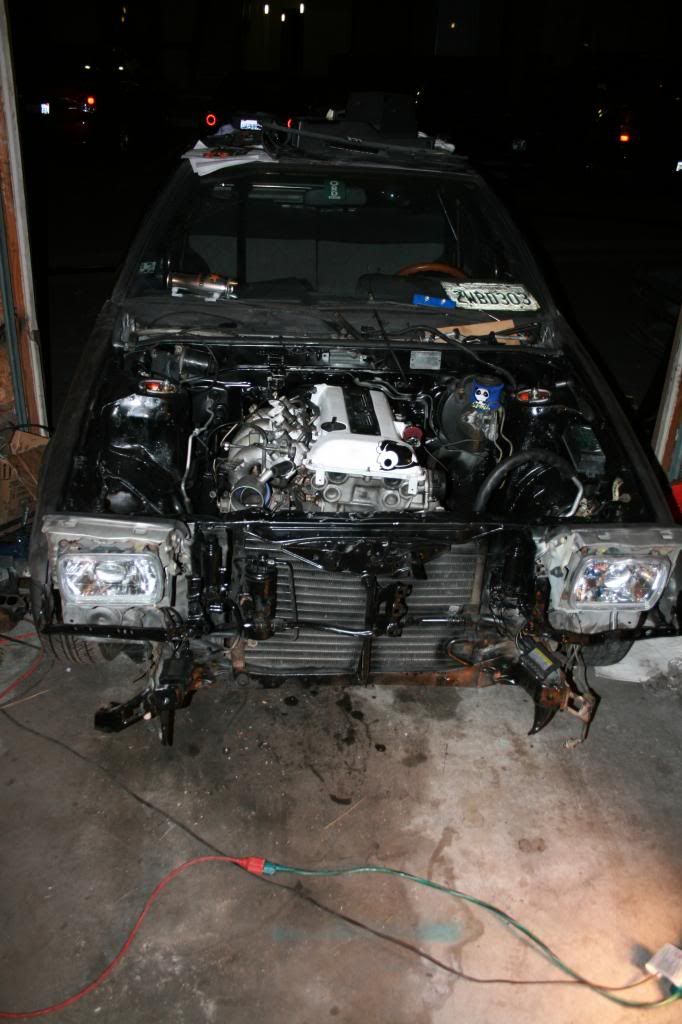
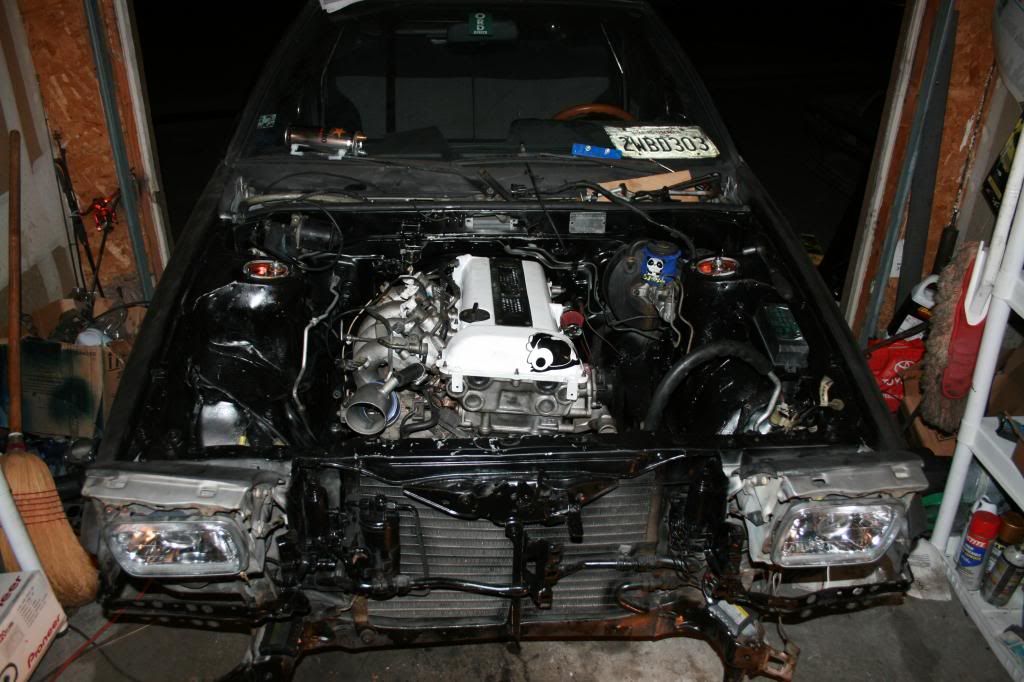
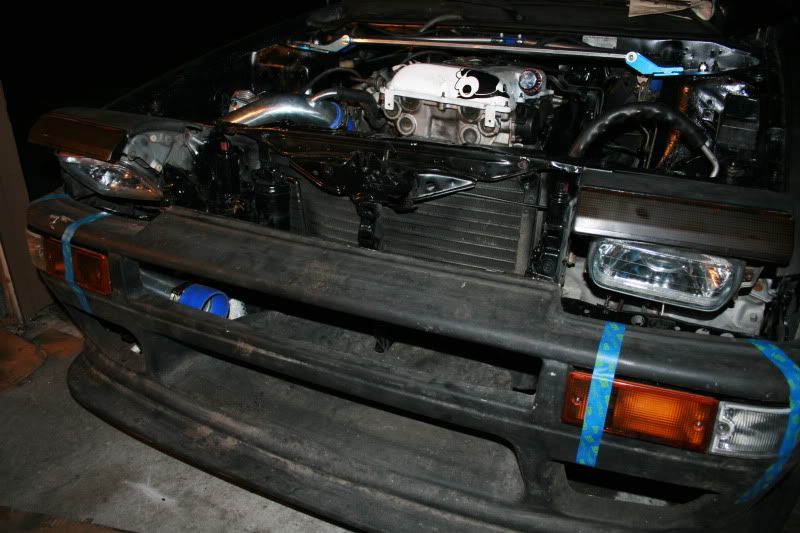
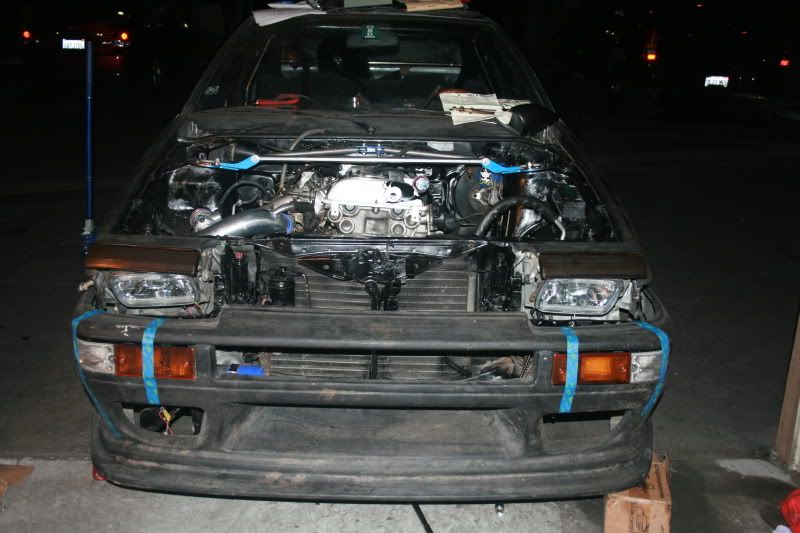
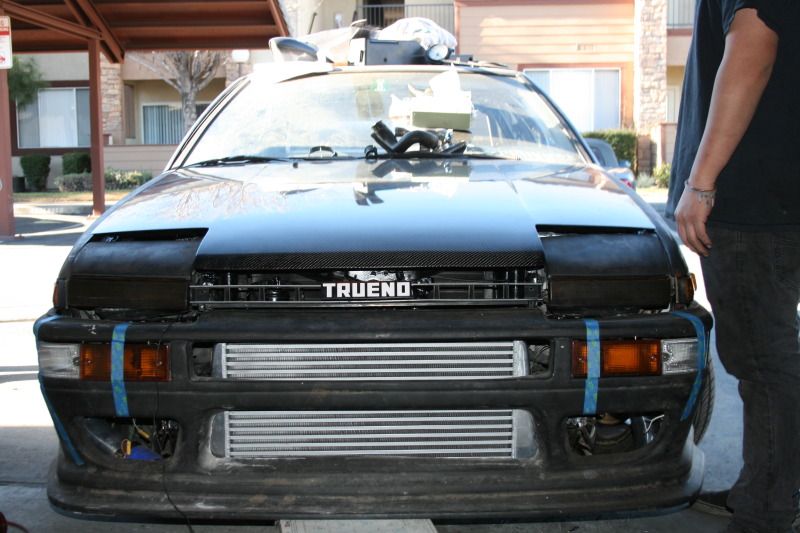
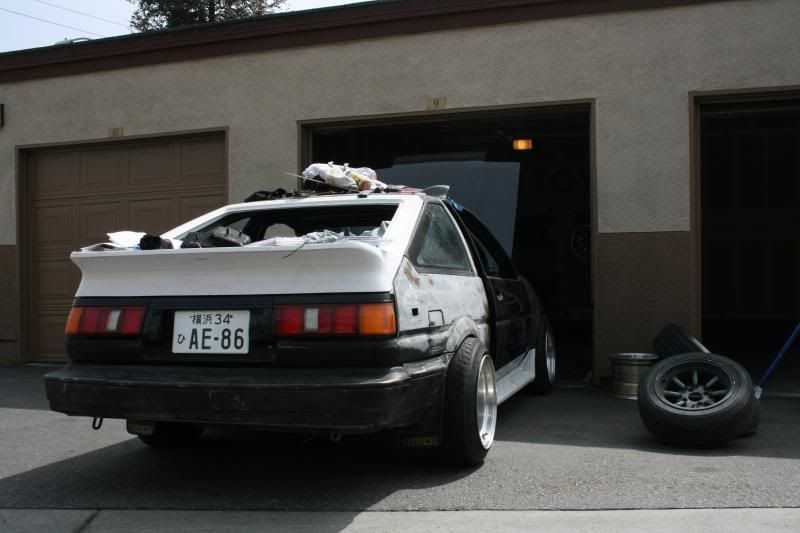
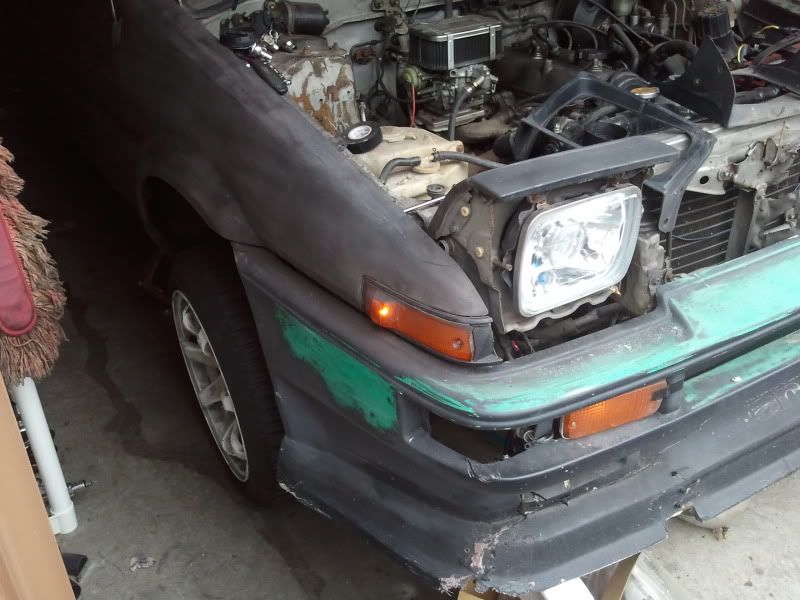
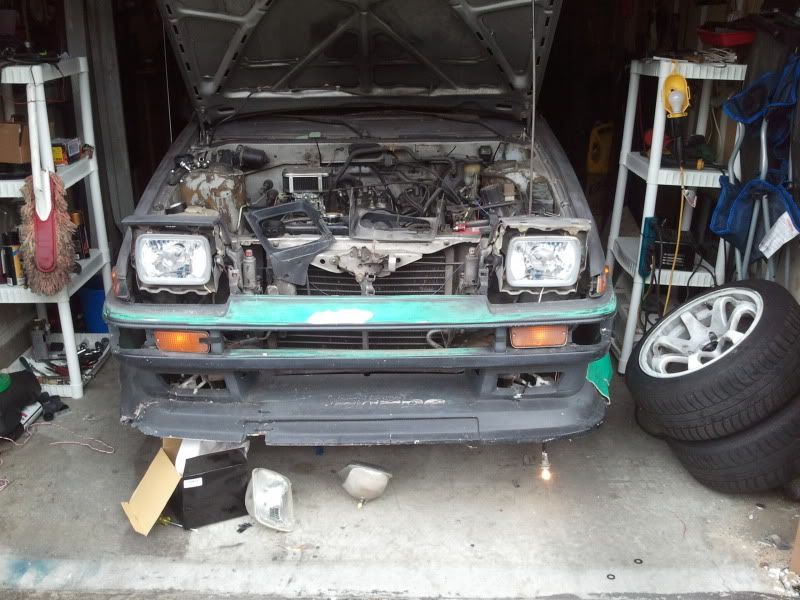
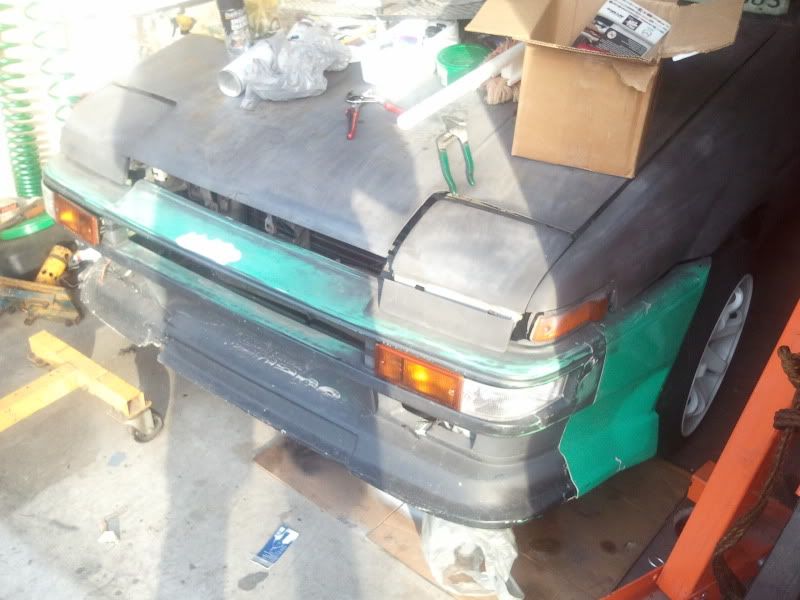
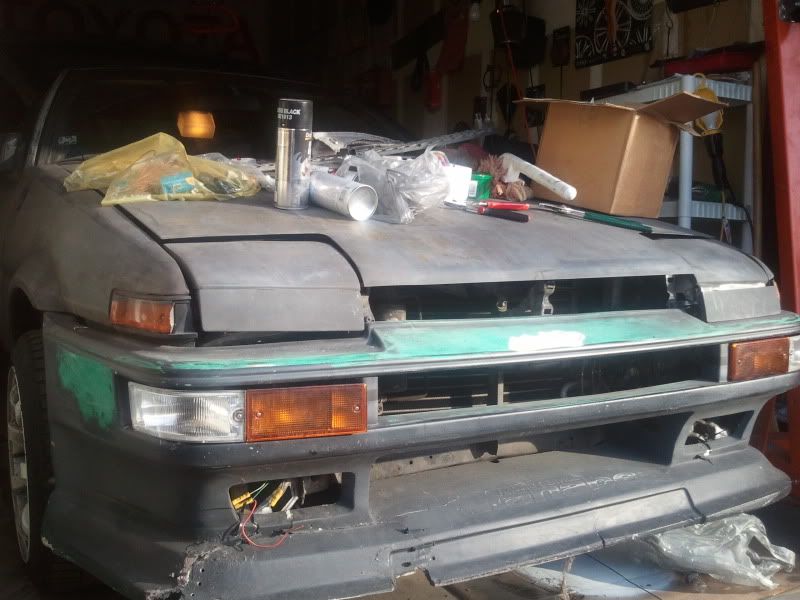
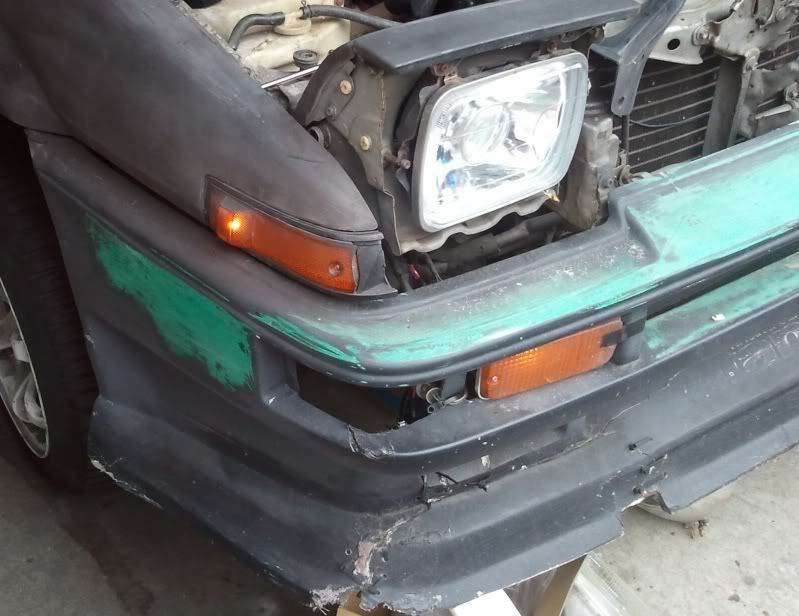
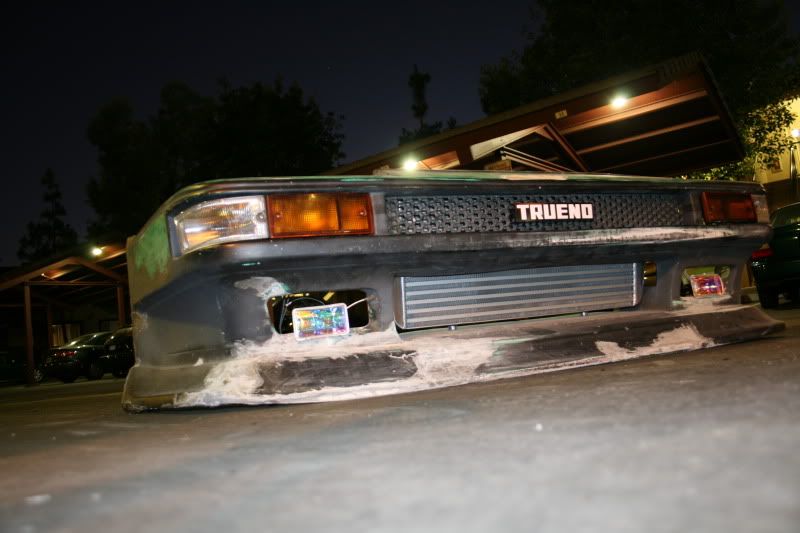
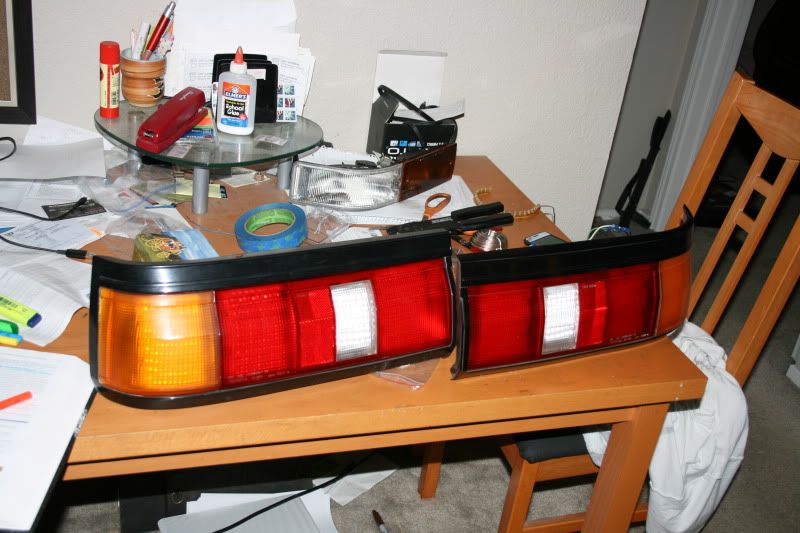
FINALLY got my JDM corner lights! it really makes such a difference to front end, even if its messy right now!
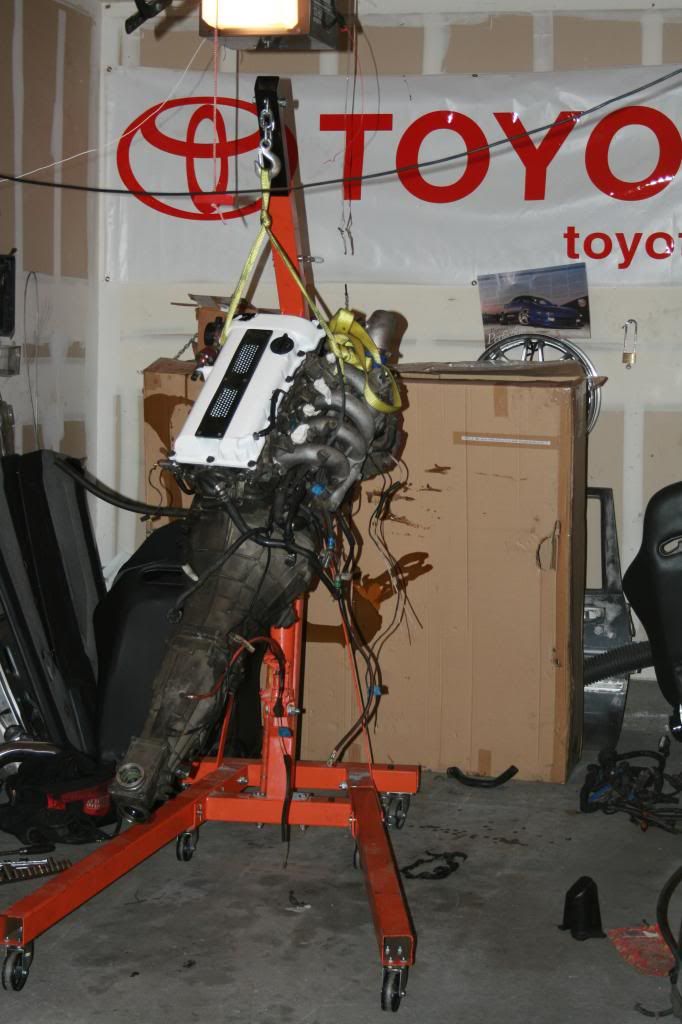
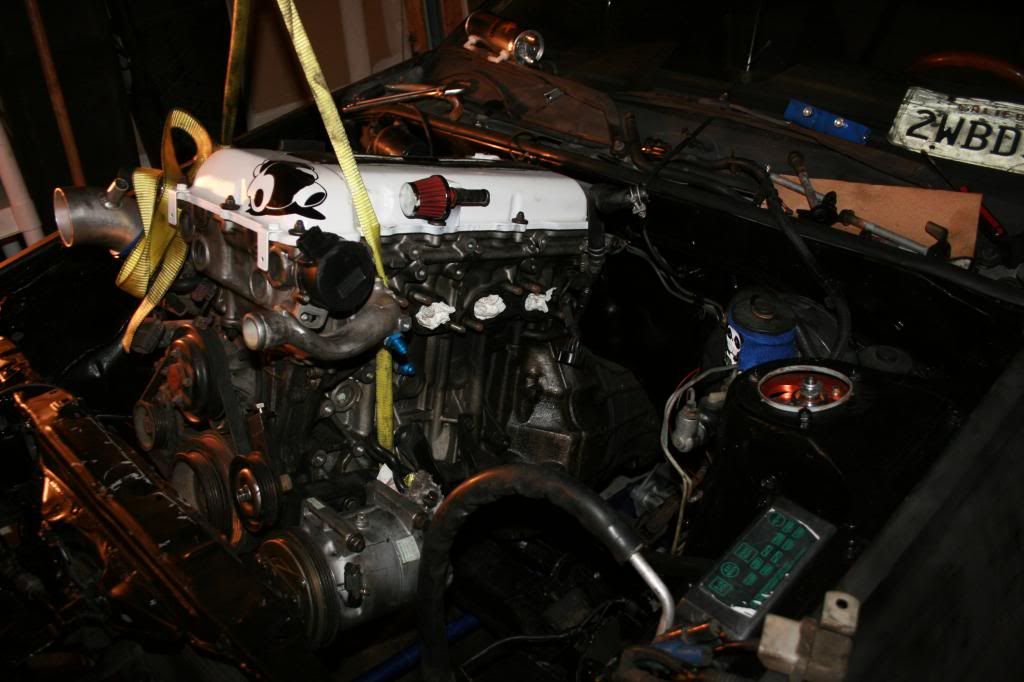
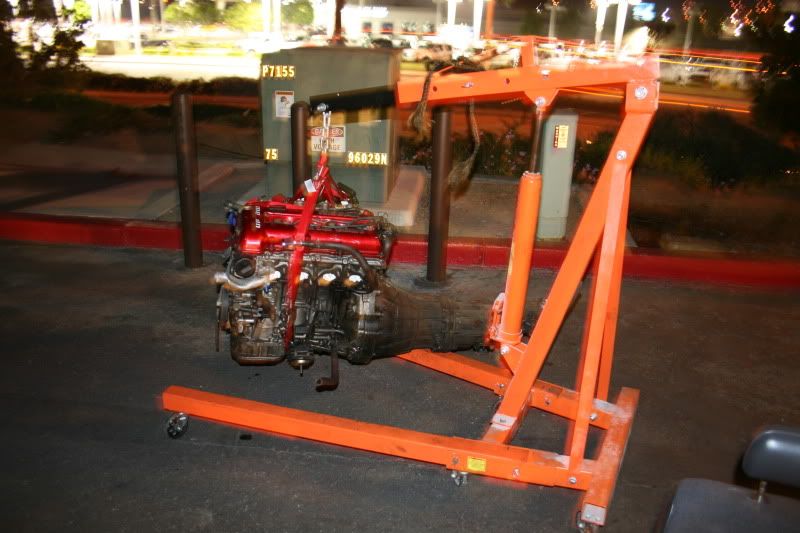
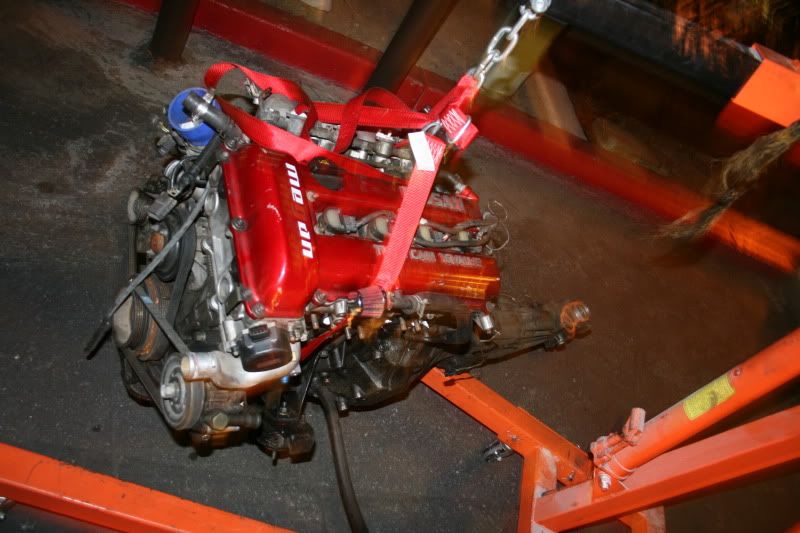
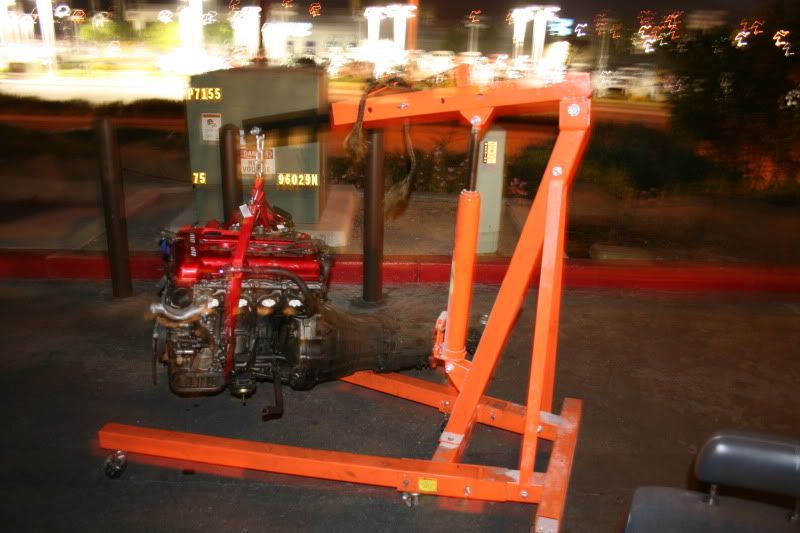
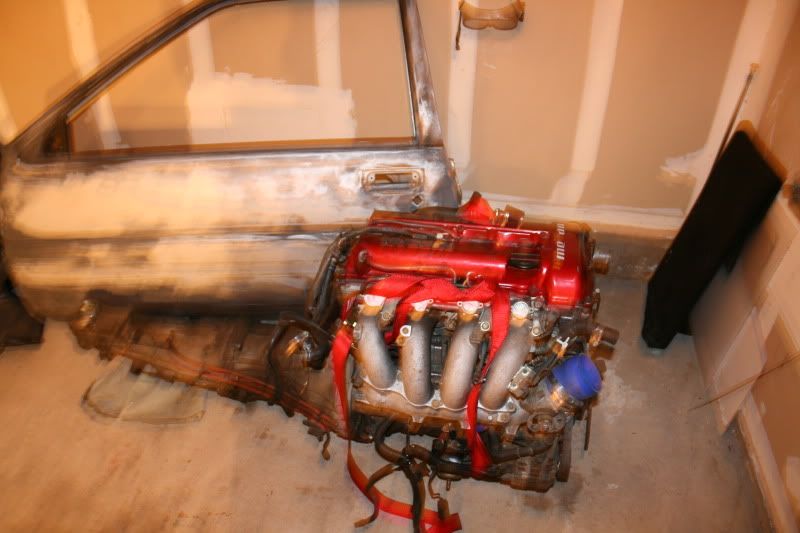
SR20DET baby!!!!!!
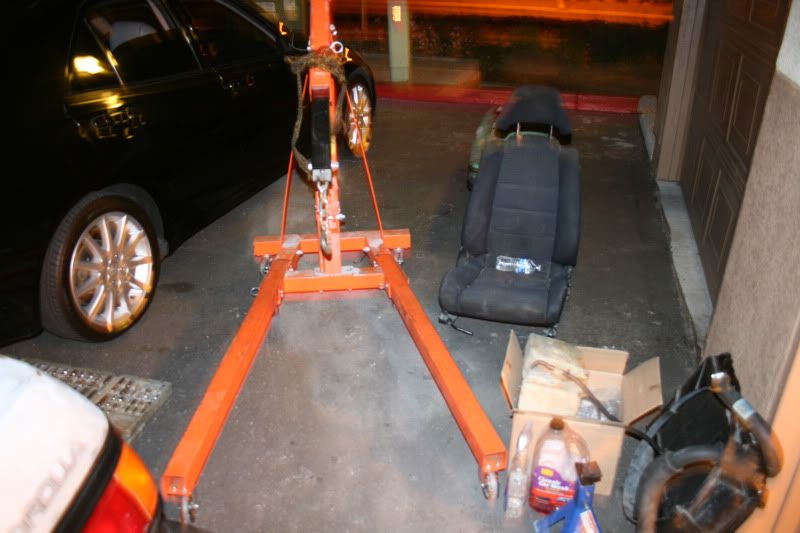
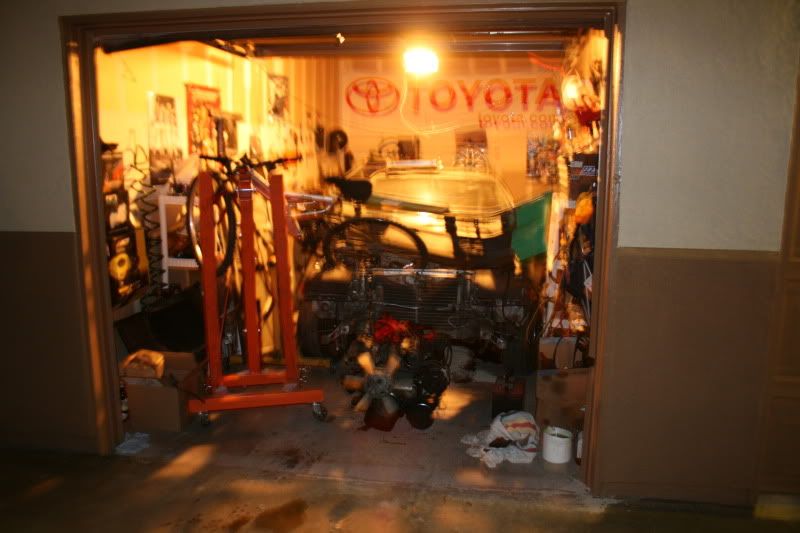
and I did a major clean up of the garage, and selling off a ton of ____, and my garage is still packed!!!WTF
Pulled everything outside so I could clean up
cleaned up afterwords... still too much stuff lol

thanks gabe, I heard about ur turbo hope they send you a brand spanking new one asap! I am tearing out the 4ac, ASAP!!!! So ready to install all my parts! I should write a mod list
AE86 Mods list:
RX7 4 piston calipers
RX7 rotors
EBC yellow stuff pads
Konig Rewinds 14x7 0 offset
XXR 527 15x8 0 offset
Neochrome lugs
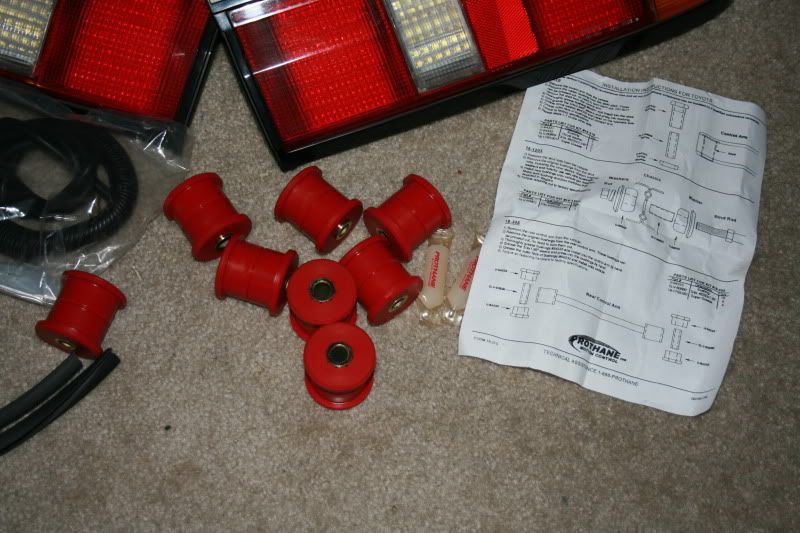
K-sport coilovers
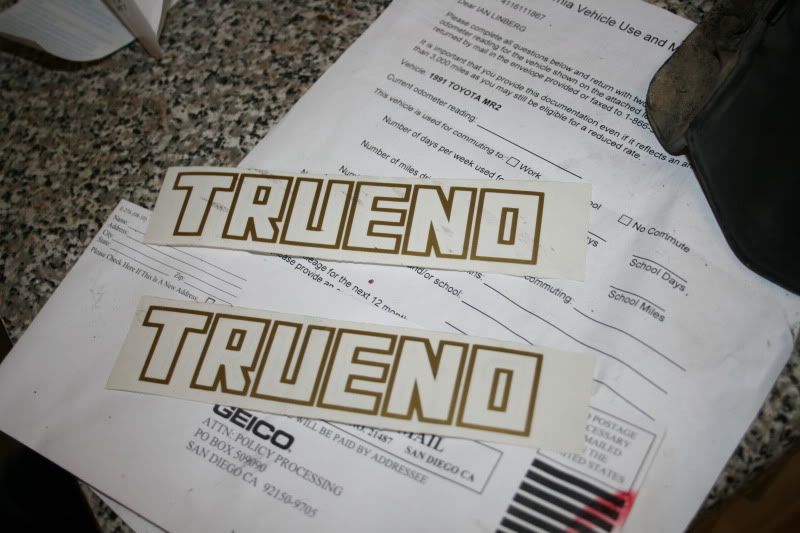
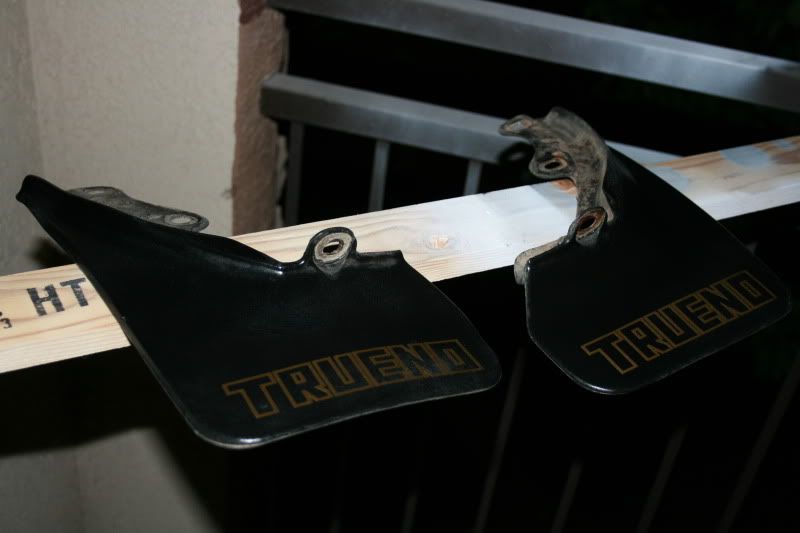
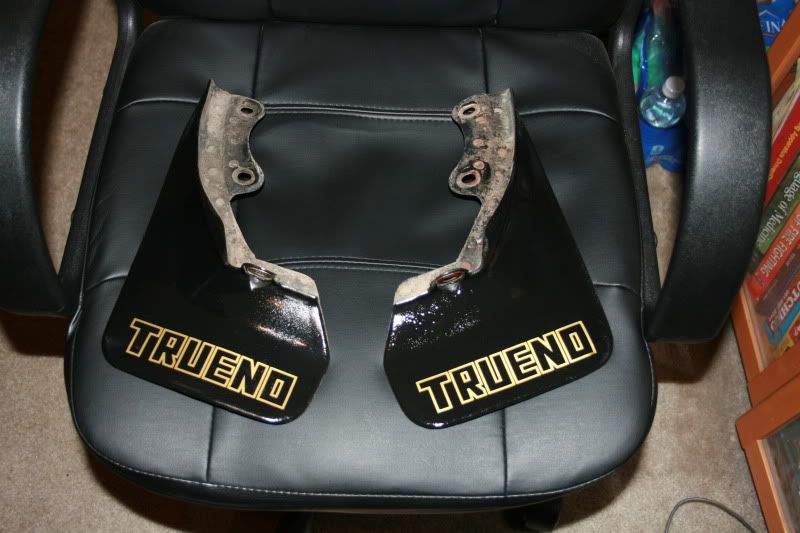
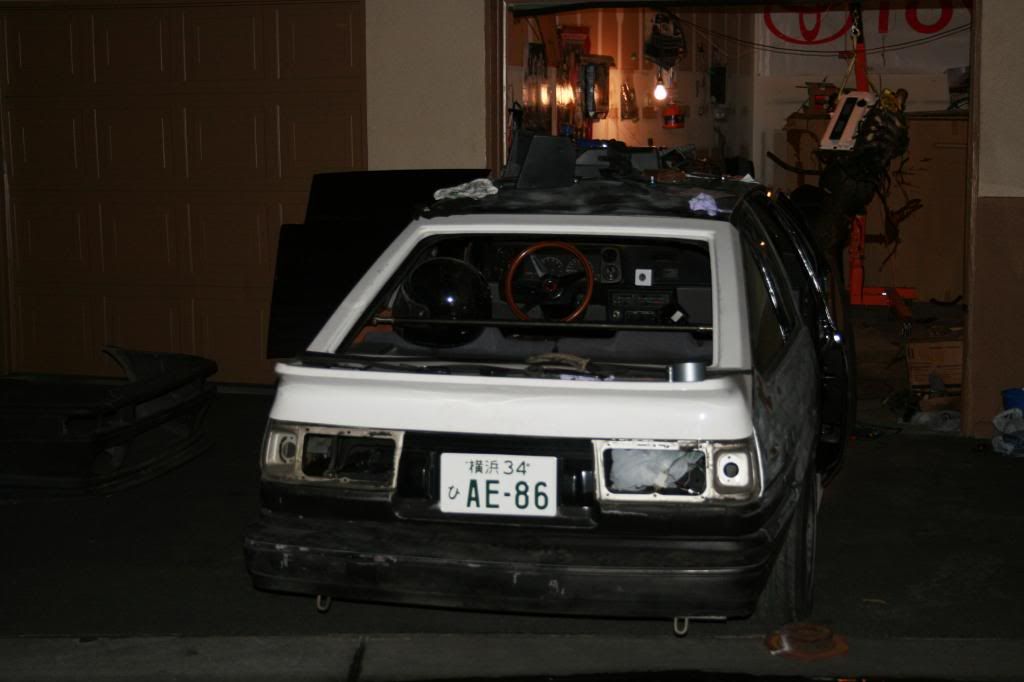
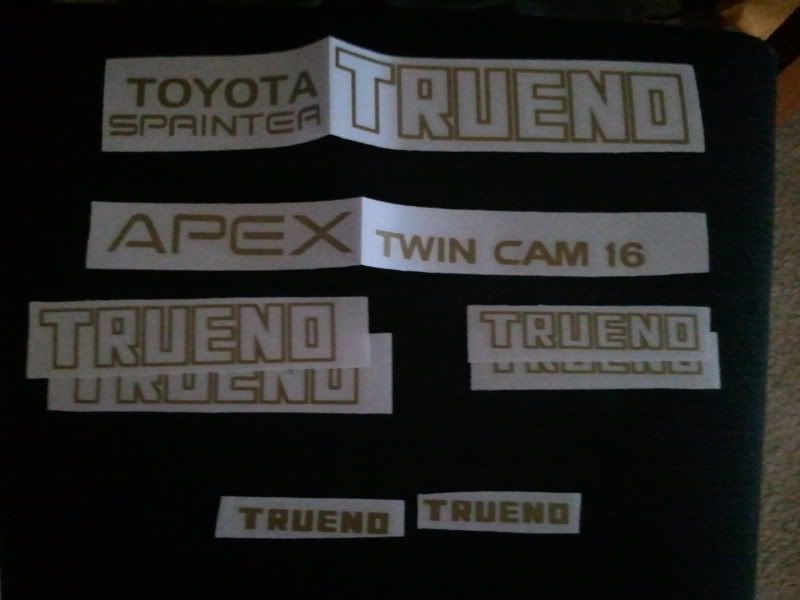
JDM trueno badging and front grill
CF seibun doors
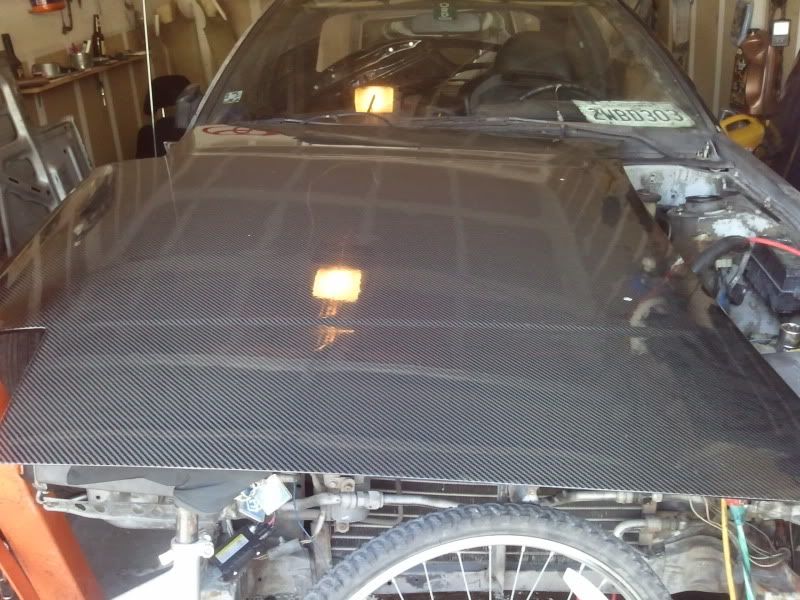
CF hood
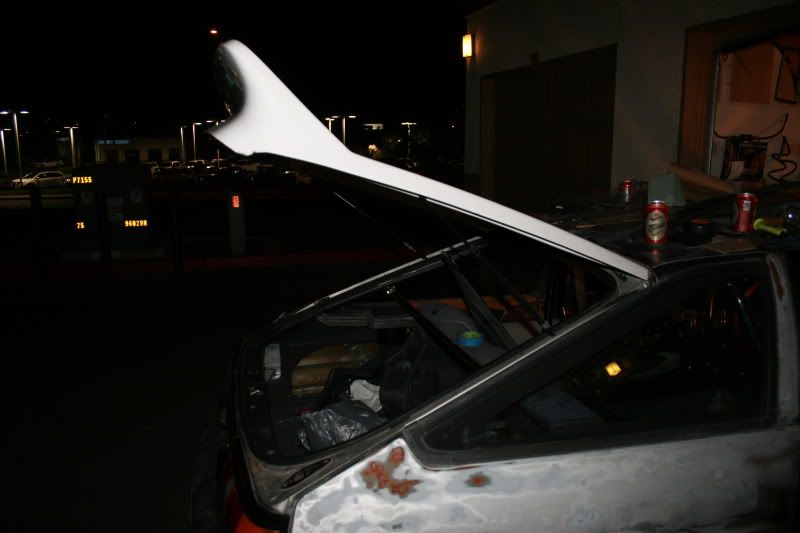
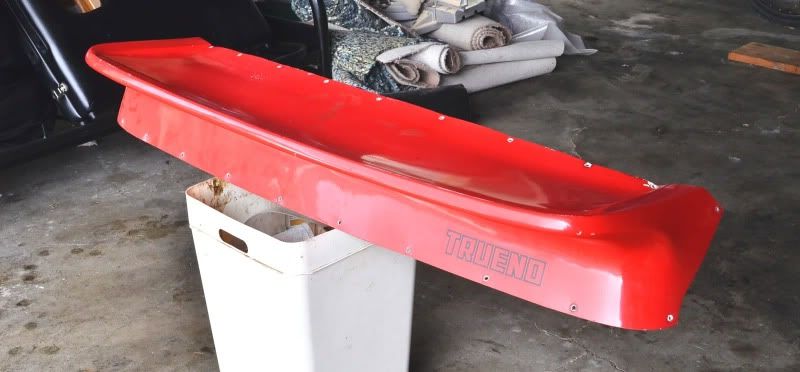
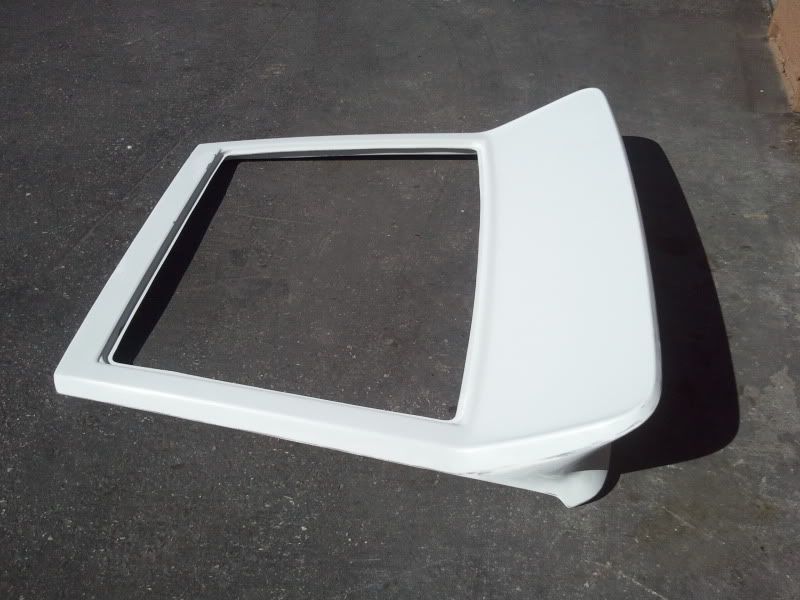
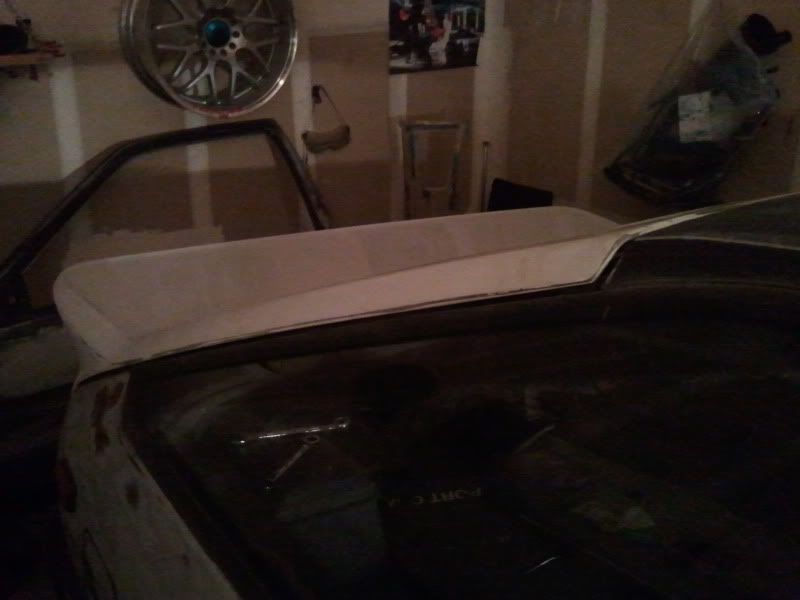
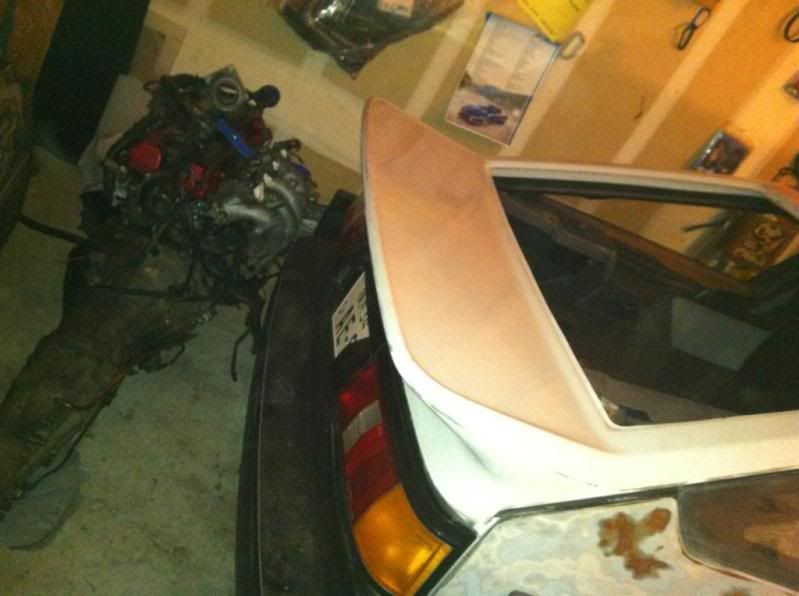
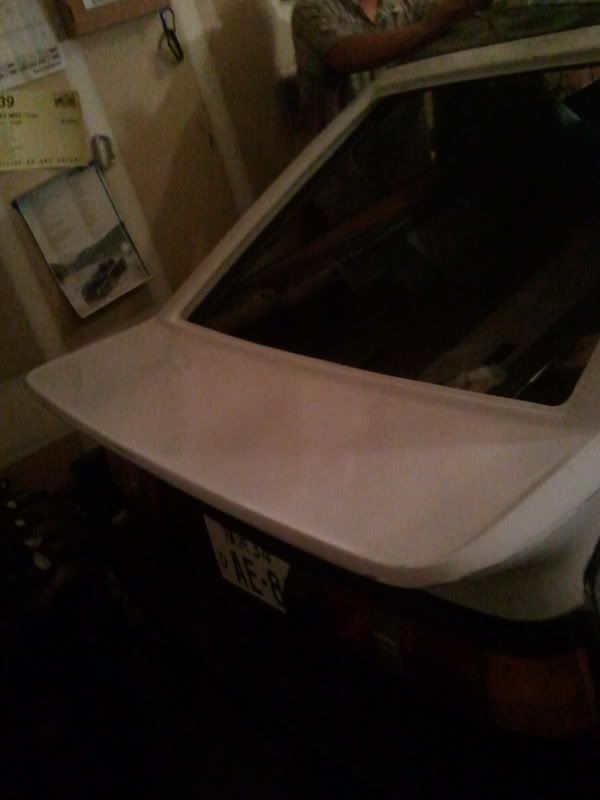
FG runfree hatch with trd spoiler
Origin Lab side skirts
Watanabi front bumper
JDM corner lights
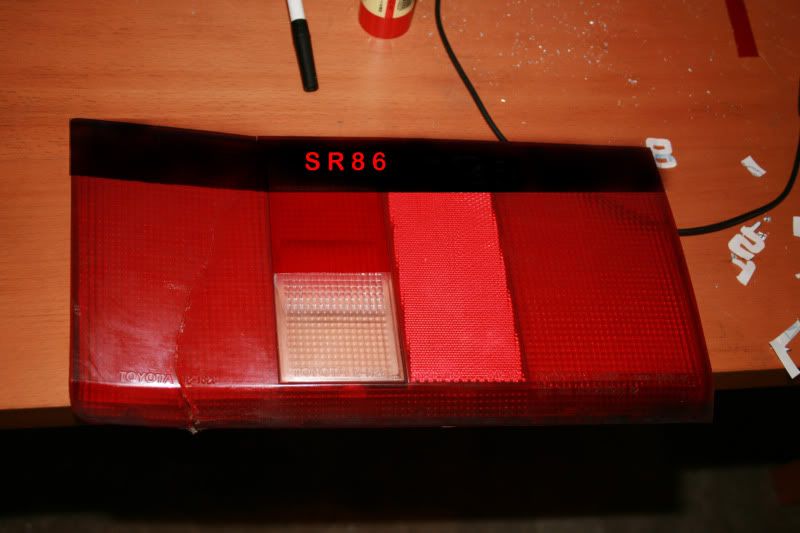
New Tail lights
H4 headlights with bixenon HIDS
LED tails (inprogress)
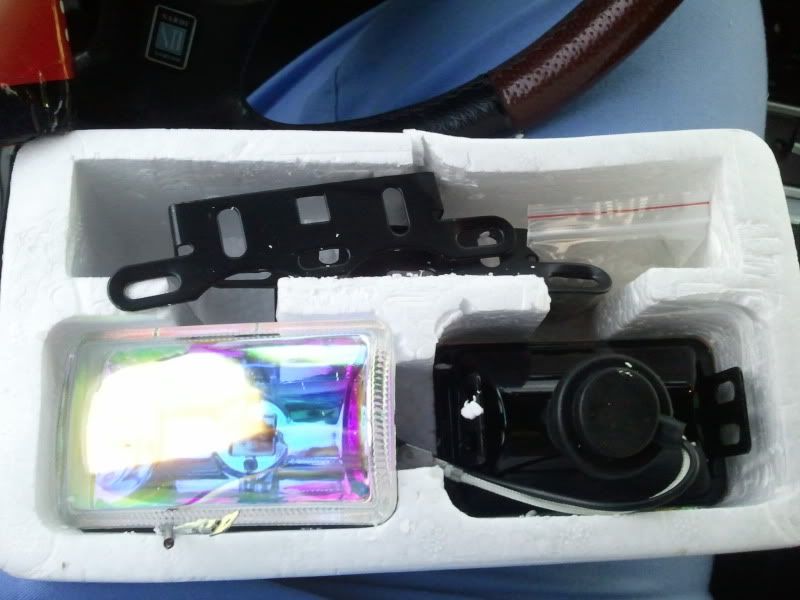
ion fog lights
Solex locks
Recaro Seats
S13 redtop SR20DET
Brian Crower 264 cams
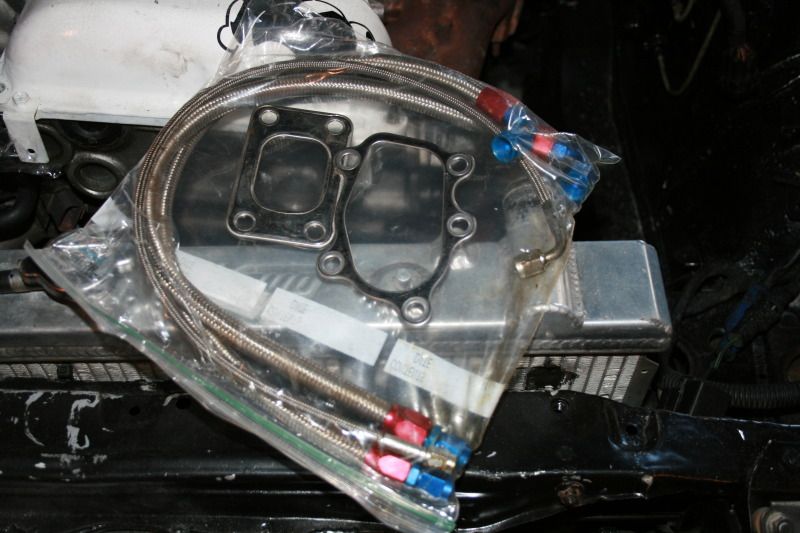
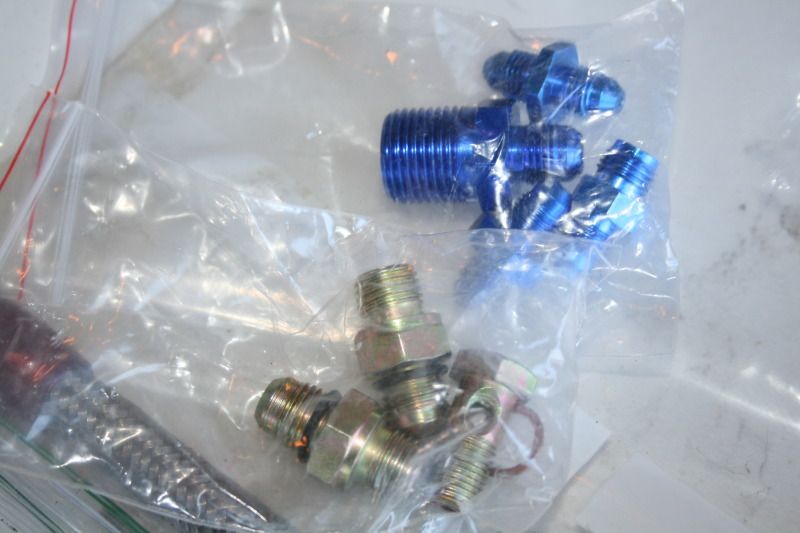
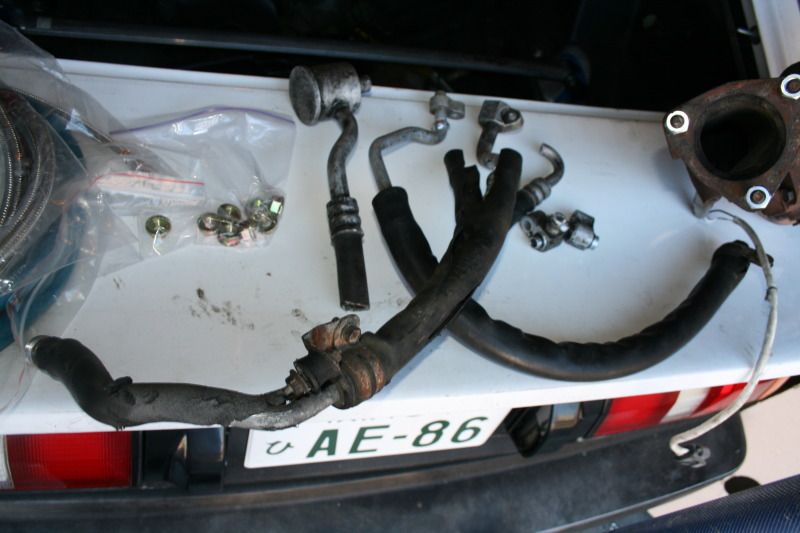
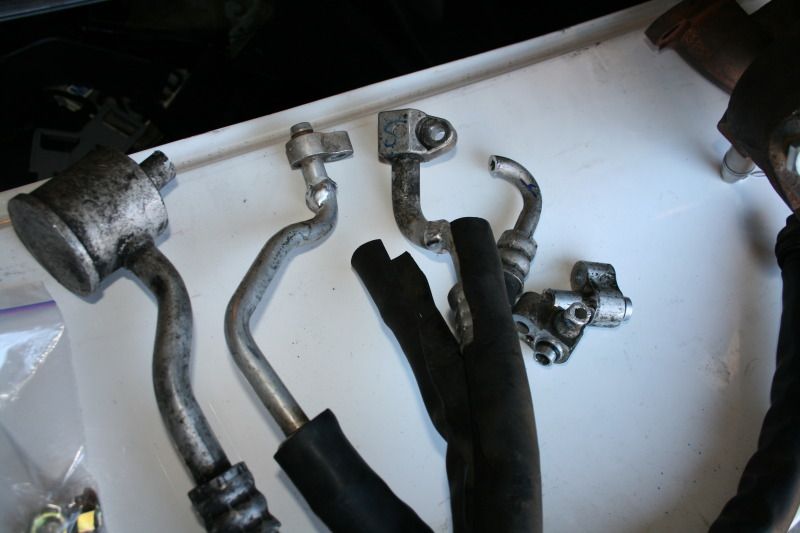
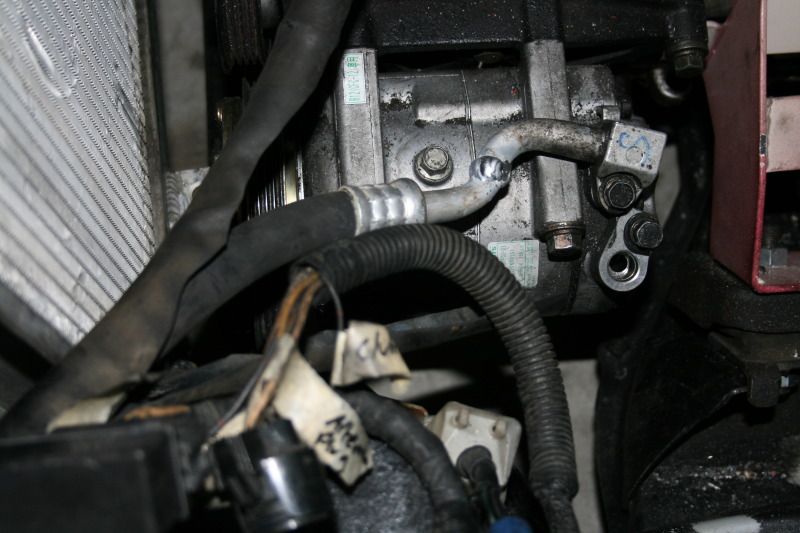
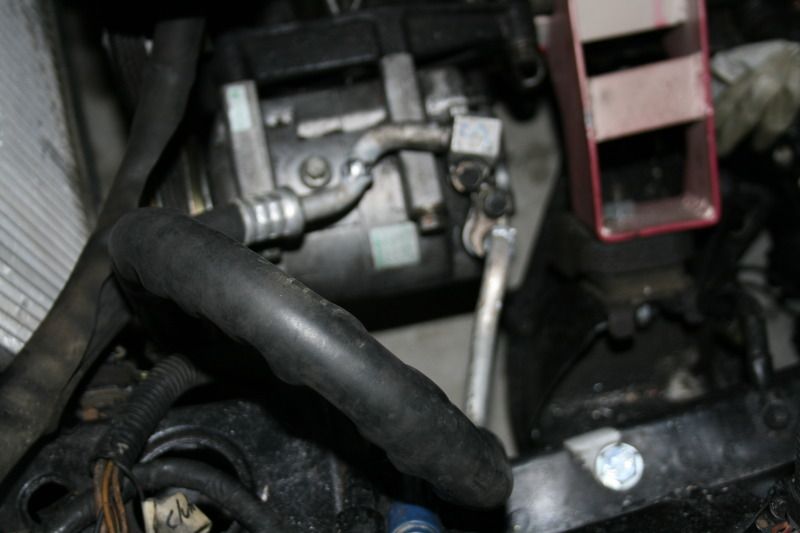
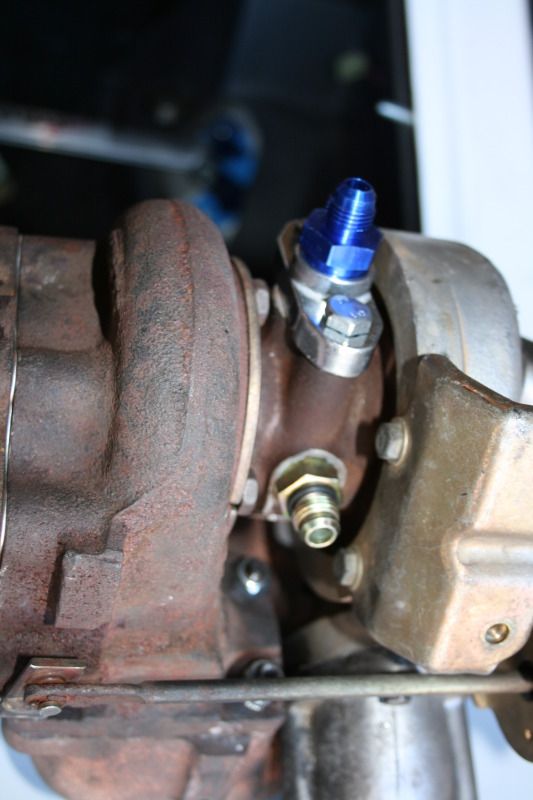
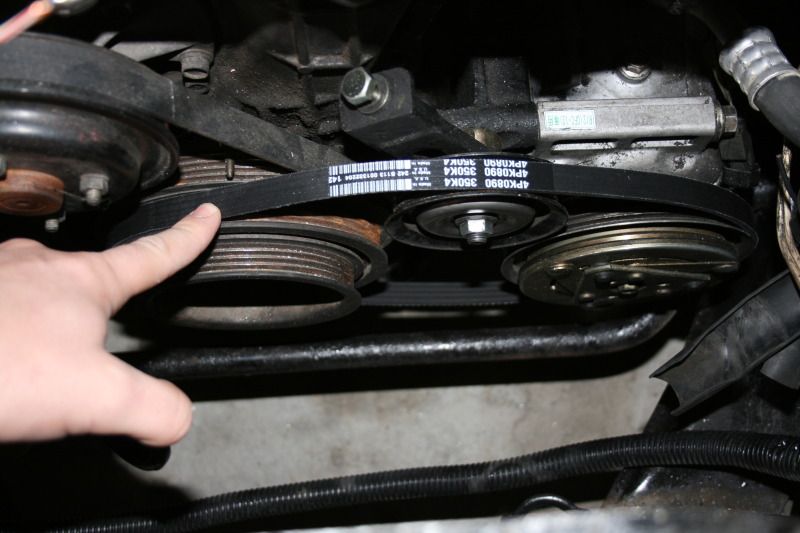
upgraded coolant lines
steel braided oil feed lines
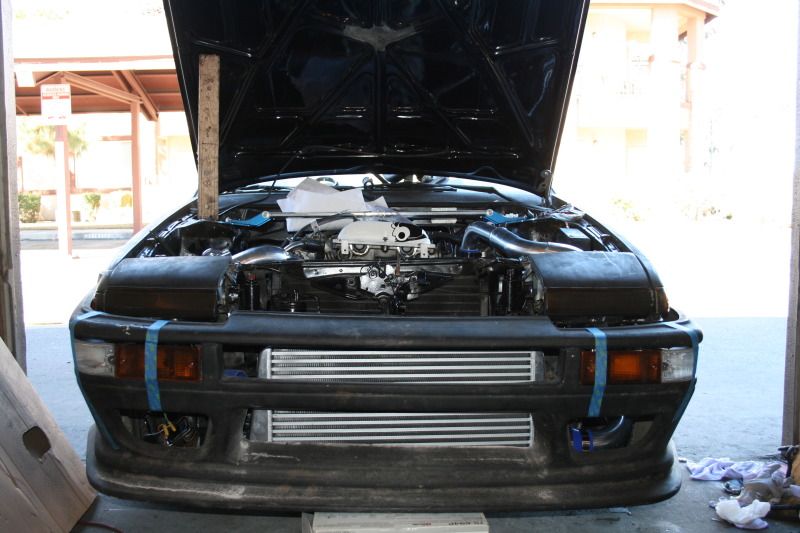
XS 3core intercooler
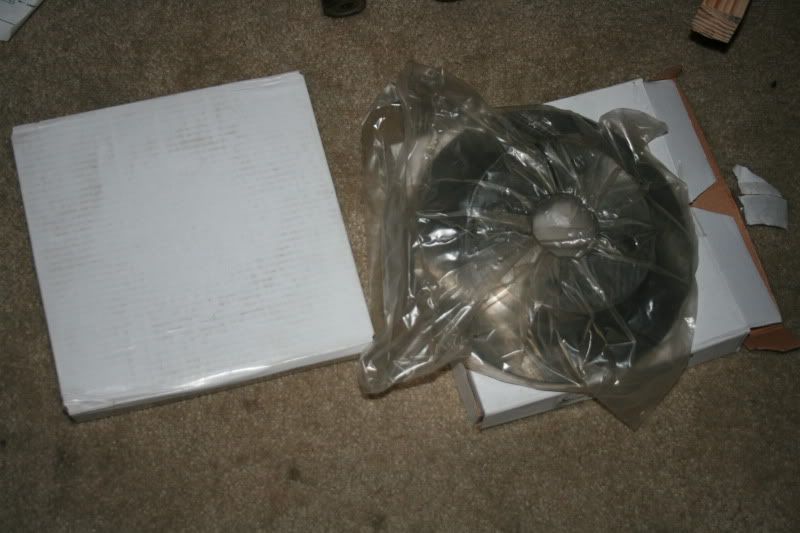
Koyo SR radiator
Greddy Type S bov
...I think thats it. I still need a beefer rearend, and a custom driveshaft. but I will need another paycheck for those.
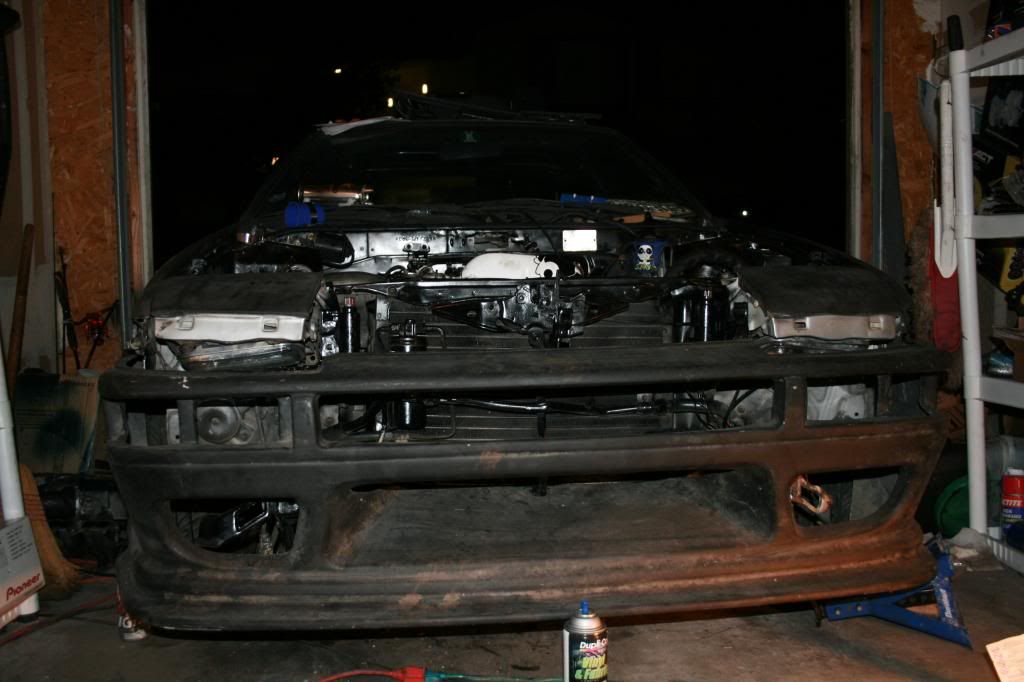
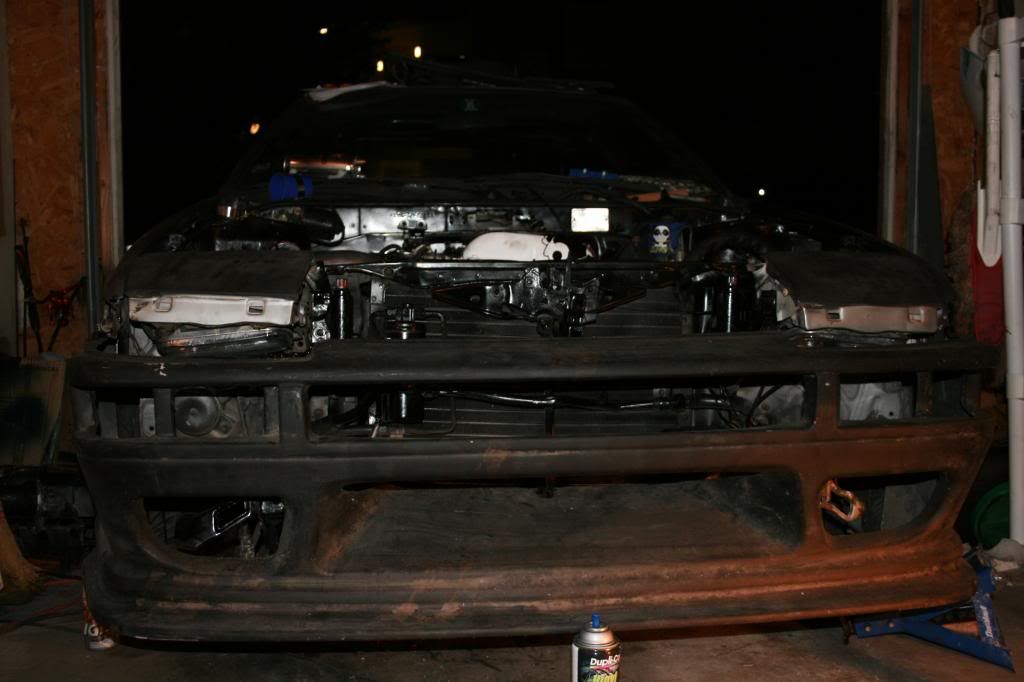
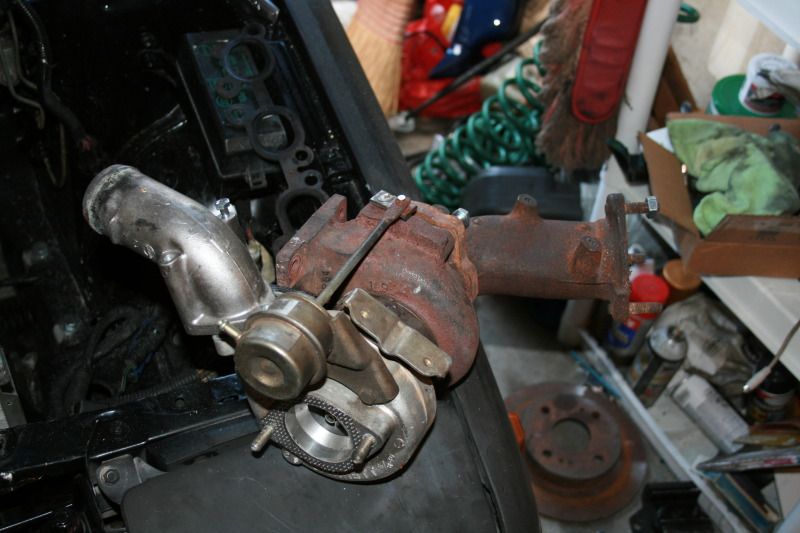
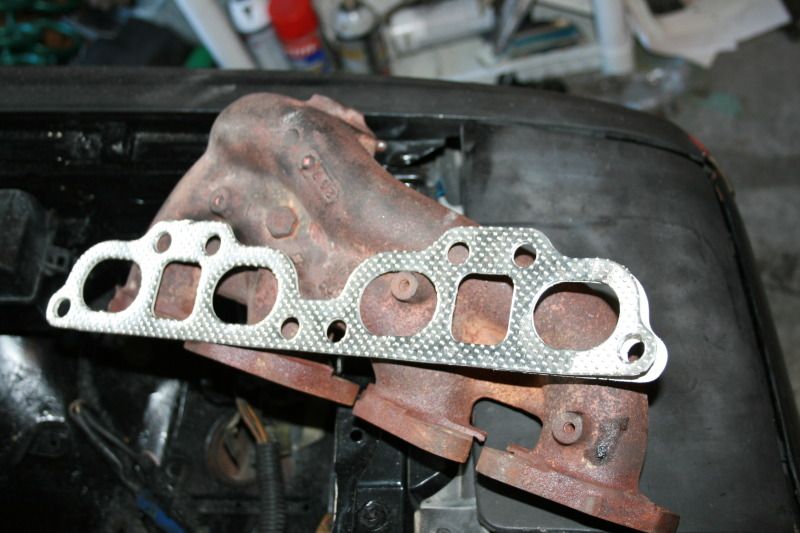
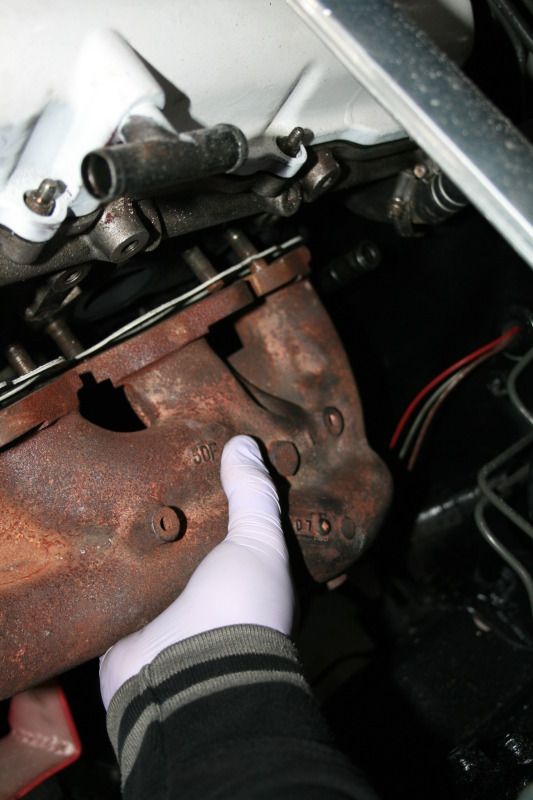
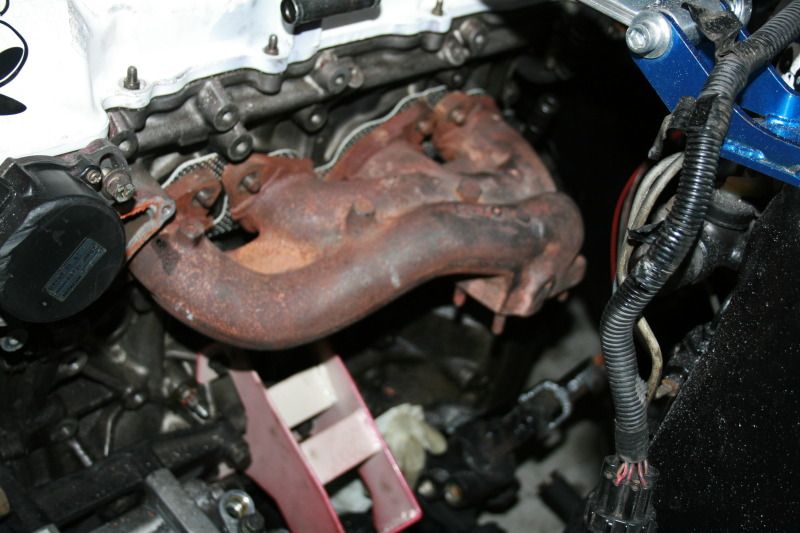
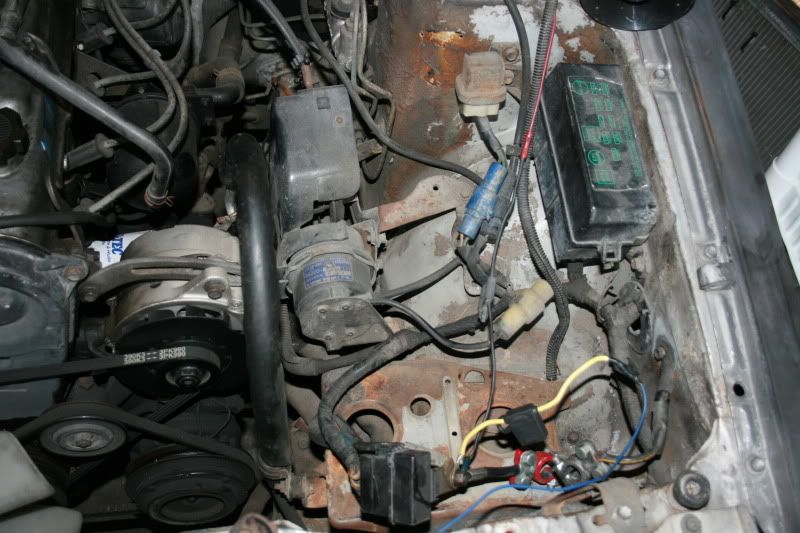
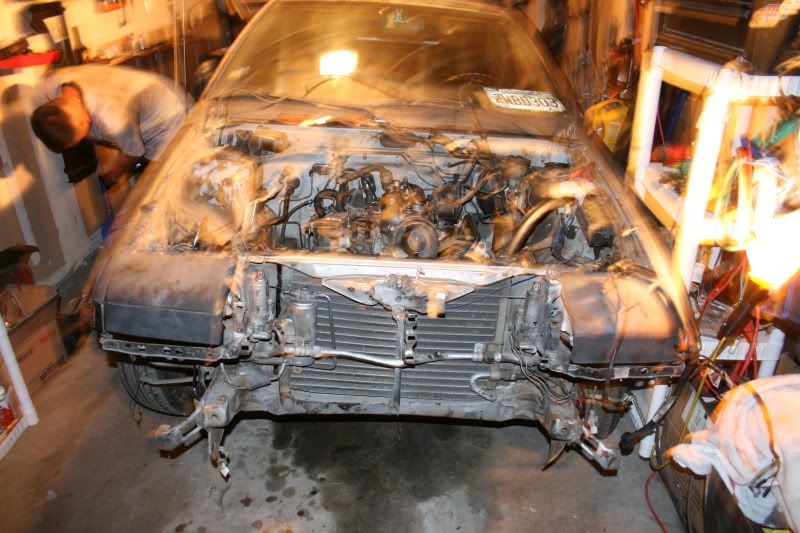
Got a little bit done today, started tearing out some of the 4ac and seeing what I am going to do with it. It had rod knock real bad, so I think I will pull all the goodies off it, sell em for cheap, then recycle the block for scrap metal.
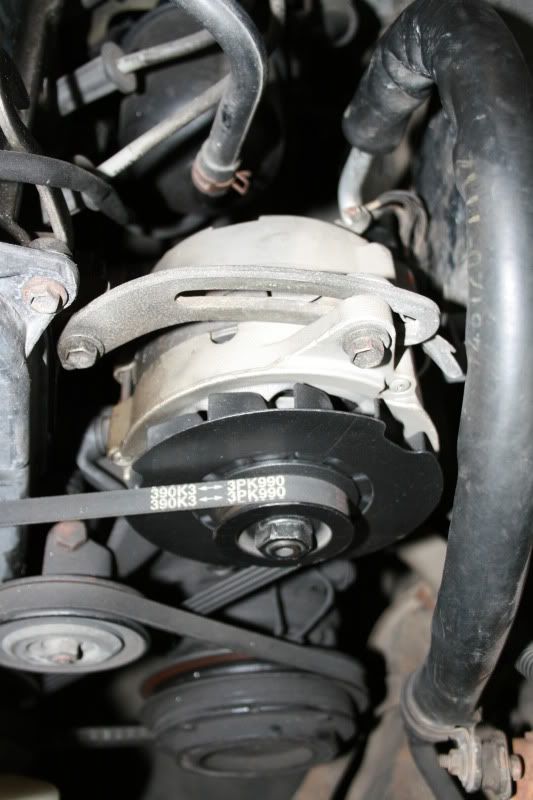
Alternator looks clean! that needs to go up for sale, and see what its worth...
Radiator is MINT too! no bents fins WTF that amazing! I wonder what they sell for?
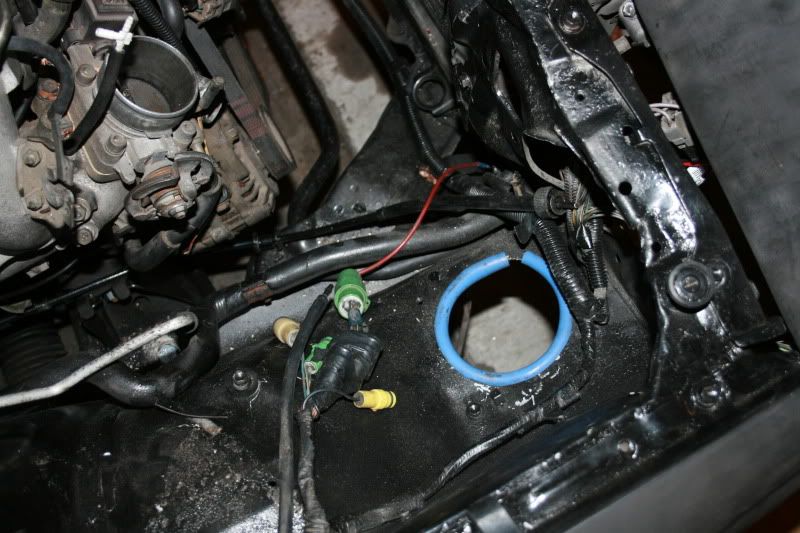
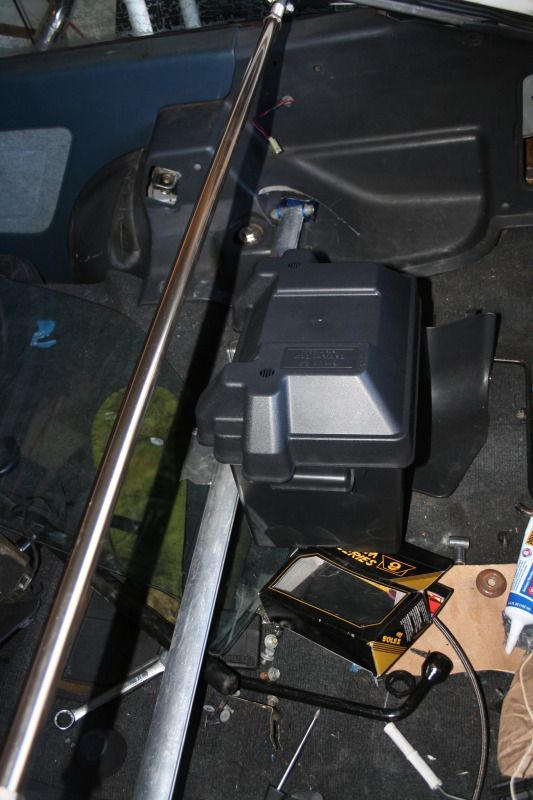
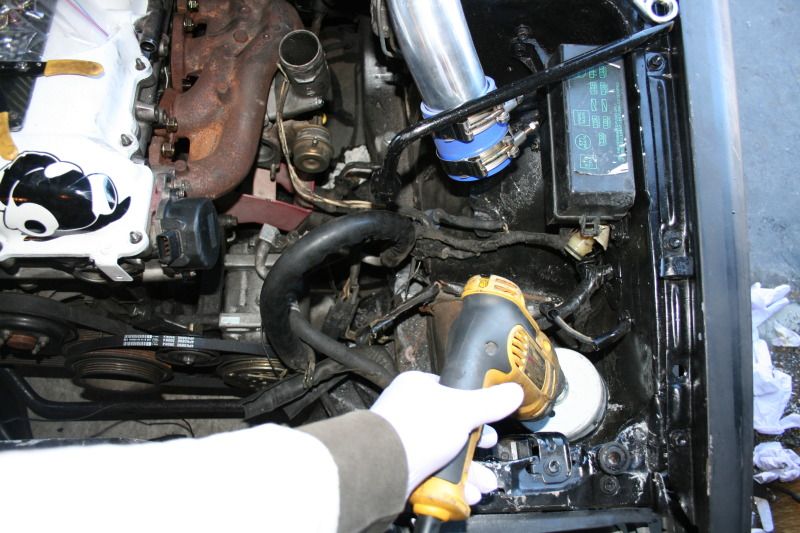
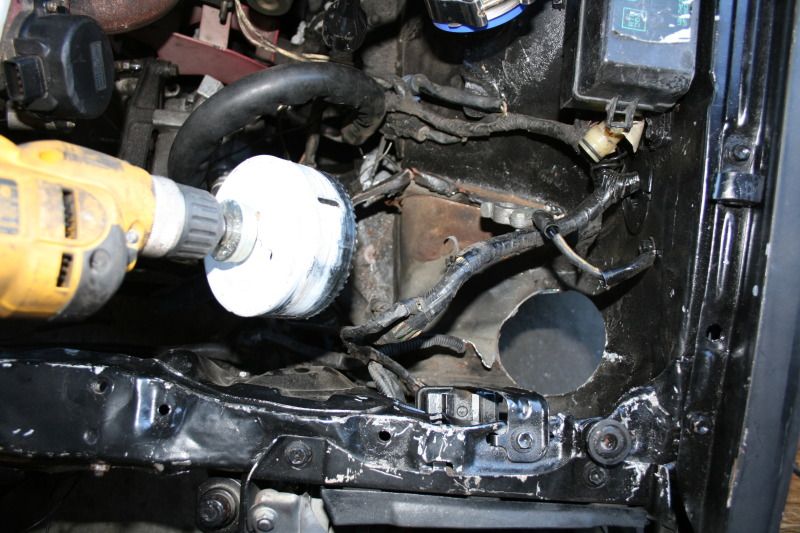
Removed the battery, as I will be relocating it to the back. I need to cut out the battery stand to make it look cleaner
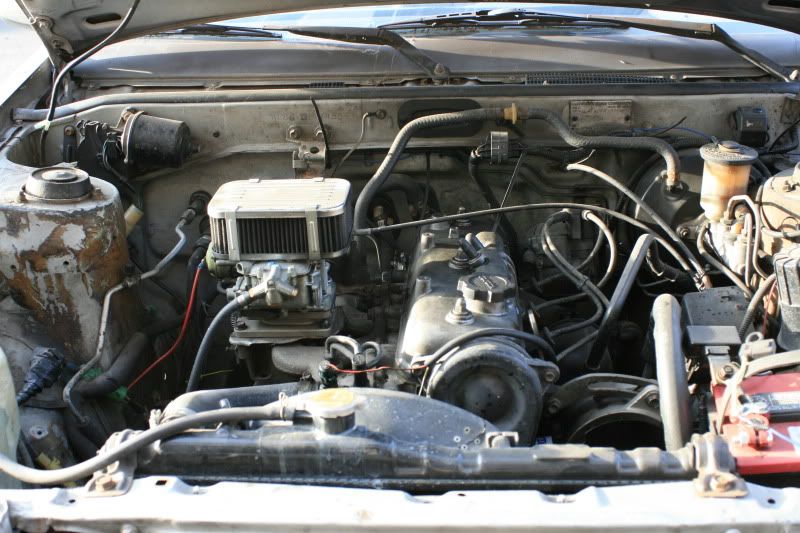
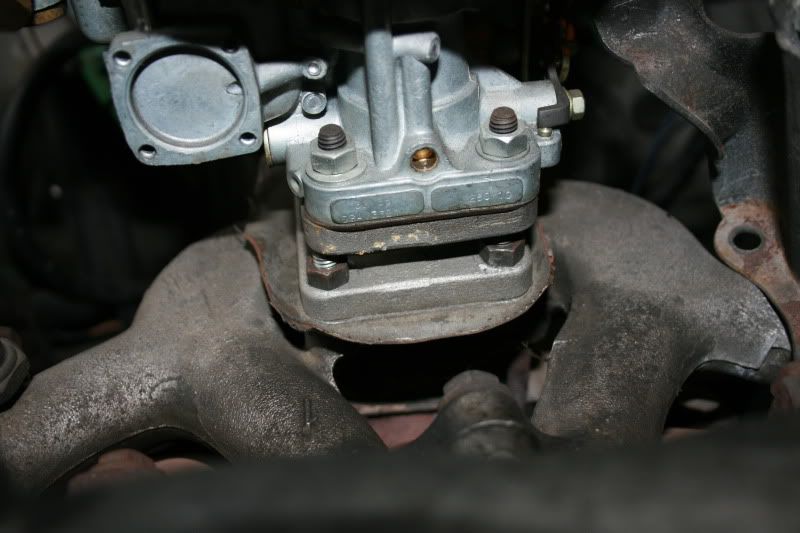
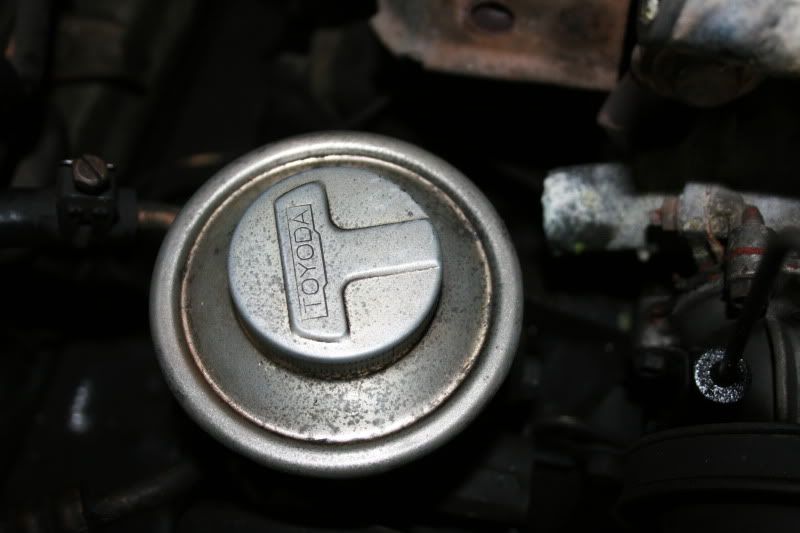
looks like it has a weber carb... not sure if thats aftermarket or oem... no idea what its worth either....? any imput would be appreciated.
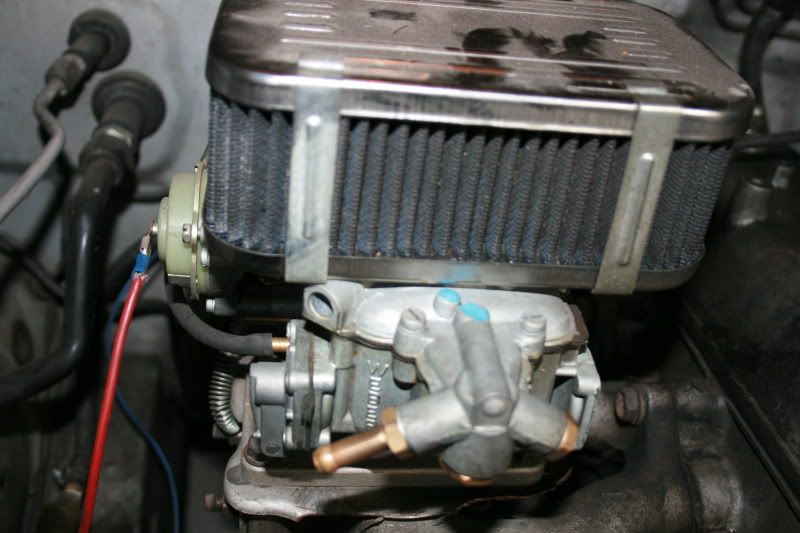
This resivour.. is cool looking! love the oldschoolness
I remvoed the coolant overflow tank too, since it was cracked and ugly. I will make somthing cool for that as well.
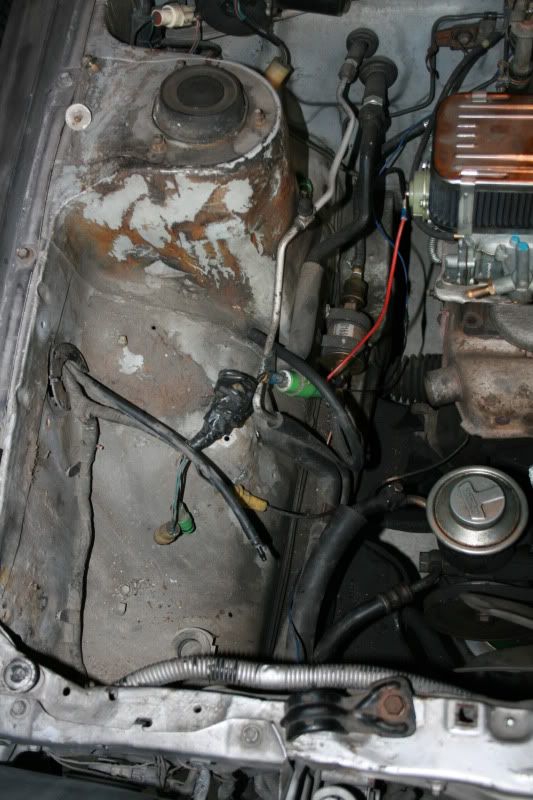
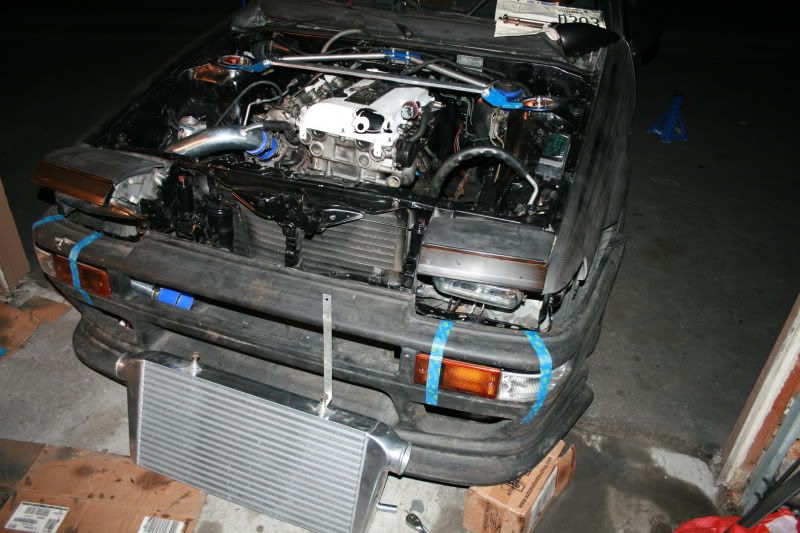
No more radiator. I test fit the Koyo and it fits nice!

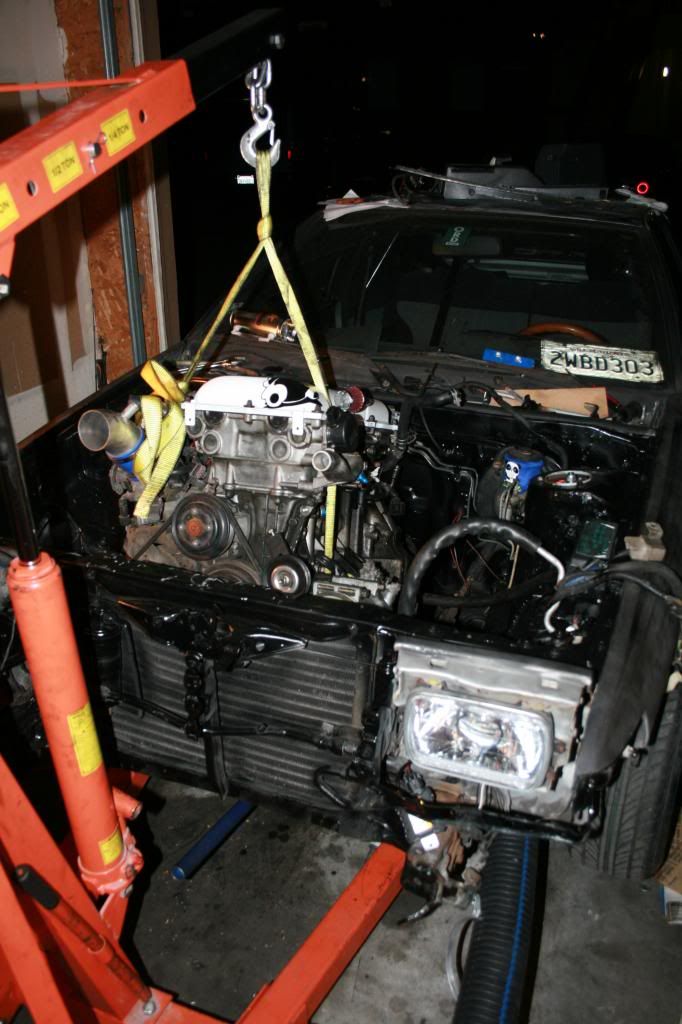
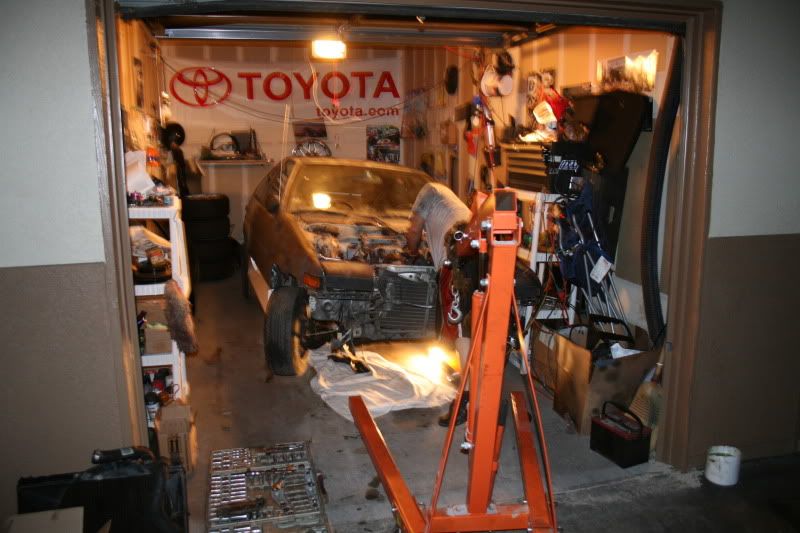
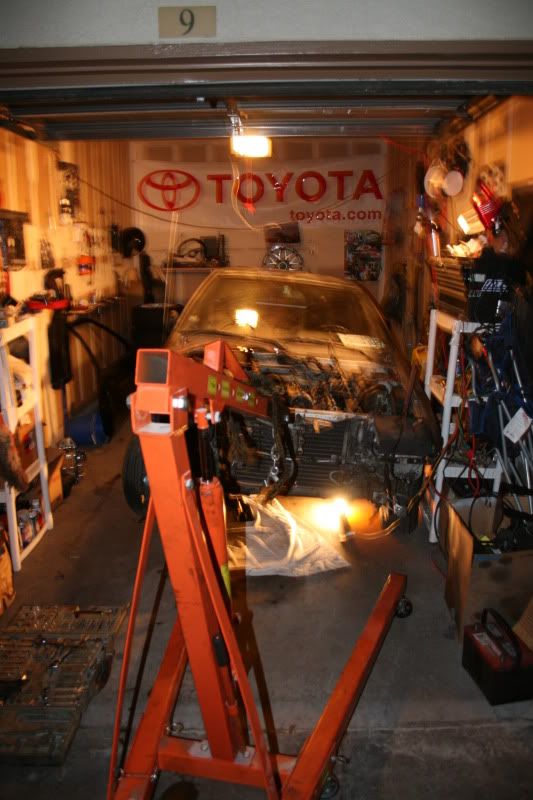
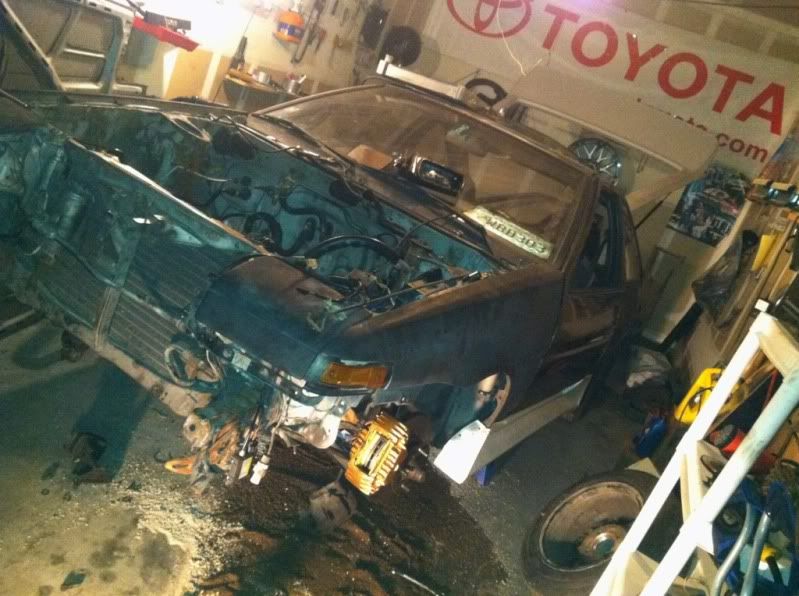
Thanks to the help of my buddy we labled all the wires and sensors, and got the motor out today! YAYAYYAY happy dance!
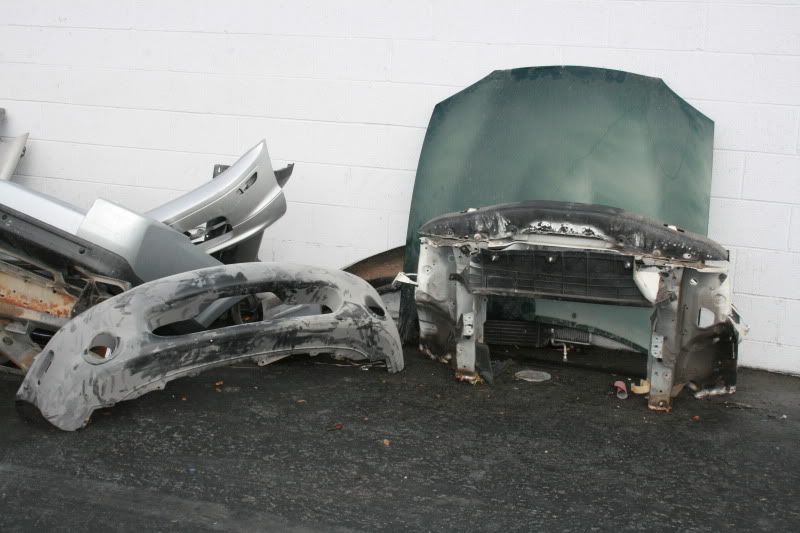
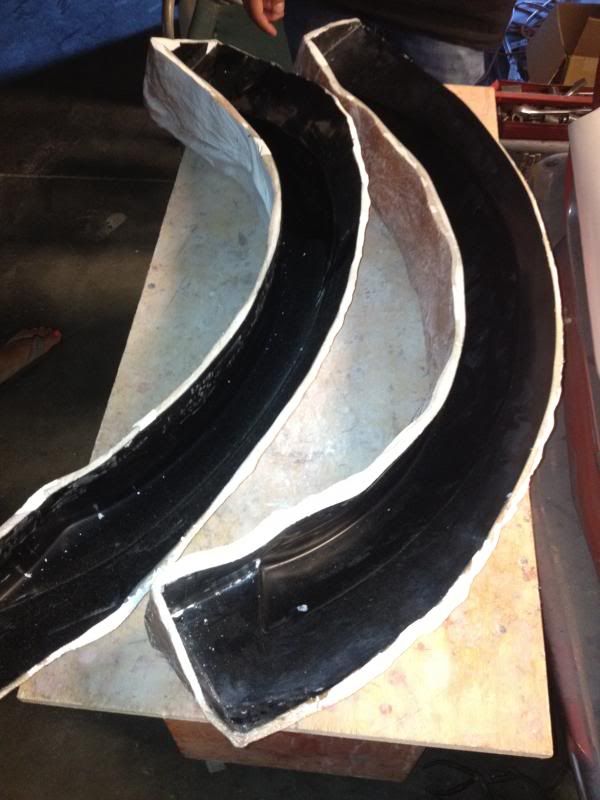
Pulled the front bumper off, so I can fiberglass it back up, to its orginal glory.

good bye 4ac with rod knock... you wont be missed.
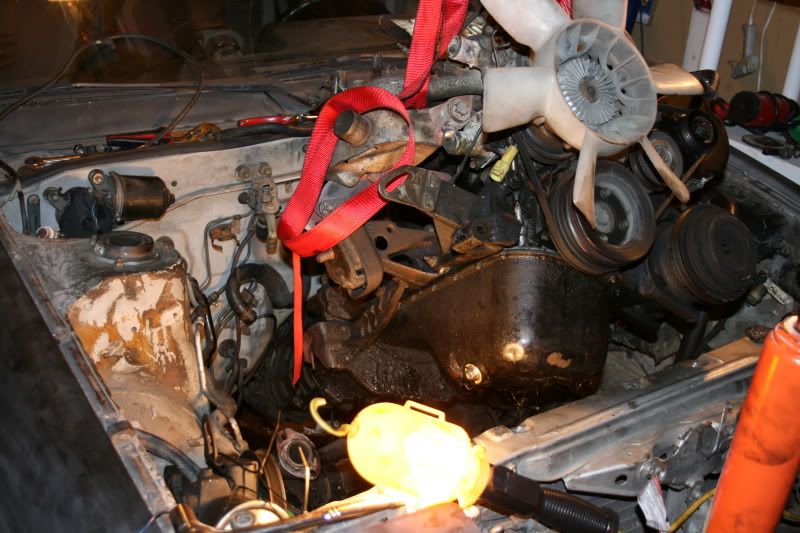
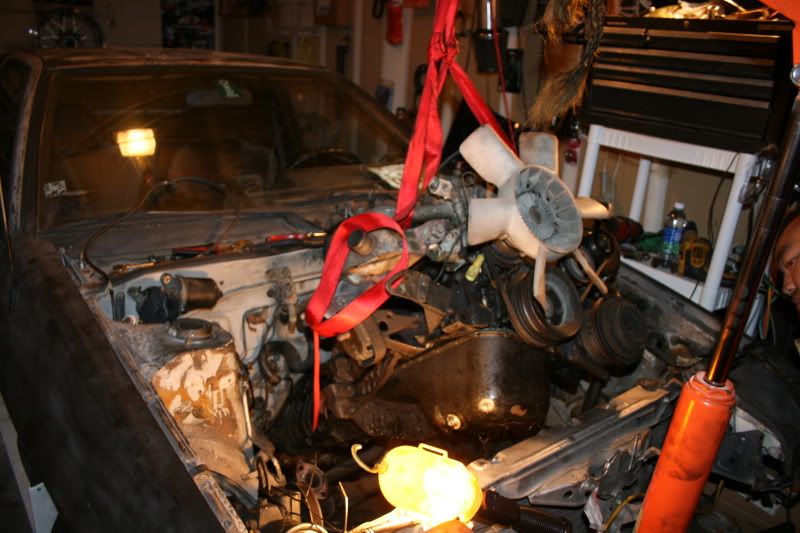
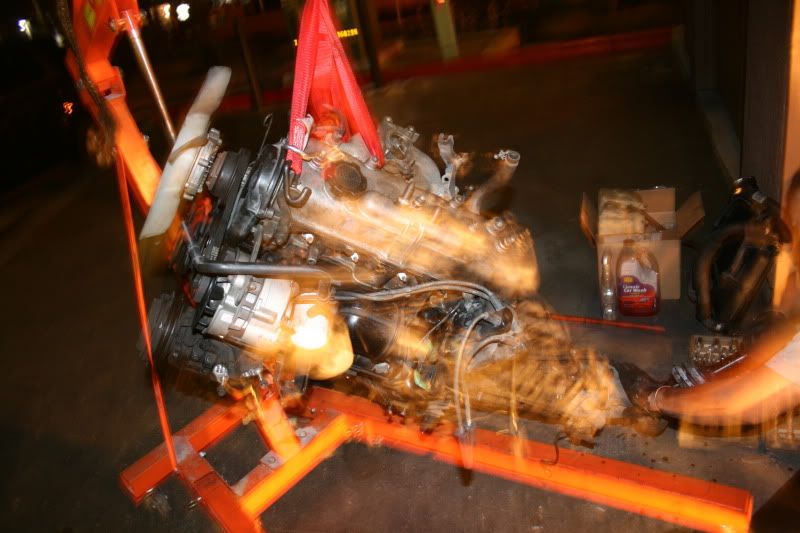

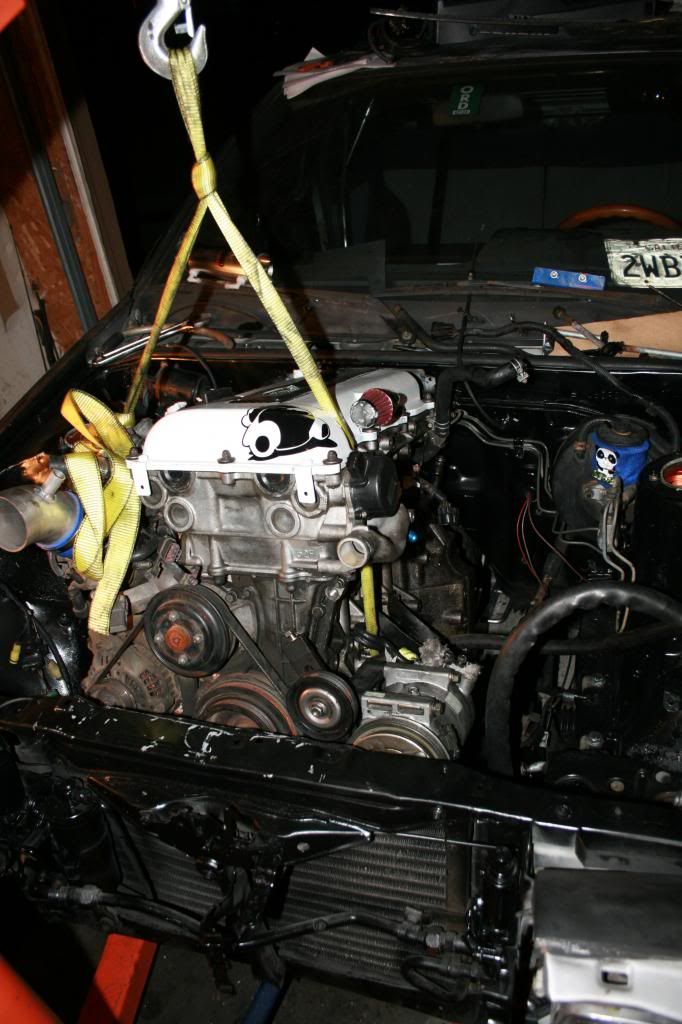
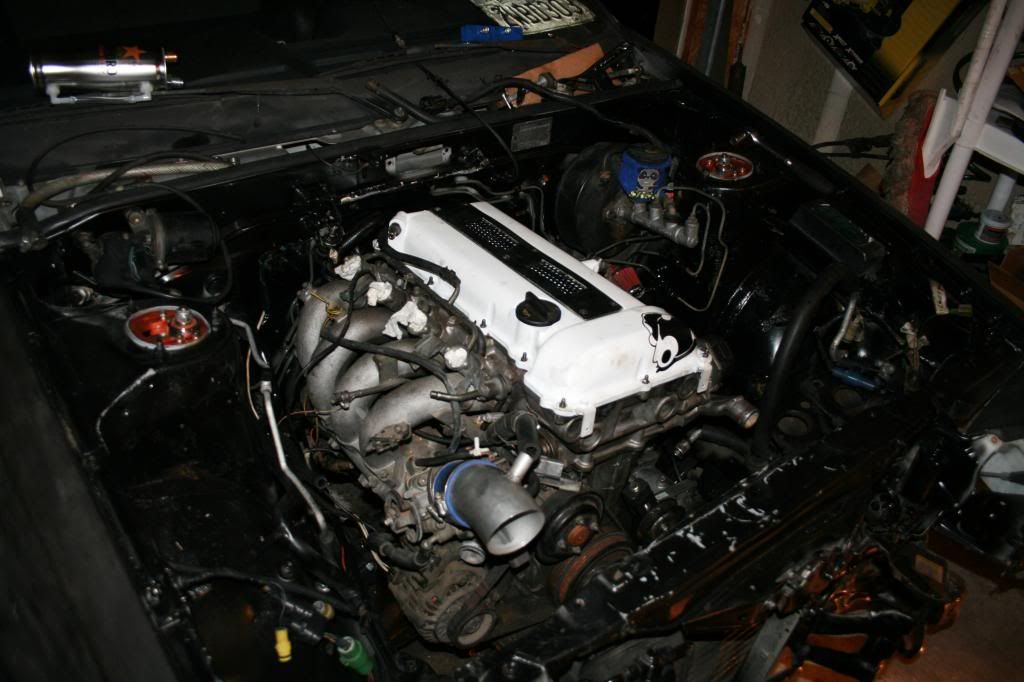
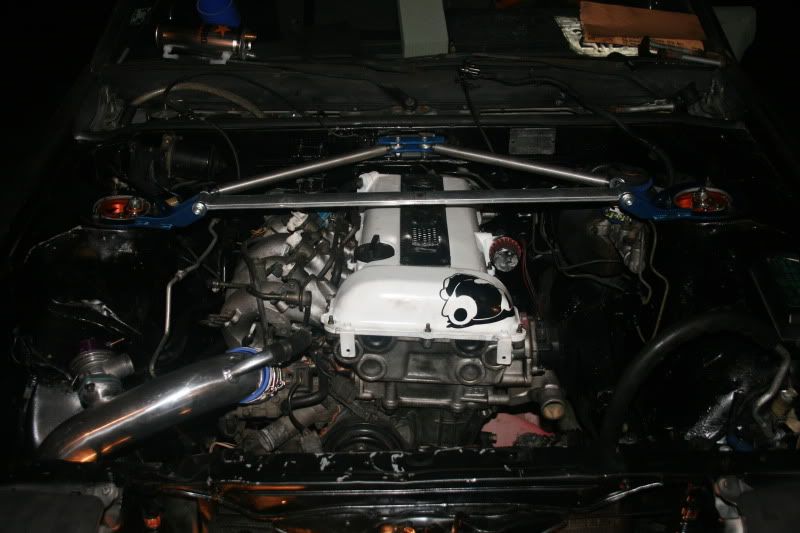
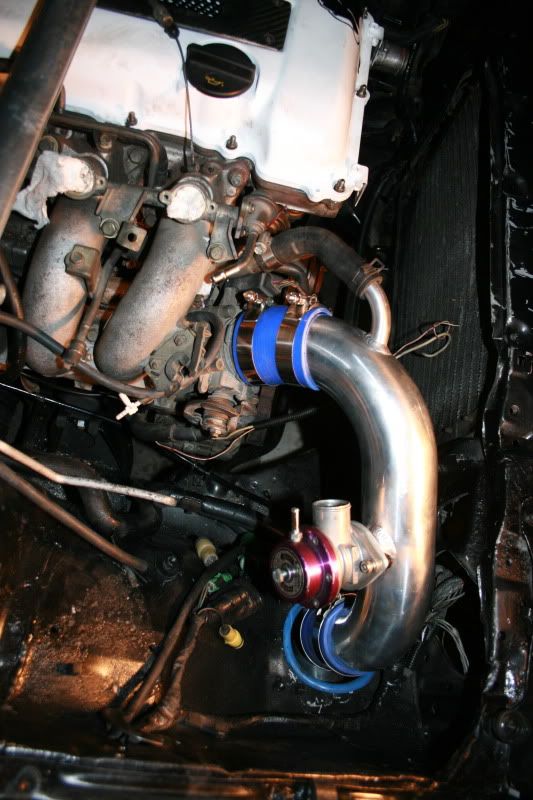
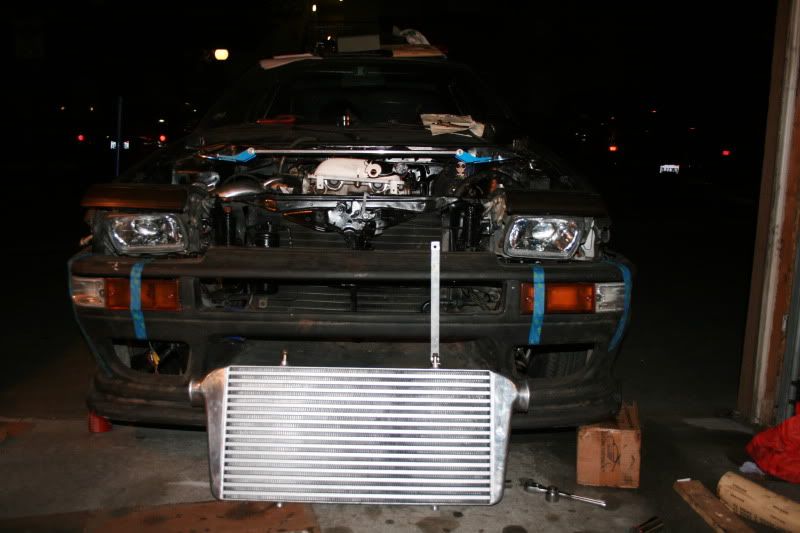
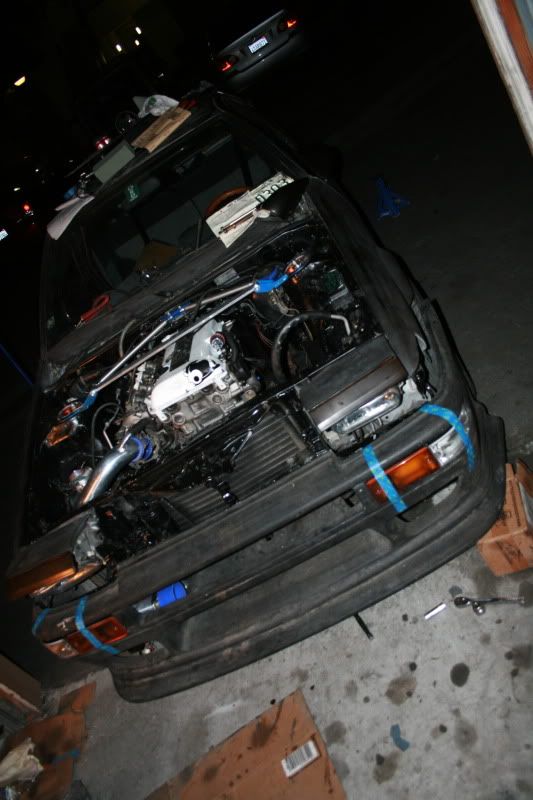
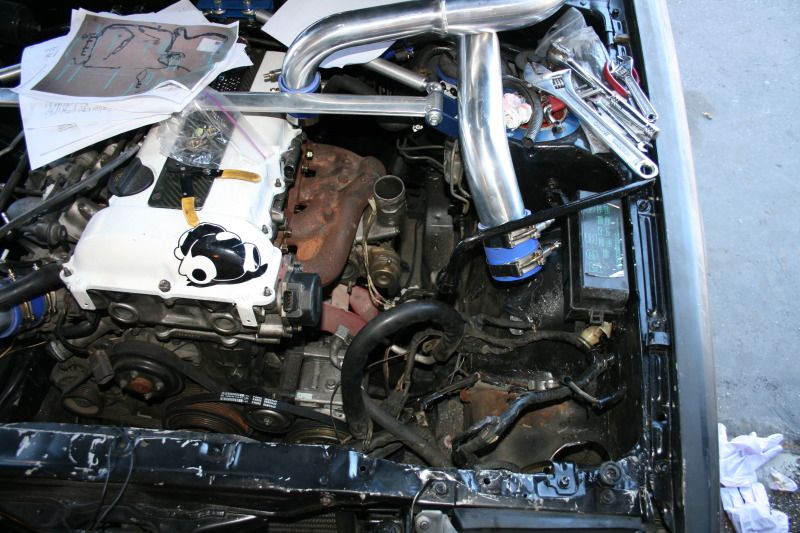
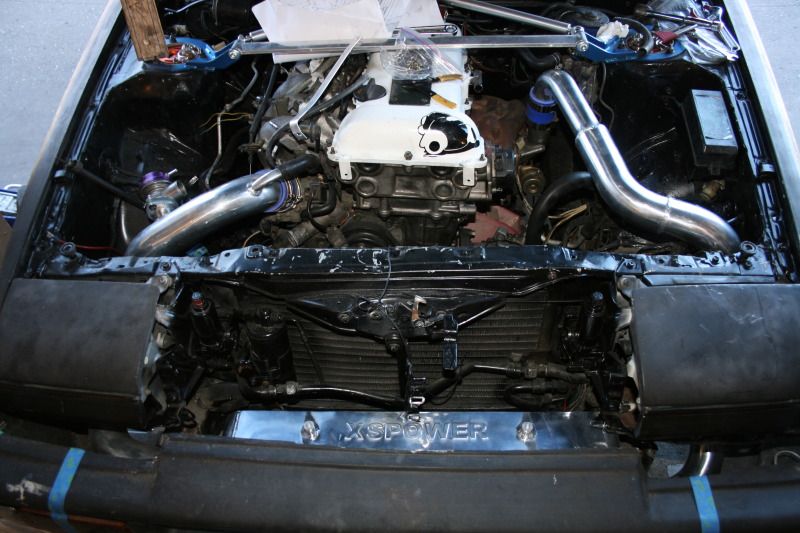
Hello SR20DET, you will look pretty in your new home.
packed up the garage for the night, will do more tomorrow.
thank you milo.
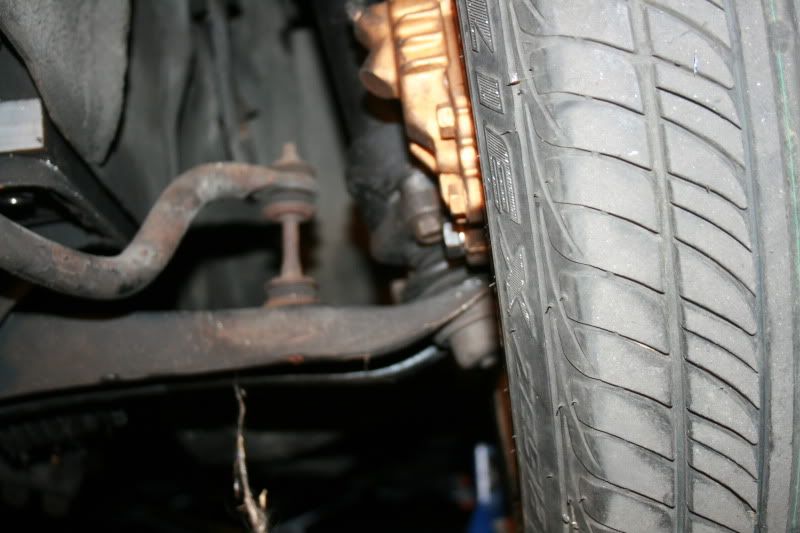
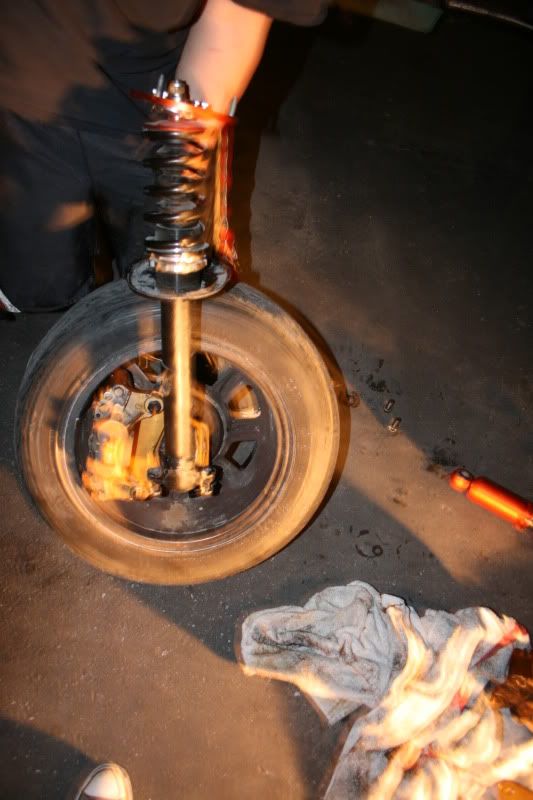
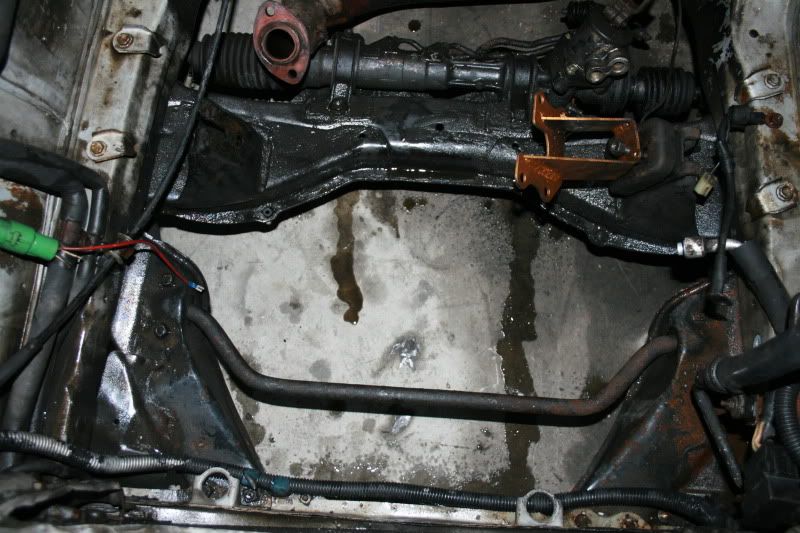
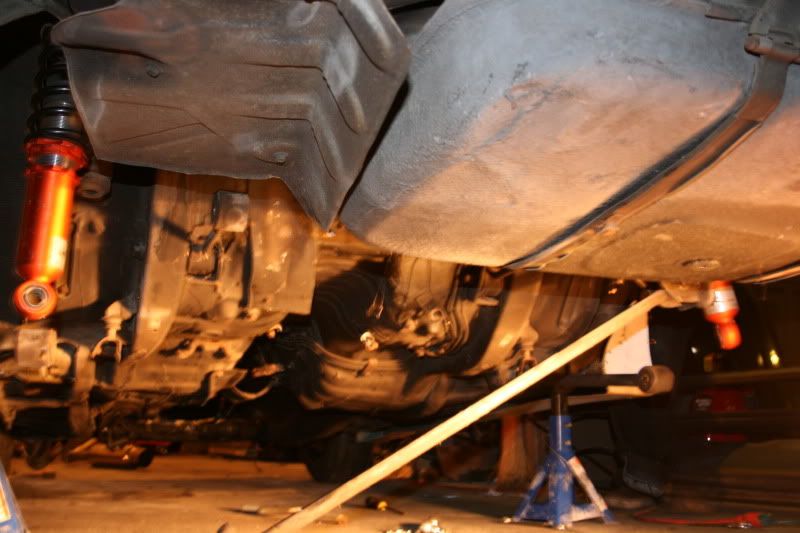
got to work on the suspension too.
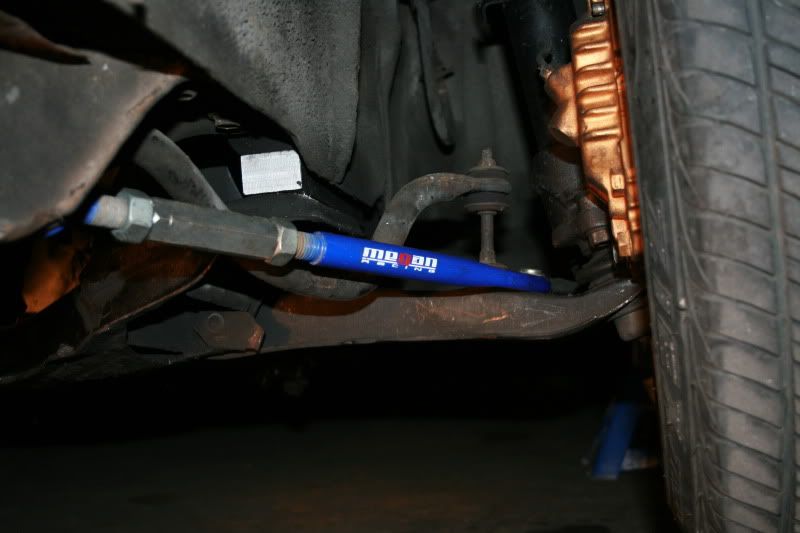
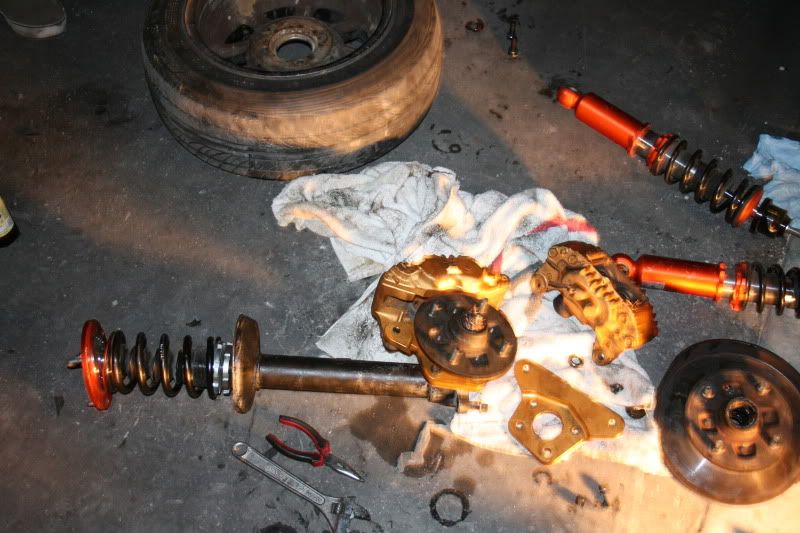
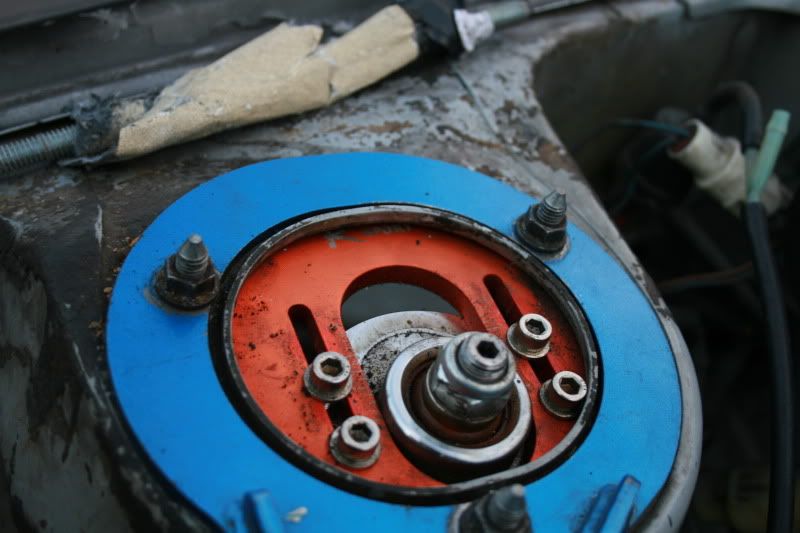
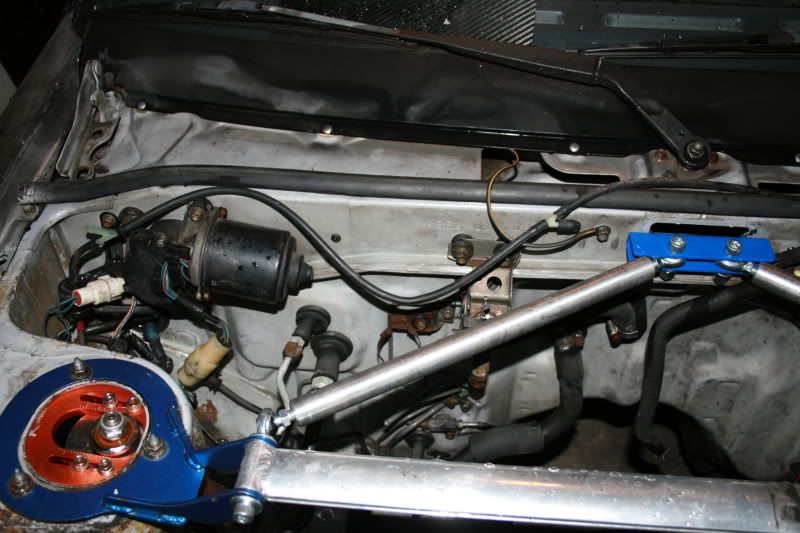
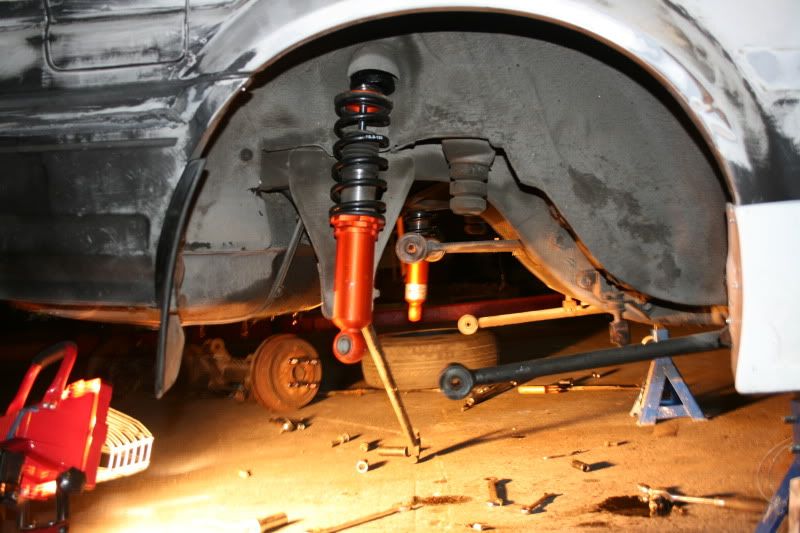
Suspension day! Got my coilovers on! pretty excited about it, man where my OEM shock blown lol
old suspension out!
New coilovers!
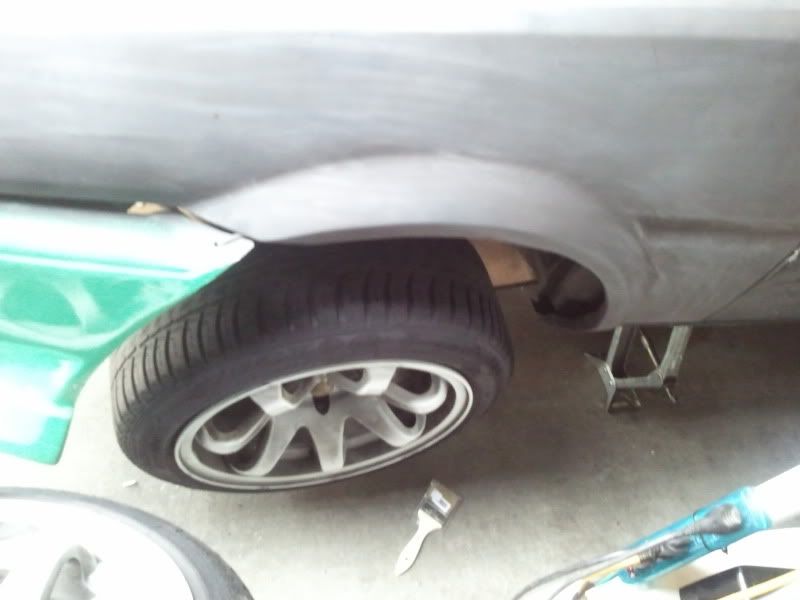
Fitment is sooooo close!
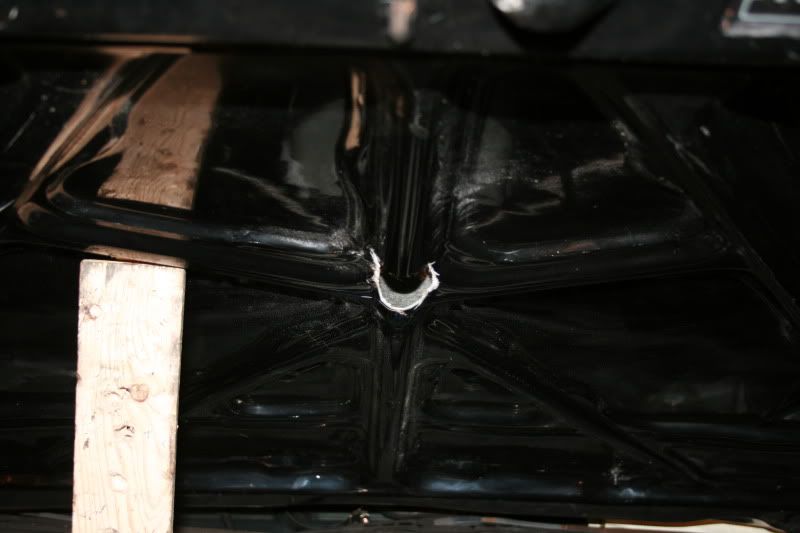
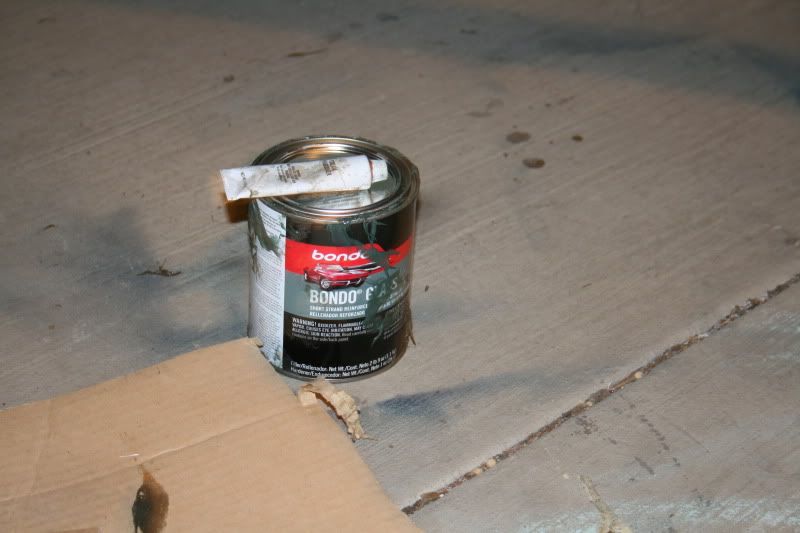
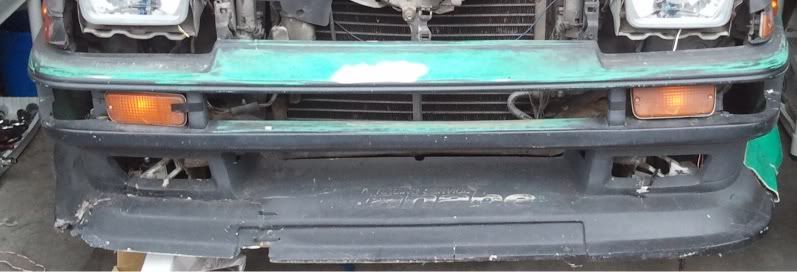
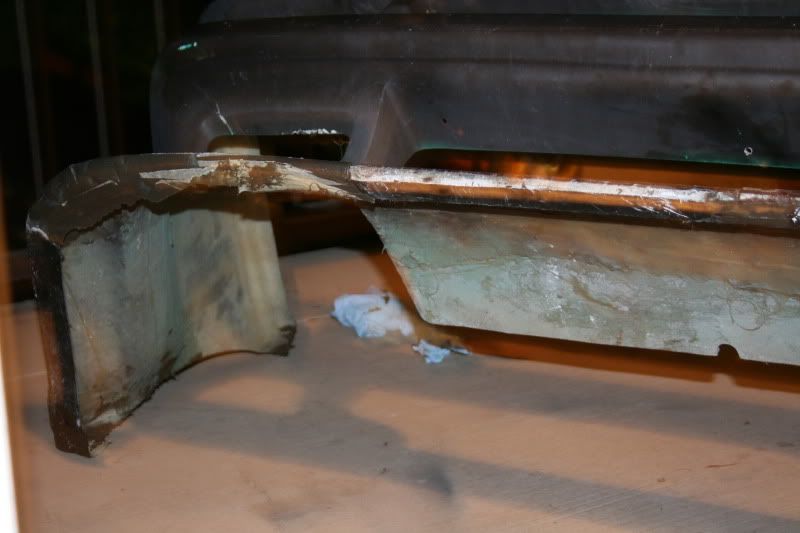
Decided to fix my bumper up. before the car gets sent off to paint.
Had some pre mixed fiberglass longstrand hair left from other projects.
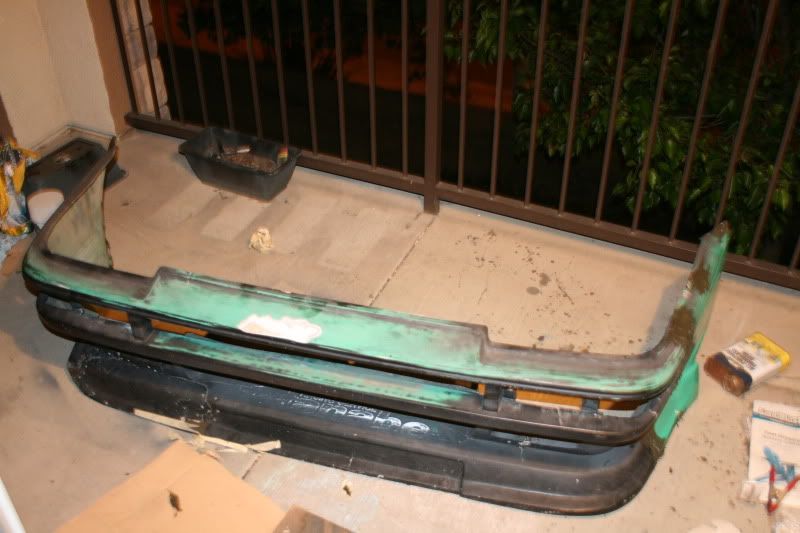
here is how it looked when I got the bumper with the car.
cut on one side
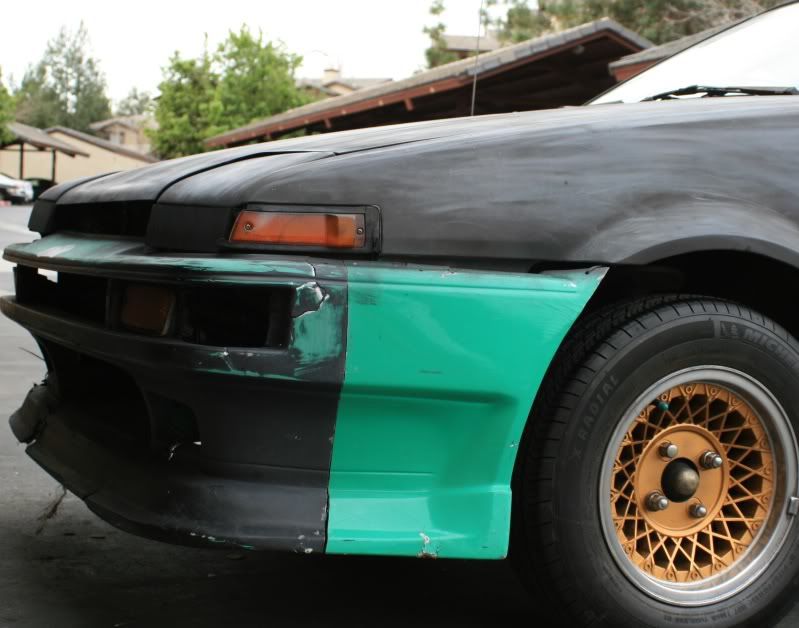
Broken corner, and the whole bottom bit broken off
Cracks on many of the supports and just all over
started glassing the cracks
glassed the cut area
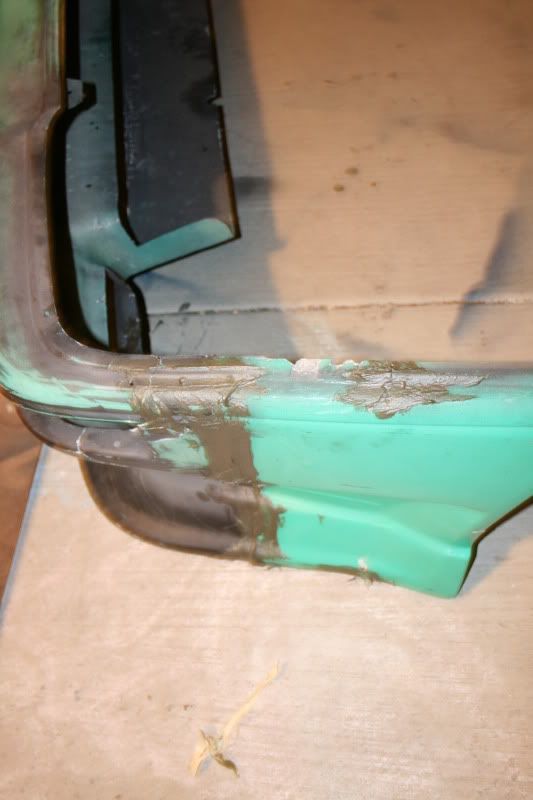
started to fix the edge and the underside

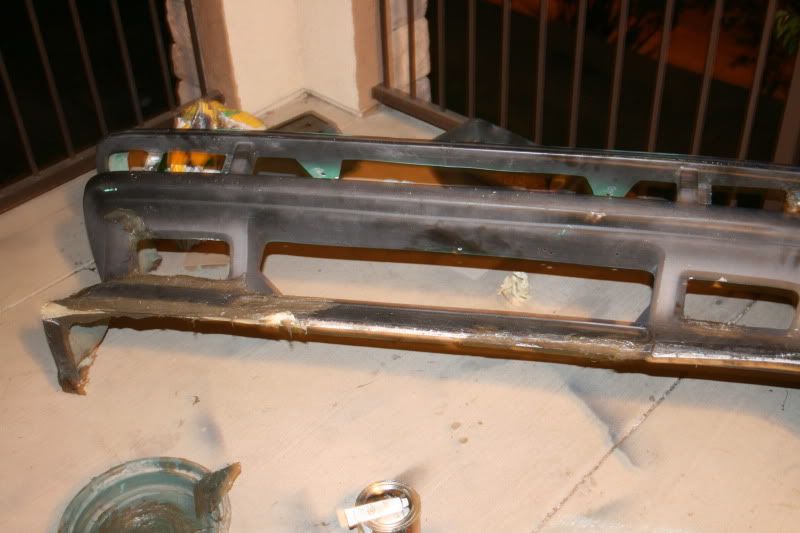
I will do some sanding tomorrow and see if I need to add more or just smooth here out.
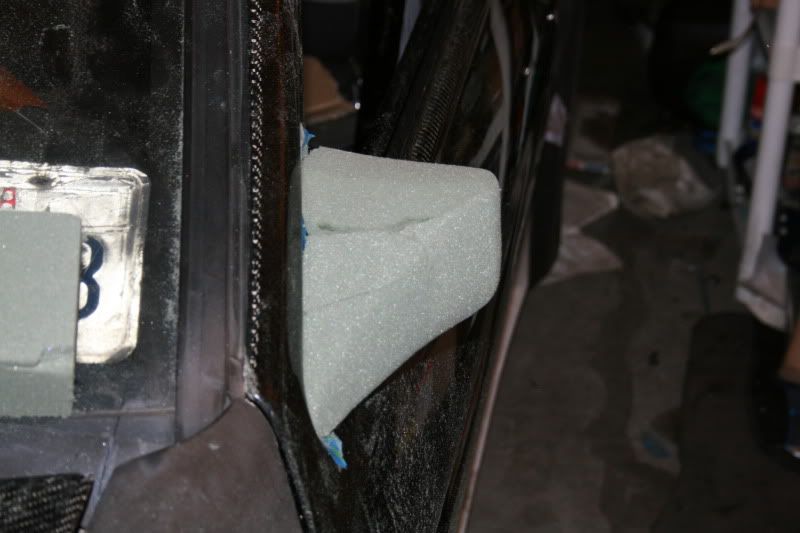
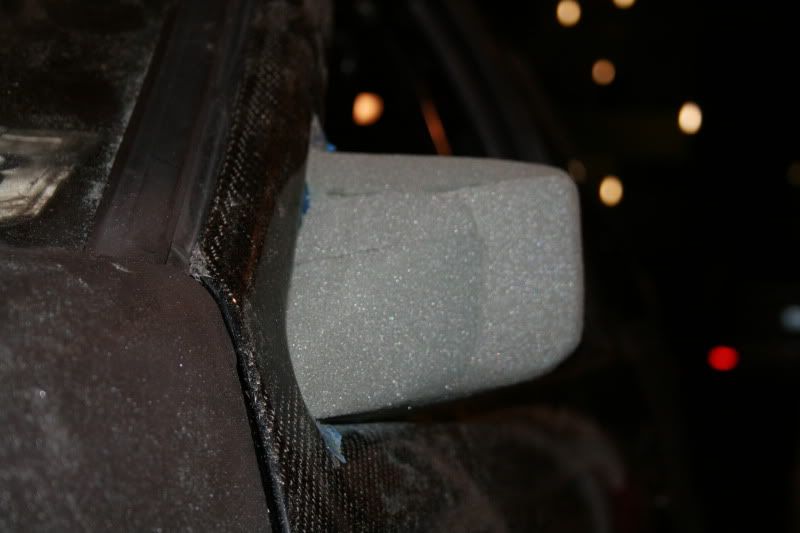
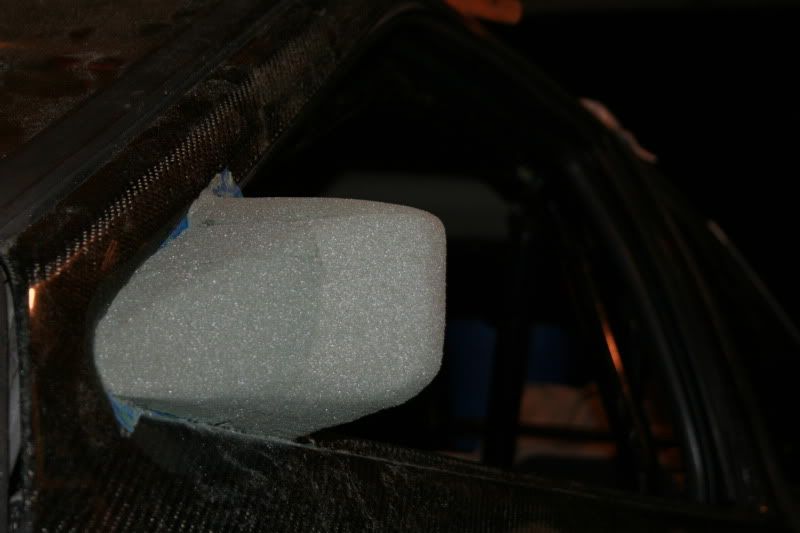
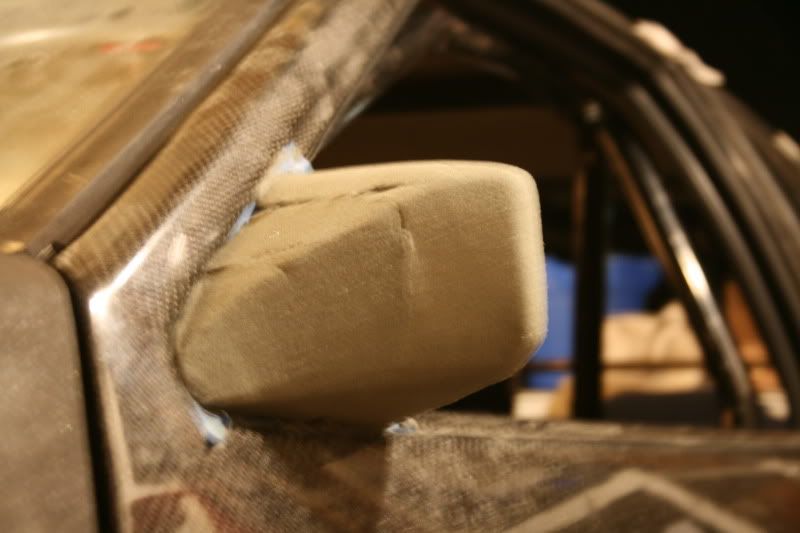
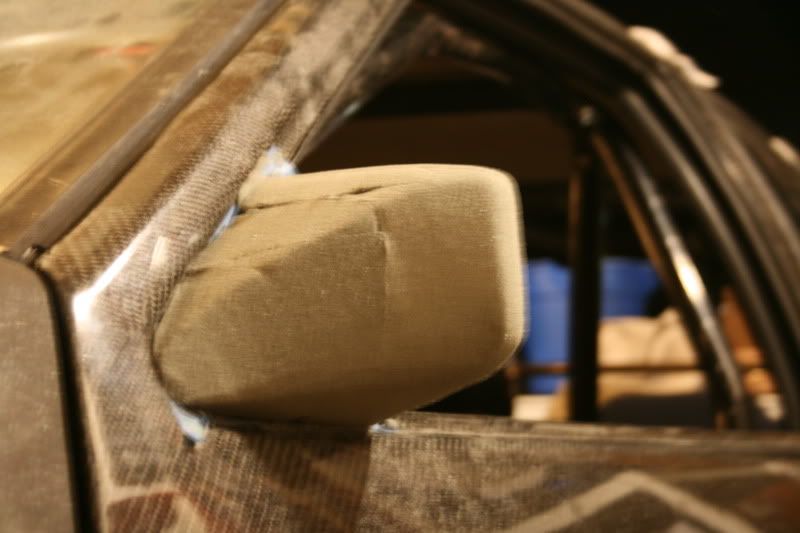
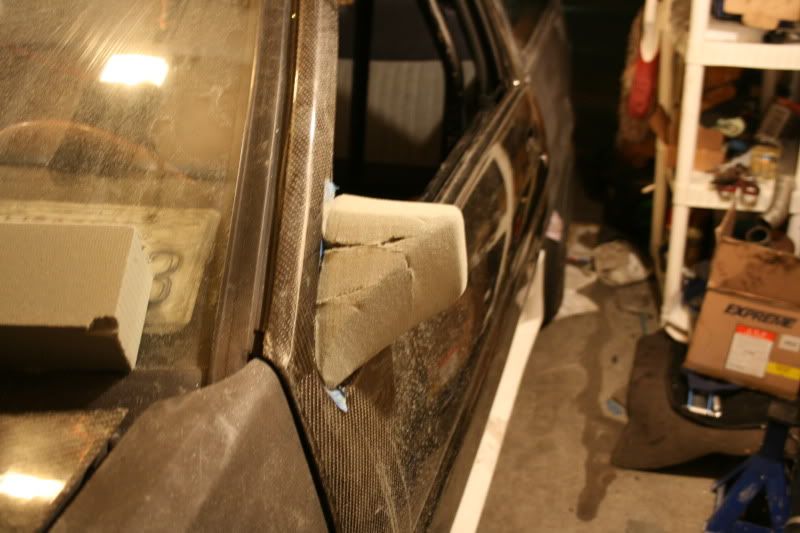
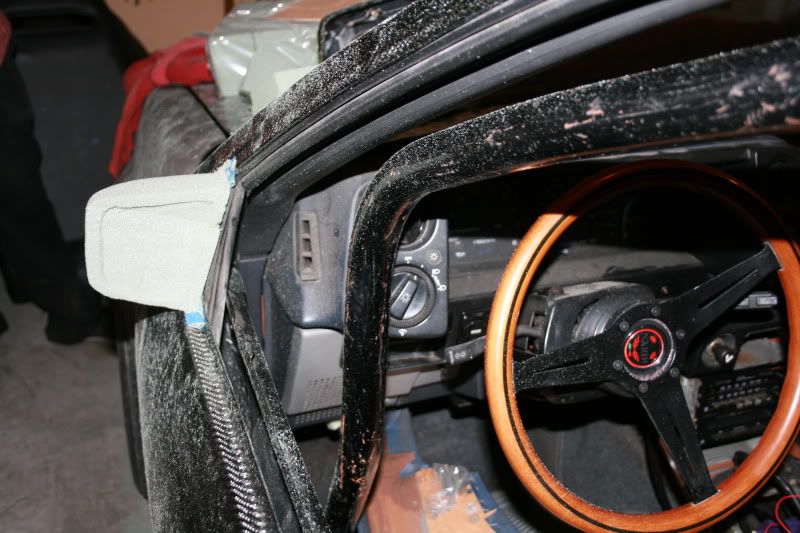
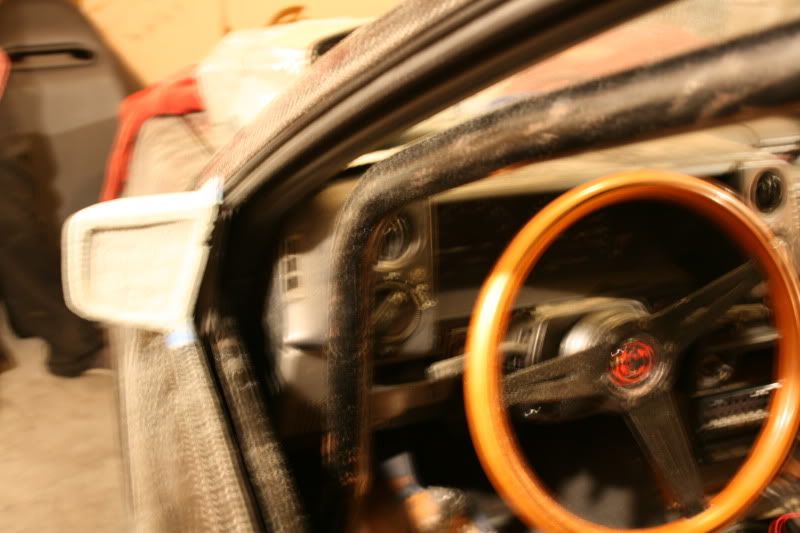
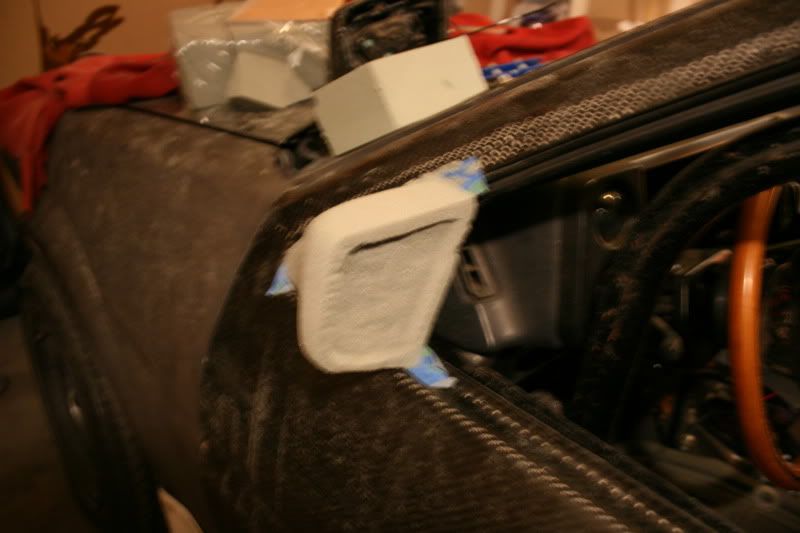
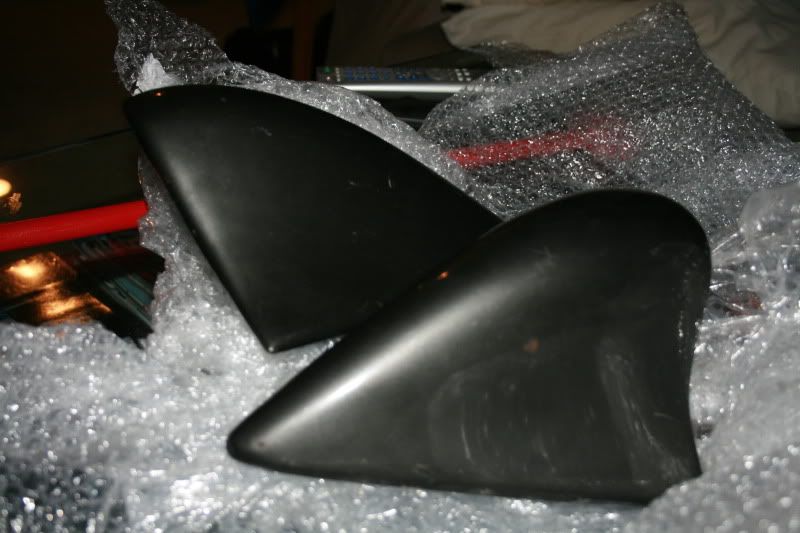
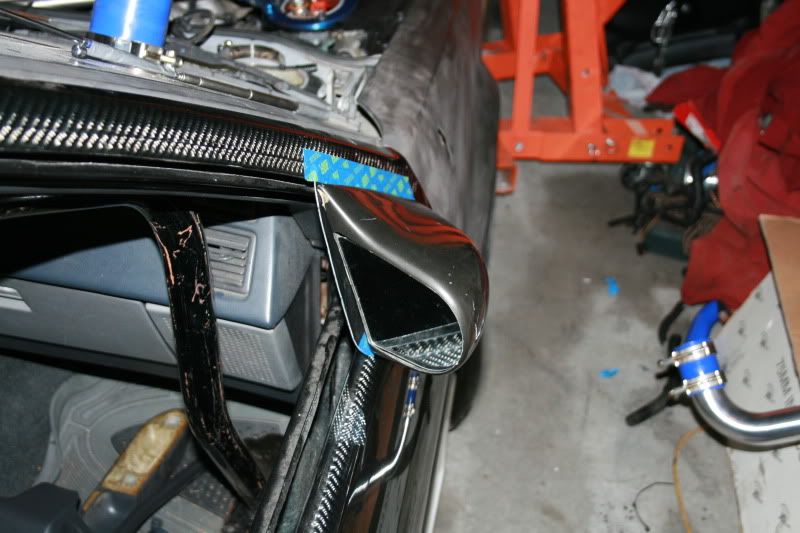
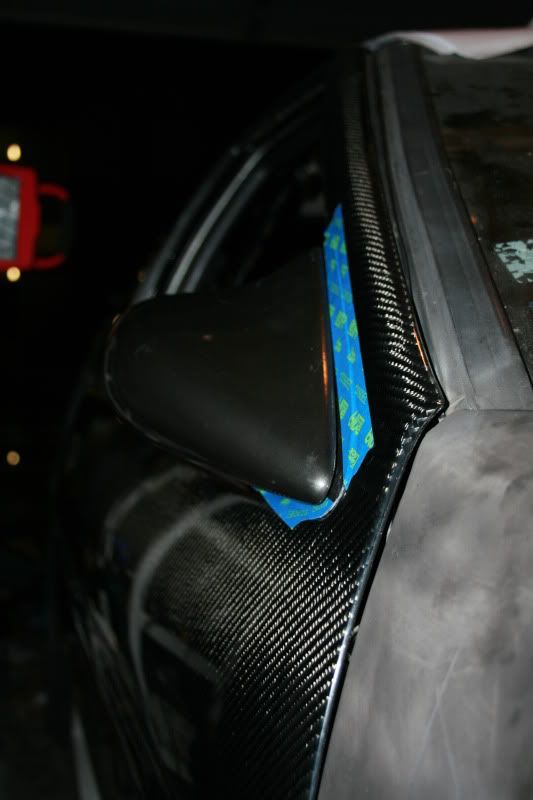
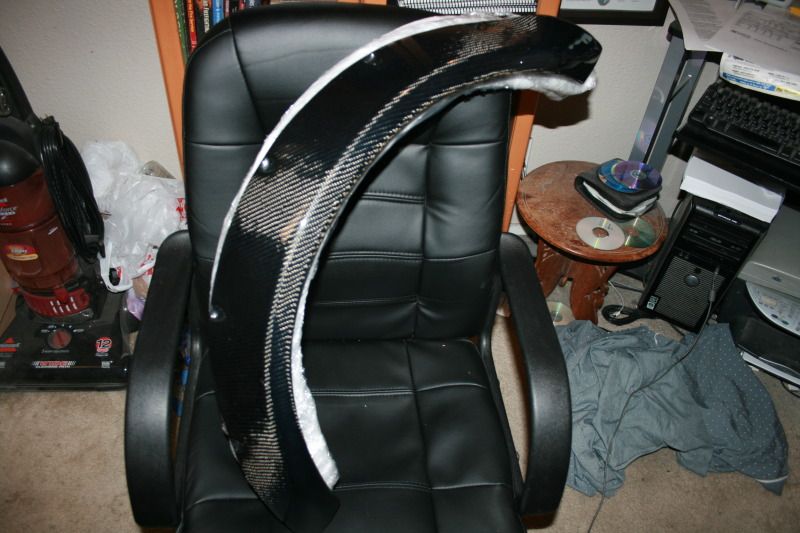
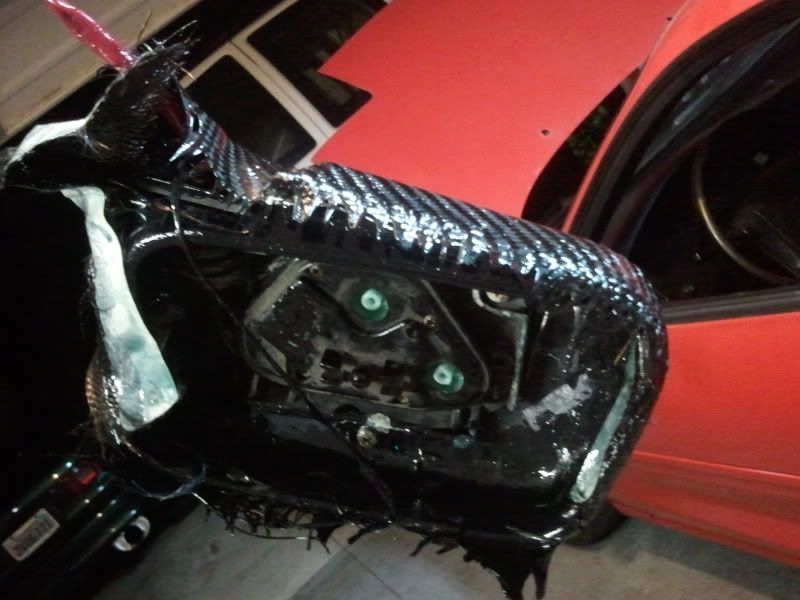
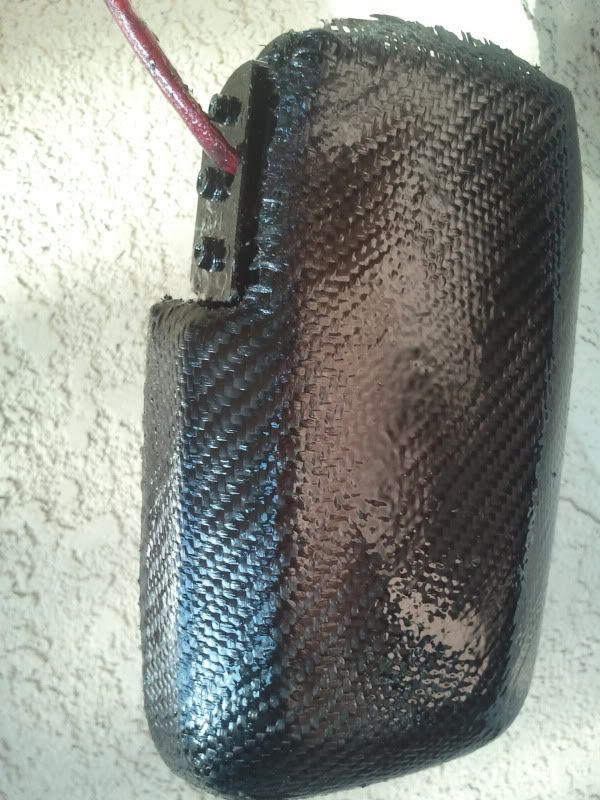
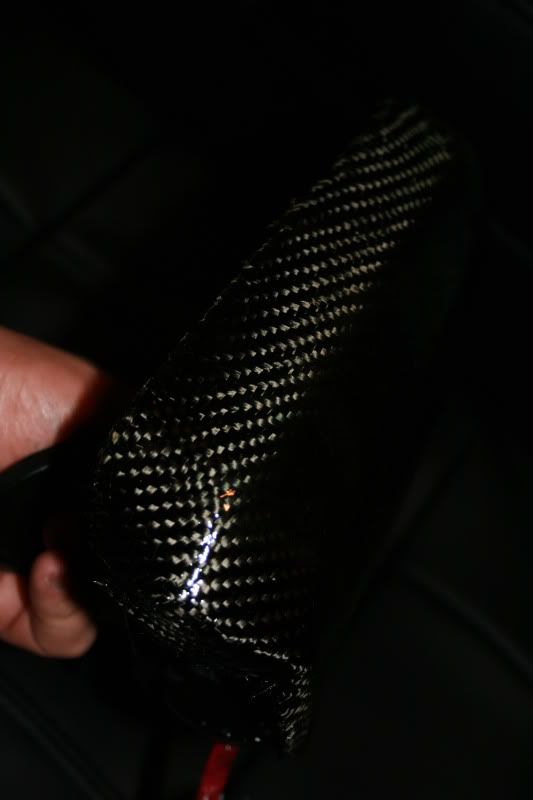
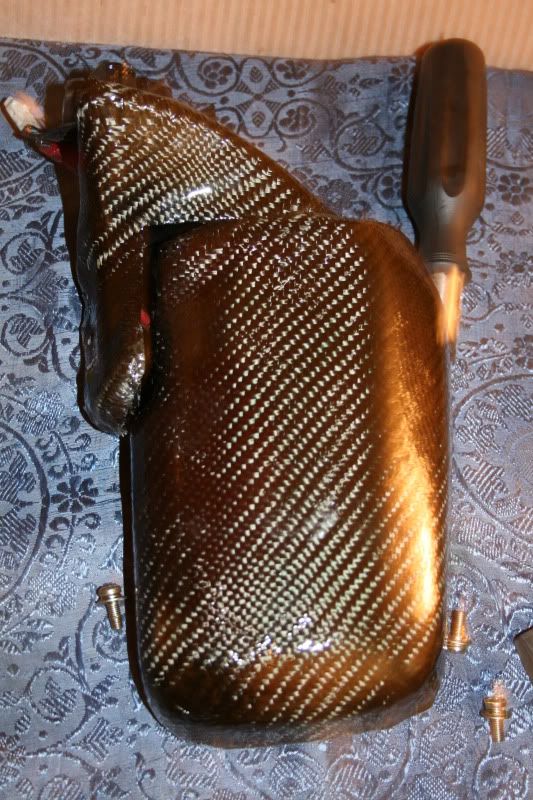
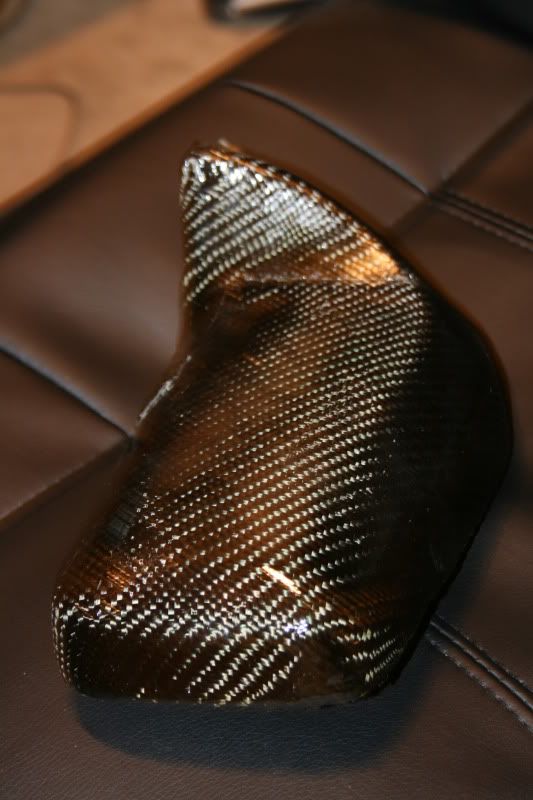
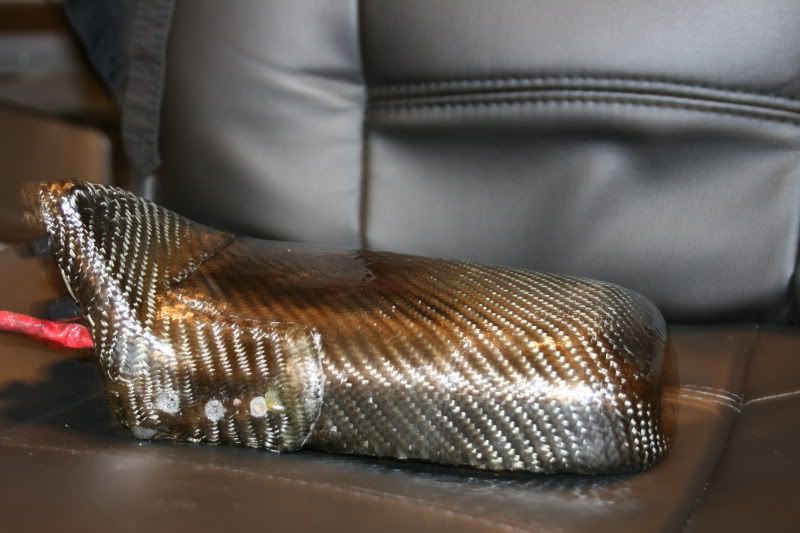
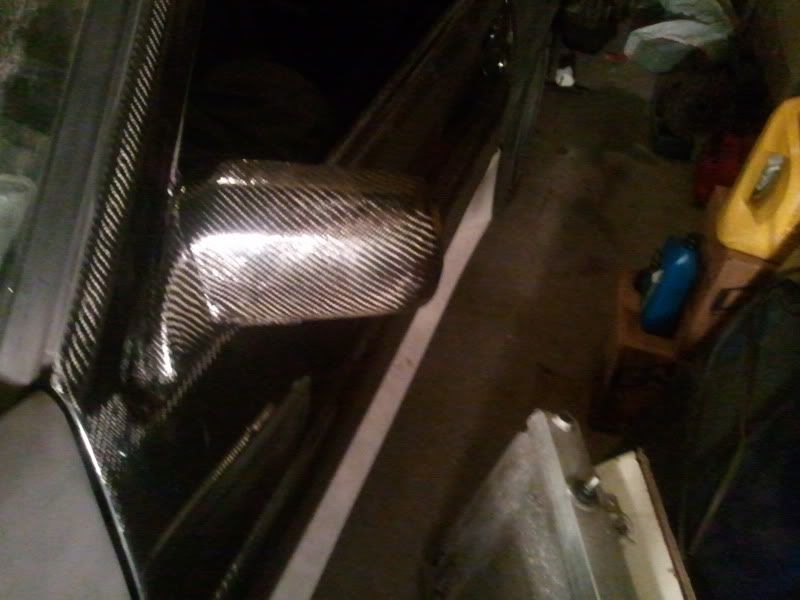
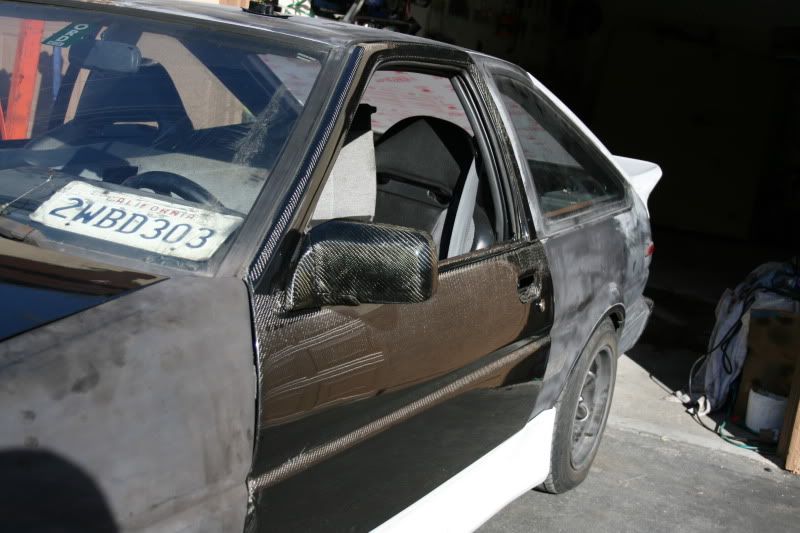
Started playing with my mirrors too, since they where a bit banged up, I played some CF over them. I will need to trim it up, but it should look good with the matching doors.
more weight reductions parts in! just waiting for my runfree hatchwith wing, should be in this month, then I will weigh in the car!
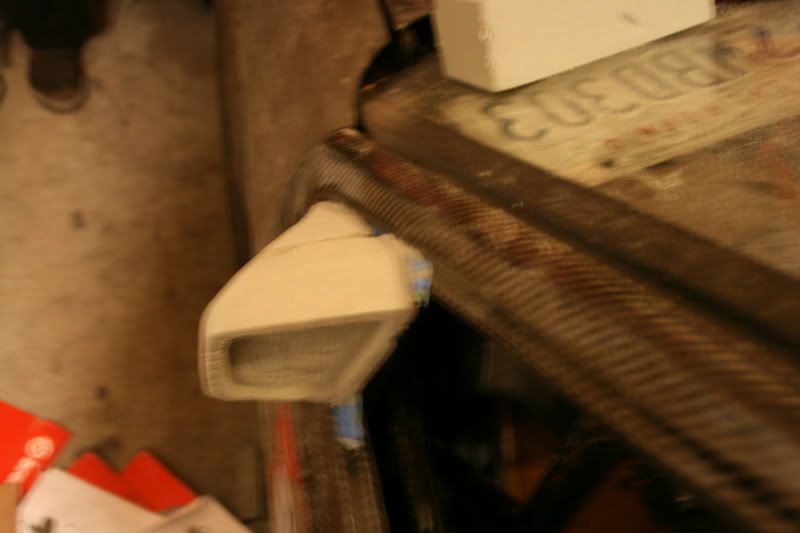
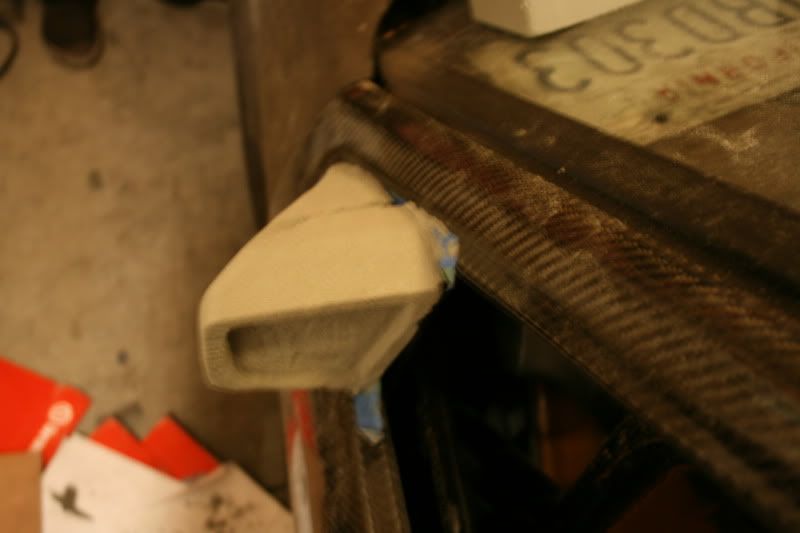
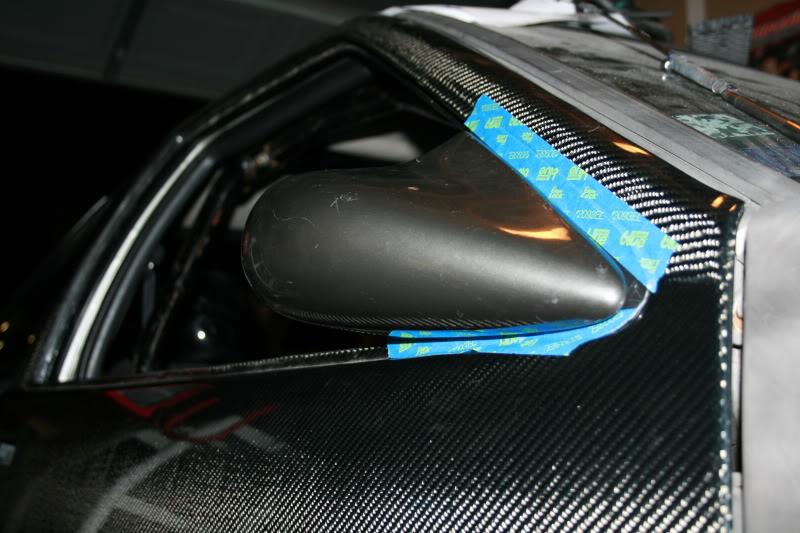
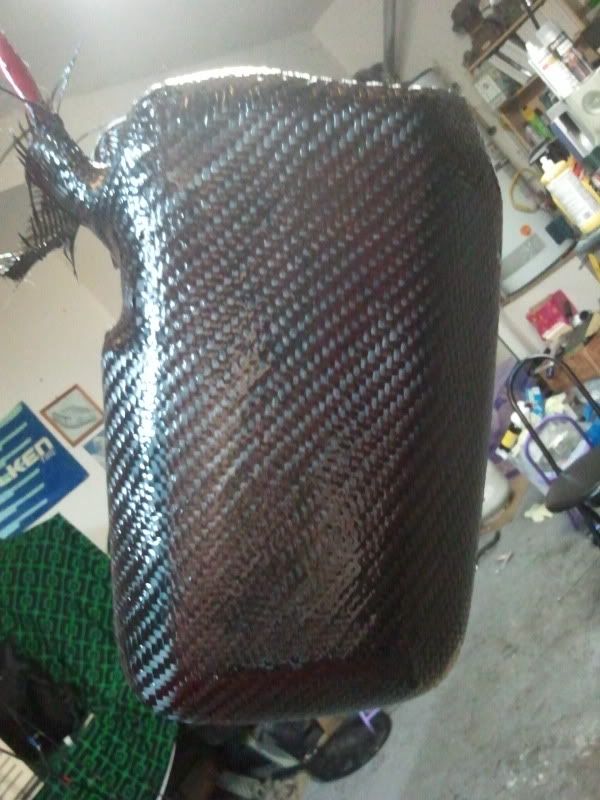
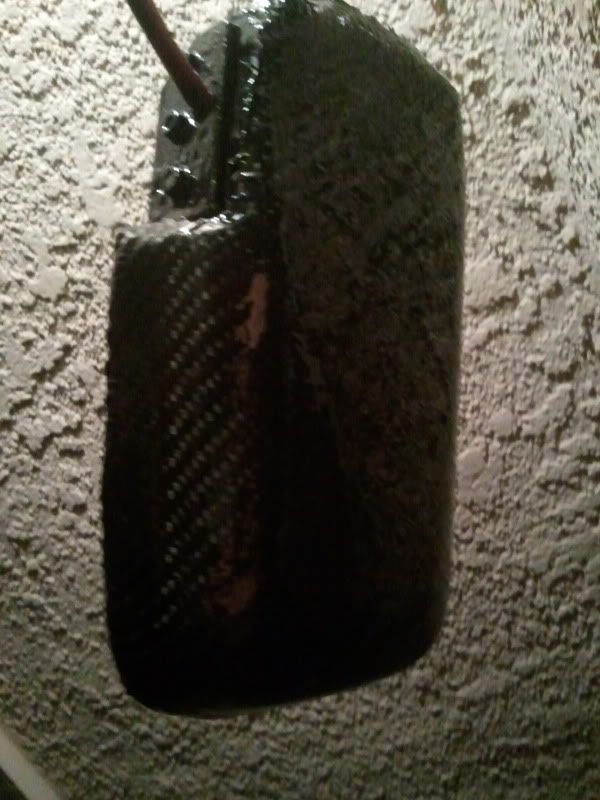
started trimming up the cf, and put the first coat of clear on it, got a few more coats I will put on them buff it out.
2nd coat
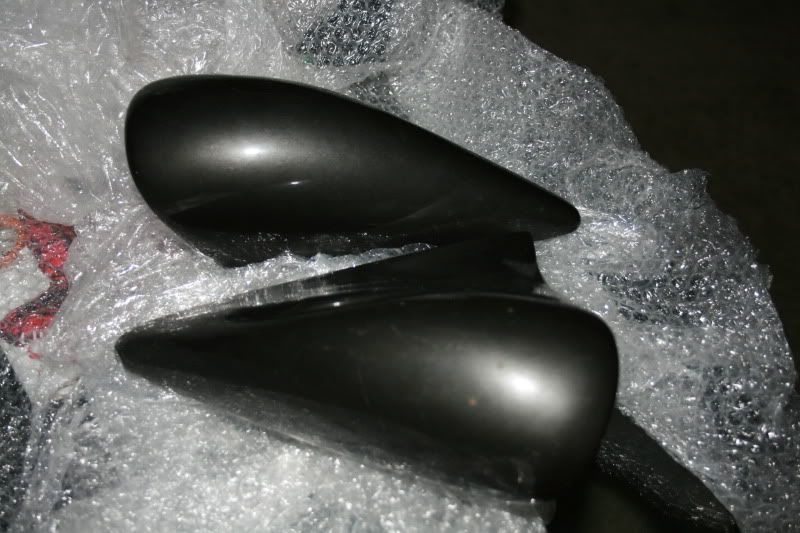
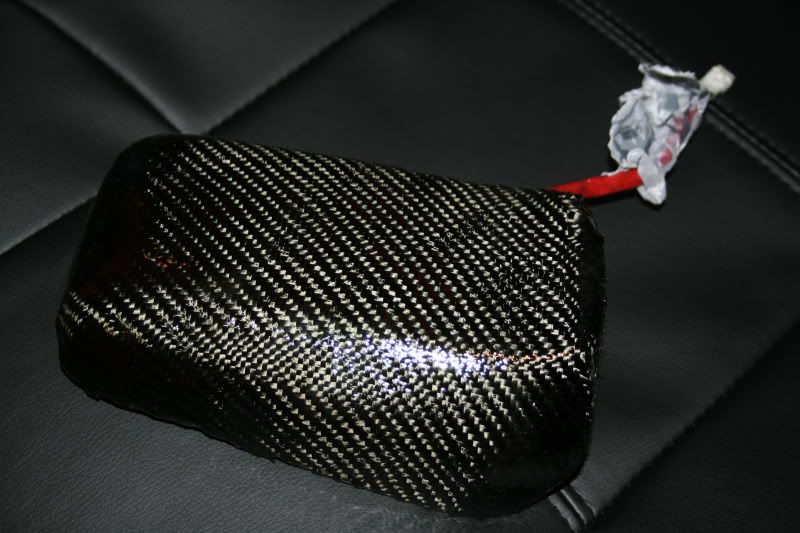
Well I am pretty surprised how well it turned out! just need to clean it up a bit, but here ya go.
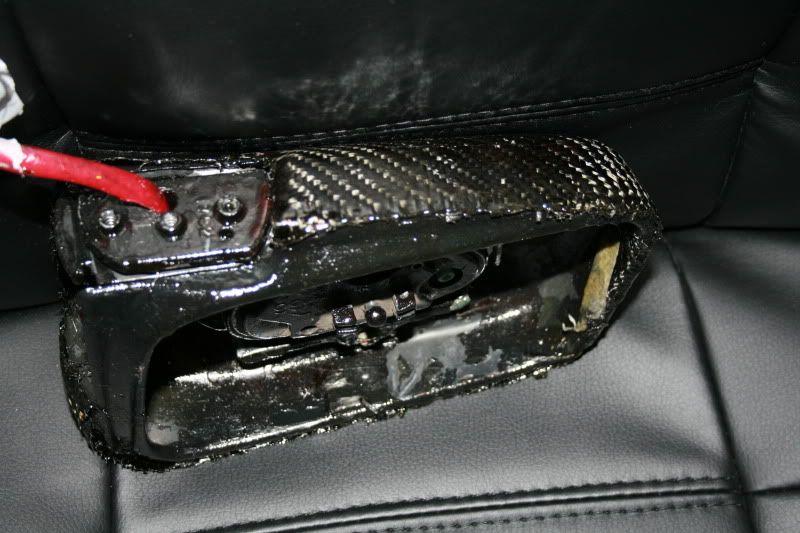
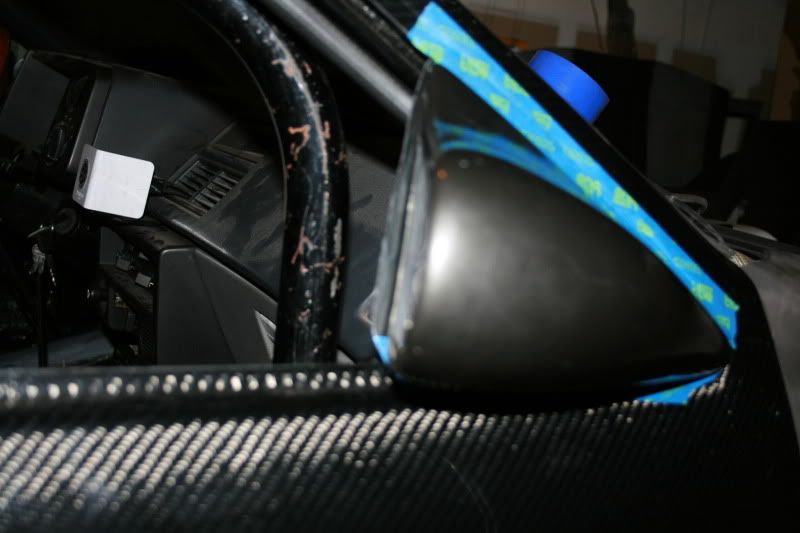
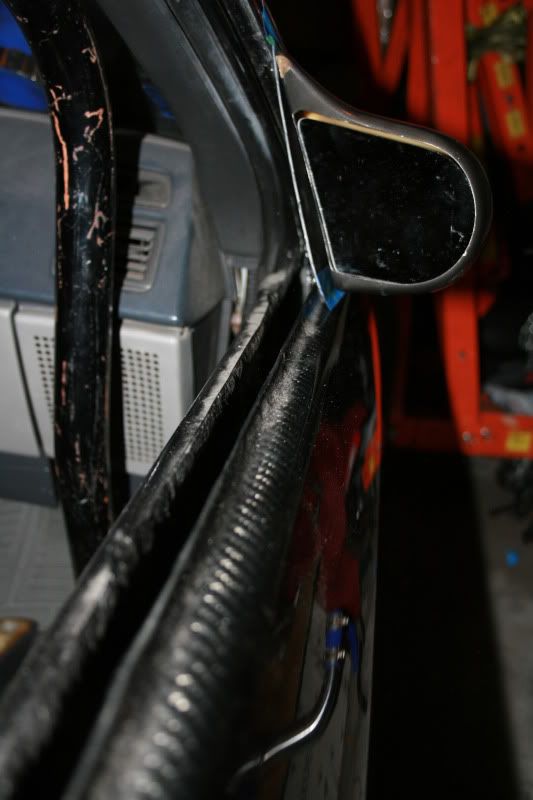
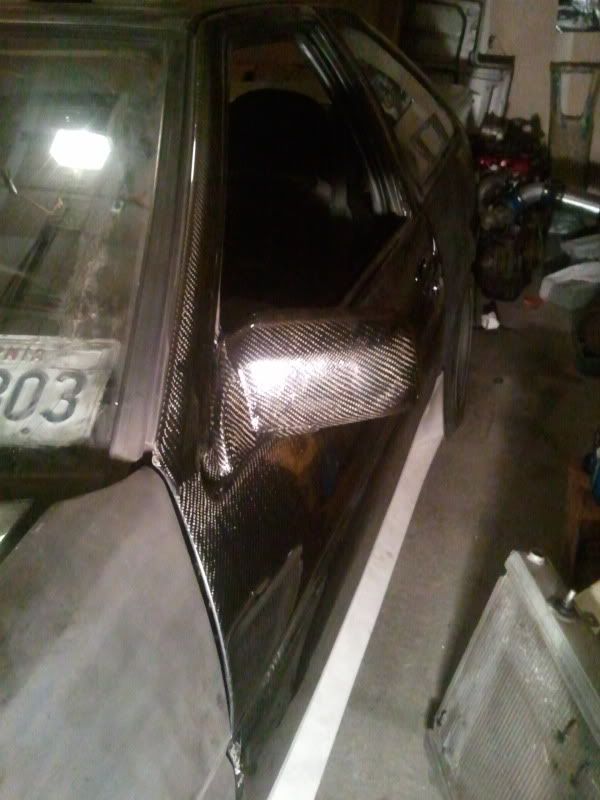
I am also going to do the mount, and now work on the otherside!
Mirror 98% finished!
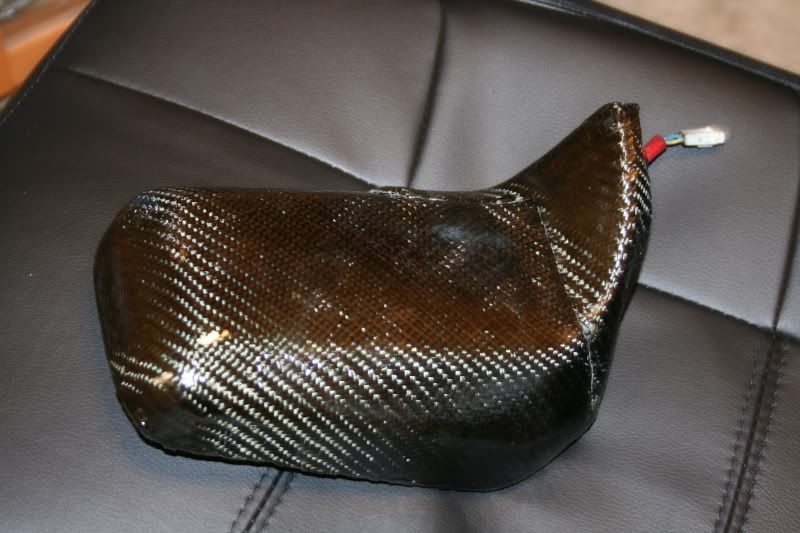
kinda debating if I want to keep it 2 piece, or just go one, as it would be so much easier...
Got back from San Francisco, had a good time seeing friends and family. Got to take my dad camping for a late bday/early fathers day. Then went to my friend johns engagement dinner 10 course Chinese dinner! what a good time!
but back to the car..
Finished up the brakes!
My Brembo blanks came in, thanks to Aaron for machining them out for me.
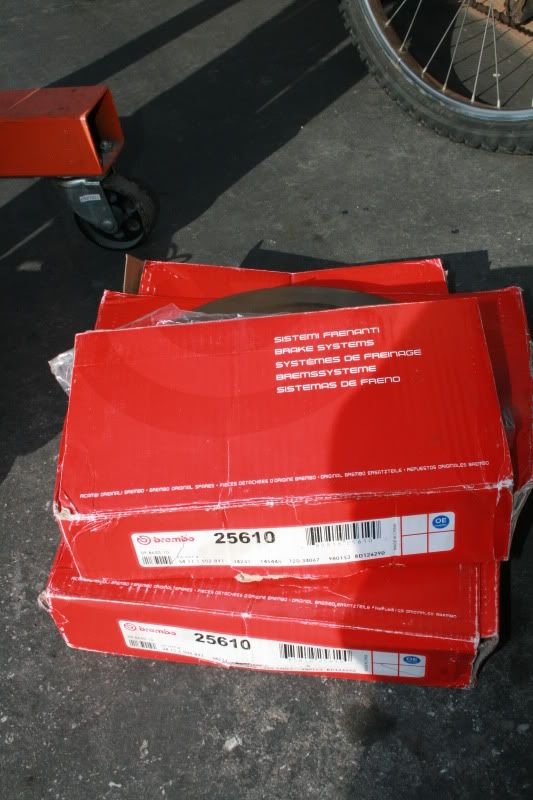
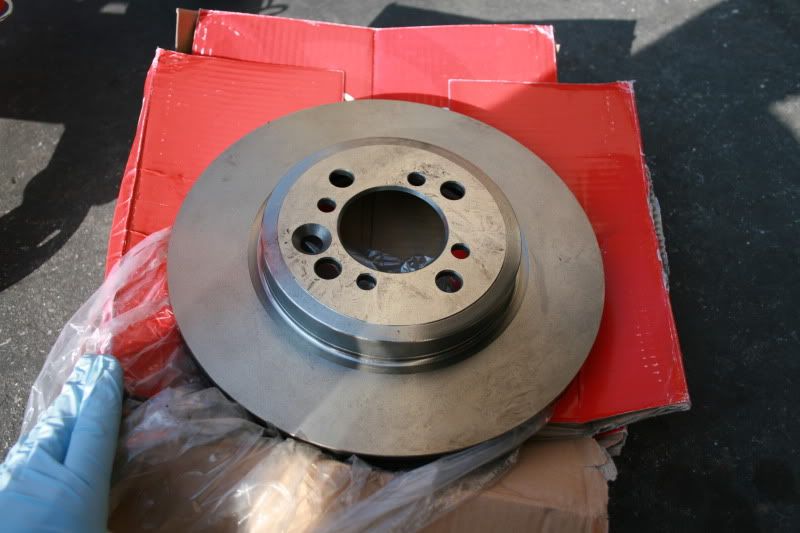
Mounted them up, man they look good! way better then oem, I can not wait to test them out on this car!

More carbon fiber bits, hood, and the passenger side door, I need to install both of these soon, maybe tonight if I feel up for it.
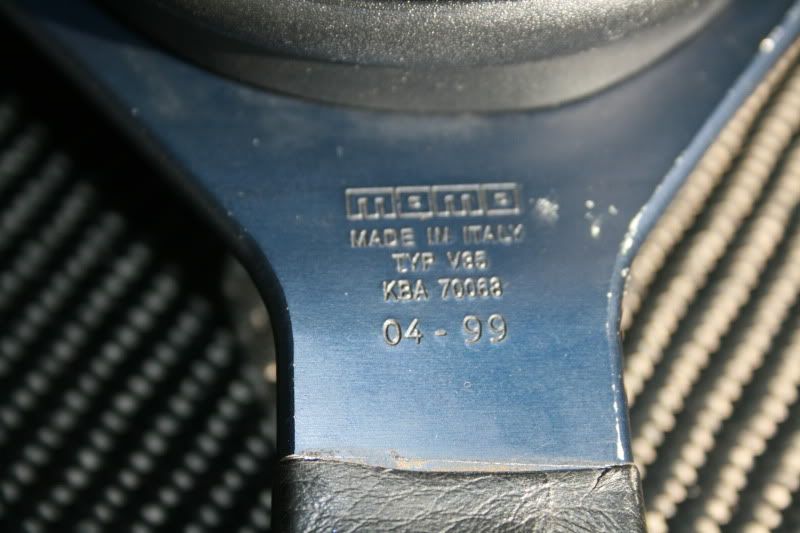
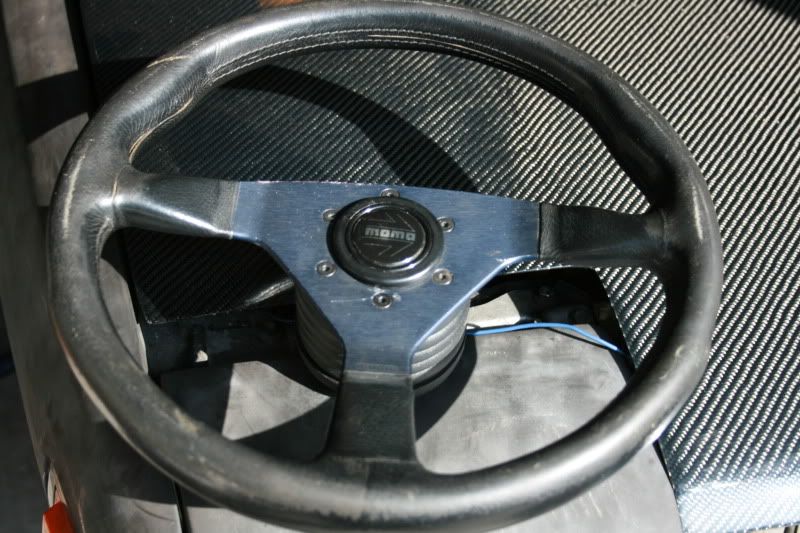
Also got a MOMO tuner wheel and hub while in the bay area for cheap! It was for a mr2, and the hub is actually the same!
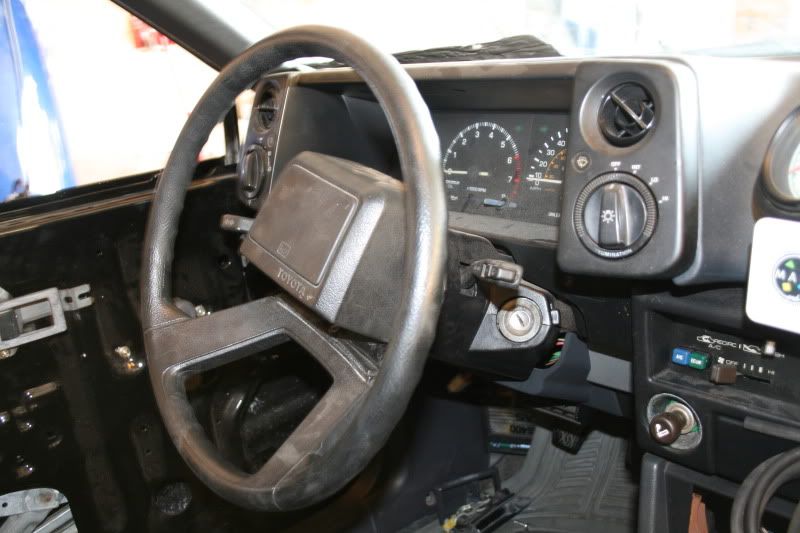
Installed it, fairly strait forward:
pop the square horn off
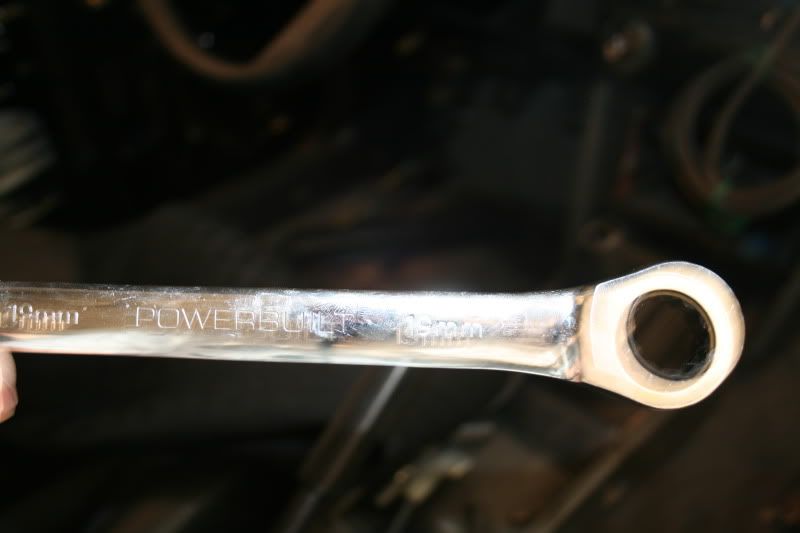
There is a 19mm nut on there, take that off.
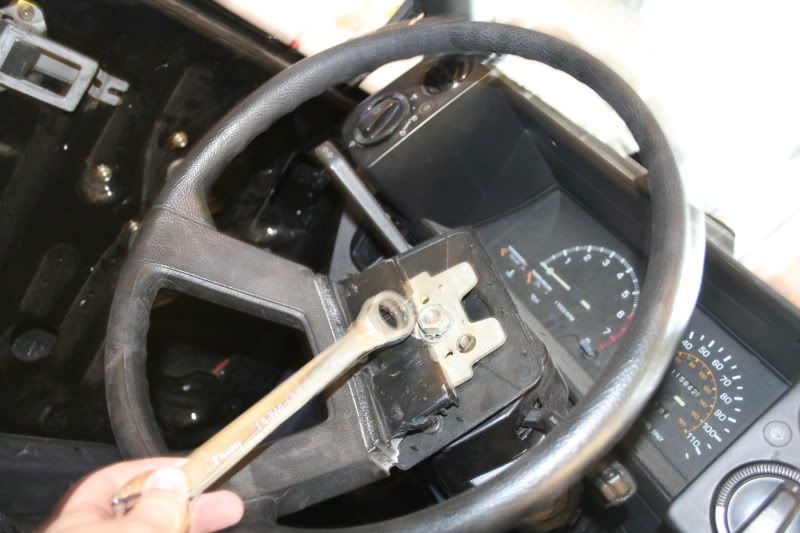
Wiggly the wheel off the hub.
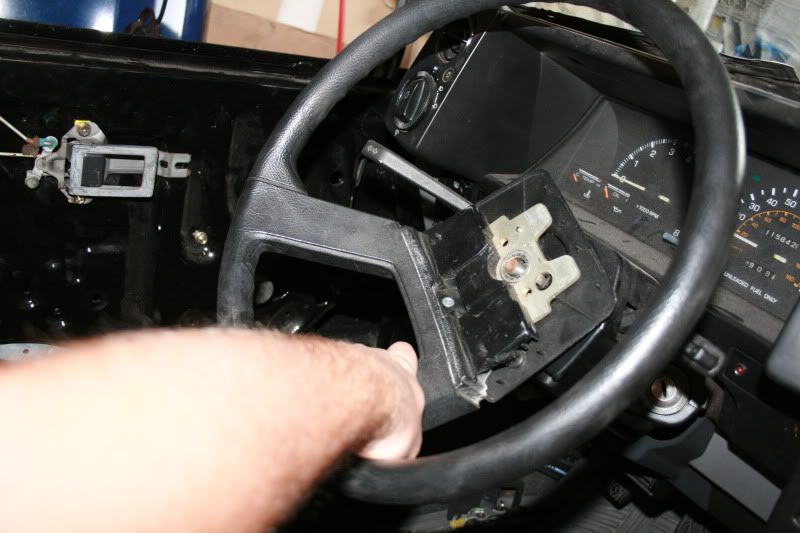
Slap the new wheel in place at the same angle. and re-install the 19mm nut and horn wire.
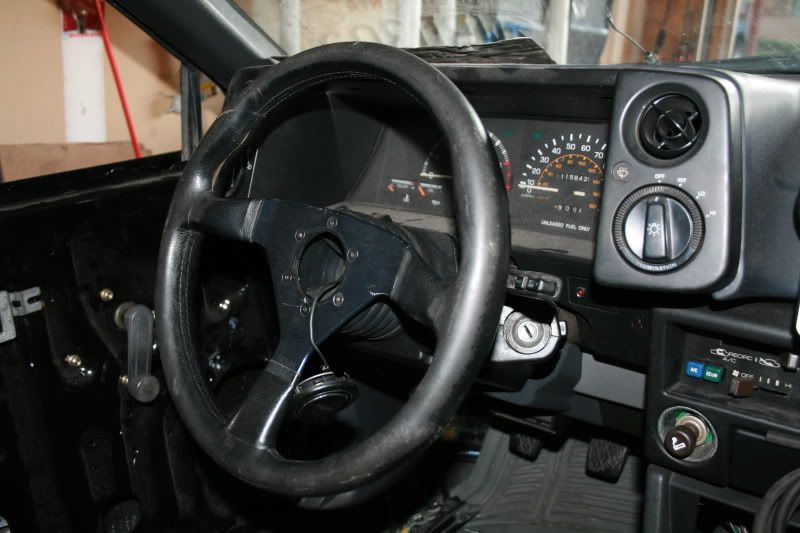
all done!
well I sold my TRD wing off, and the OEM hatch.... glad to start cleaning up the garage.
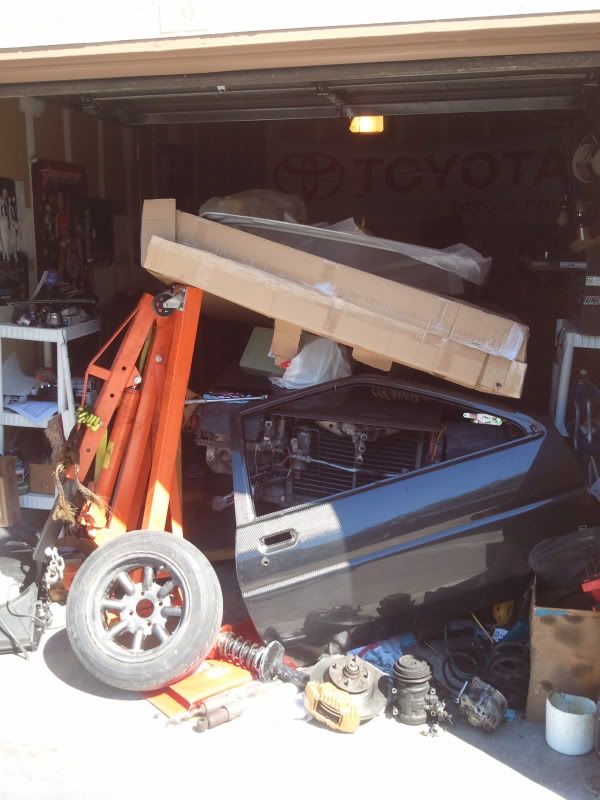
My package came into San Diego, so me and my buddy xene went to go pick it up.
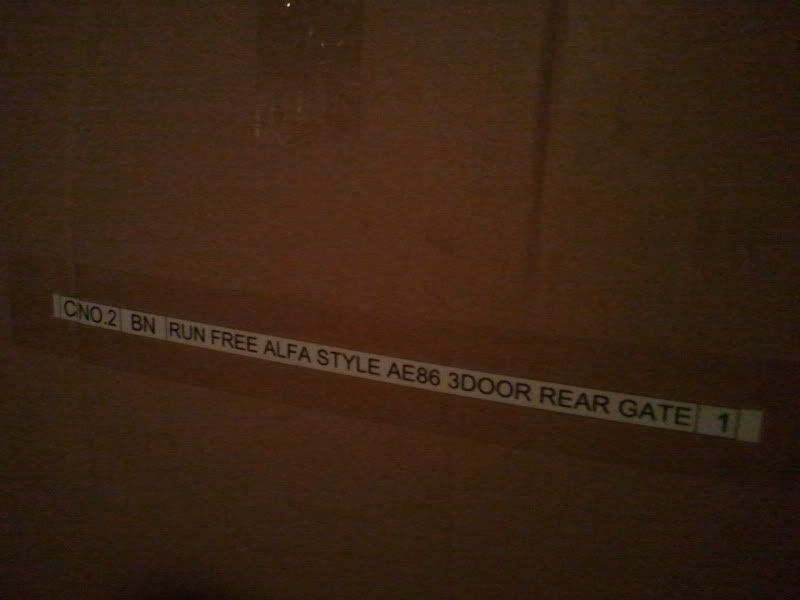
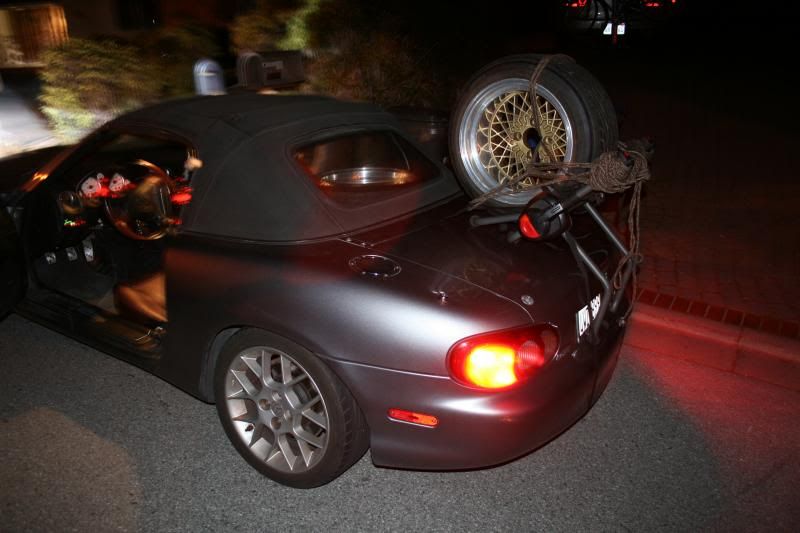
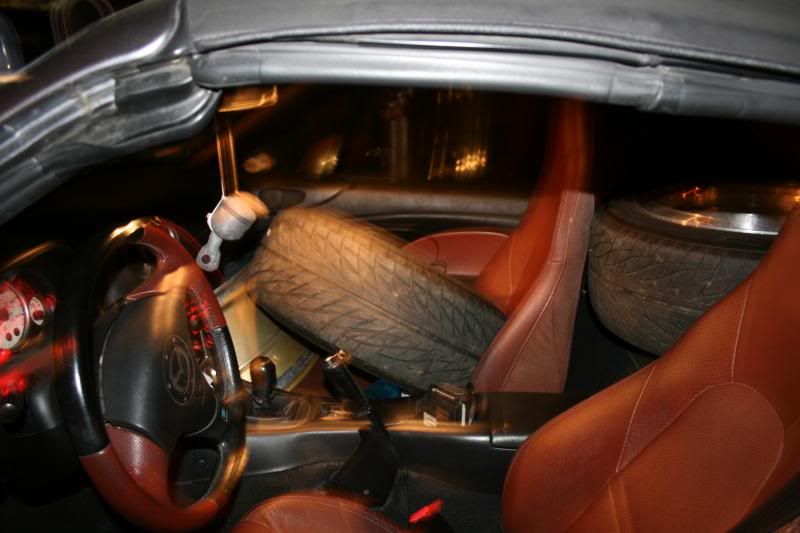
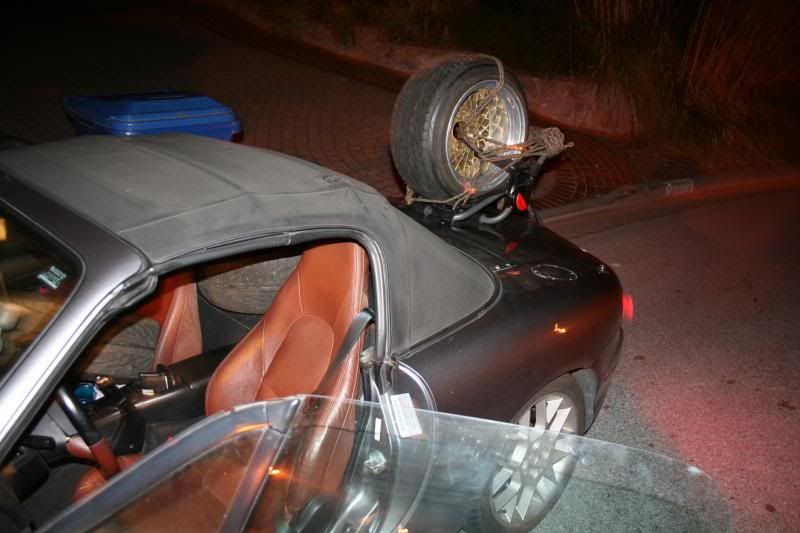
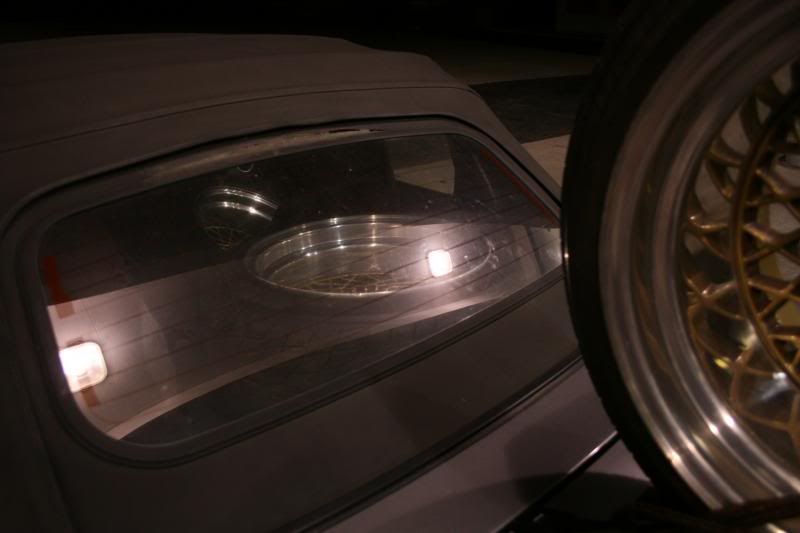
This thing was wayyyy bigger then we thought... lol this is what happend for the 90 mile drive back home
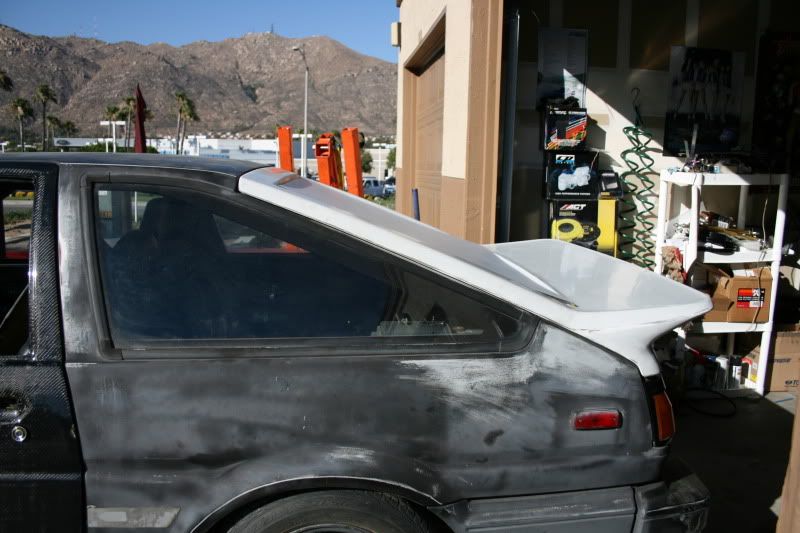
Its a Runfree Fiberglass hatch with built in wing. man it looks good, I need to test fit it, and mount it up.
I measure it all out, and went to a local plastics stores to get some polycarbonate for the rear window...stuff cost 80 bucks to get cut to shape. 45 3/4inch by 31 inch tappered to 38inch. I should be able to pick it up one monday, and glue it in.
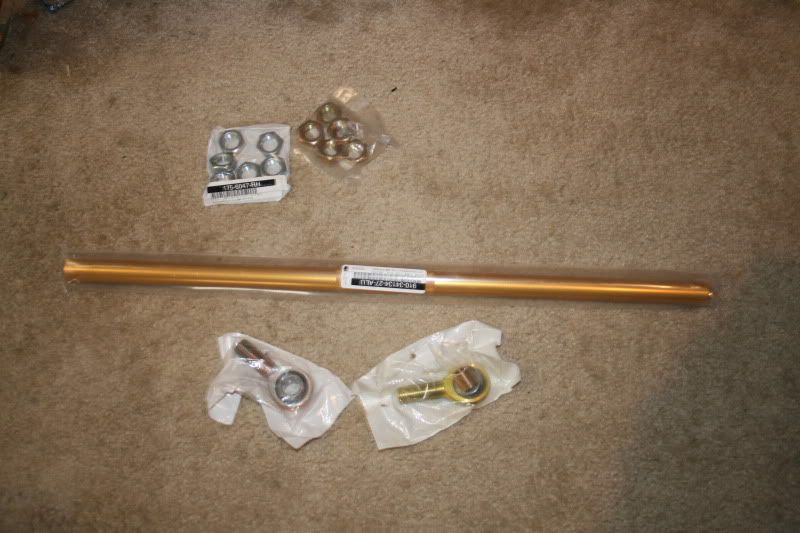
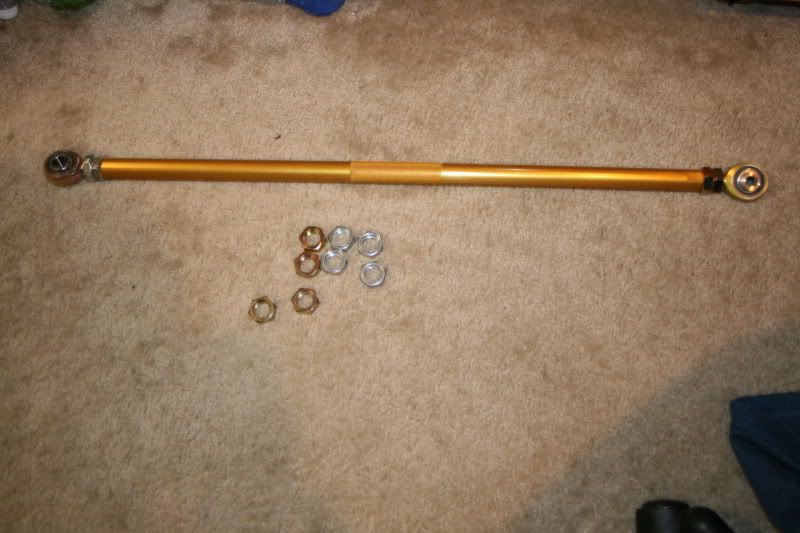
One more package came.
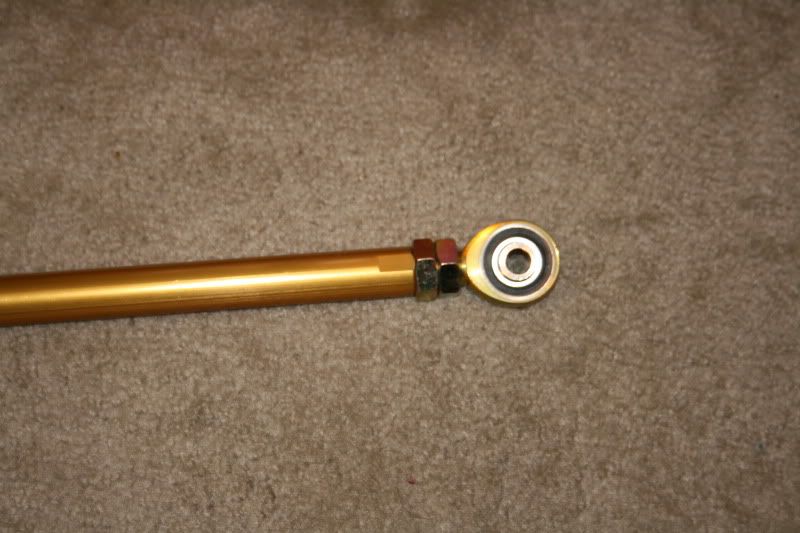
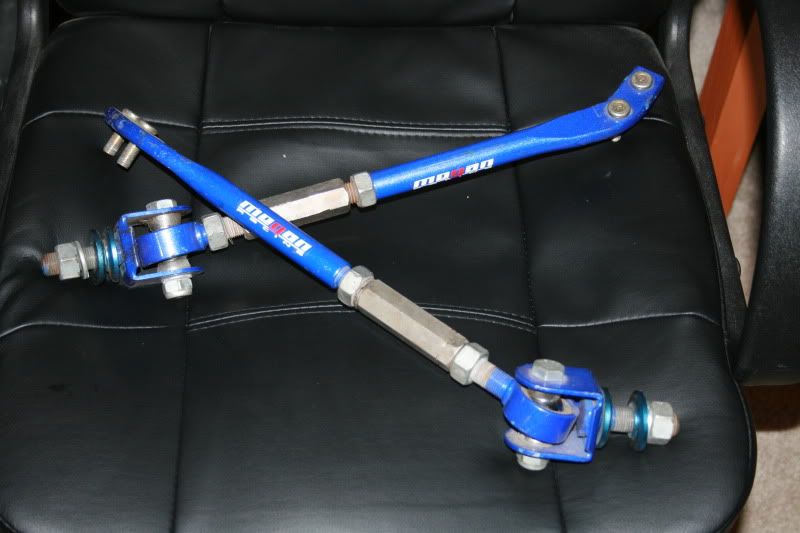
My DIY 4link, yes!!! so close to being done with buying parts.
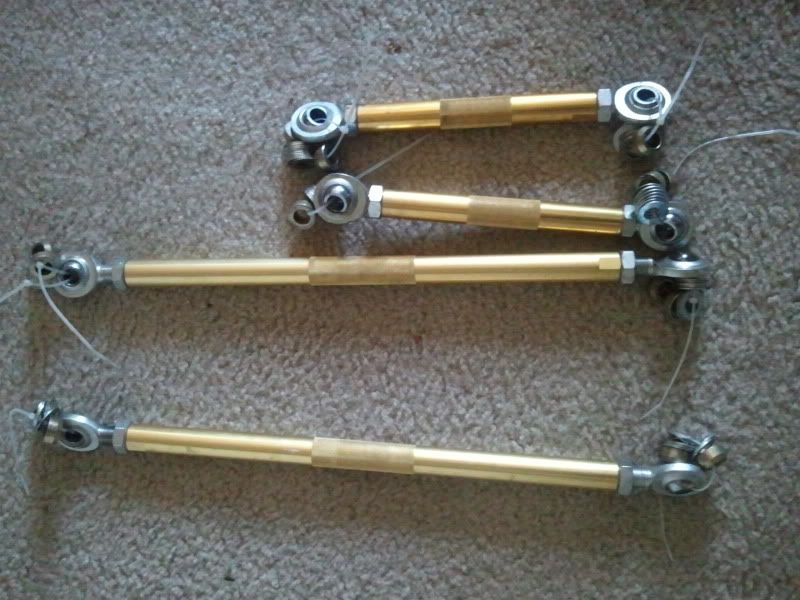
Now the garage is cluttered again lol... oh well, time to start putting stuff on.
mounted my hatch, and fitment is great! I am very happy with it.
Here is the coilovers and bigbrakes in there car too!
Thanks mrskona- you will have lots of fun doing ur swap when it comes time.
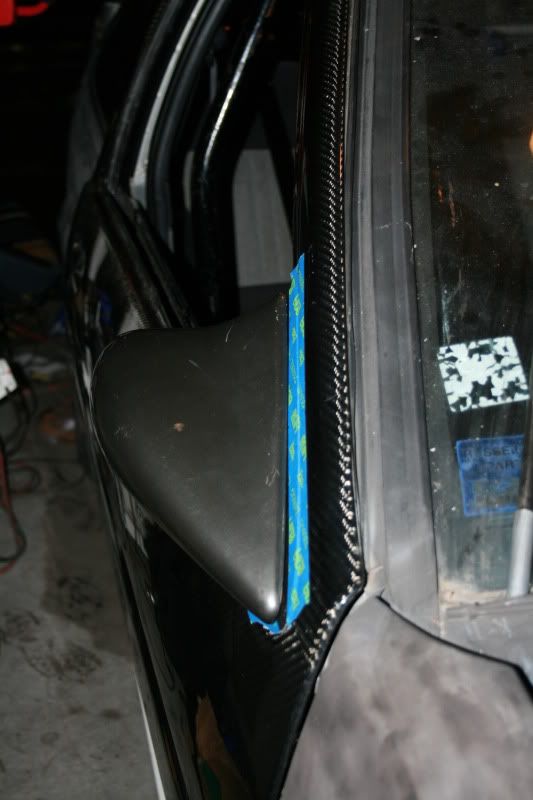
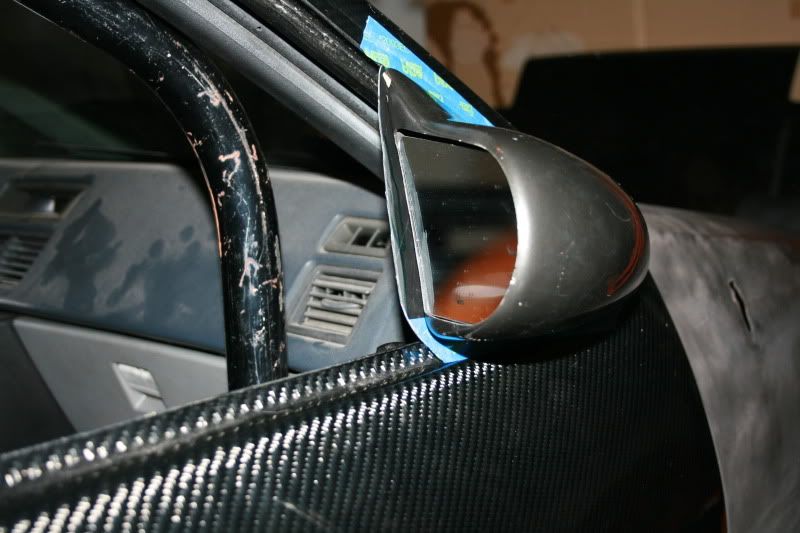
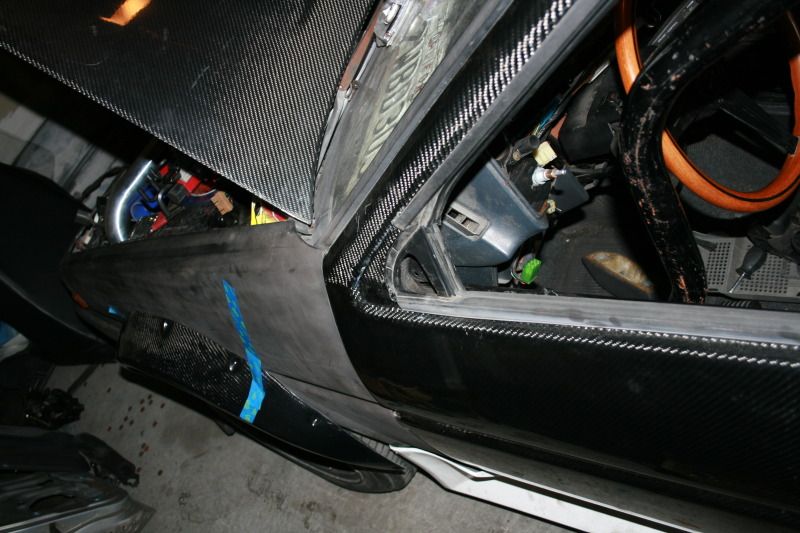
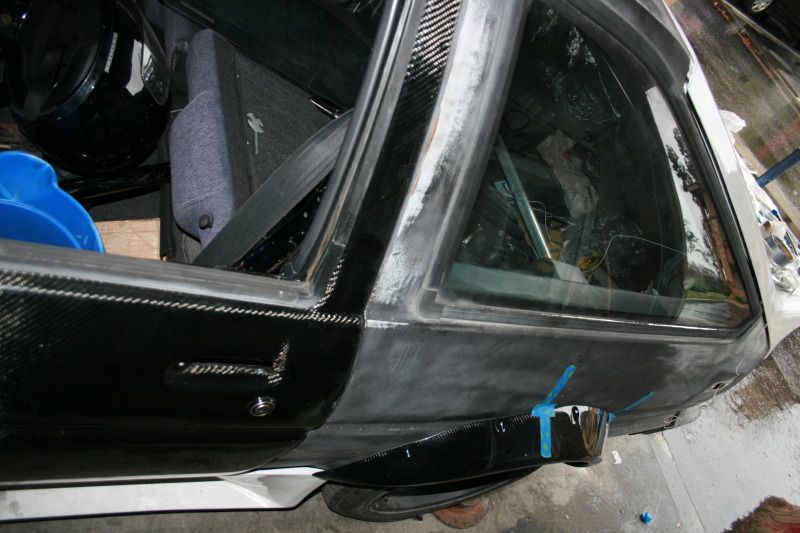
started testing the mirrors up to the doors, the match decent.
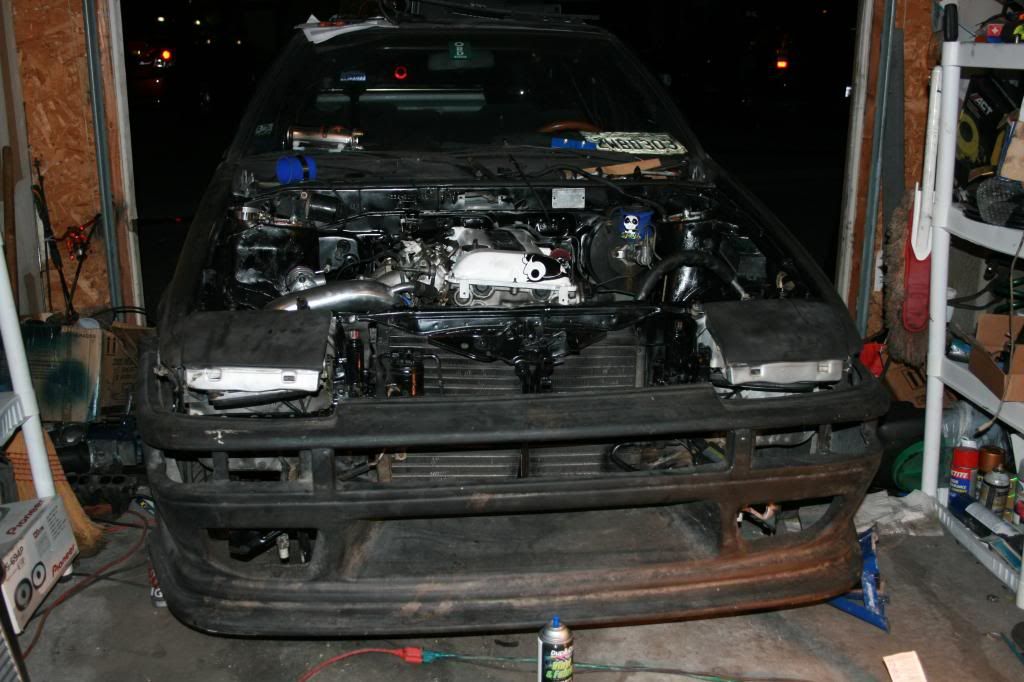
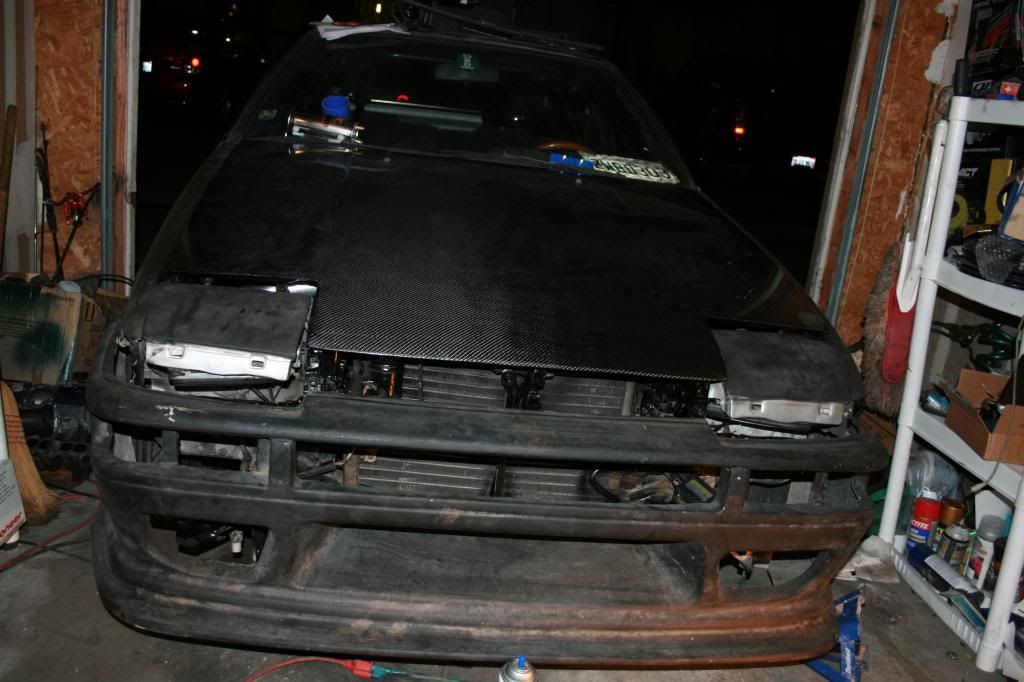
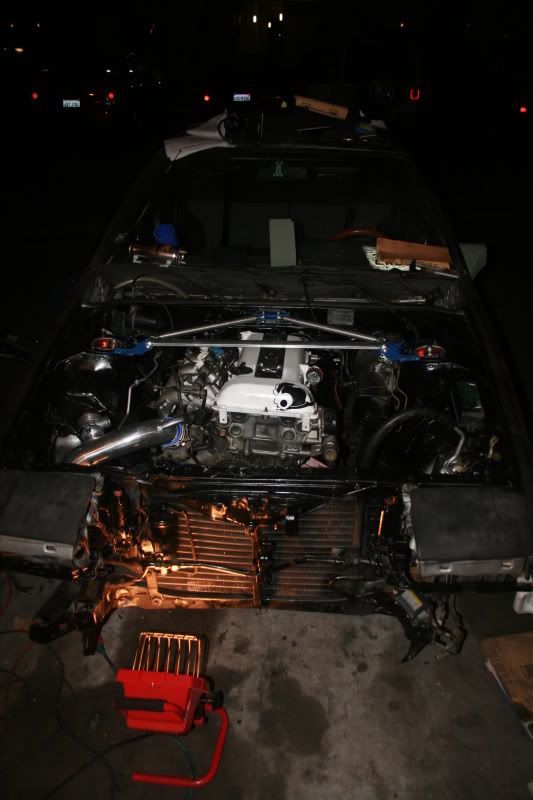
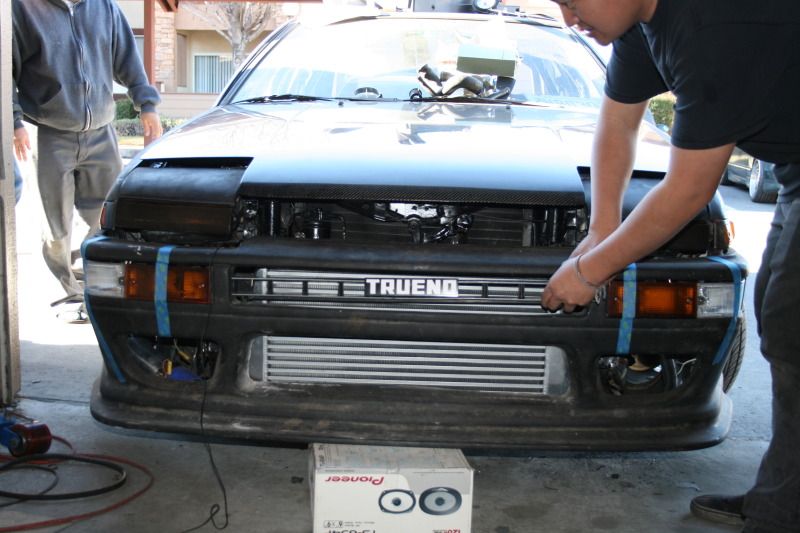
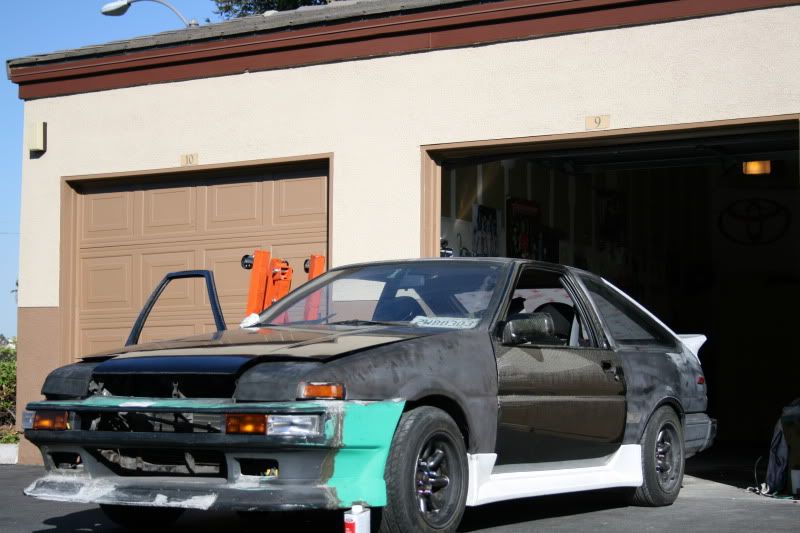
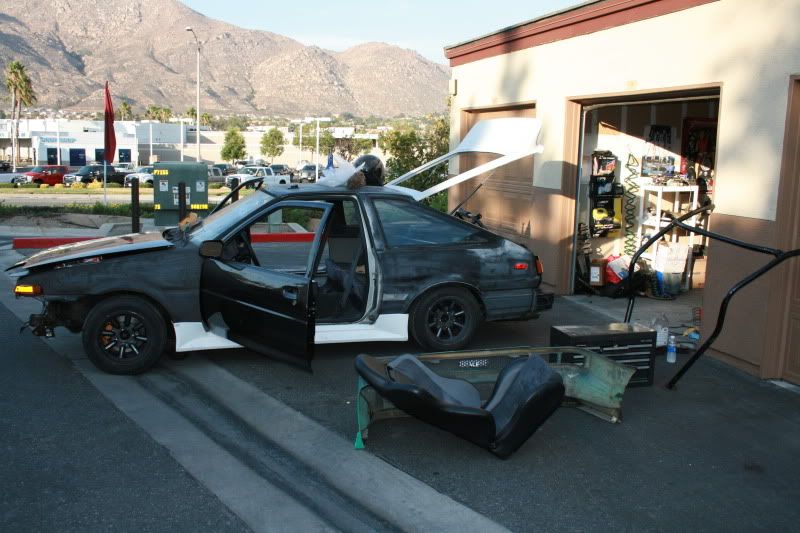
pulled the car outside to take a look at it with all the bits attached, its starting to look like a ae86!
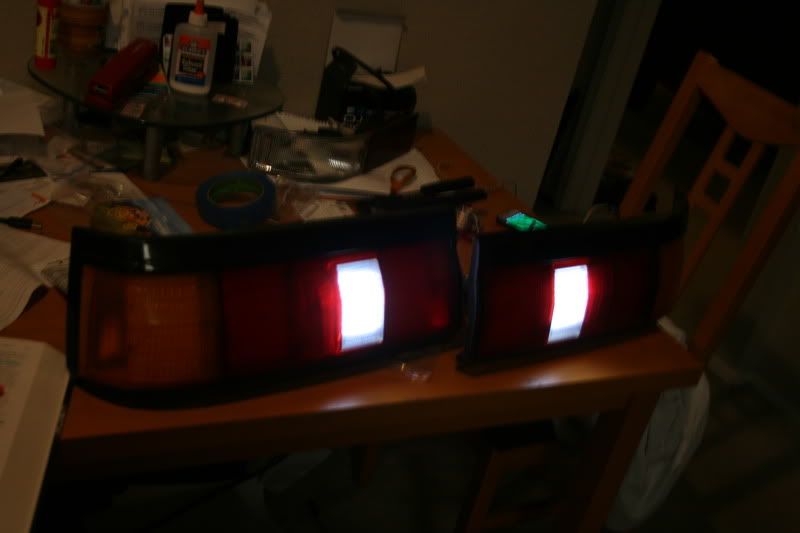
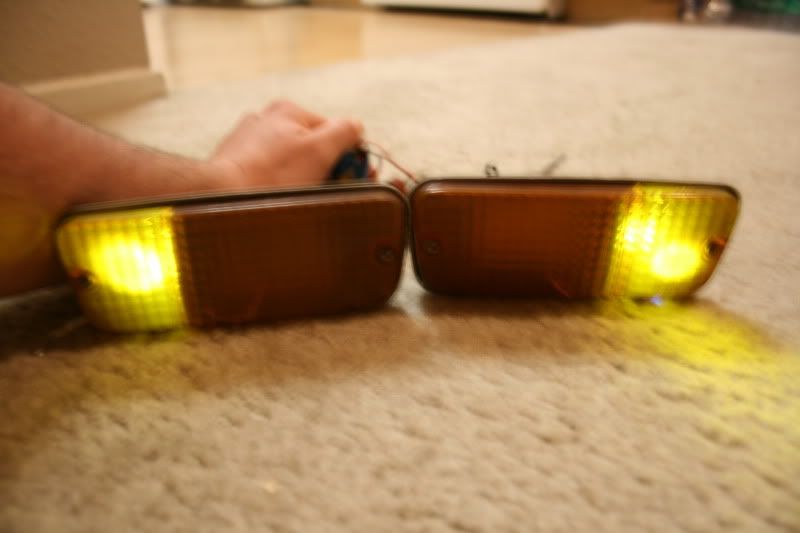
did a little work today on converting the JDM lights to LED, and playing with LED boards for the tailights.
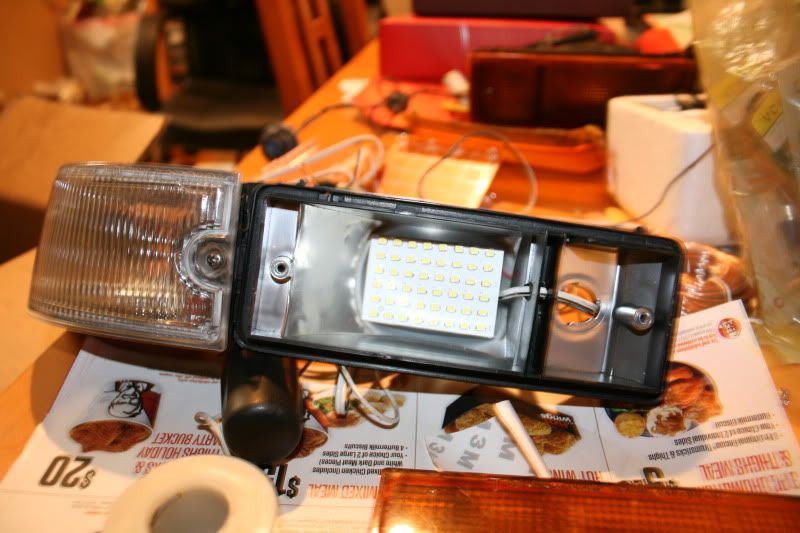
These are significantly brighter then this, but my 9v battery was running out of juice.
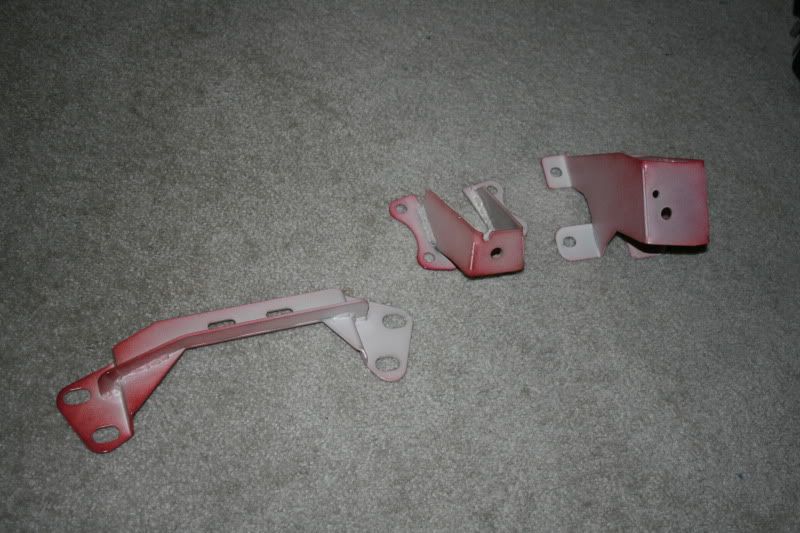
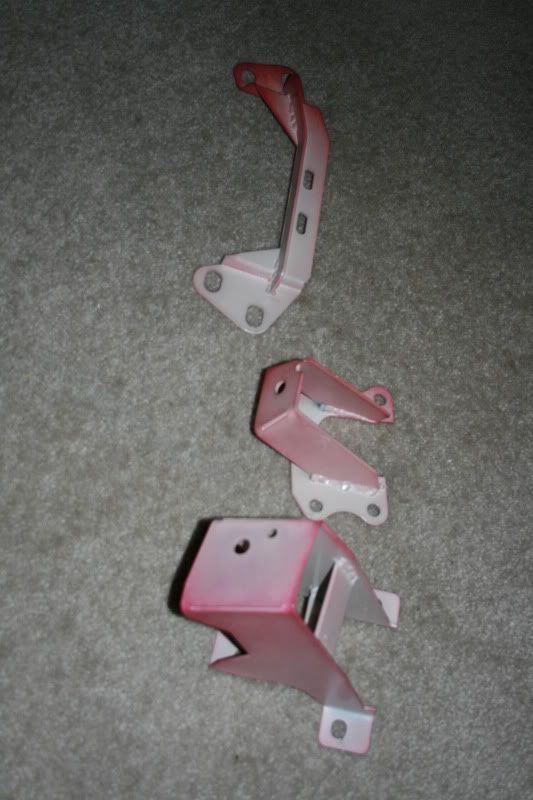
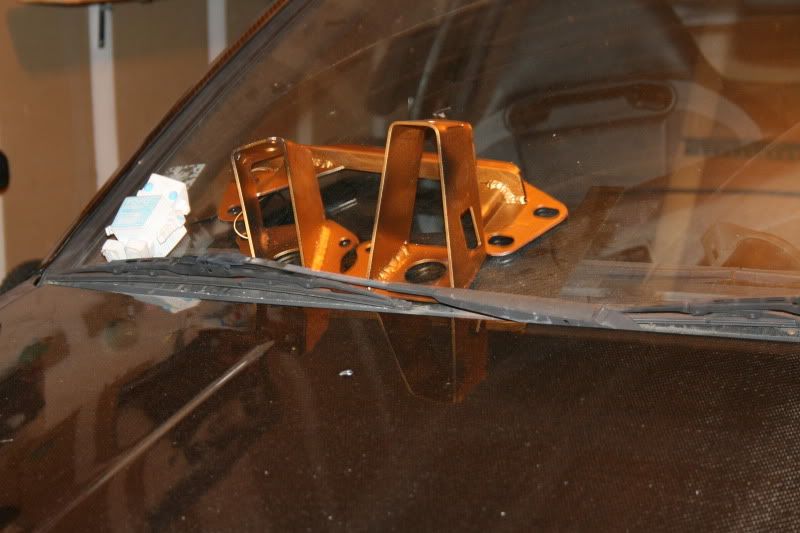
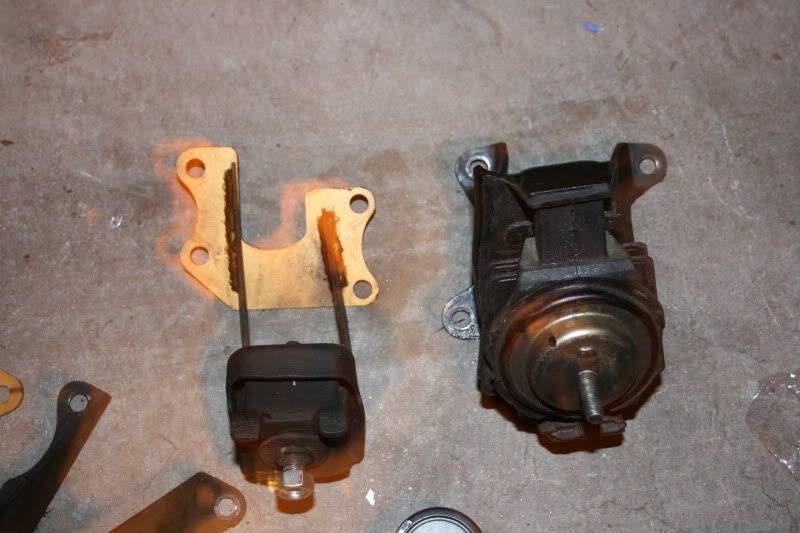
well my friend has been sick and cant bring by the lift, so I cant get the motor in... sucks oh well. I painted the motor mounts gold. installed the supra grill into the bumper with the Trueno badge and started sanding it down a little better.
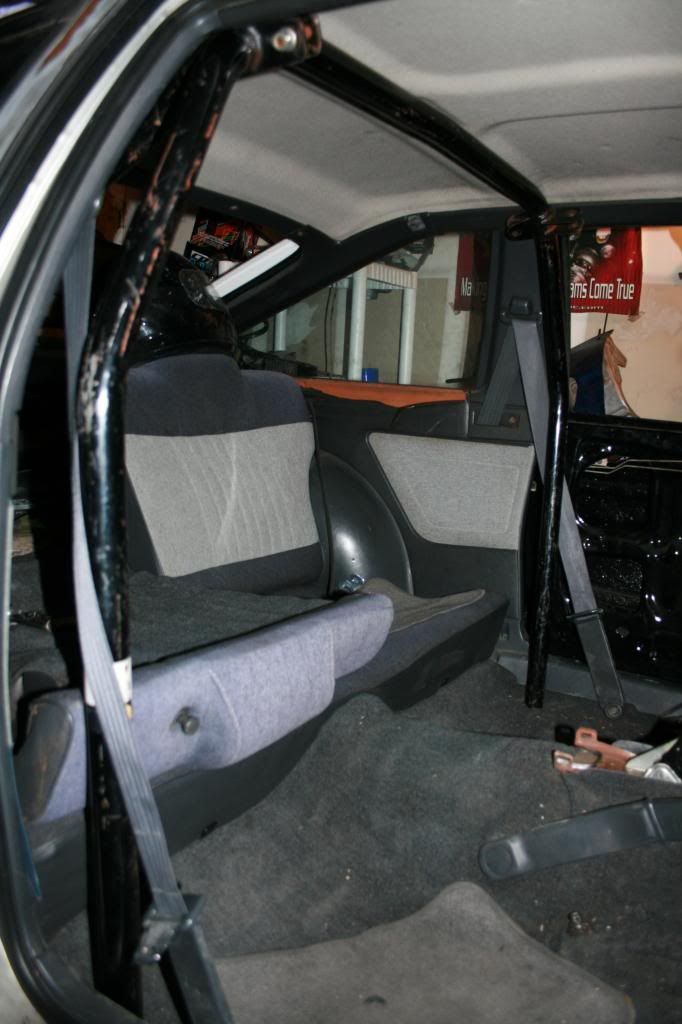
I ordered a cusco 6pt cage, but I go to New York in a few days, so it will have to wait till I get back.... guess this build gets postponed for a min.
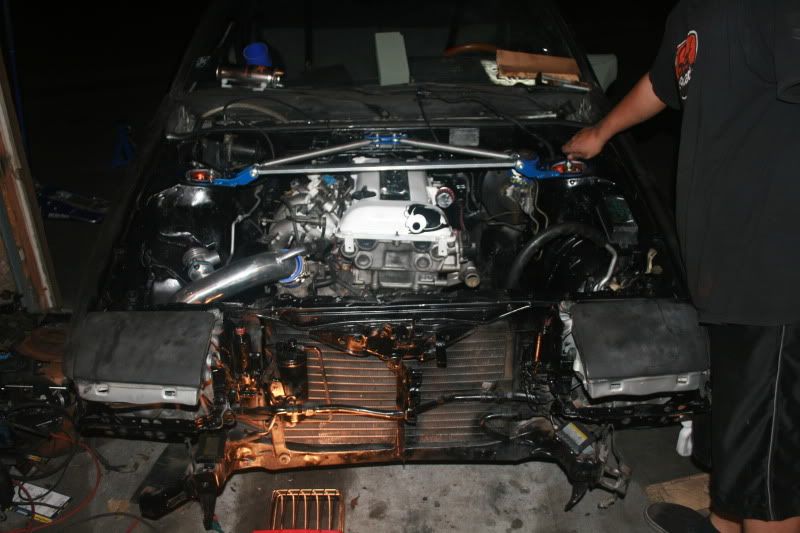
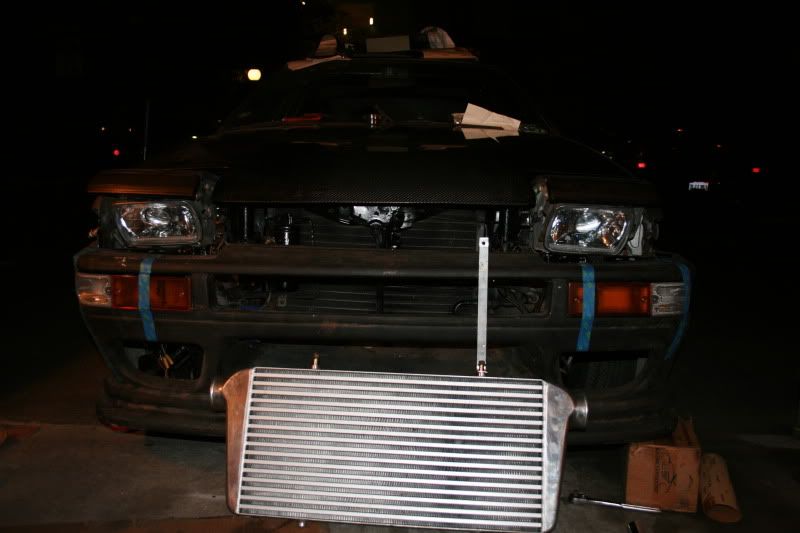
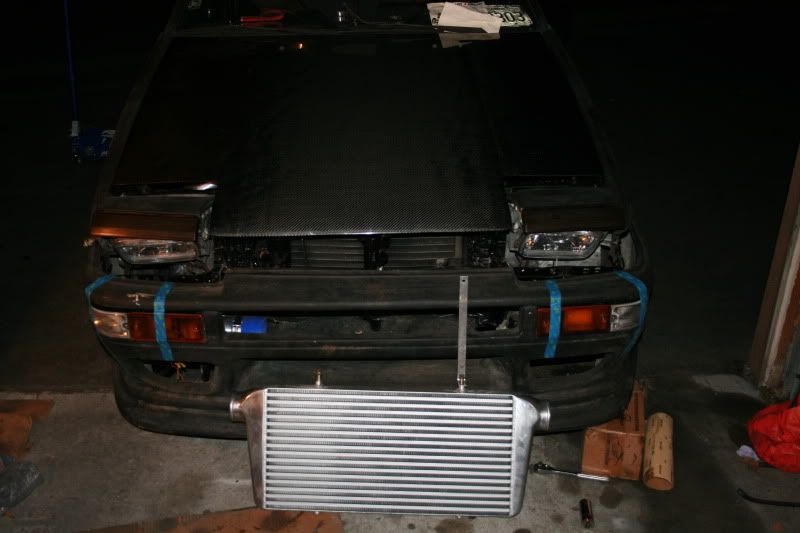
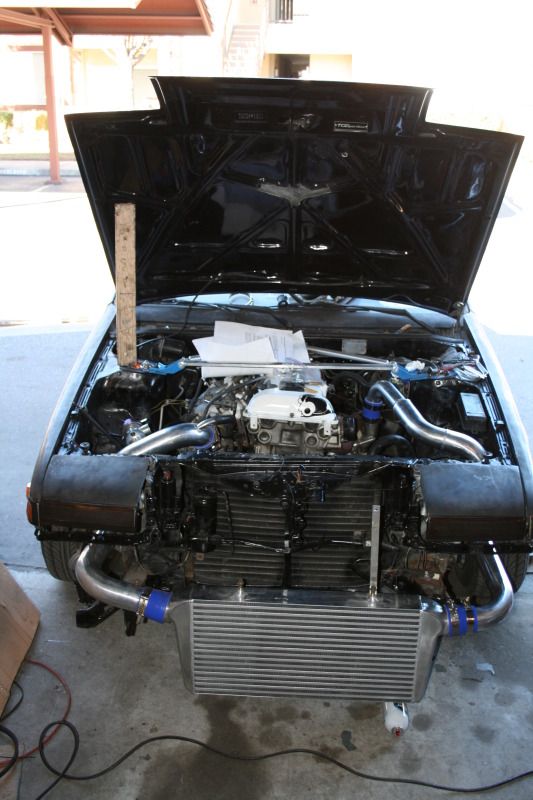
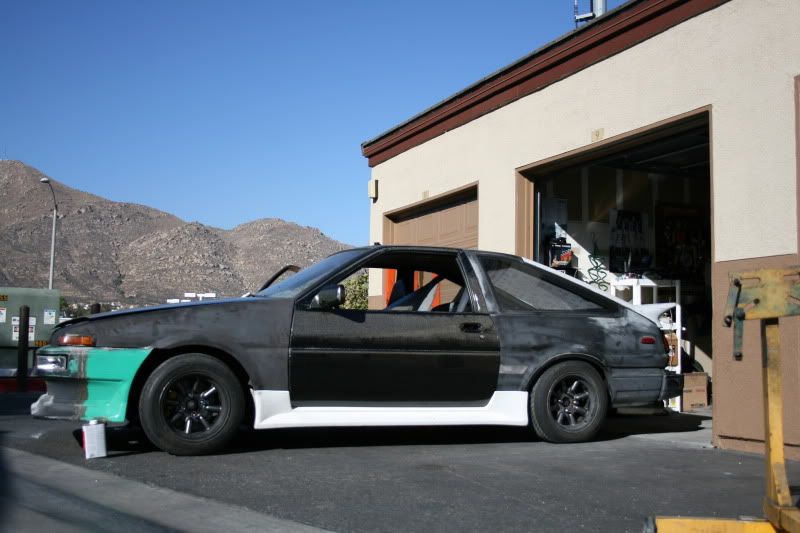
Looking gangster!

lights and intecooler looking mean
"Goooooooooooooooold.... its not weird"
Polycarbonate window

Got home yesterday, still jet lagged/ liquor lagged/ party lagged from NY.
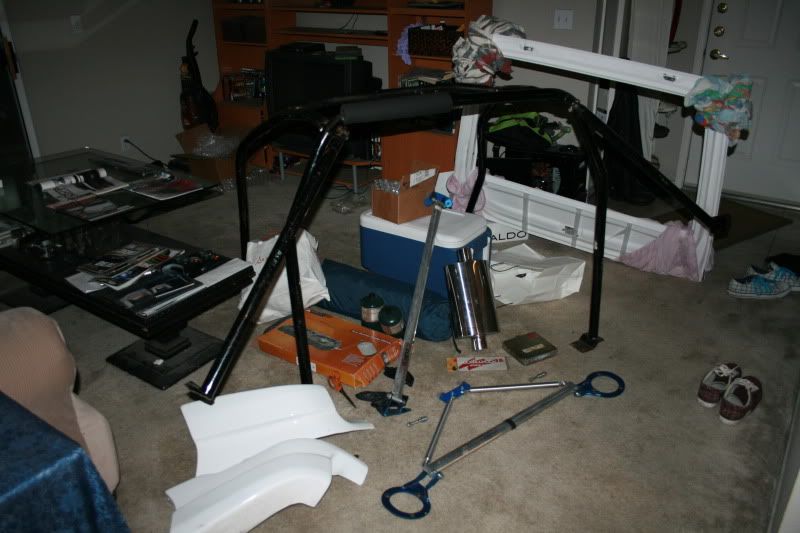
Well, this is the mess I come to, but its a happy mess!
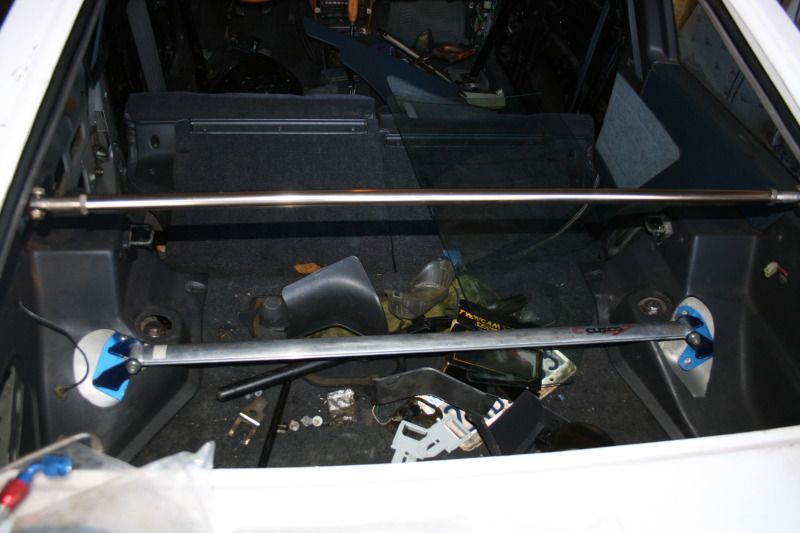
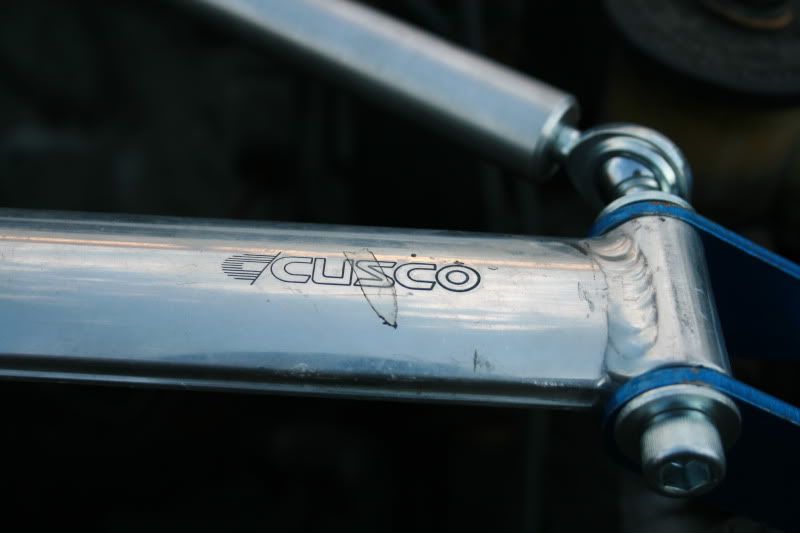
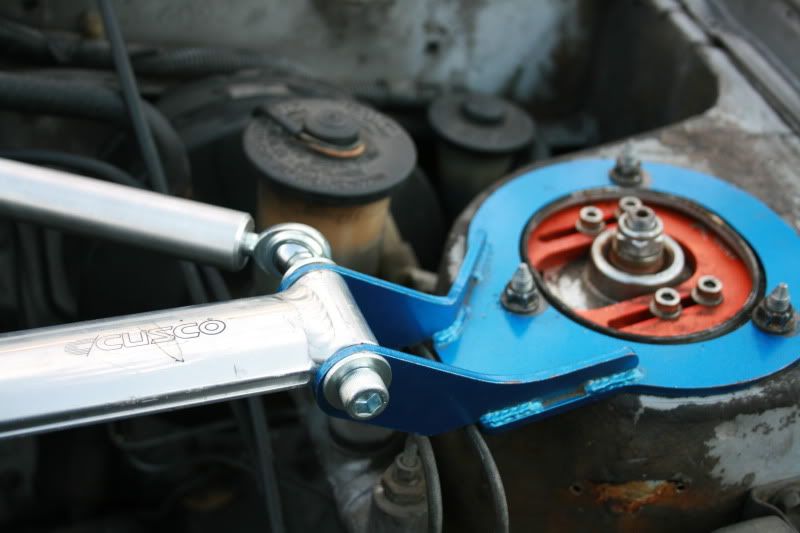
Cusco 6pt Roll Cage, cusco tripoint strut bar, cusco strut rear strut bar, 2.5 muffler, FG hathch with wing #2, sr20 red top ecu, and one part for my mr2, border rear spats!
Time to start wrenching!
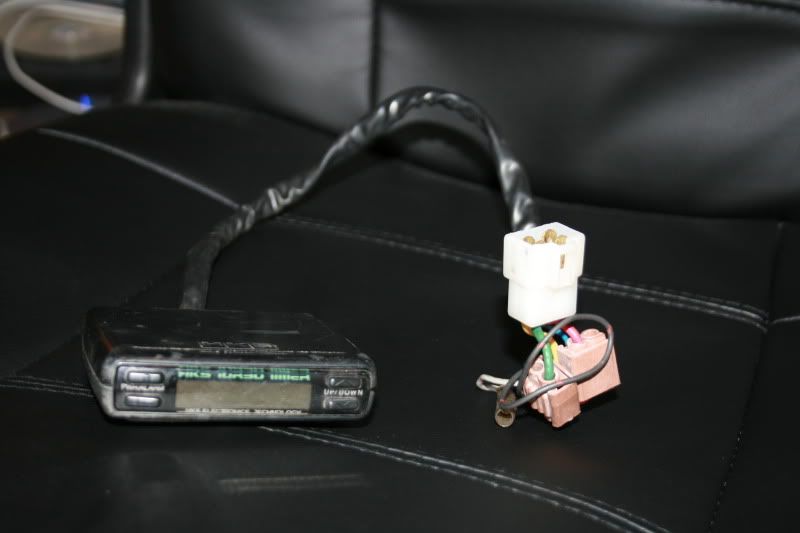
Junkyard find today! got a Supra 154 trans for my buddy, and I found a HKS turboTimer inside for my self! paid 5 bucks hahahah thank you pick a part!
YYyEeeAaaaaHHHHhhhhhh!!!!! I got my rearend finally! MA47 hear I go!!!!!!!
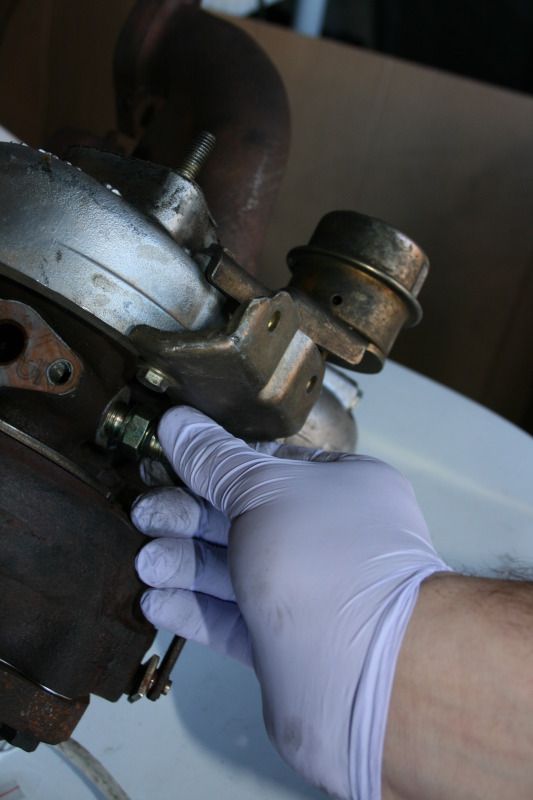
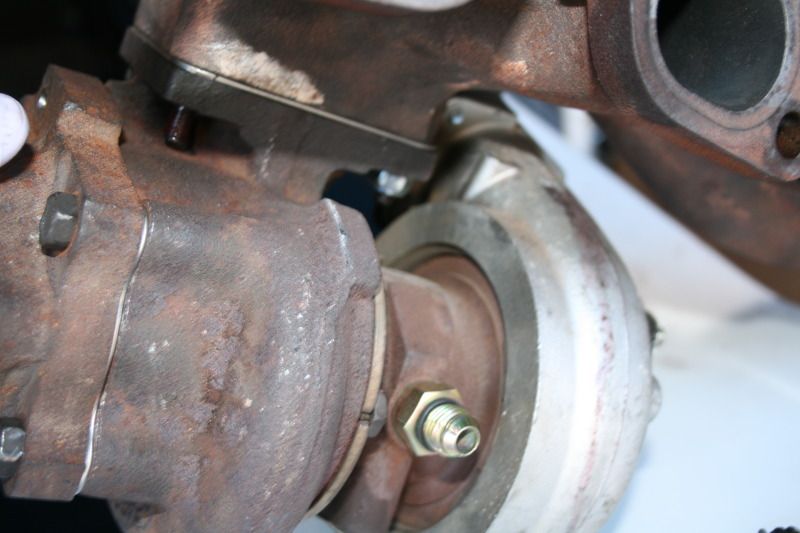
I need to rebuild the brakes, I'm sure. and I am going to look into getting sloted rotors, if they make any. but here she is!!!

this one is photoshoped to see how it could look, since i need paint etc.
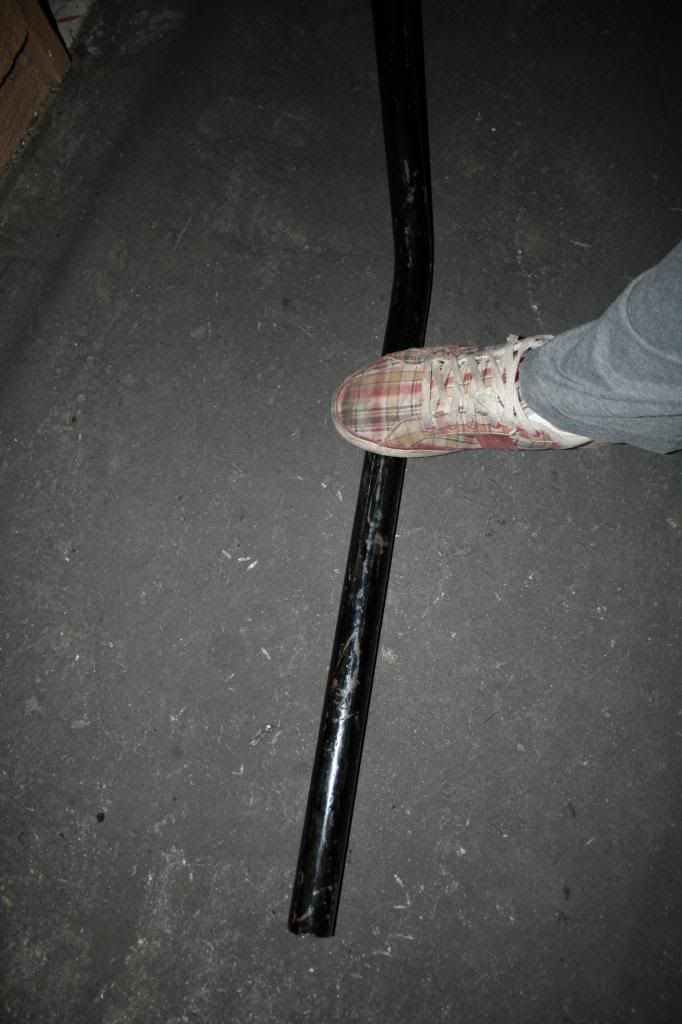
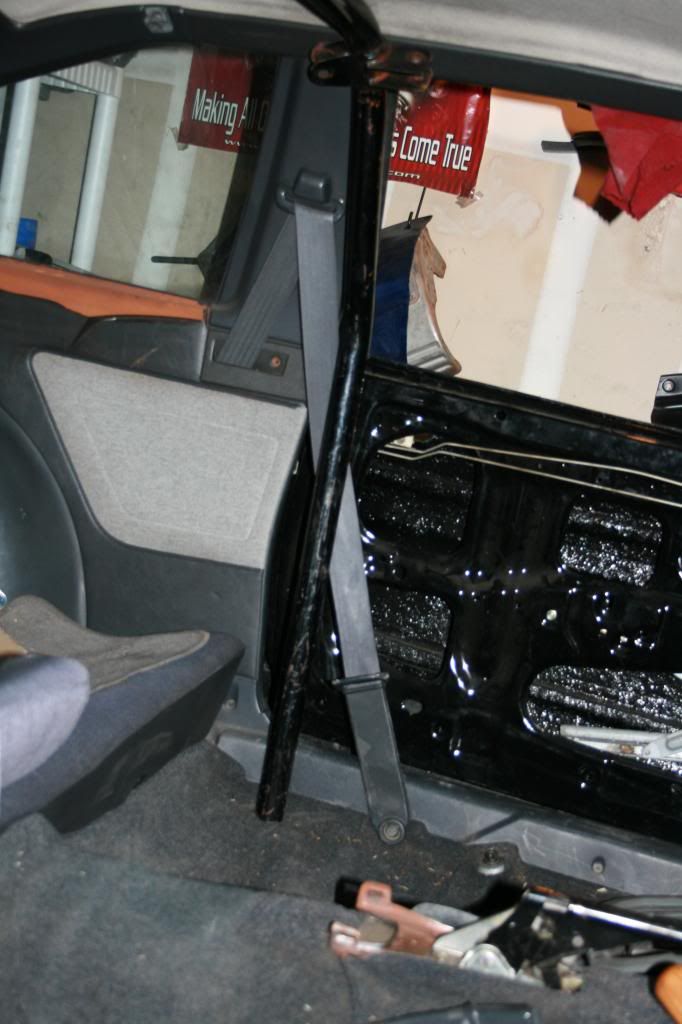
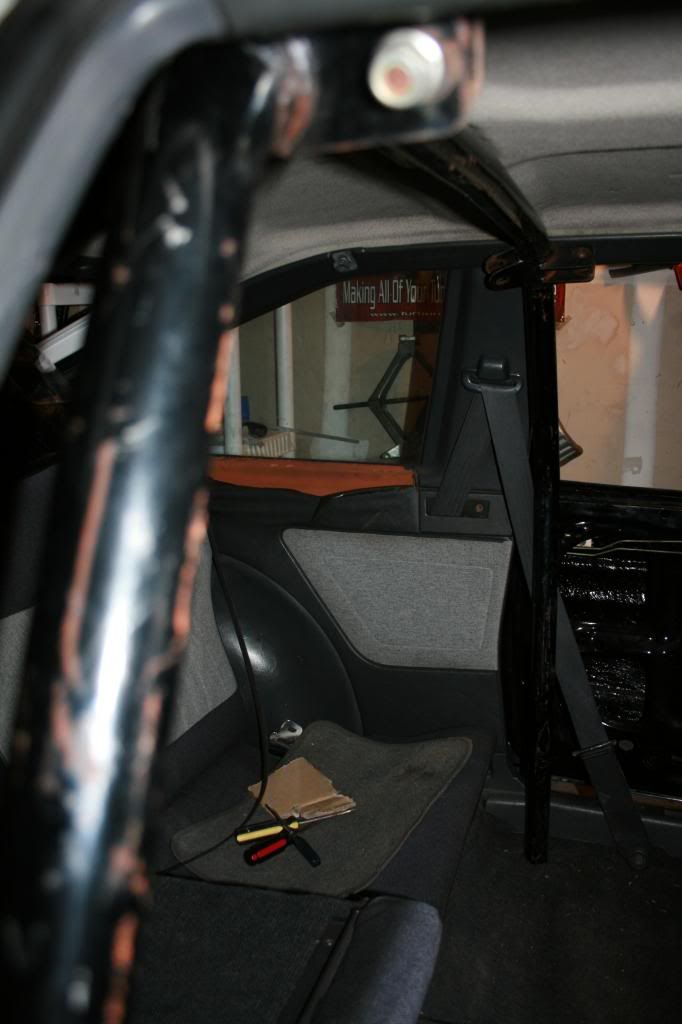
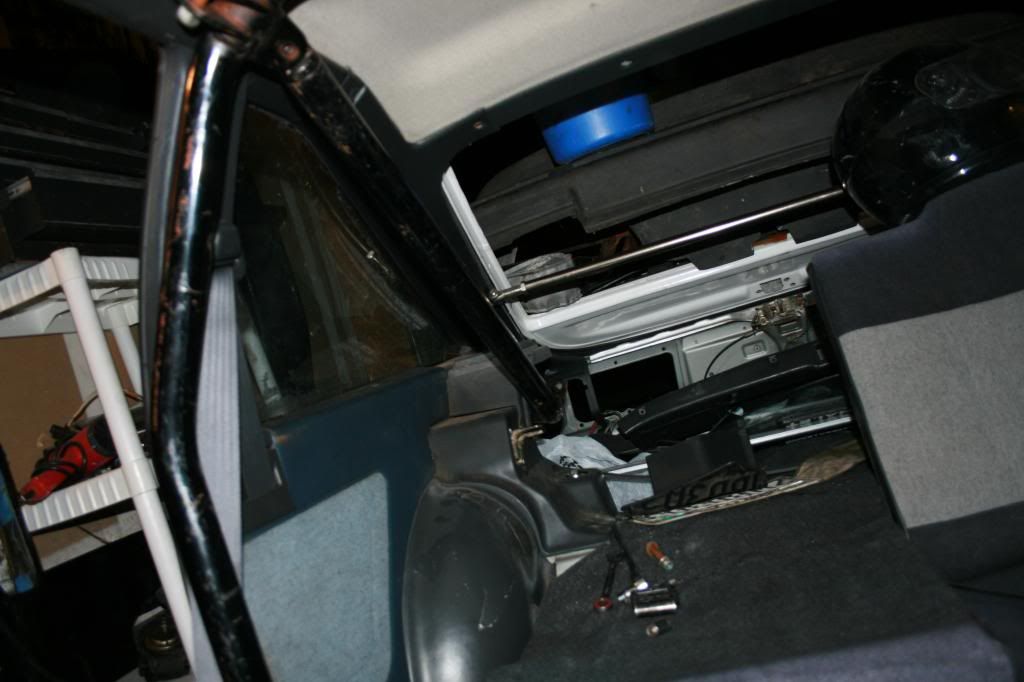
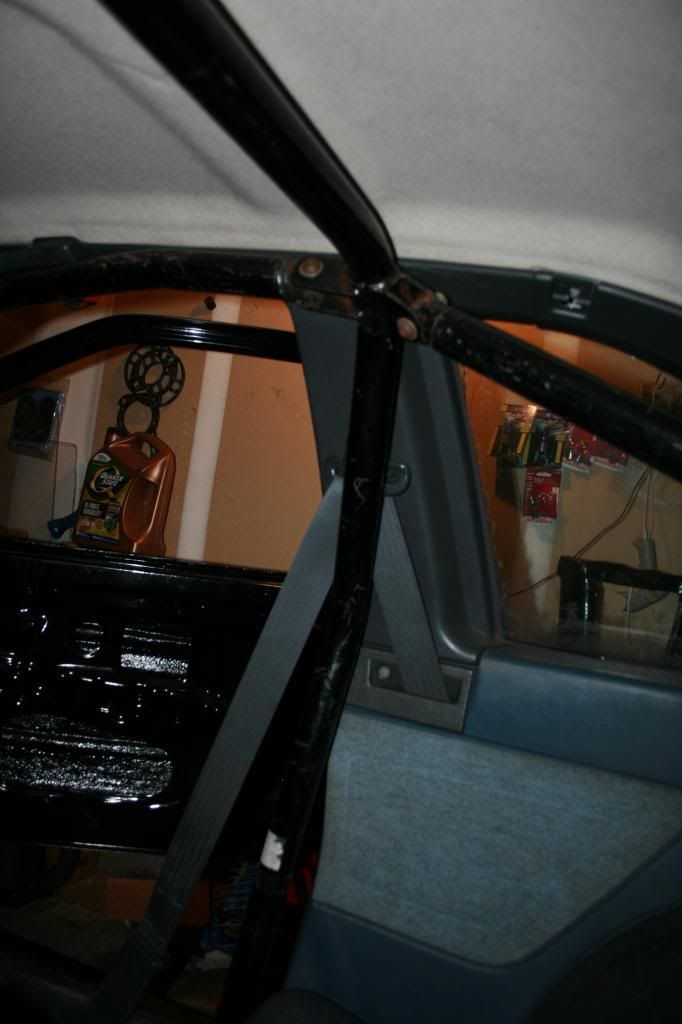
I also installed a rear hatch C-Pillar bar, looks nice! I still need to install the lower Cusco rear strut bar.
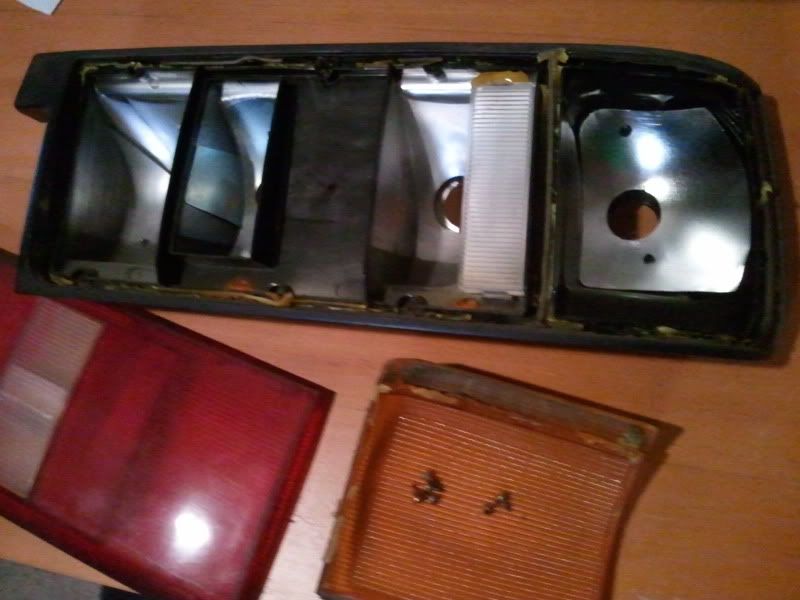
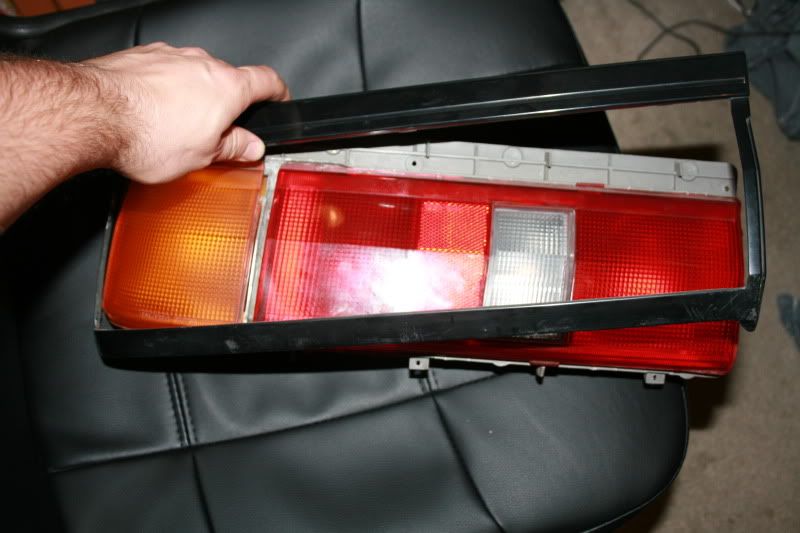
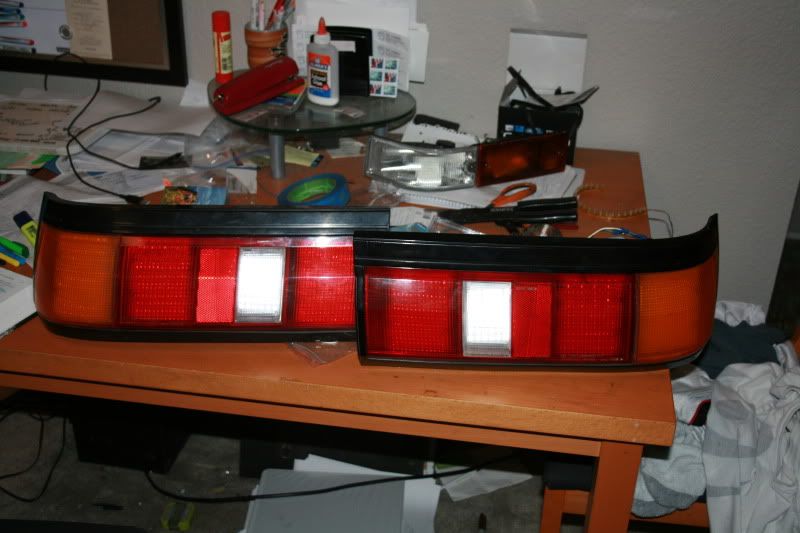
Here is how I did my DIY JDM tail lights on my hatch for $20
What you need:
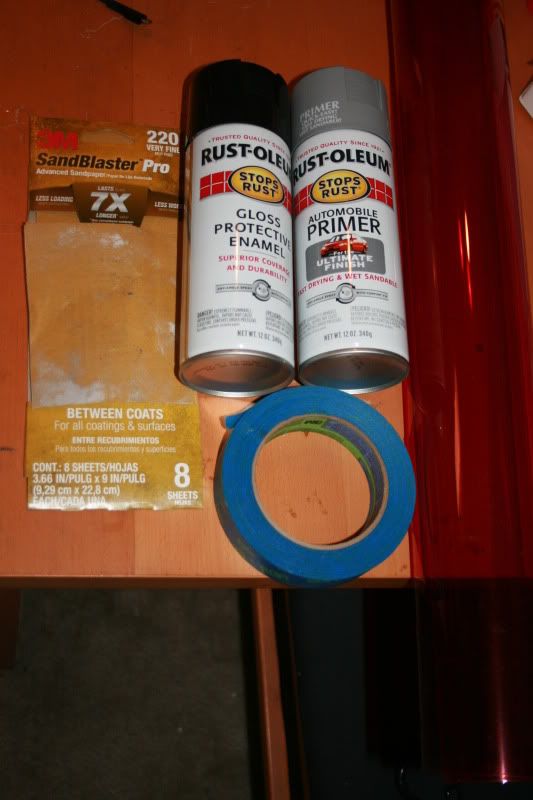
A can of Primer
A can of black high gloss paint
some 220 grit sand paper
superglue
red acrylic plastic matt
electrical tape
and a scissor
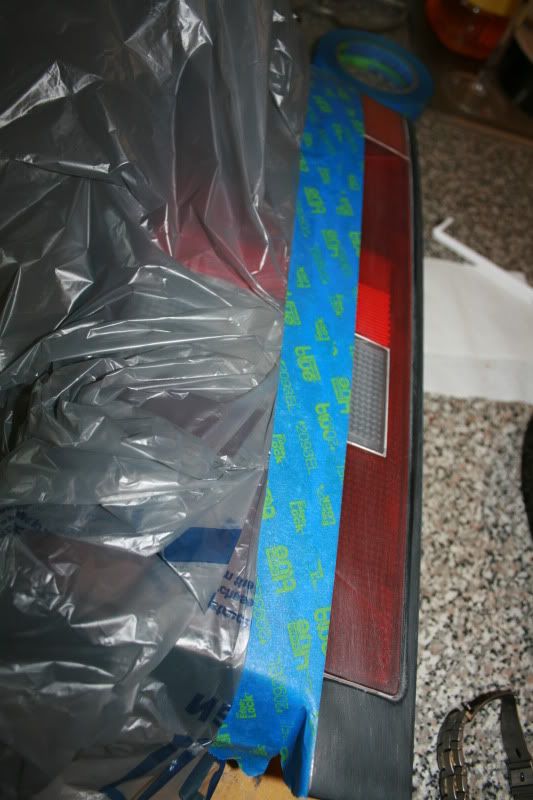
Start the work:
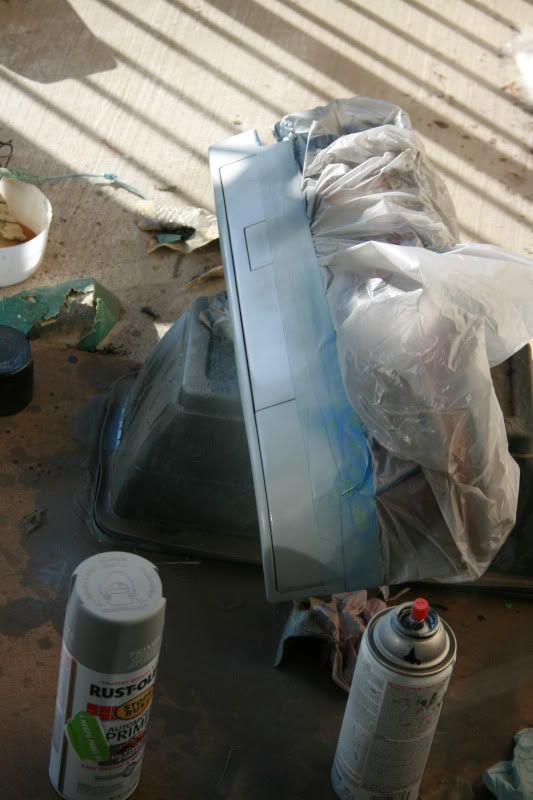
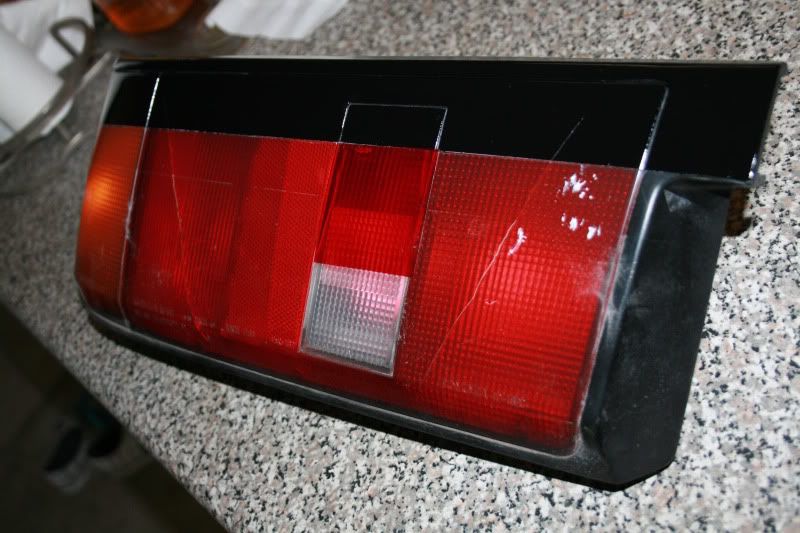
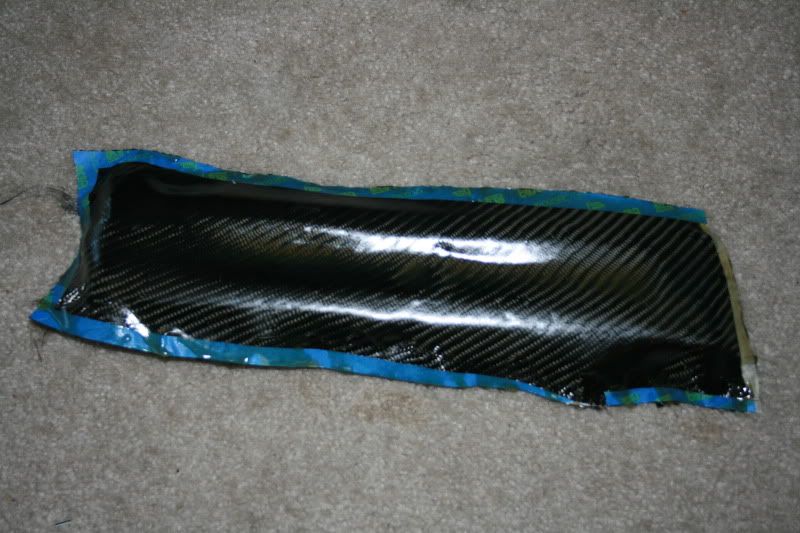
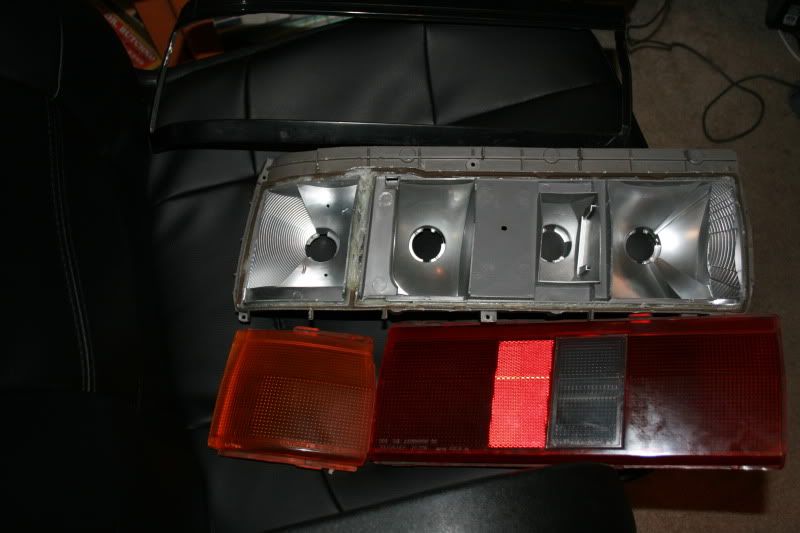
1. Use the painters tap to make your line across the top of the tailight, following the trim. then use a bag and tap it to the tap and all the area you do not want painted
2. sand down all the lettering, and ANY shinny part, it MUST look dull, or the paint wont stick.
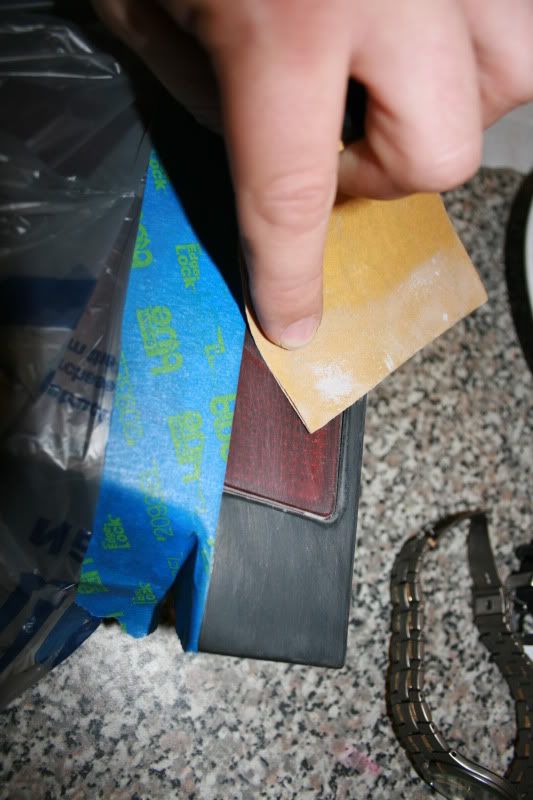
3. Once it if fully prepped, wash and dry off the sanded area. Shoot a light layer of primer across the whole light, then let it dry and repeat till you have nice clean even coat.
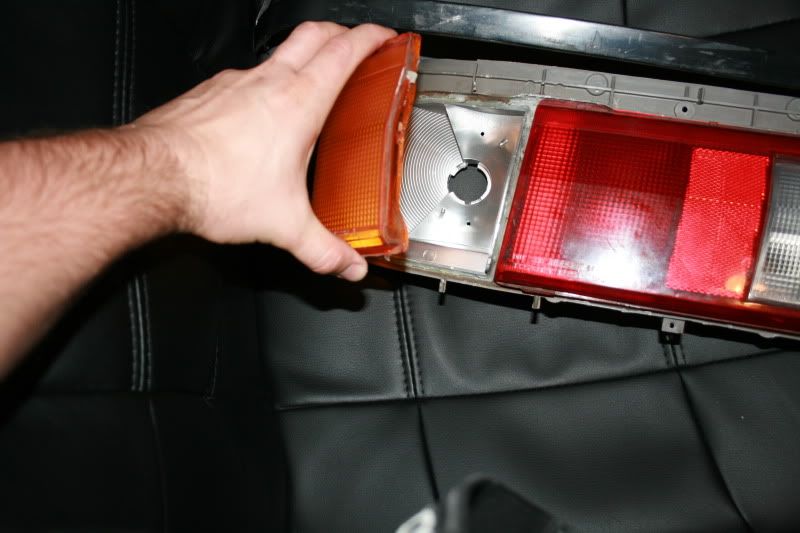
4. Once the primer is dry, shoot a color layer the same way, with light coats.
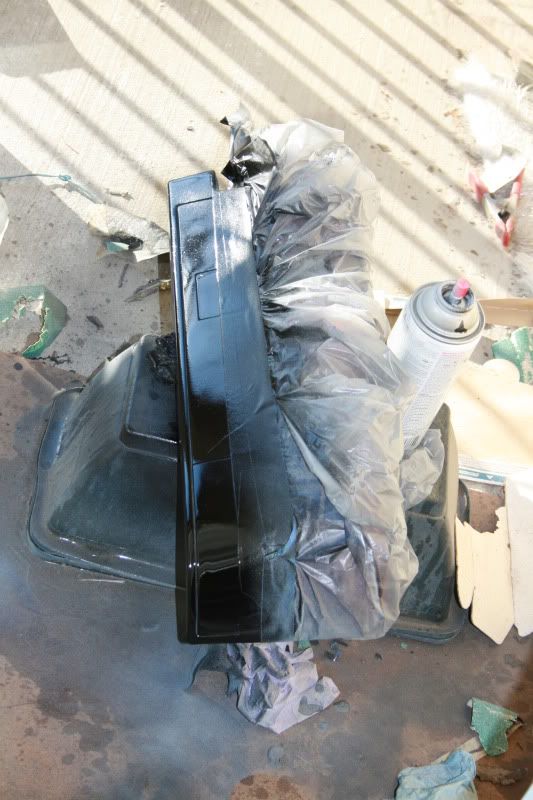
5. Remove the tape while its still tacky, and let cure for however your paint can says to.
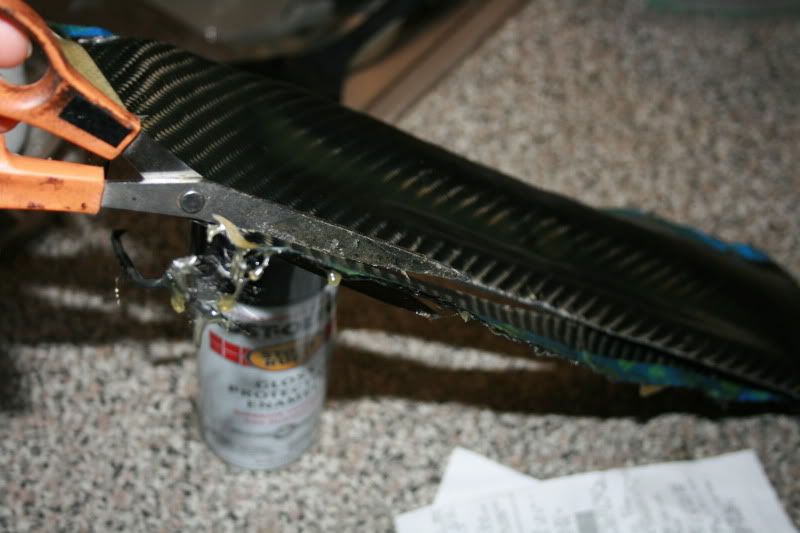
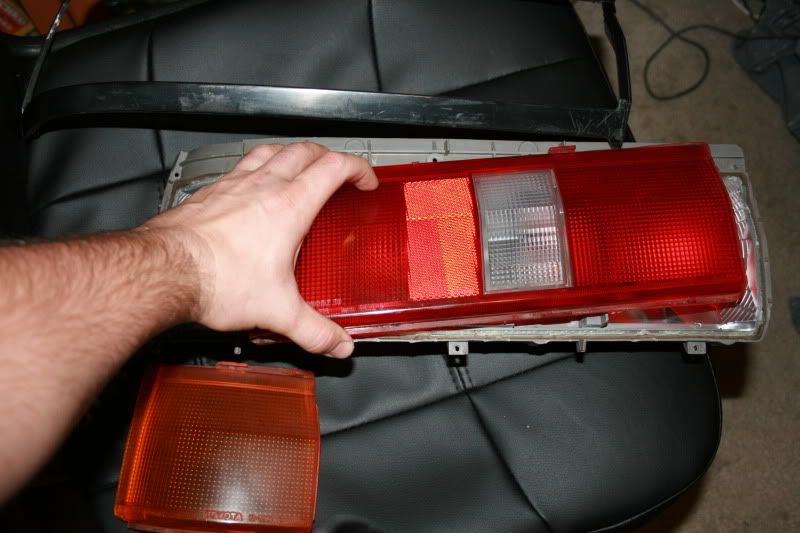
6. take out your acrylic red plastic, lay it up to the light and use a dry erase pen to mark out where you will cut.
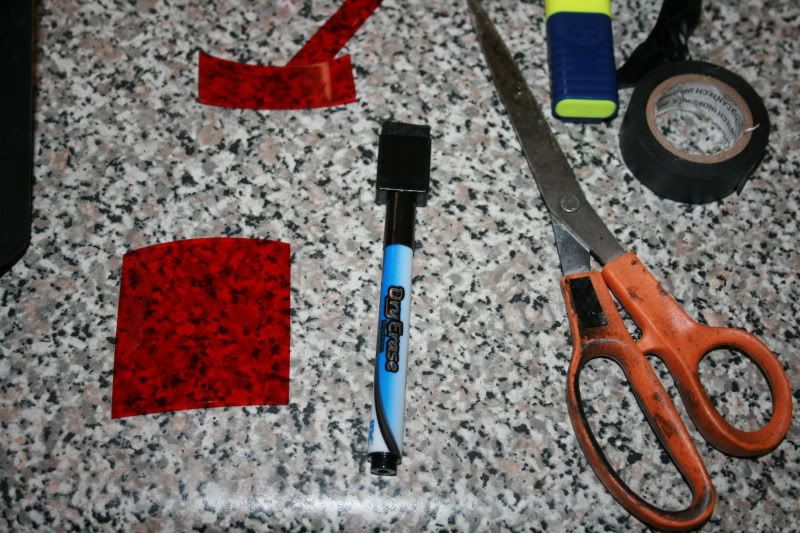
7. Cut the acrylic plastic to size and glue in the piece!
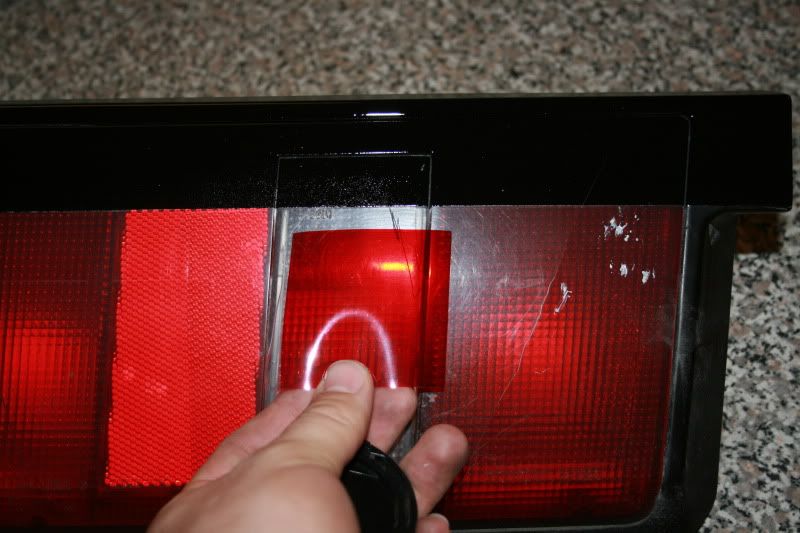
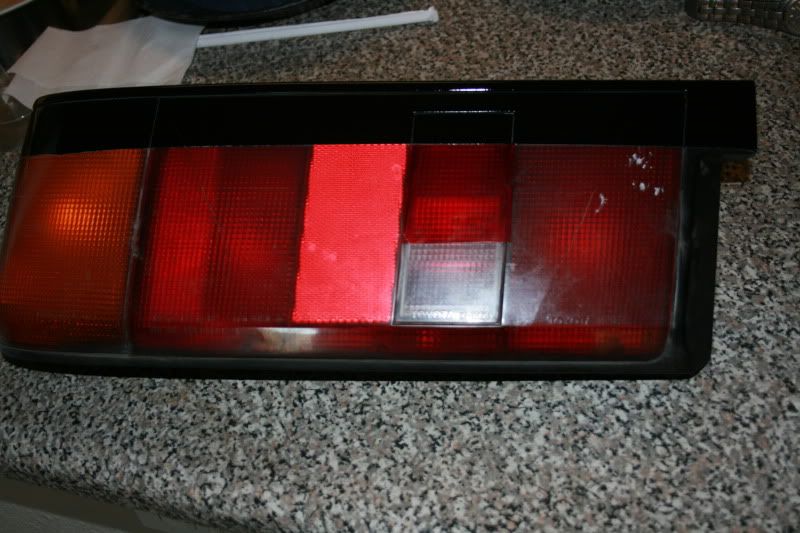
8. and your done!

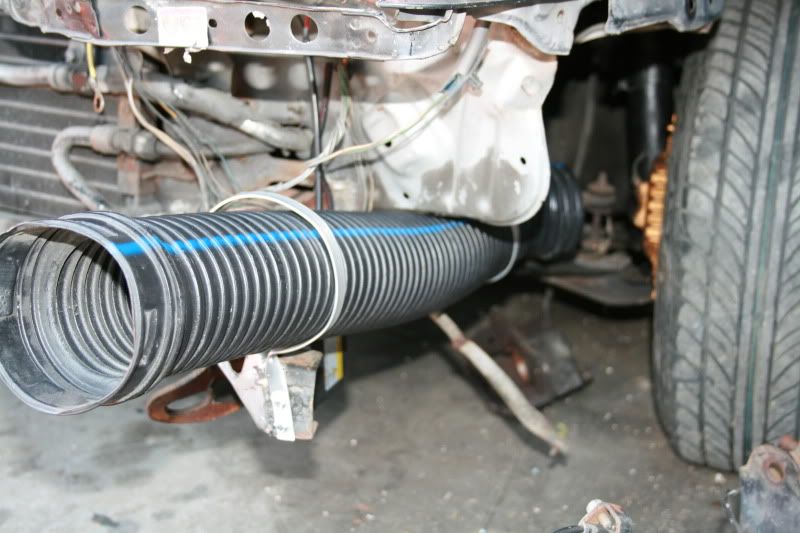
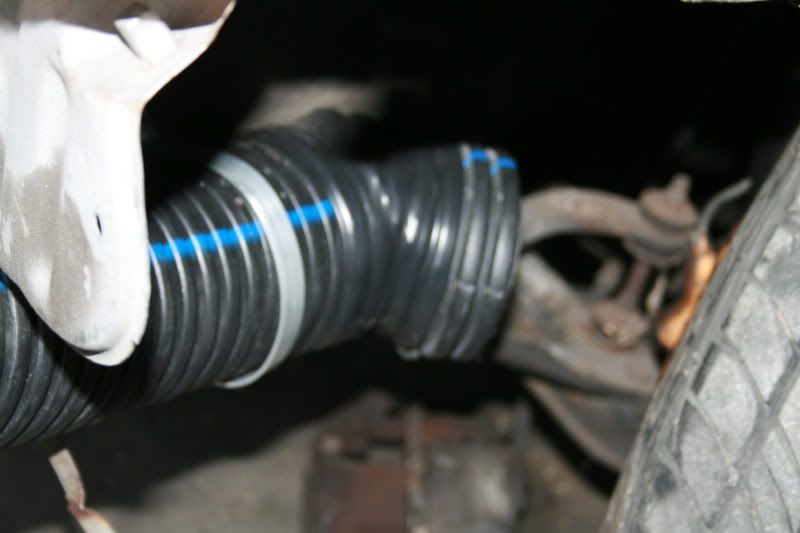
Got some work done, and took some pics.
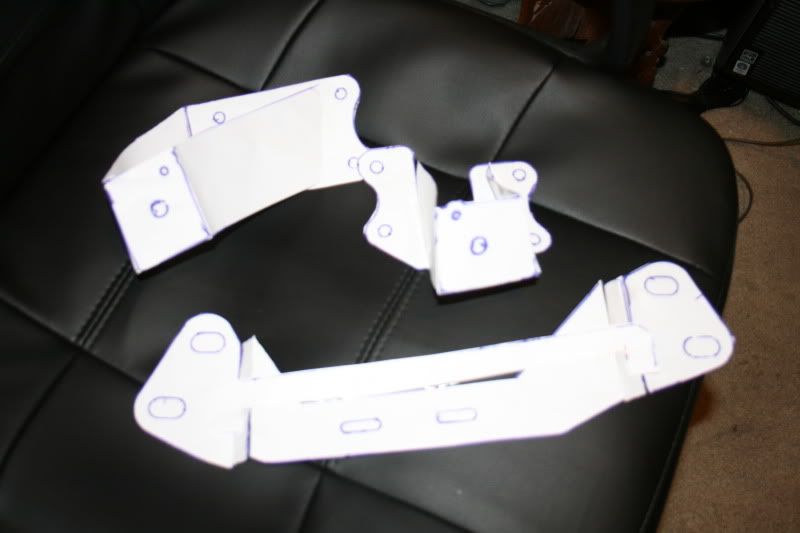
Mounted the brake ducts, and made brakets and angled the tube so it will help cool the FC brakes.
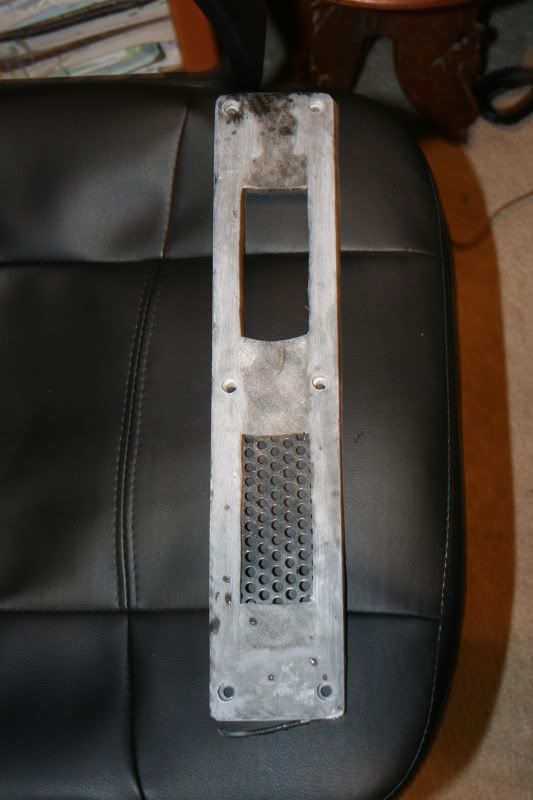
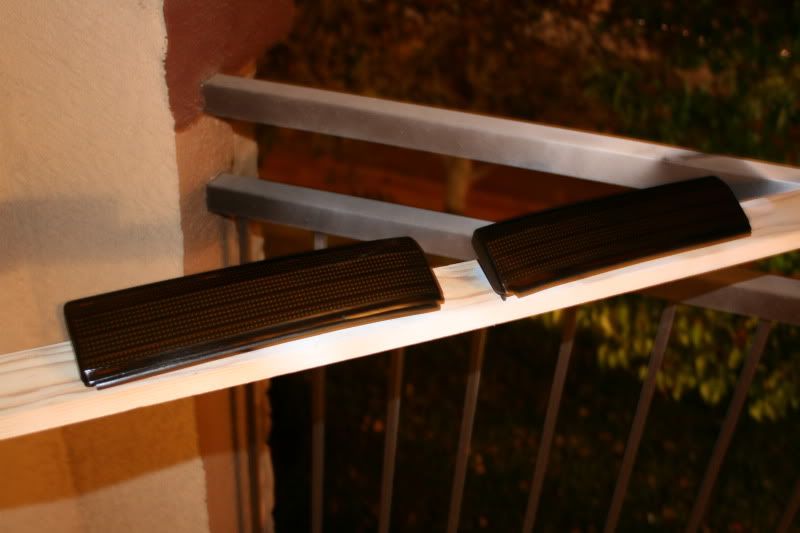
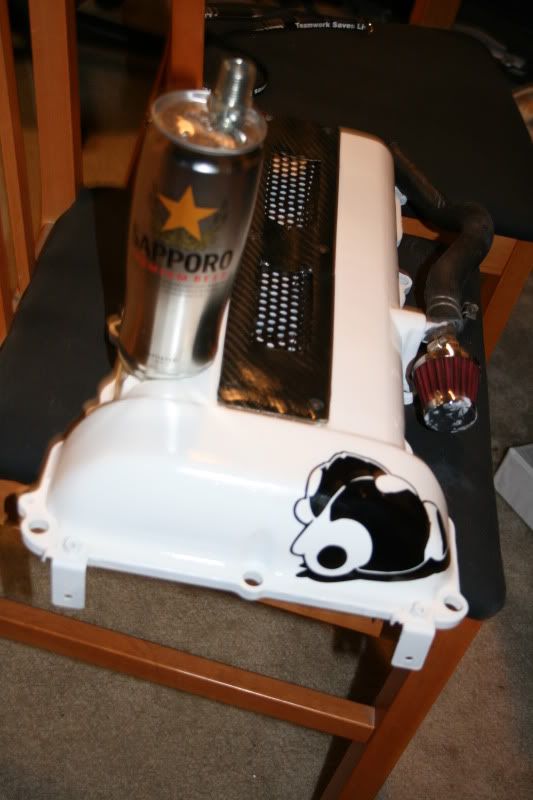
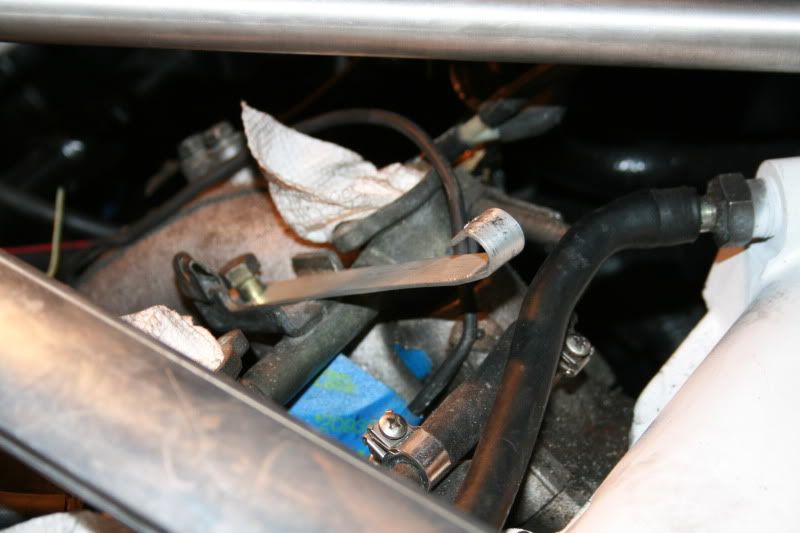
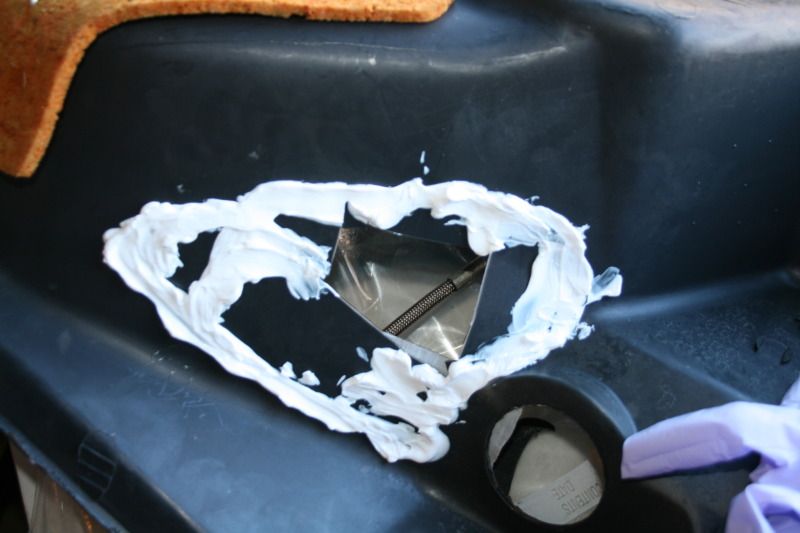
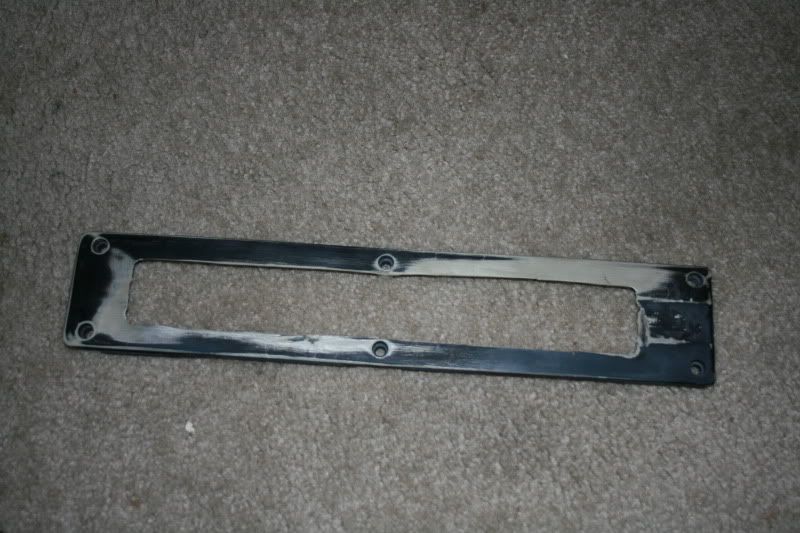
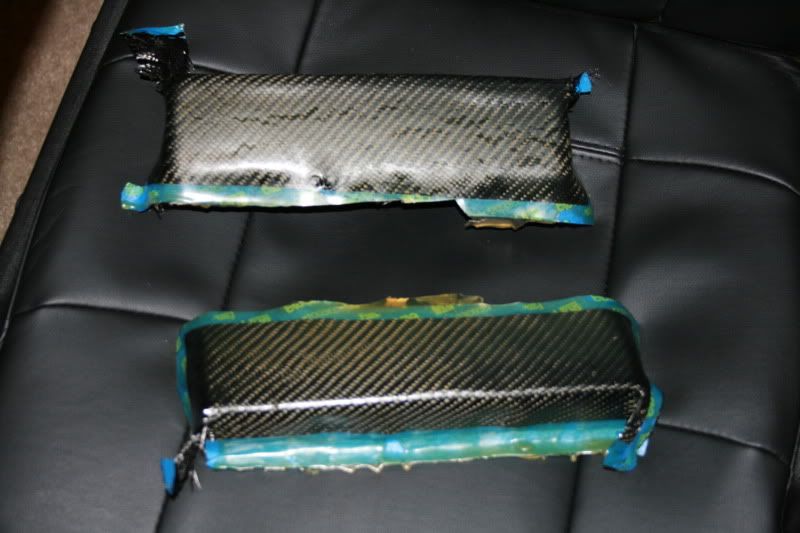
Then started working on the SR20DET valley cover for the coilpacks, I heard that many people take them off cause the heat can decrease the longevity of the packs, or they buy a vented valley.
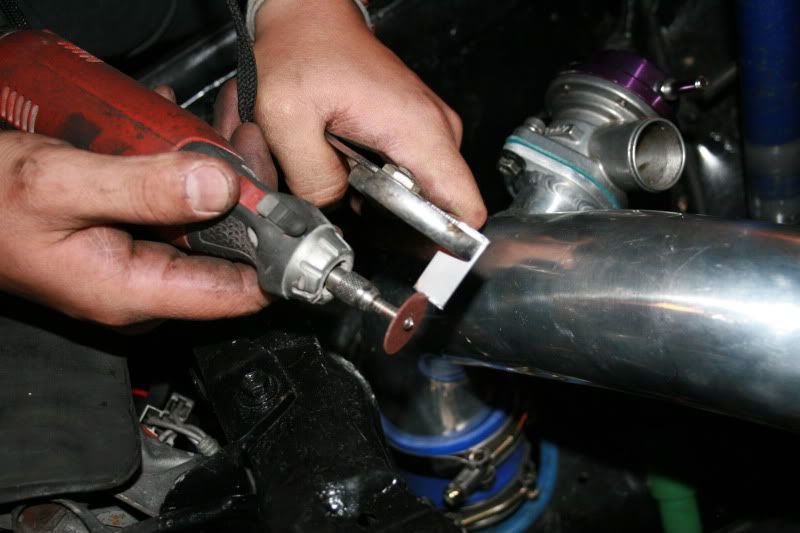
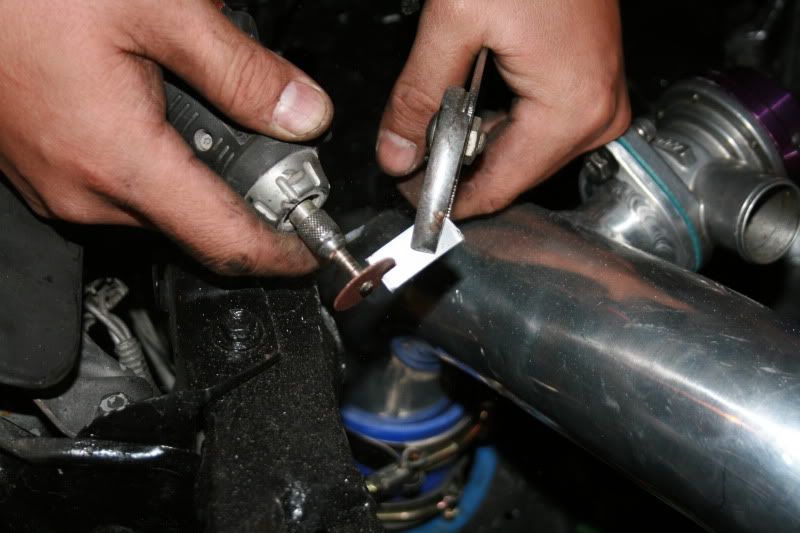
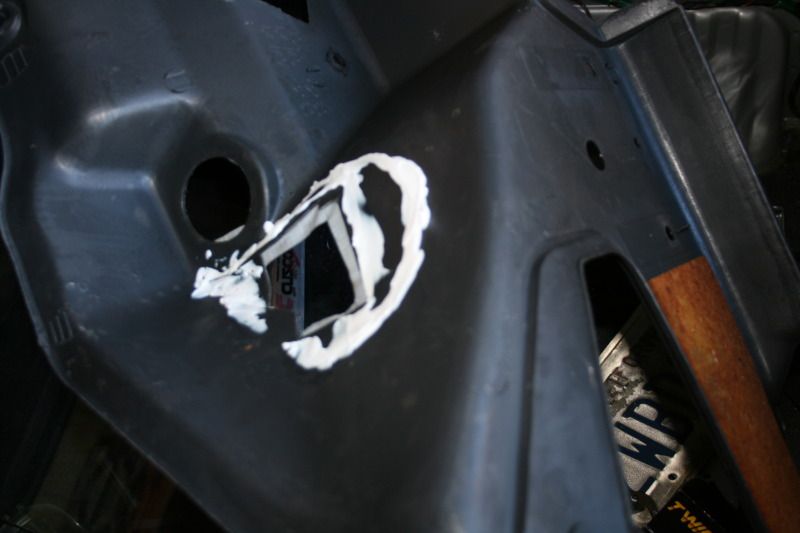
So I thought why pay 150 bucks for something I can make for free pretty much. So I started cutting out the center of the cover.
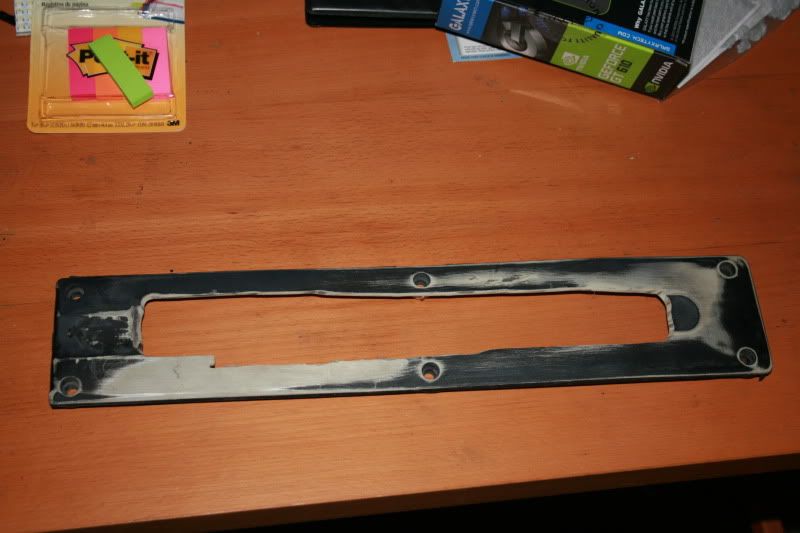
I still need to even it all out.
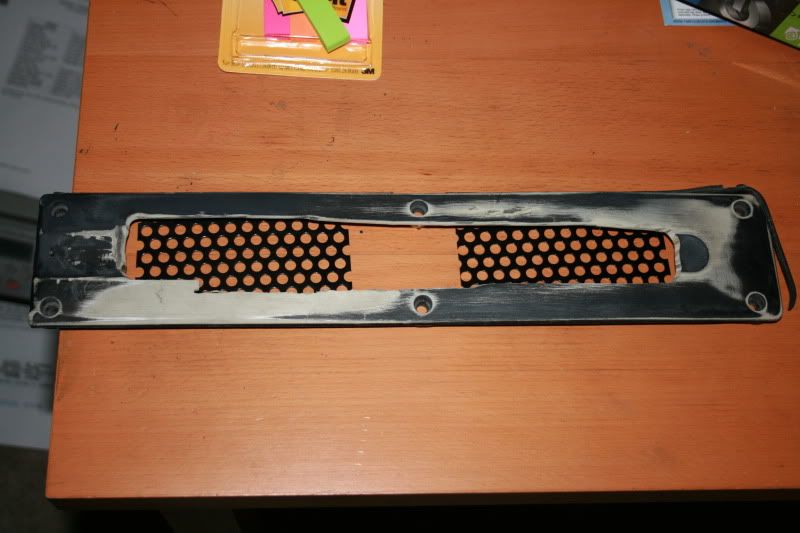
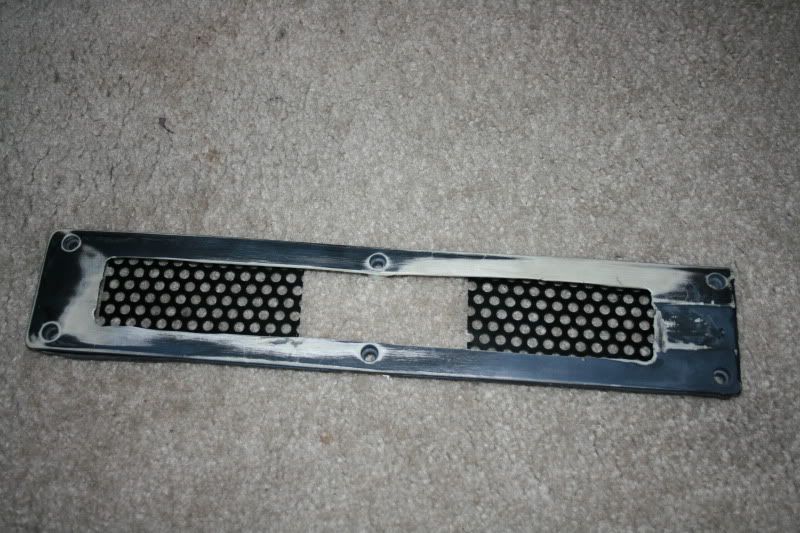
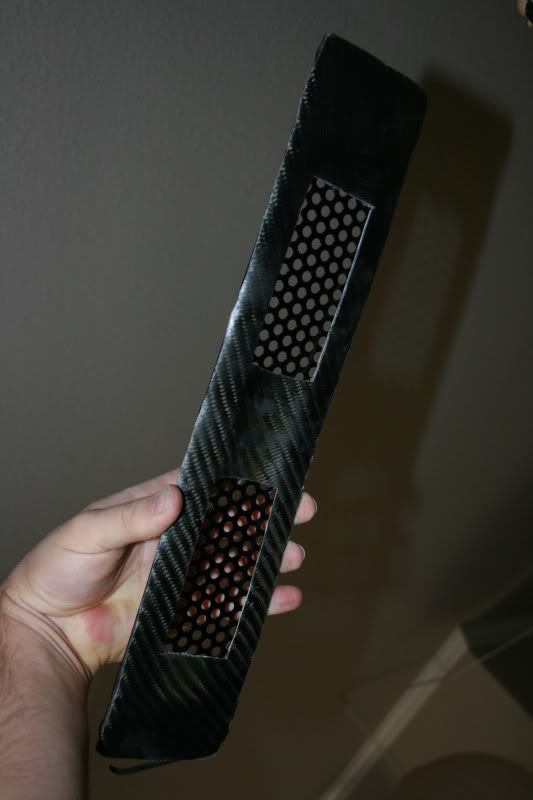
Then Found Some perforated metal I had laying around.
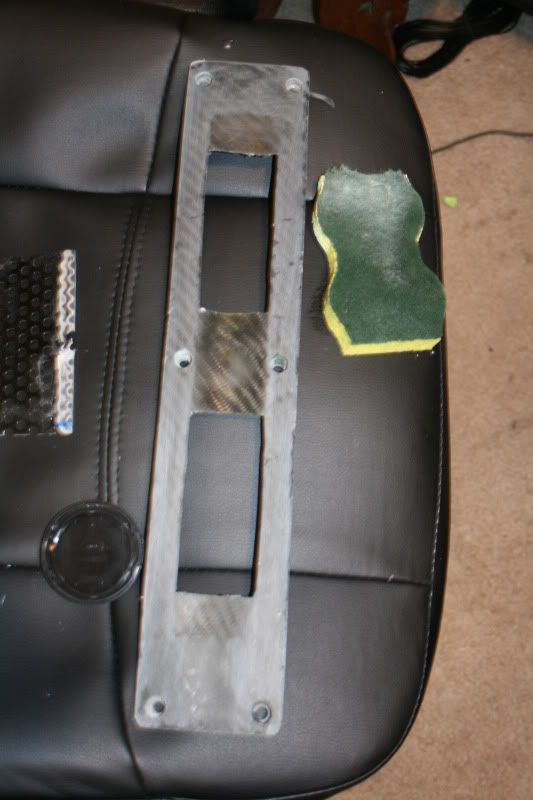
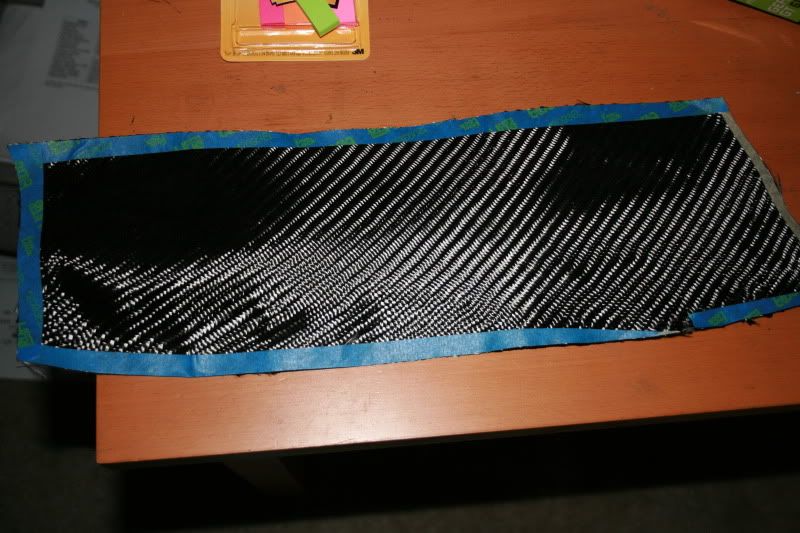
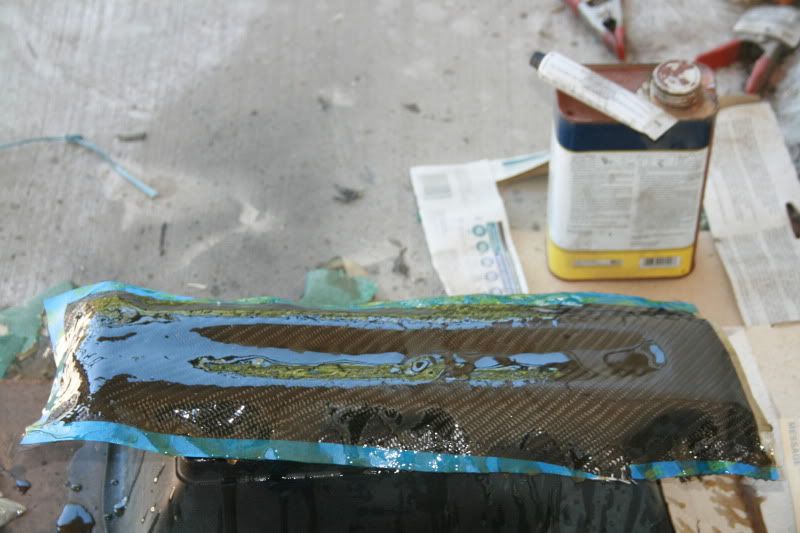
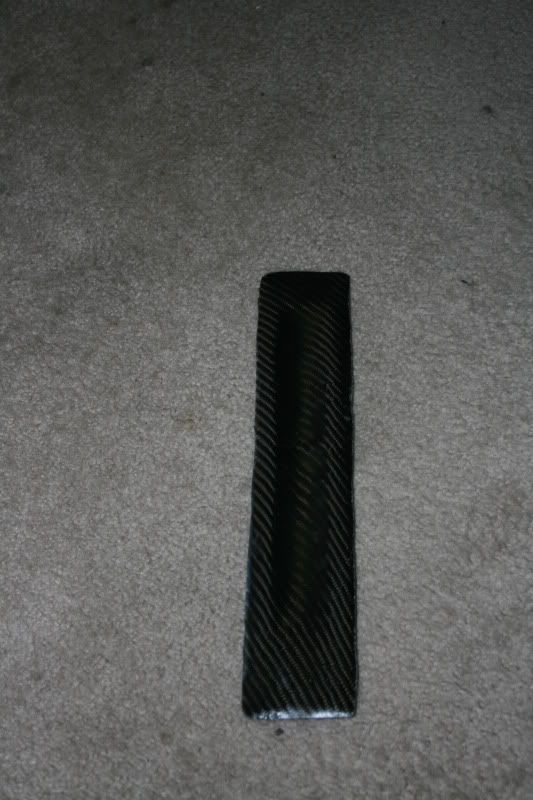
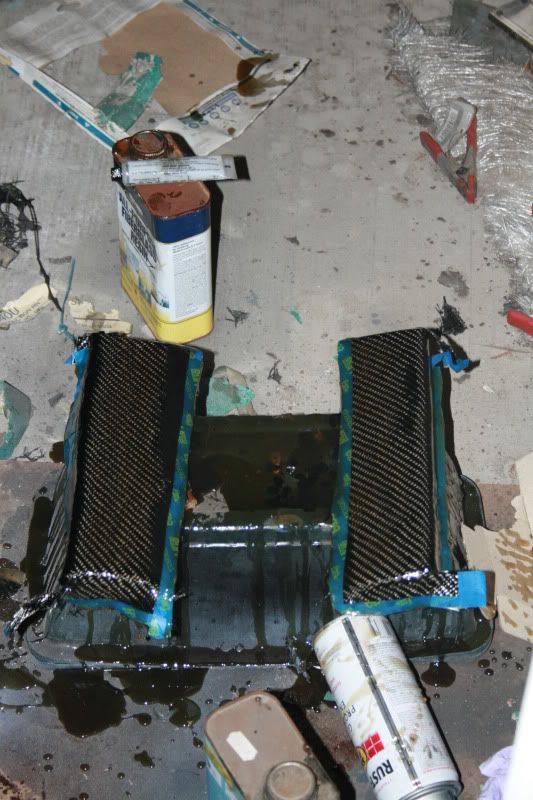
Cut out some CarbonFiber matt I have, just need to find my resin and hardener so I can lay it on and trim to fit!
Cleaned up the cuts with my angle grinder
Test fit the mesh
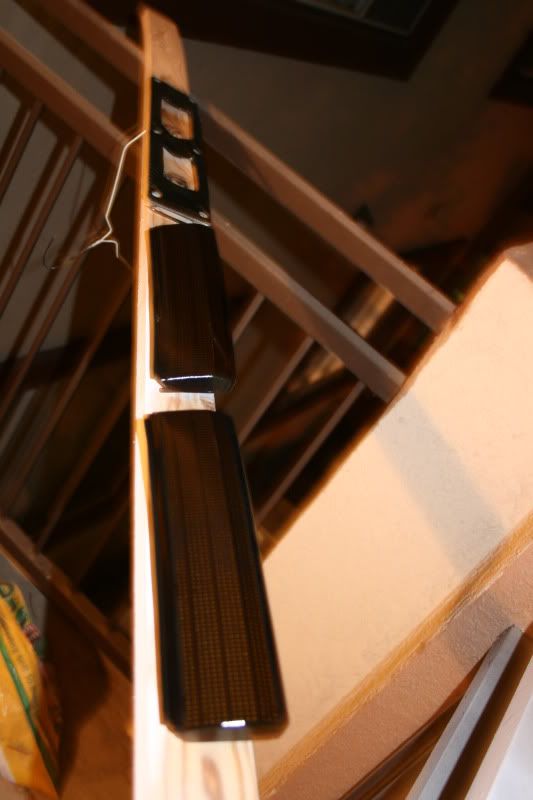
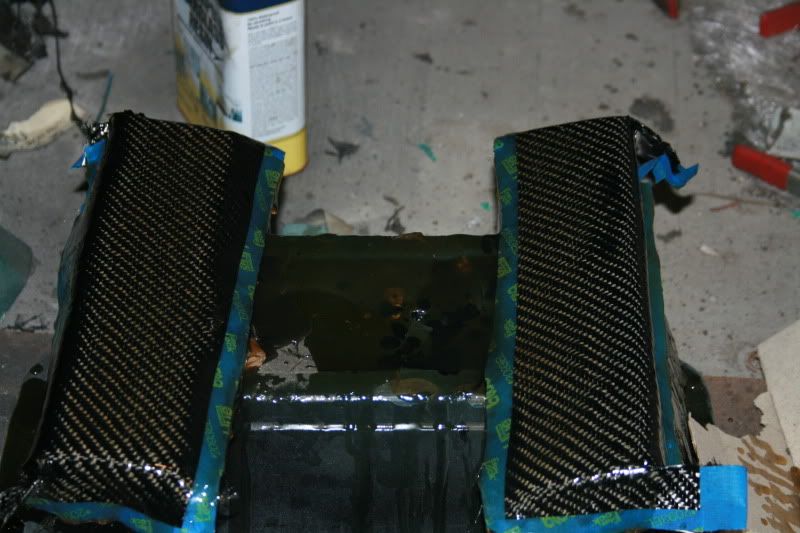
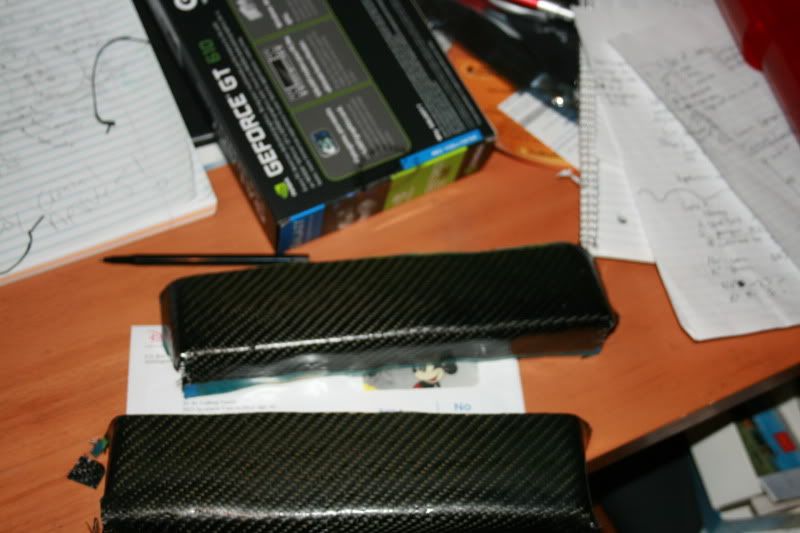
First layer of CF
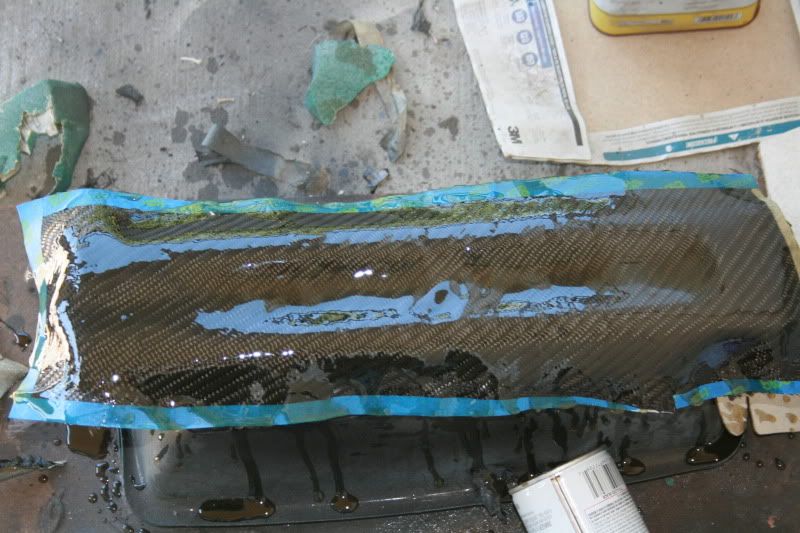
After it hardened
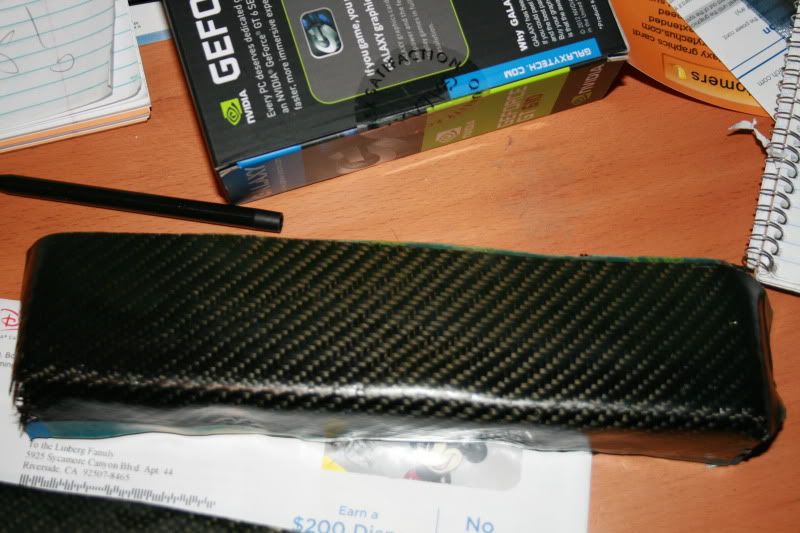
Trimming it down to size
Hey its starting to look like a valley cover again
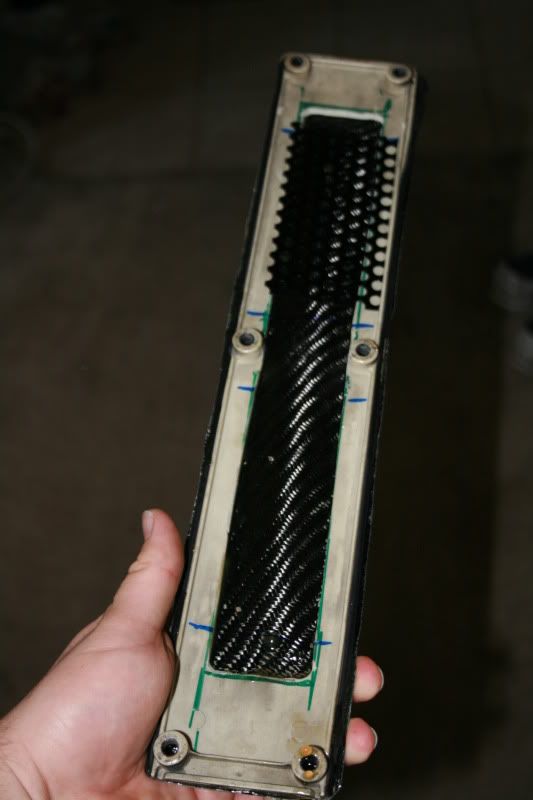
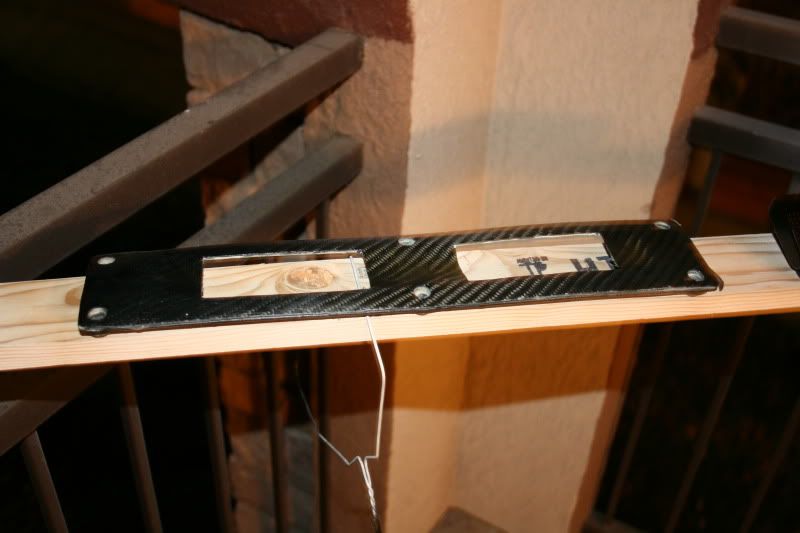
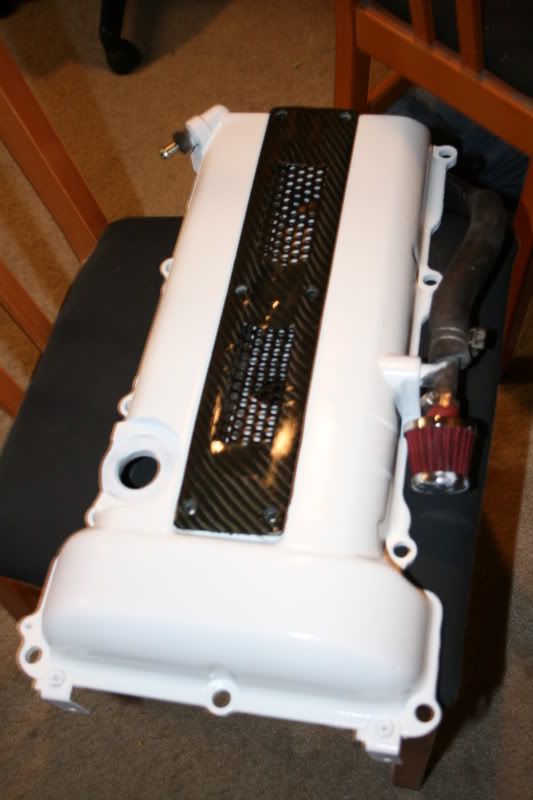
Cut out the venter for the vents
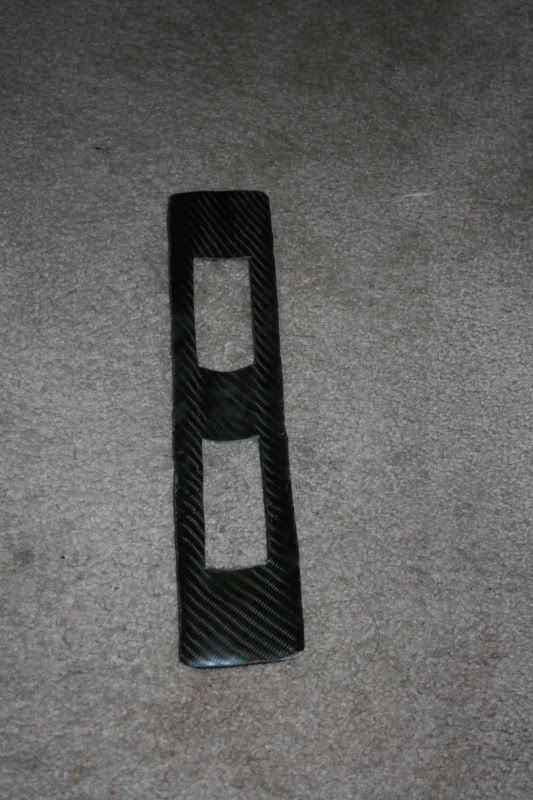
all finished, just need to wetsand and polish still, but that will be done later.
Started work on the stock eyelids, thought it would look nice to match them to the car with some CF accents.
Test fit the headlight eyelid, still need to trim it, fit the edges, and clear coat.
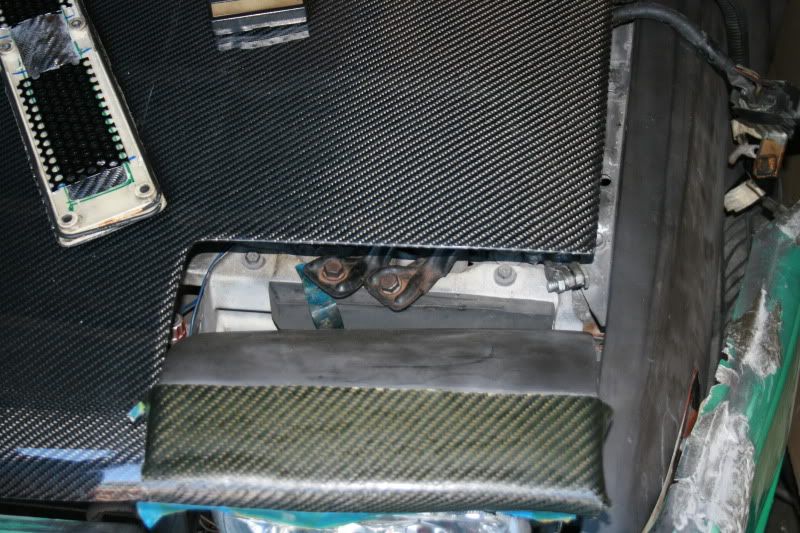
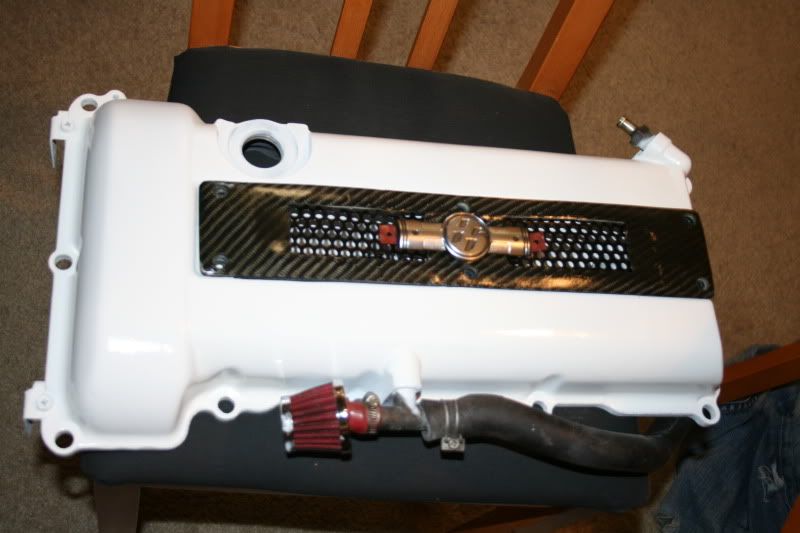
Then I test fit the Sr20det valley cover, so I could drill out the holes for the bolts.

It fits great, just need block the edges so its more even, wetsand it, and then clear coat!
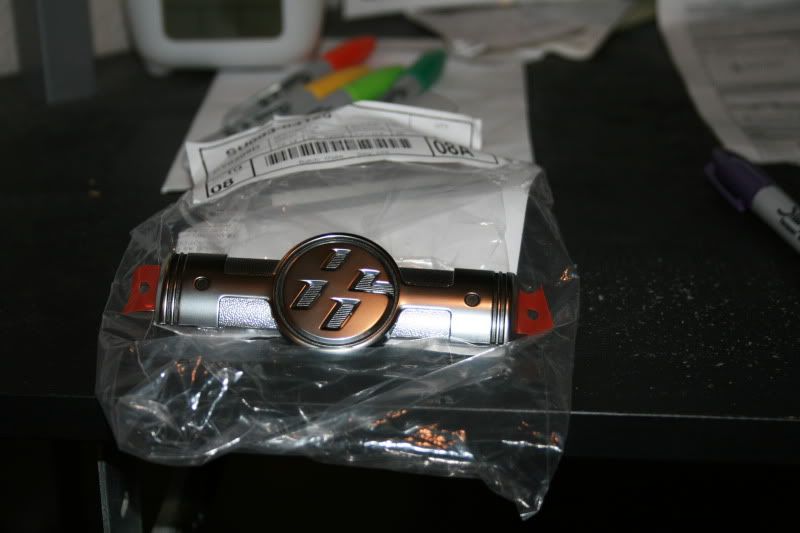
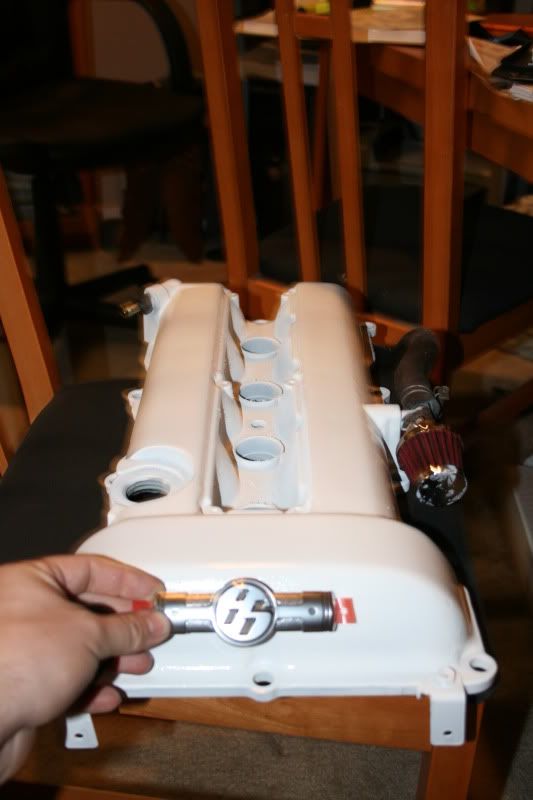
Got a nice badge to put on my SR20DET hhehhehe
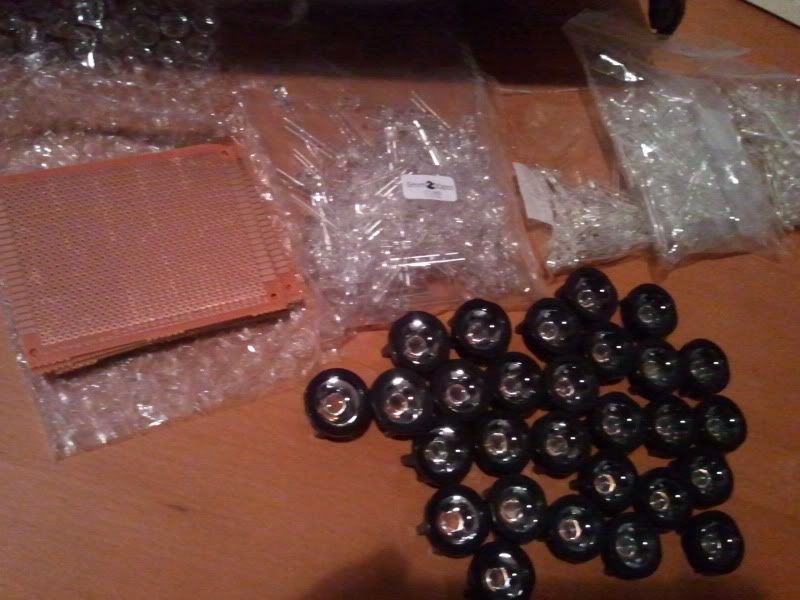
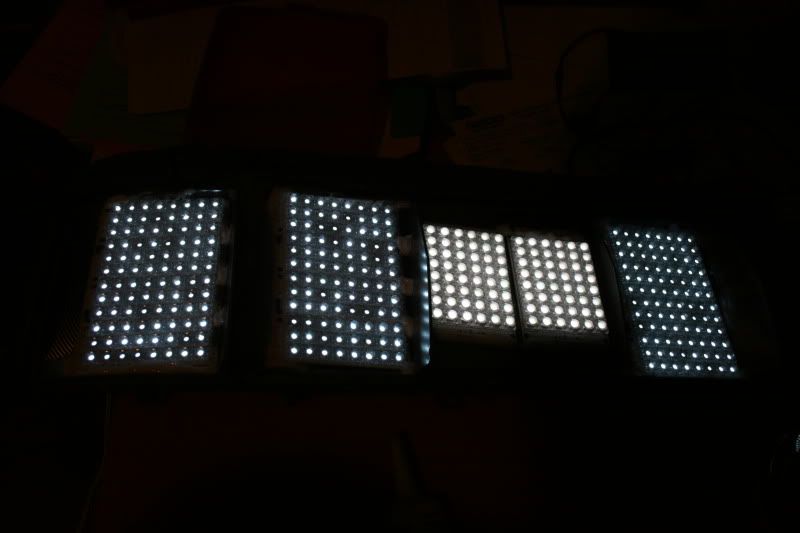
Got my LEDS today! they are perfect!!!!
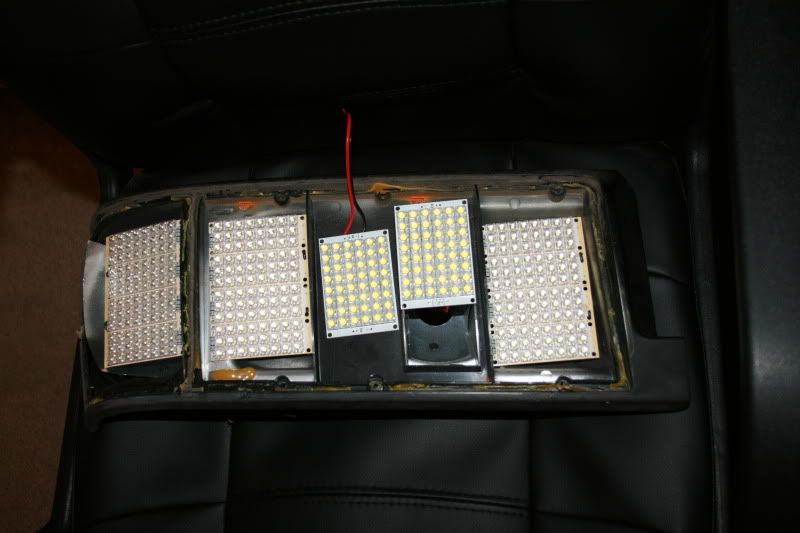
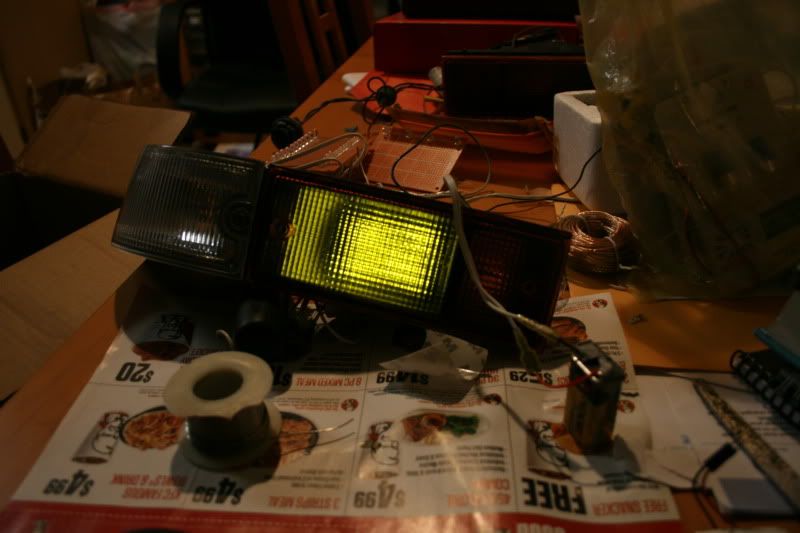
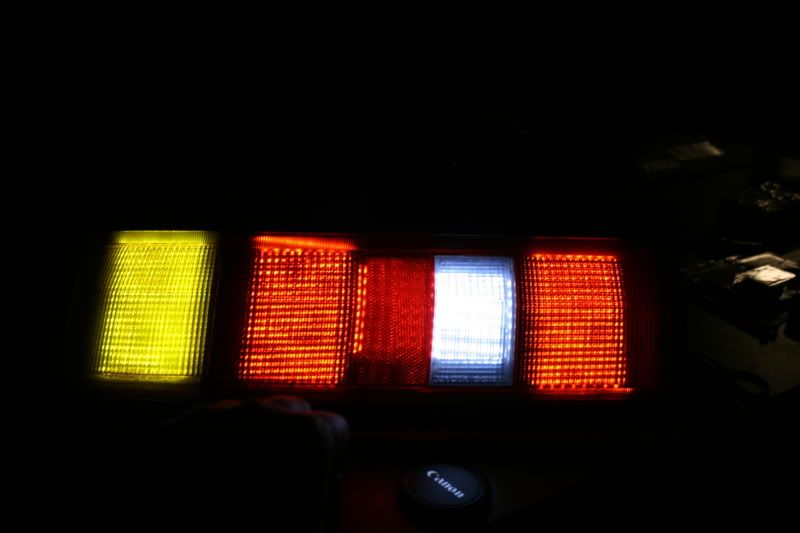
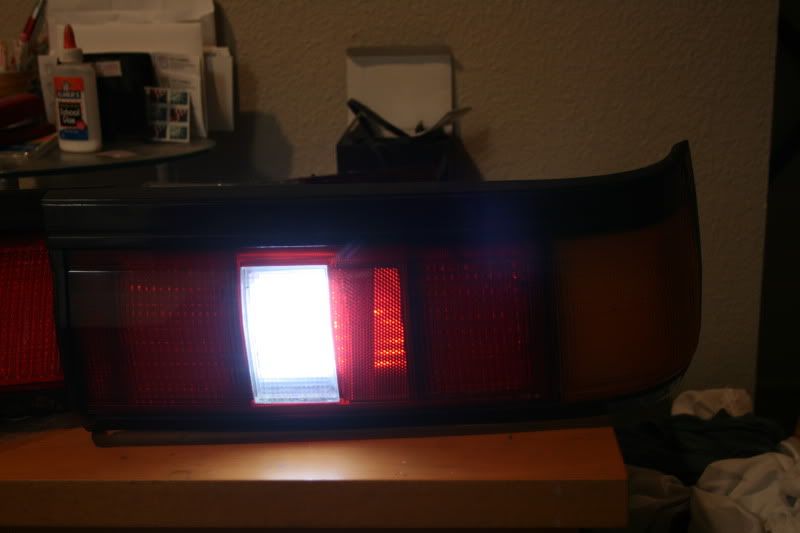
This is on my test taillights, with only a 9v battery attached!
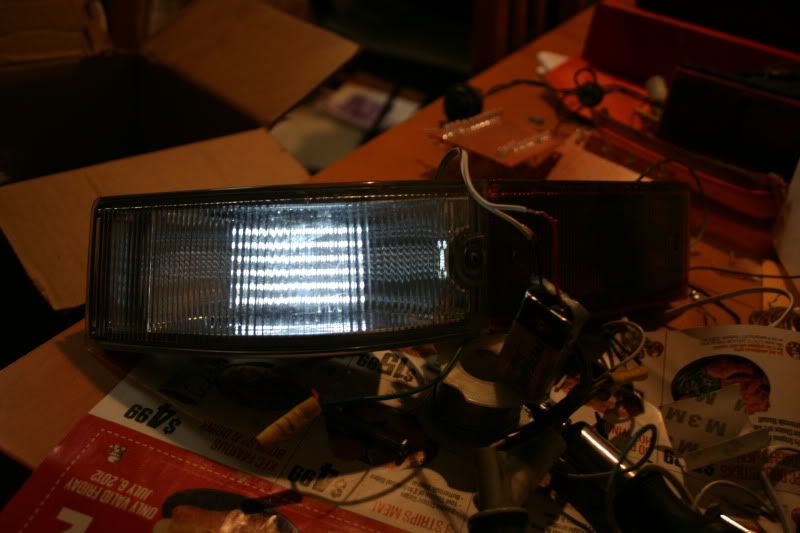
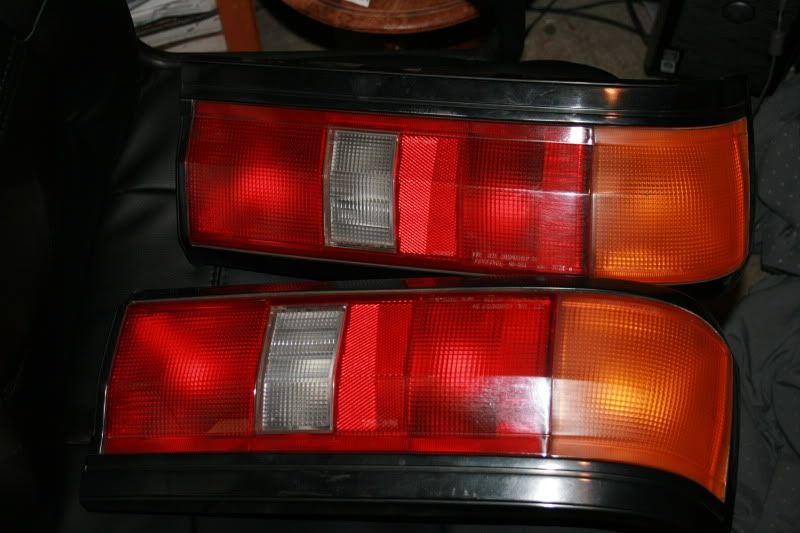
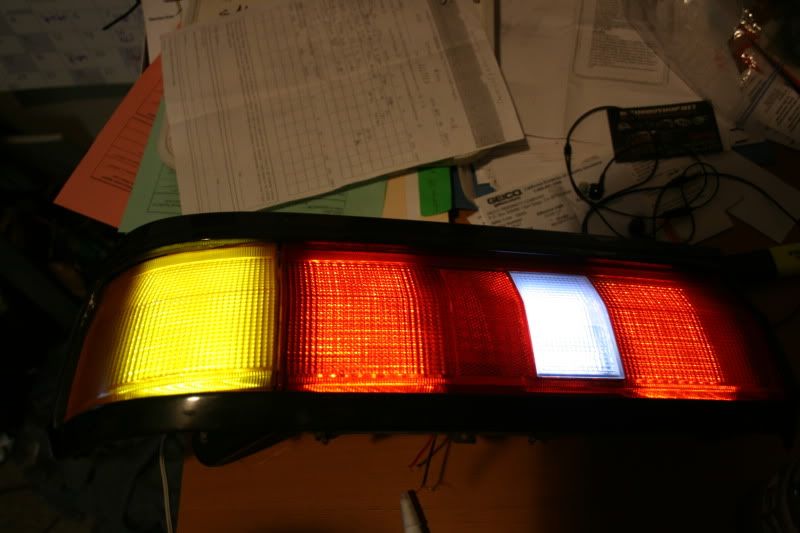
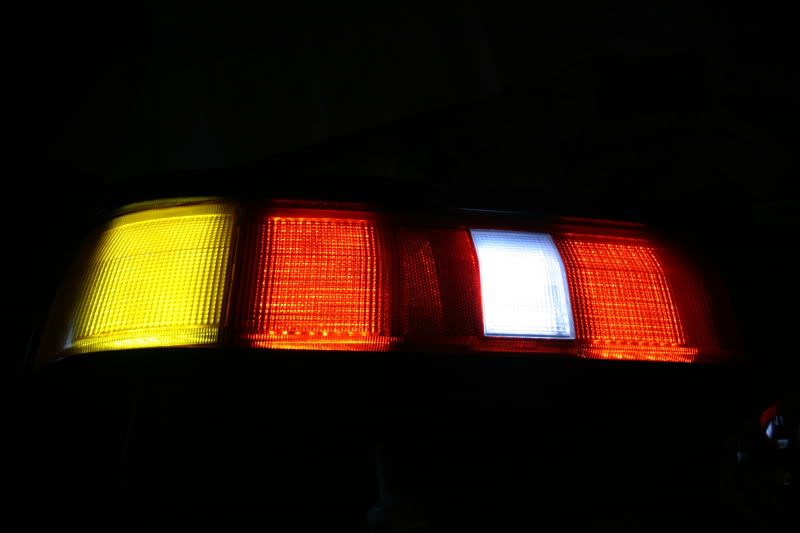
Final work, with my good lens
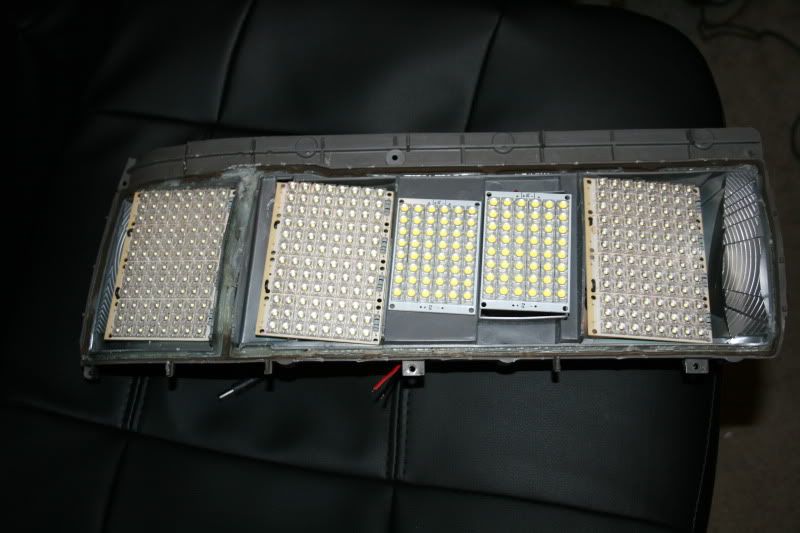
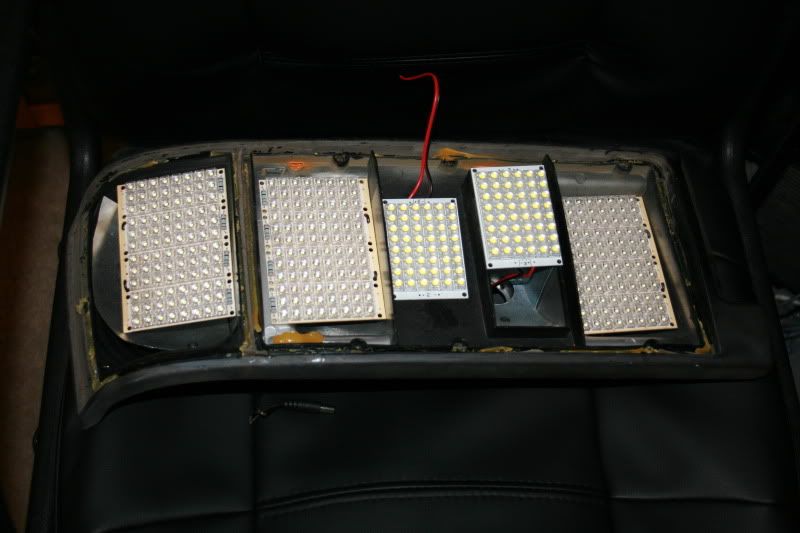
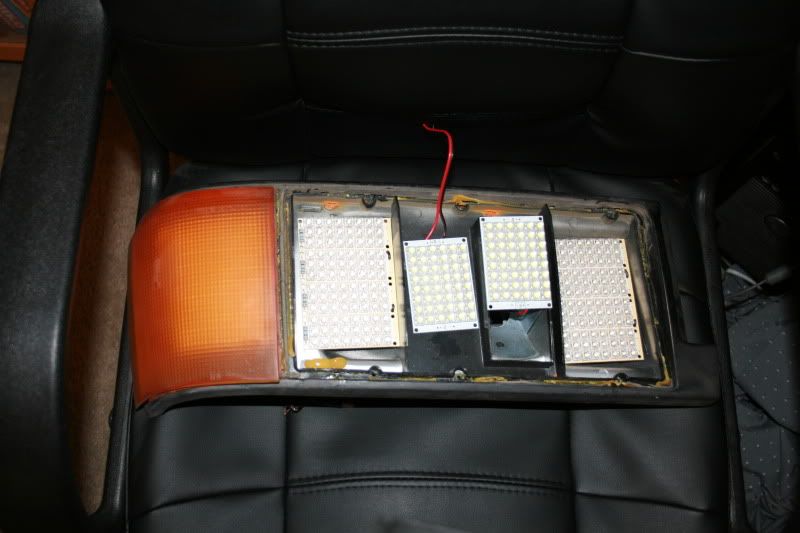
Mounted the LED panels, and polyseam selled them in.
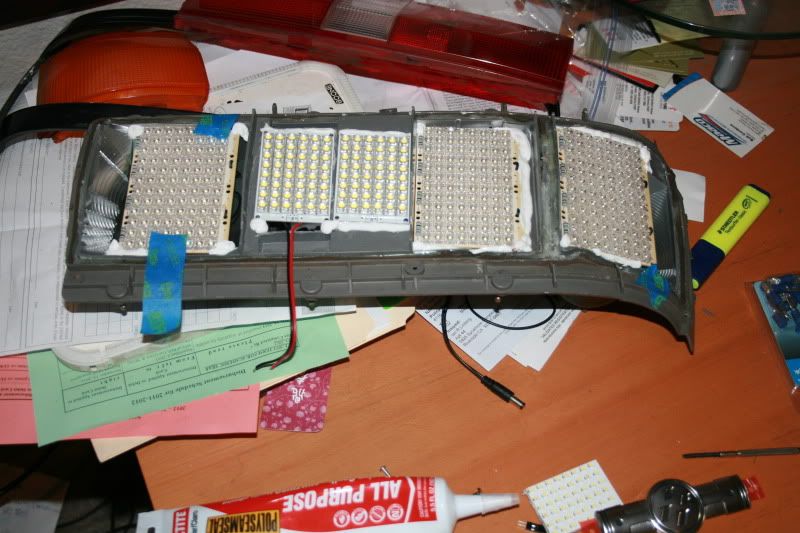
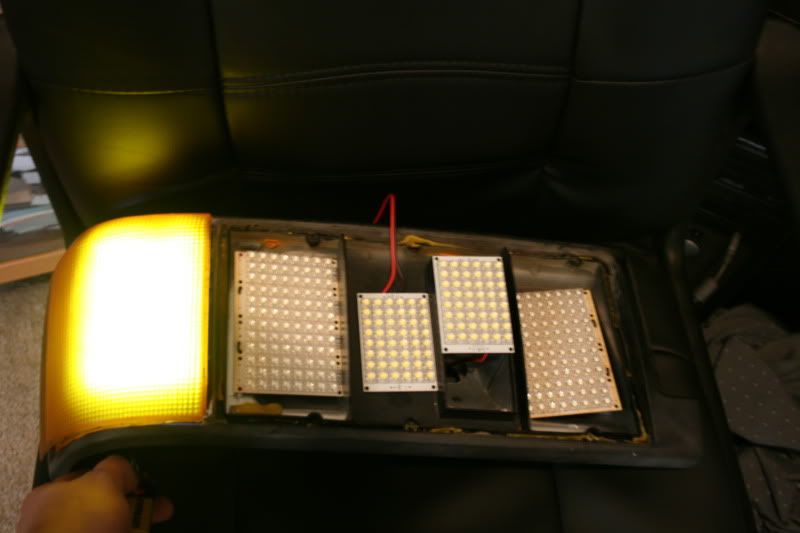
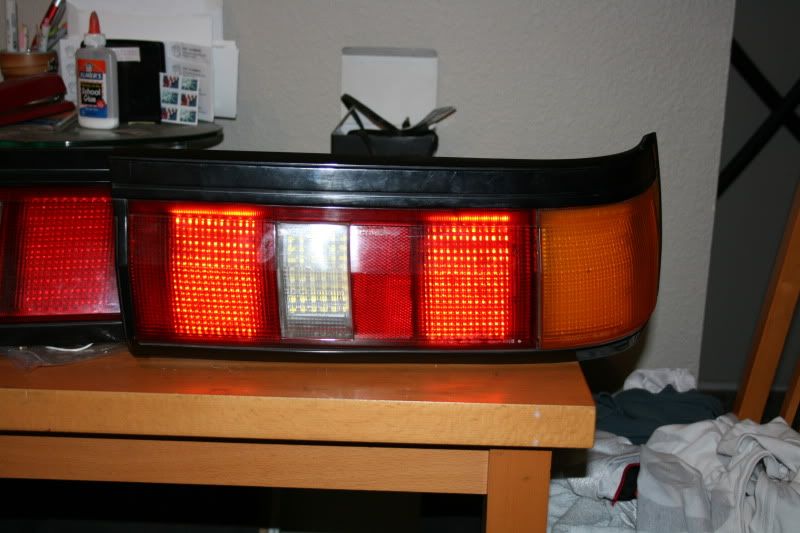
LED panels on, u can see it needs a full 12v not a tinny 9v powering all 4! so it will be crazy bright in the car!
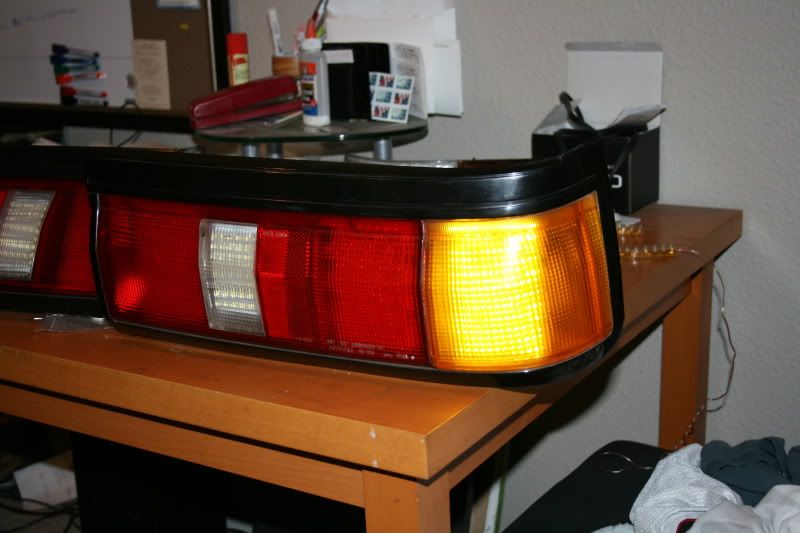
lights on
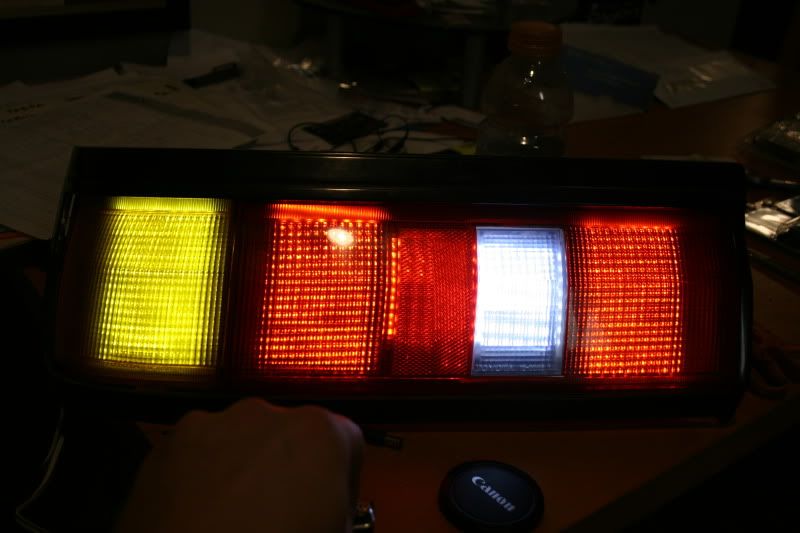
lights off
Or should I just have 3 lights and a reverse?
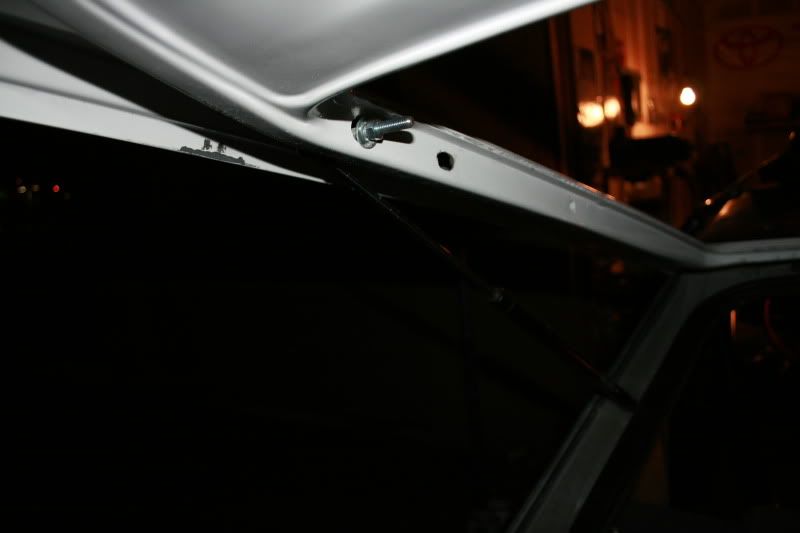
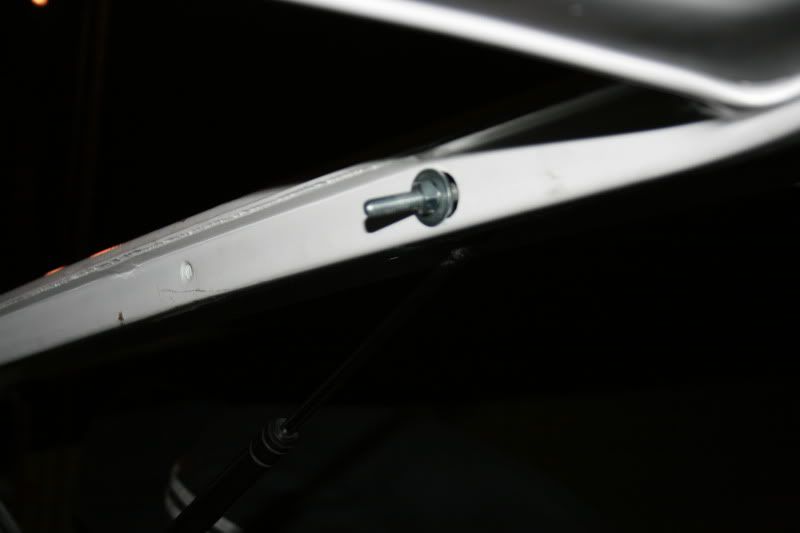
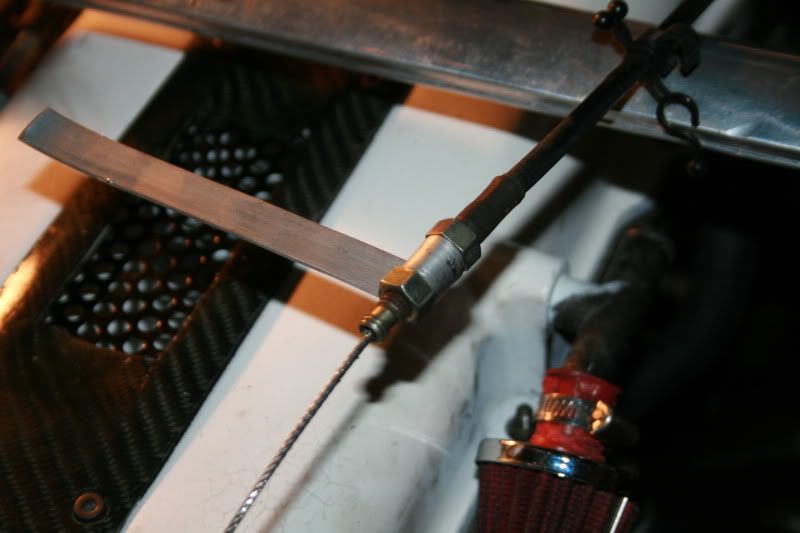
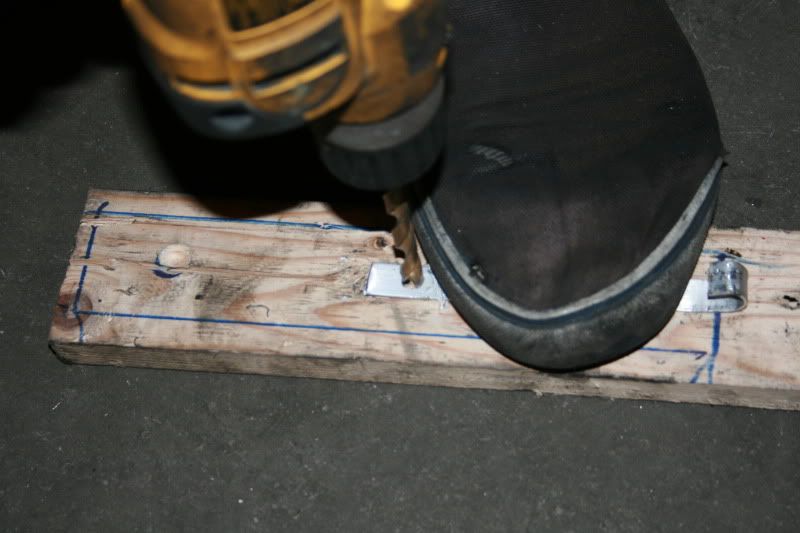
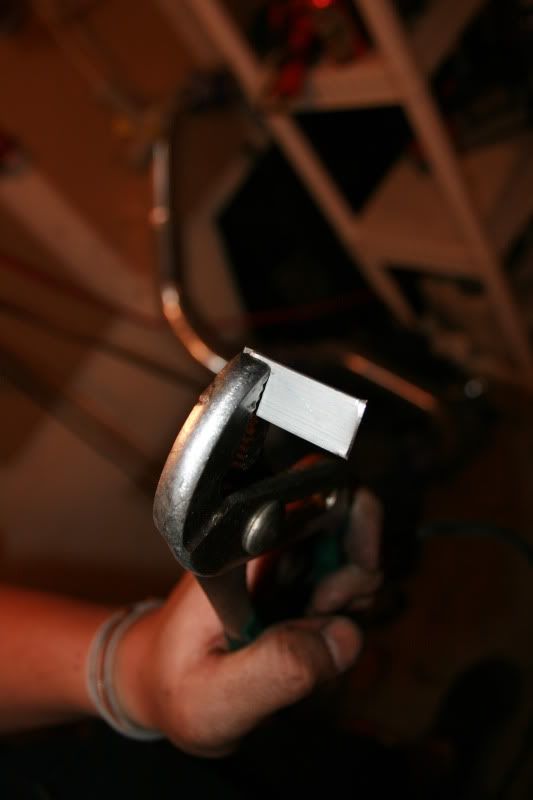
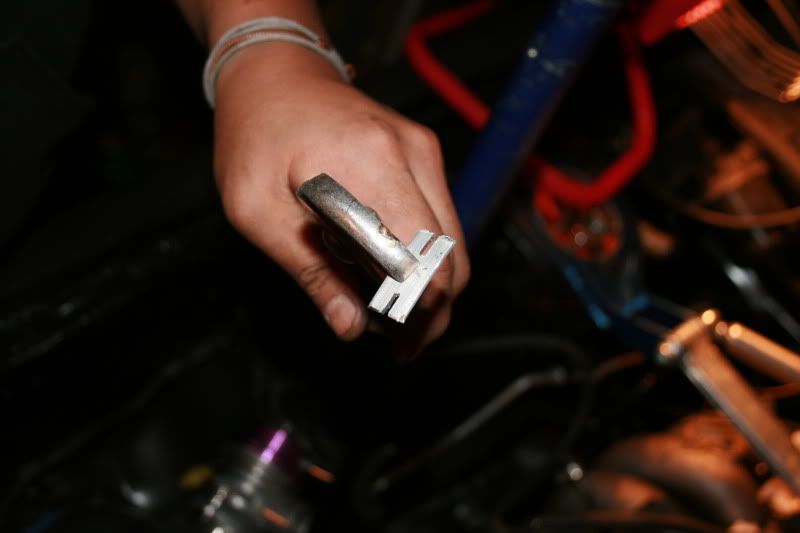
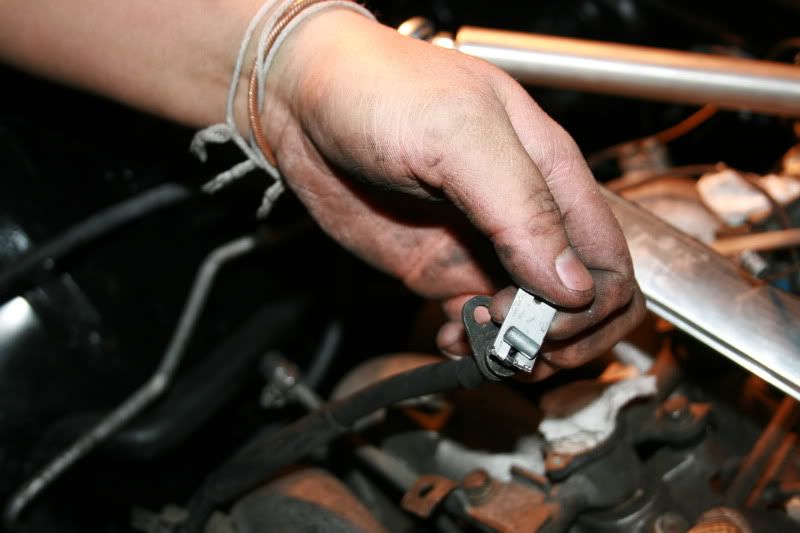
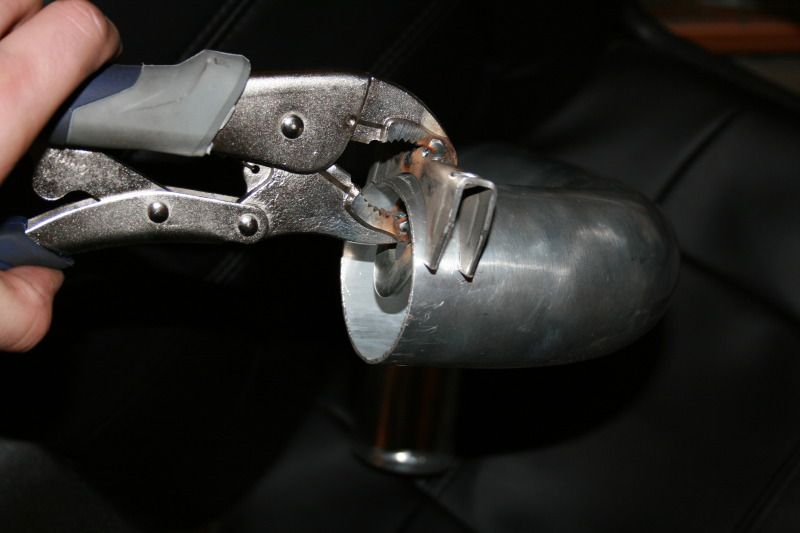
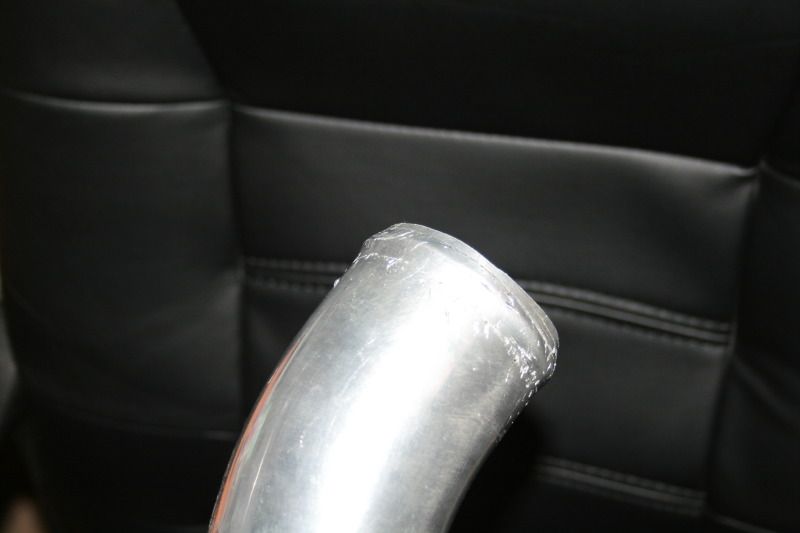
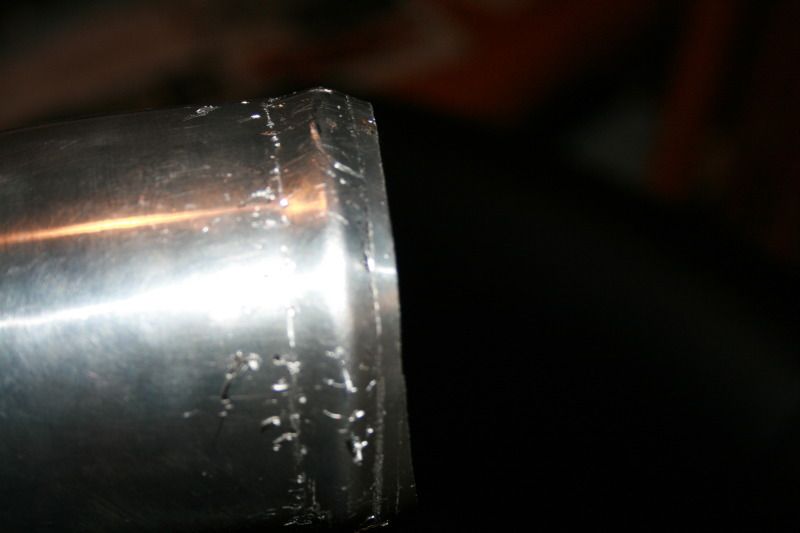
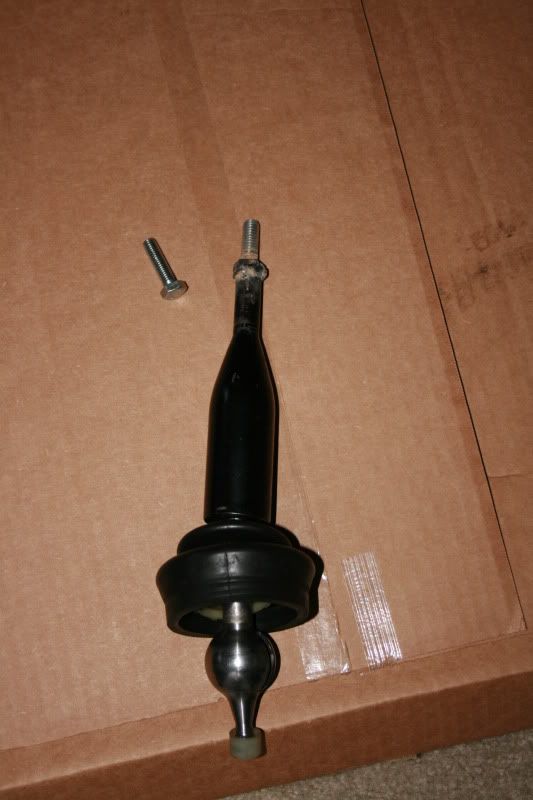
Harness is pretty much done, thanks to xene! I cut down my sr20 shifter threads, and I got a 3/8 16 by 1 inch bolt, and welded it to the shifter. That way I can screw on my new shift knob!!!!
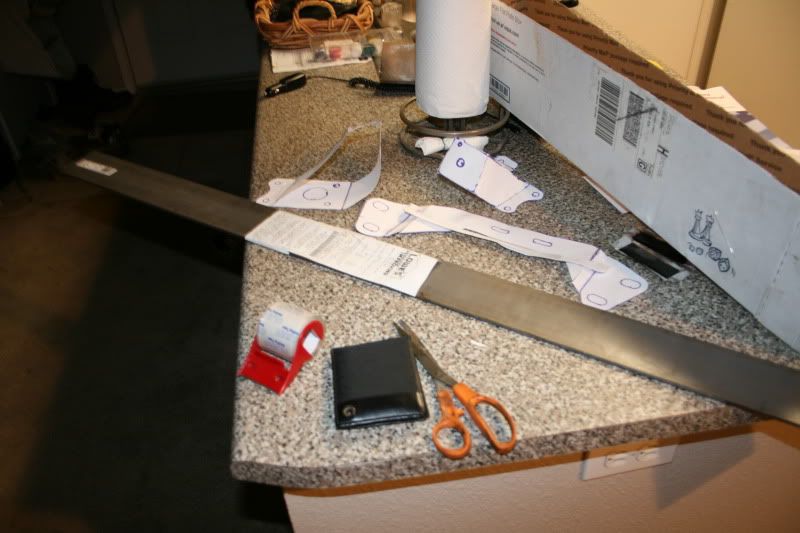
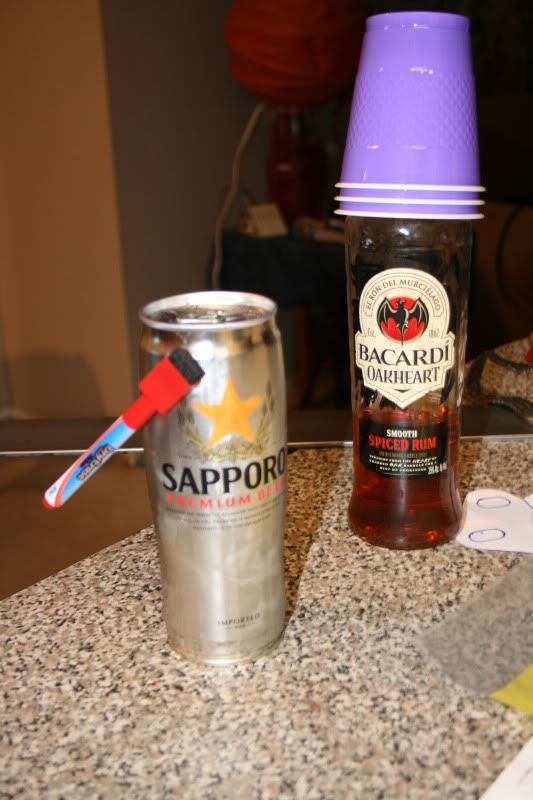
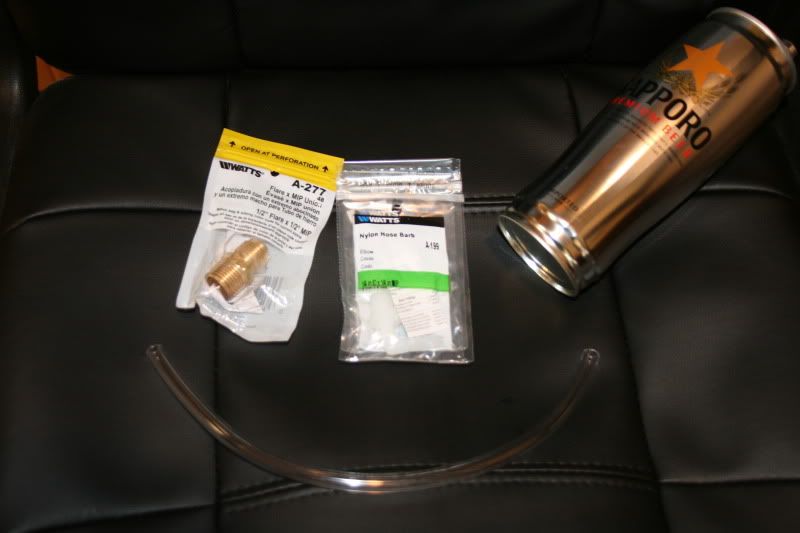
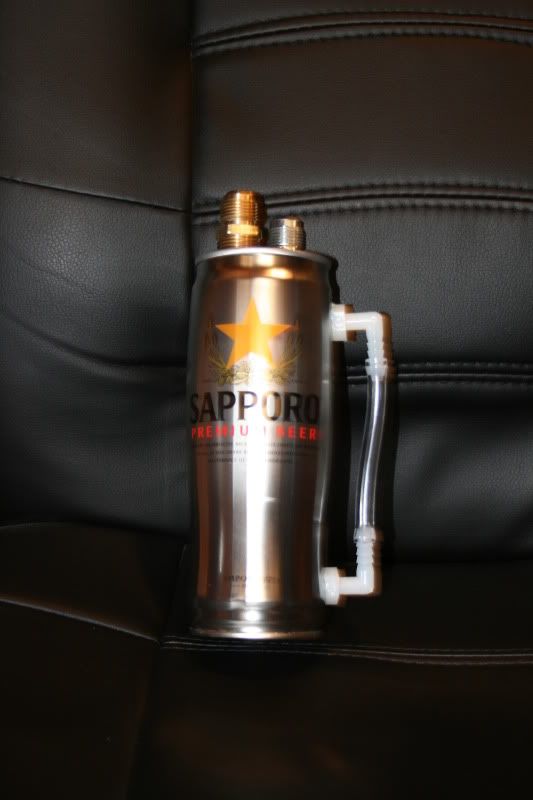
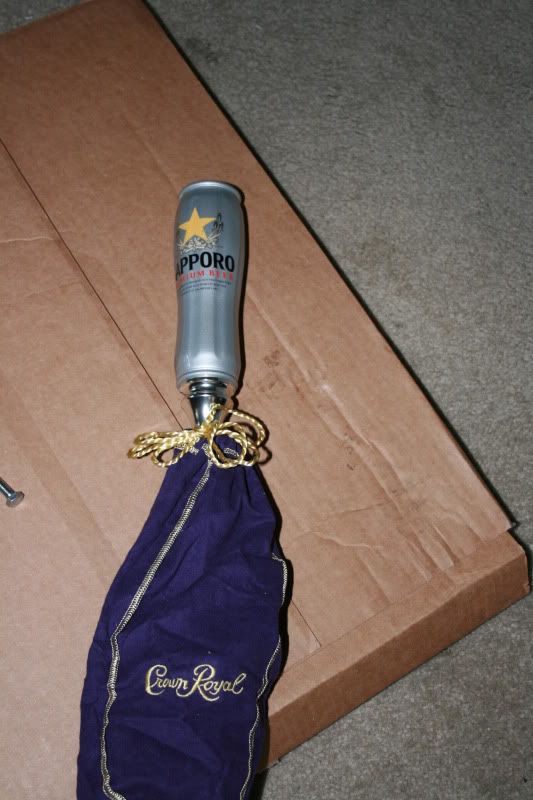
Got a Sapporo Keg Tap
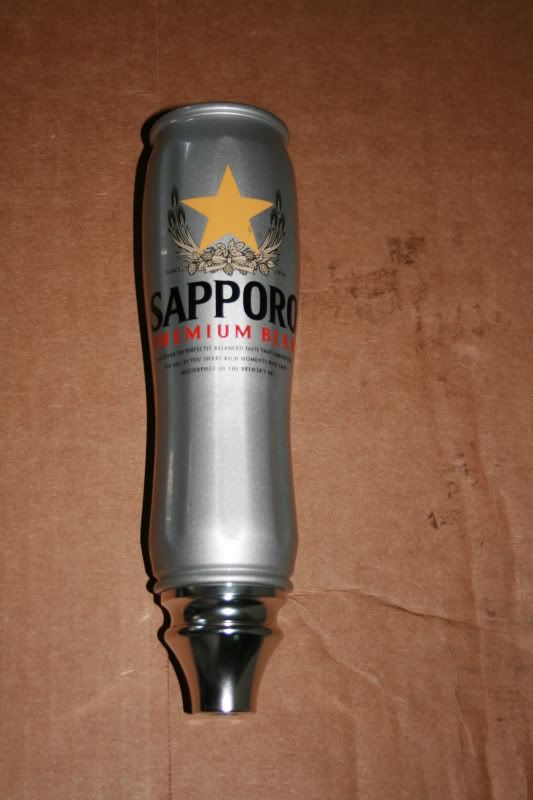
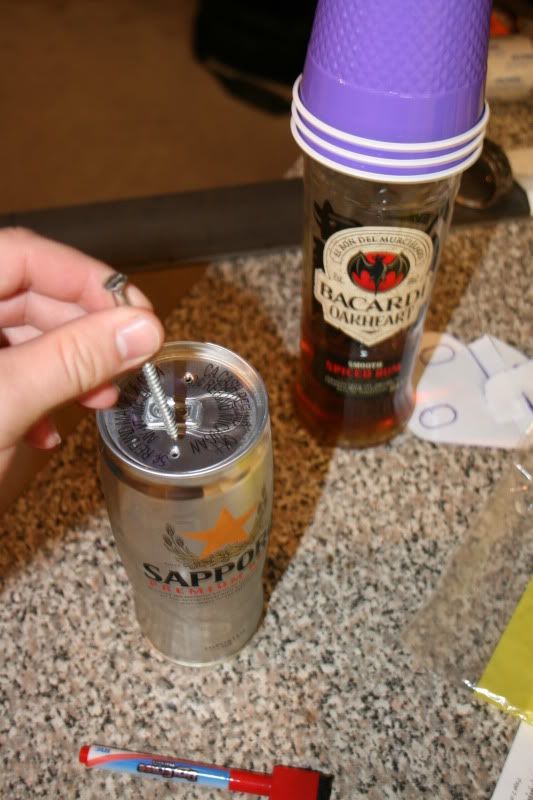
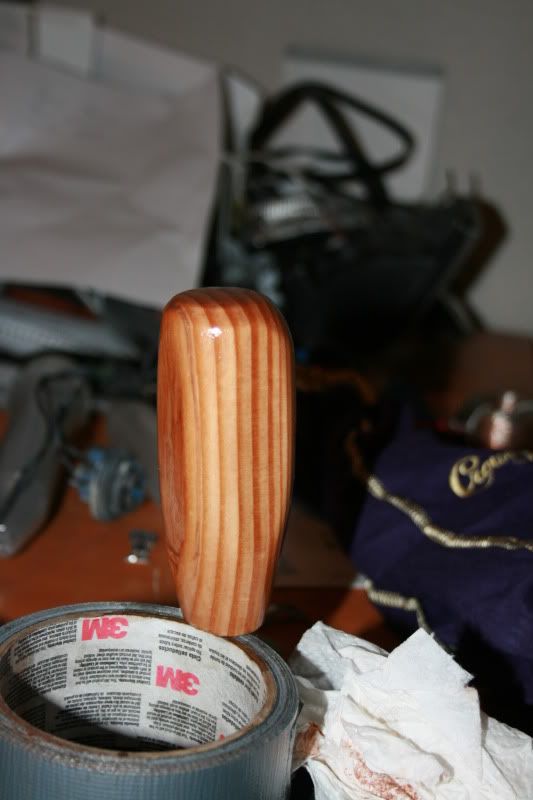
heheheh now I have a sapporo shifter!
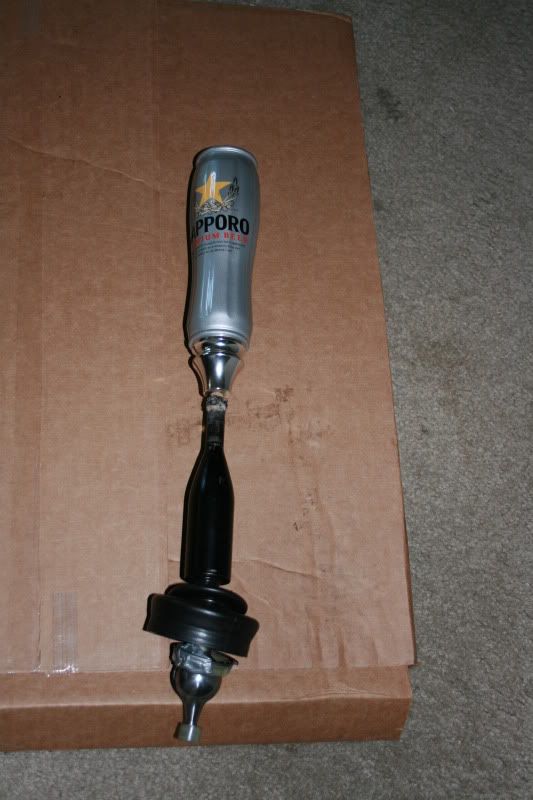
What covers huge sapporo shifter best, a crown royal bag lol!
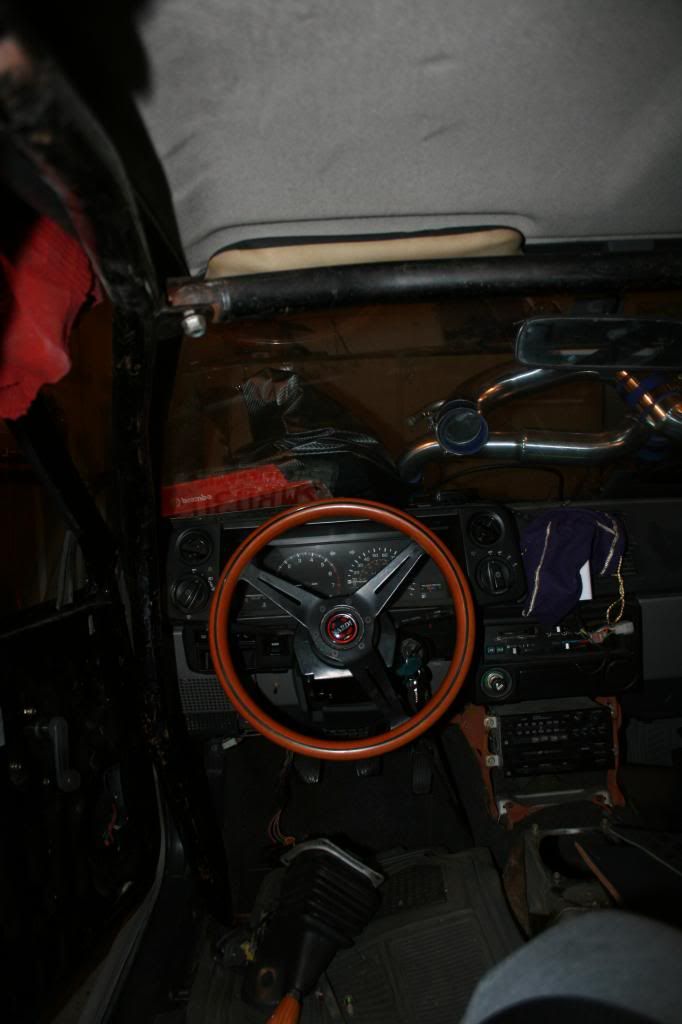
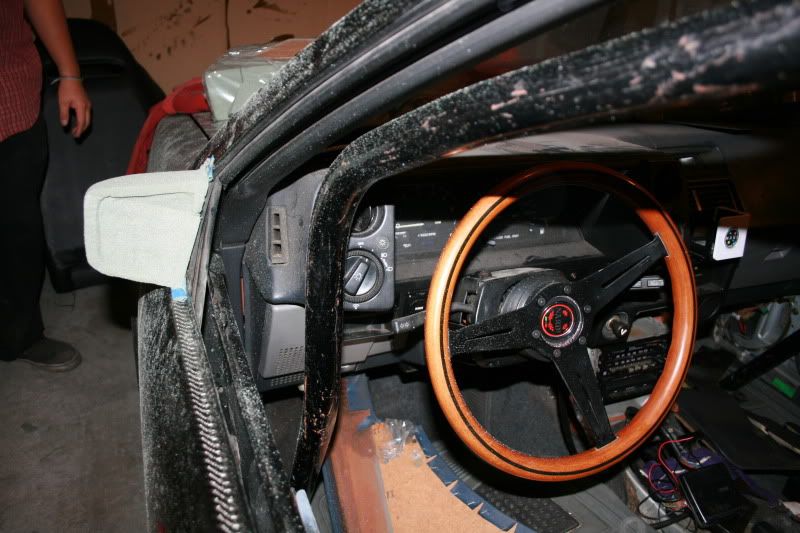
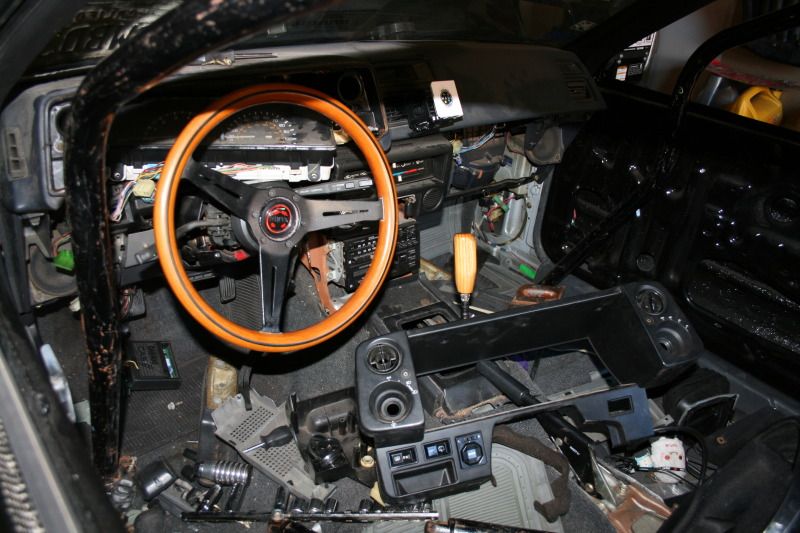
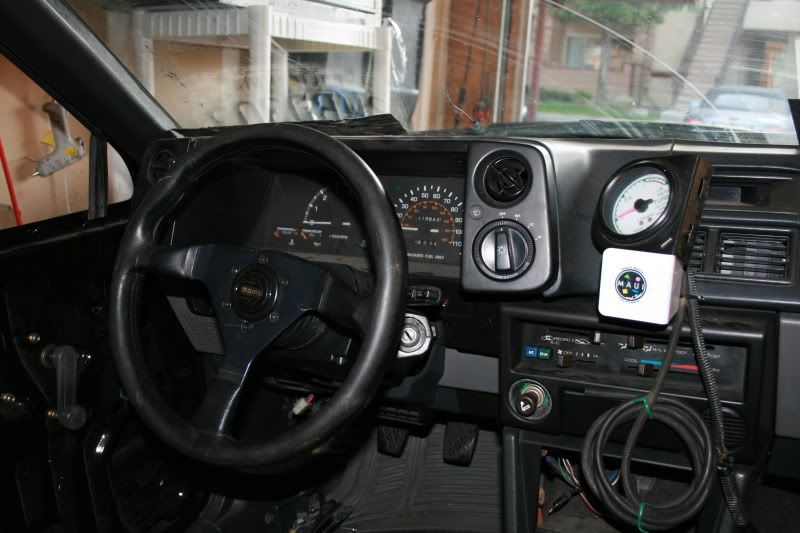
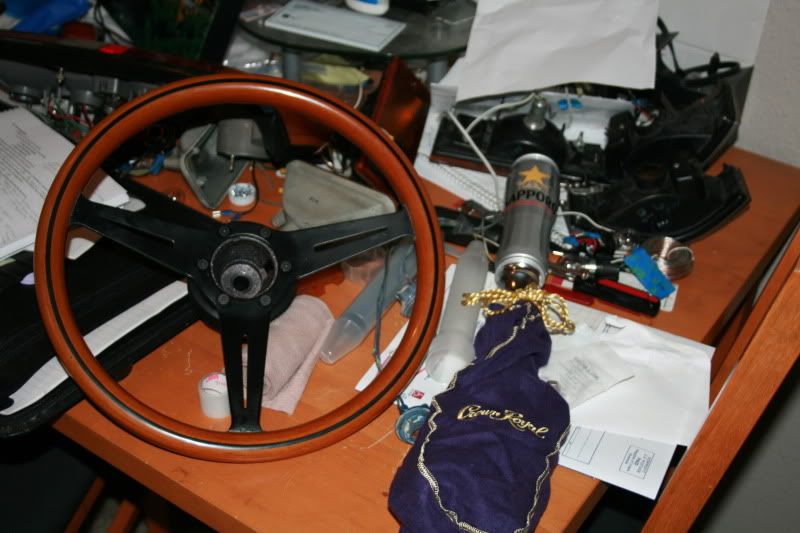
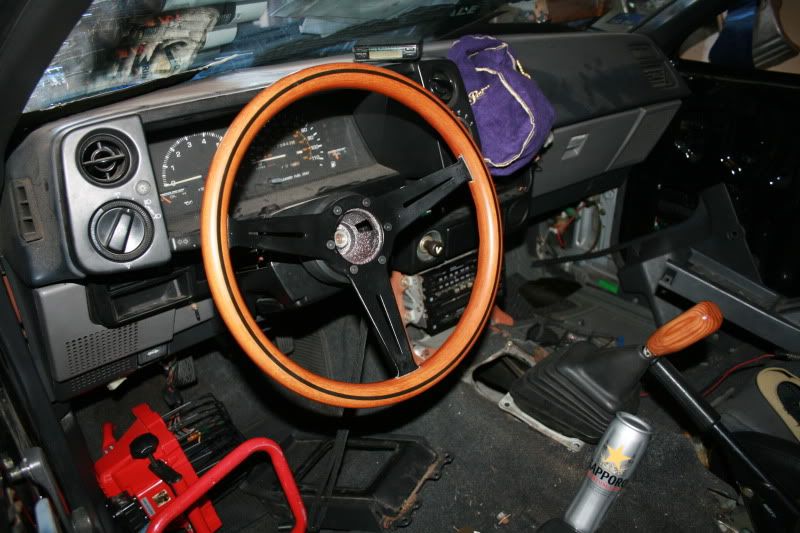
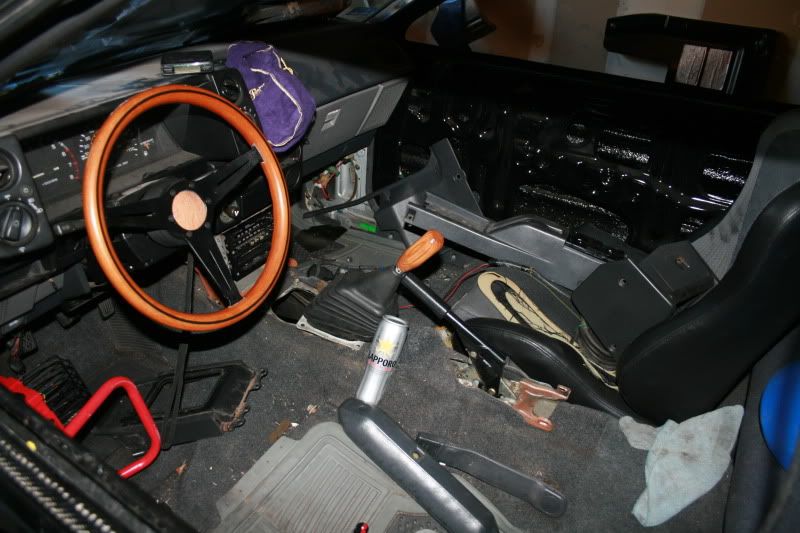
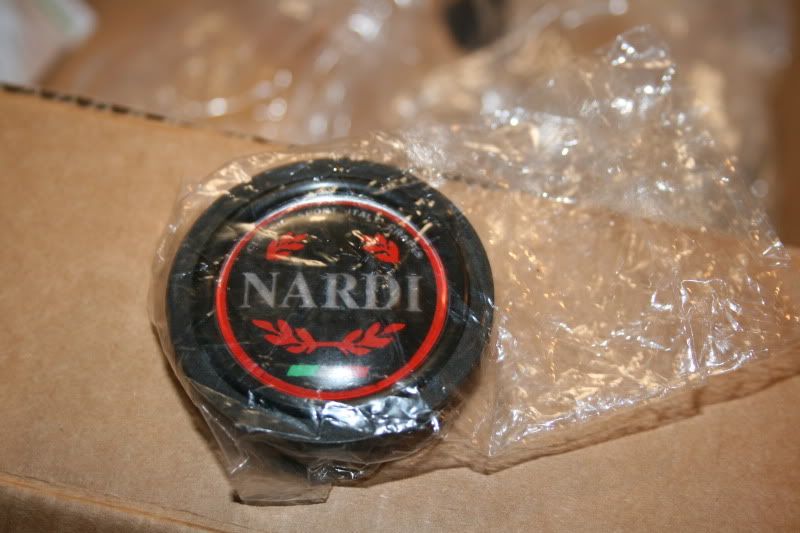
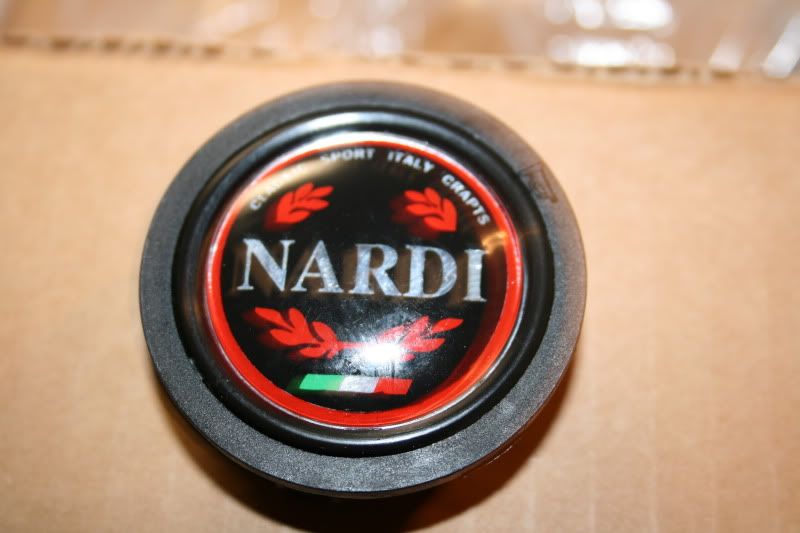
New to me Nardi wood steering wheel! sexy, ohhh yeah. And my shifter lol!!
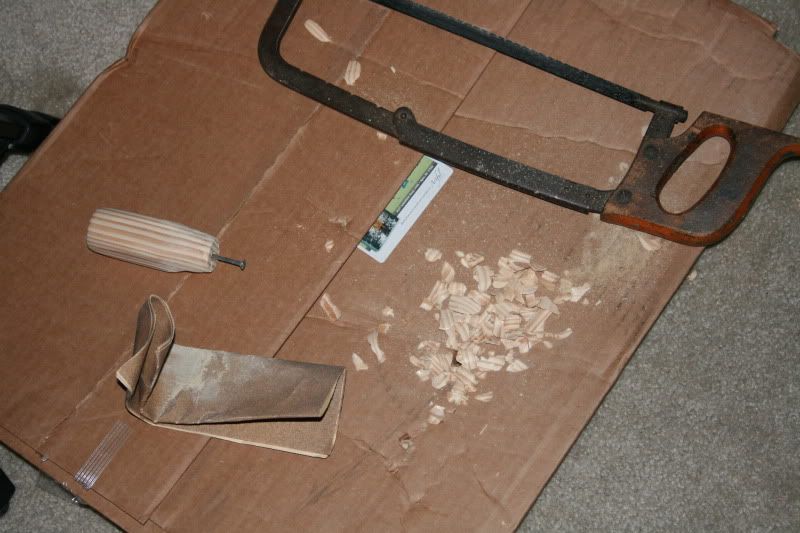
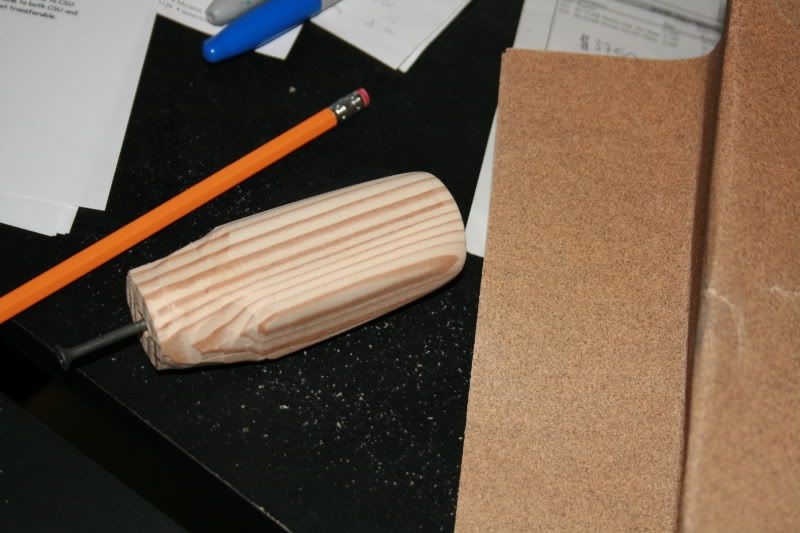
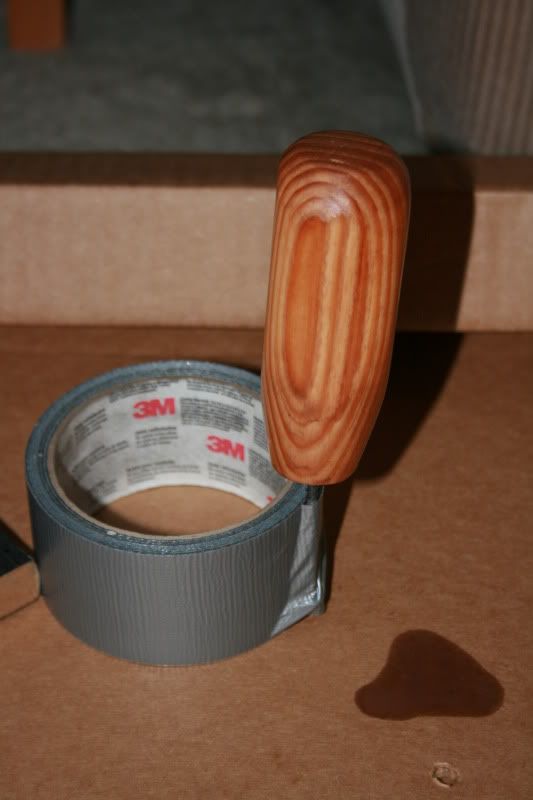
Block oh wood, going to make me a wood shifter too!

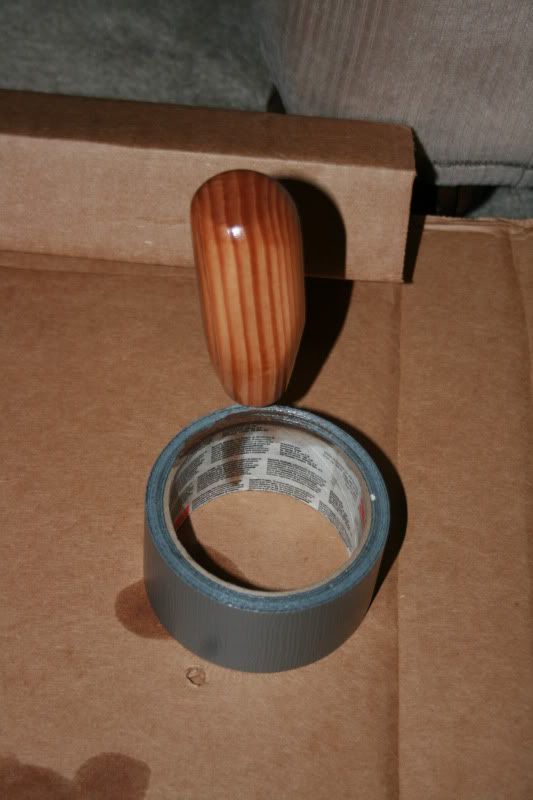
Got this far, smoothing it out... I wanted to keep working, but I could tell I was pissing off my neighbors
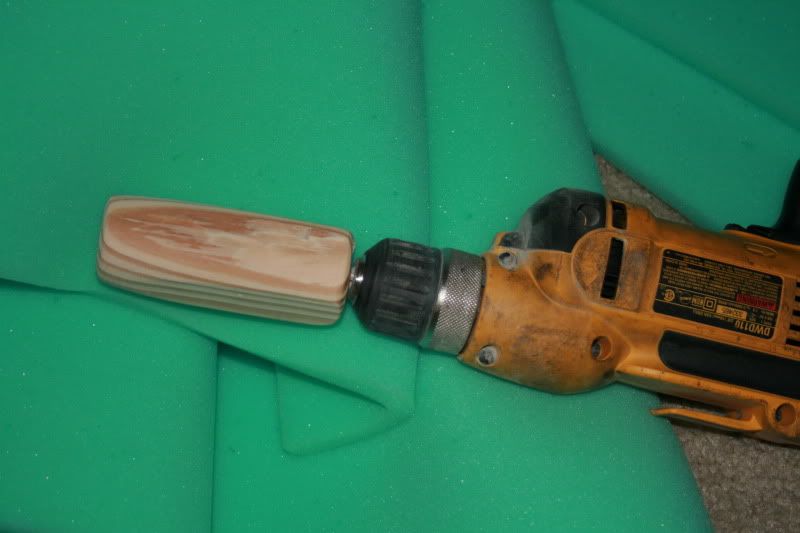
Man I have not widdled since grade school, when we would go camping.... man I forgot how fun it is!
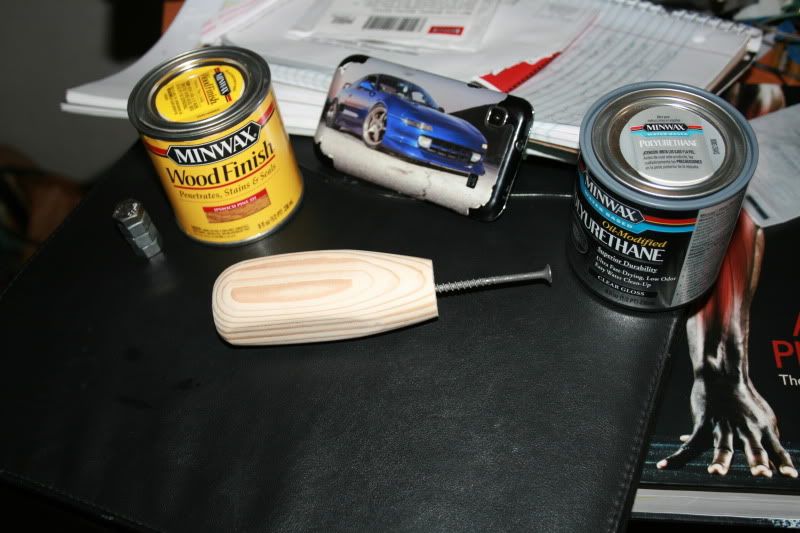
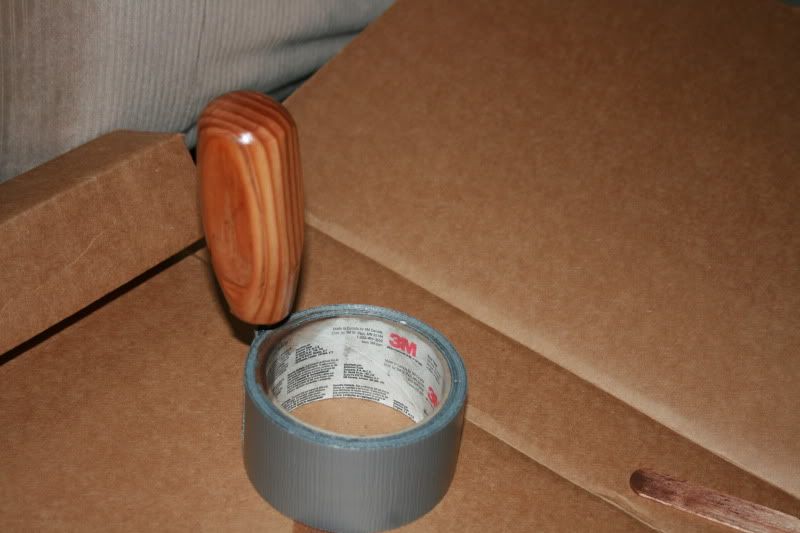
Finished smoothing it out. Purchased Stain, and Polyurethane clear gloss sealer, and nuts to mount inside the shifter.
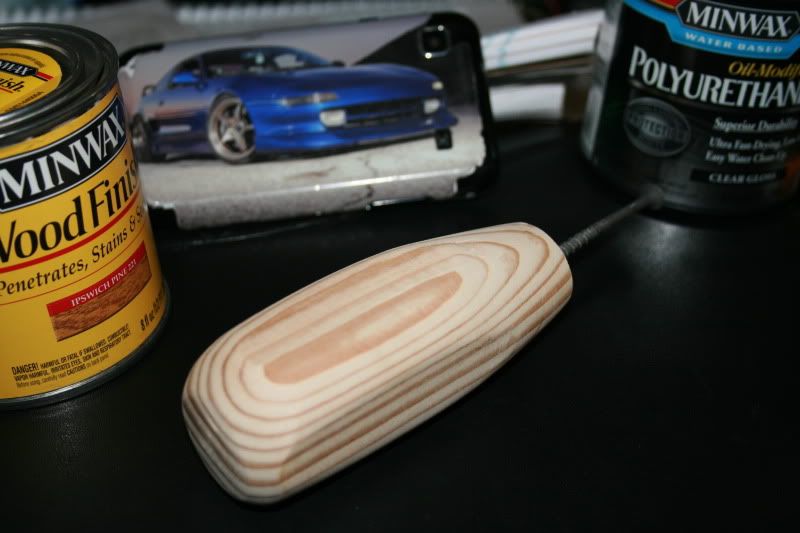
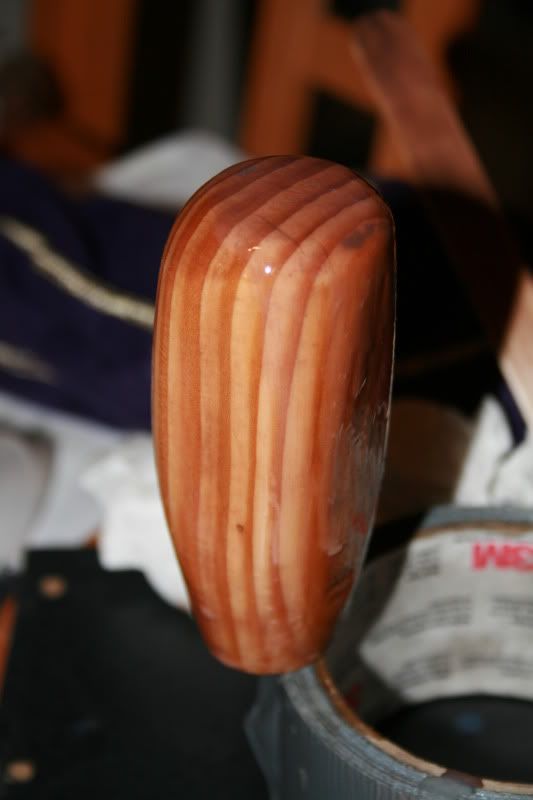
First layer of stain
second layer of stain
Third layer of stain
I am waiting to see how dark this layer turns, and if it will match the wheel or I need another layer. In the morning I will add the clear gloss, with lots of layers for durability and a shinny finish!
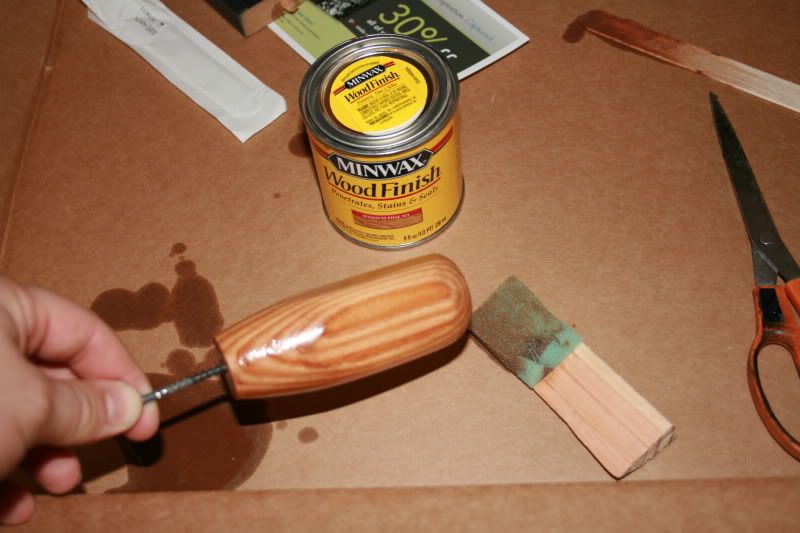
Clear coat, here is the first few coats
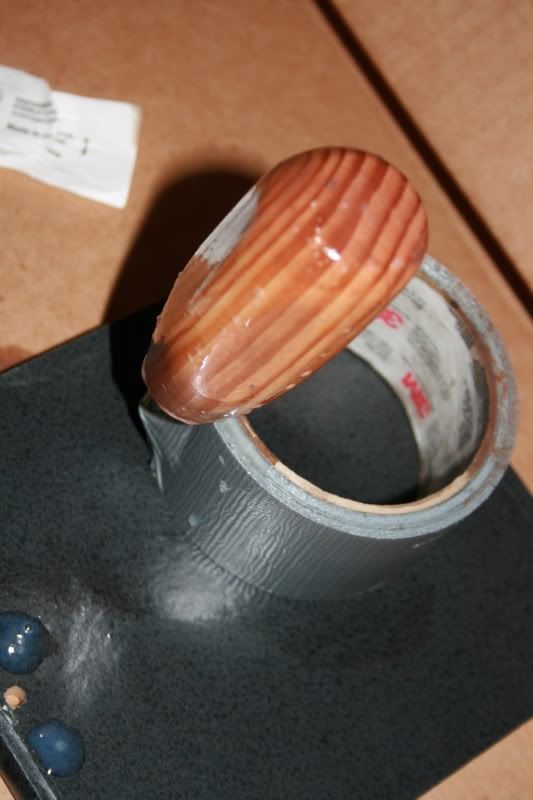
Got wood
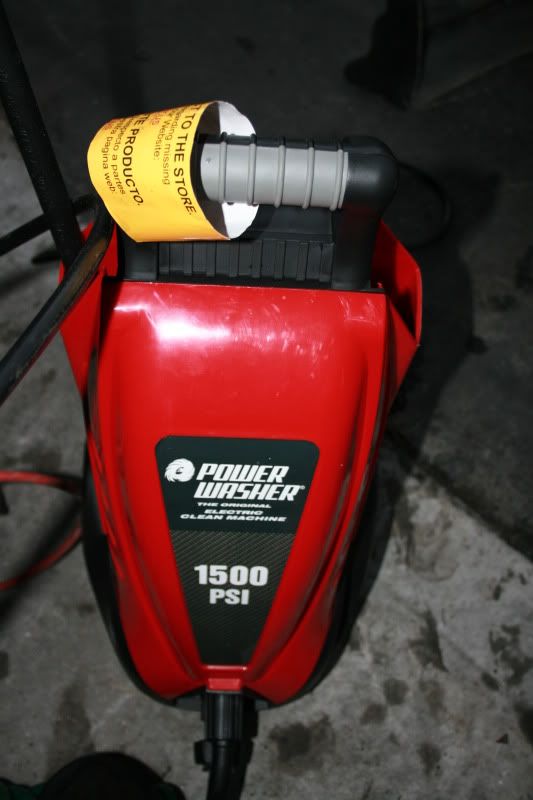
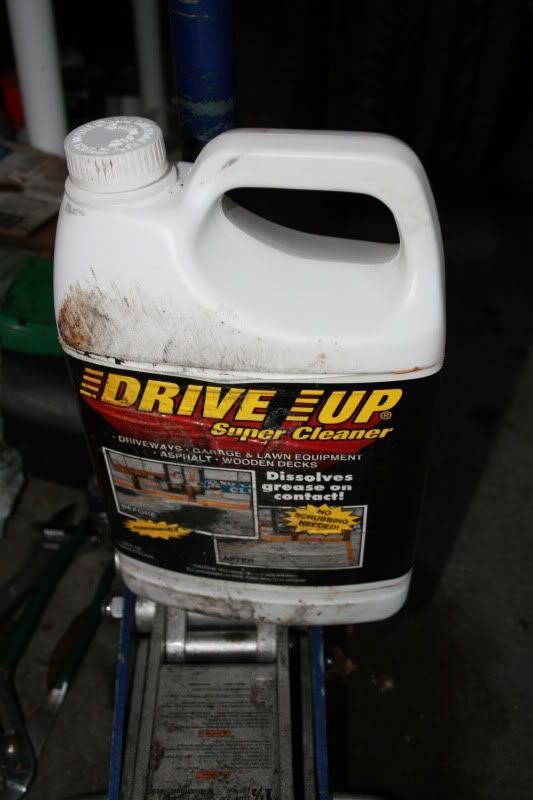
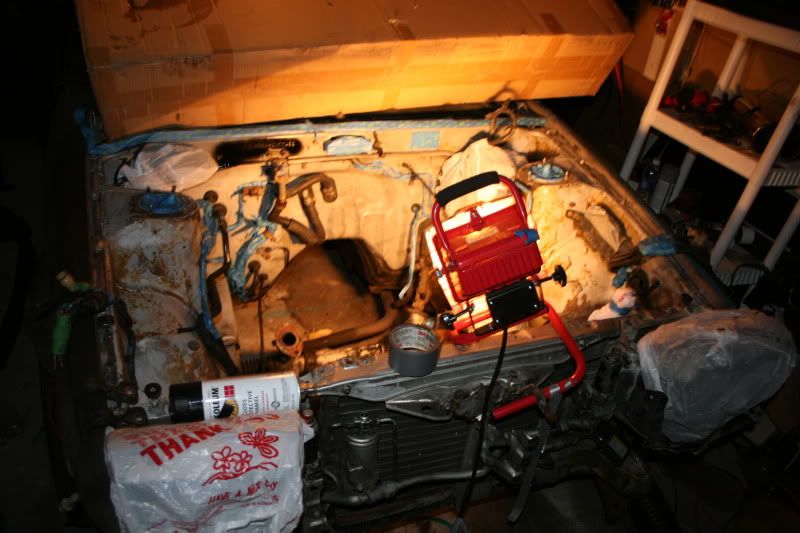
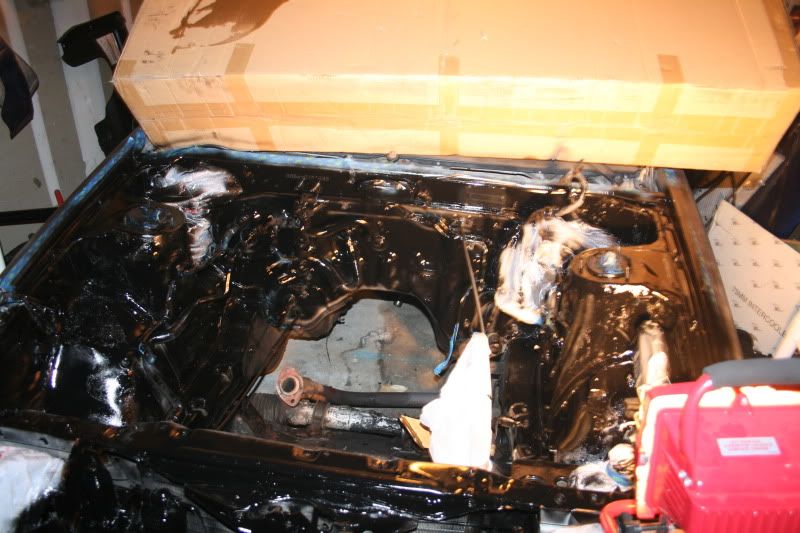
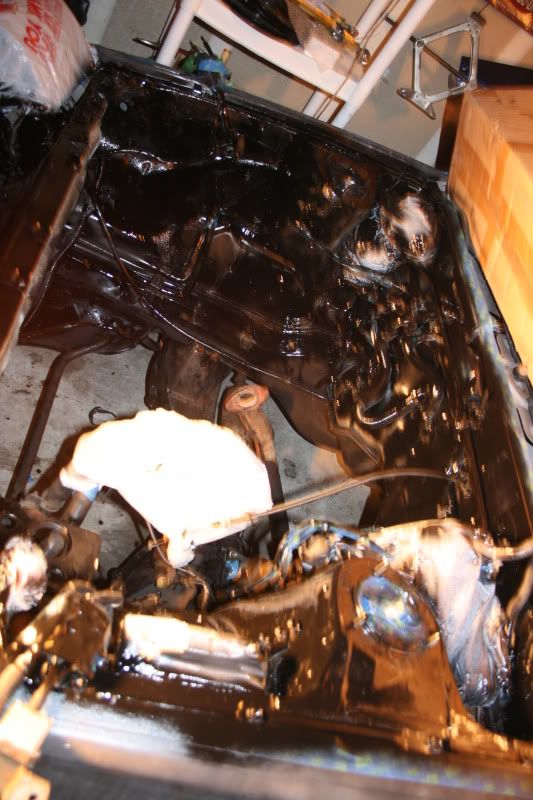
Finally picked up a pressure washer, little cheap-o but it works.
The engine bay was soooo grimmed and caked on with sludge and what looks like stuff from Ghostbusters goo on.
Thanksfully this little pressure washer, got a ton of it off.
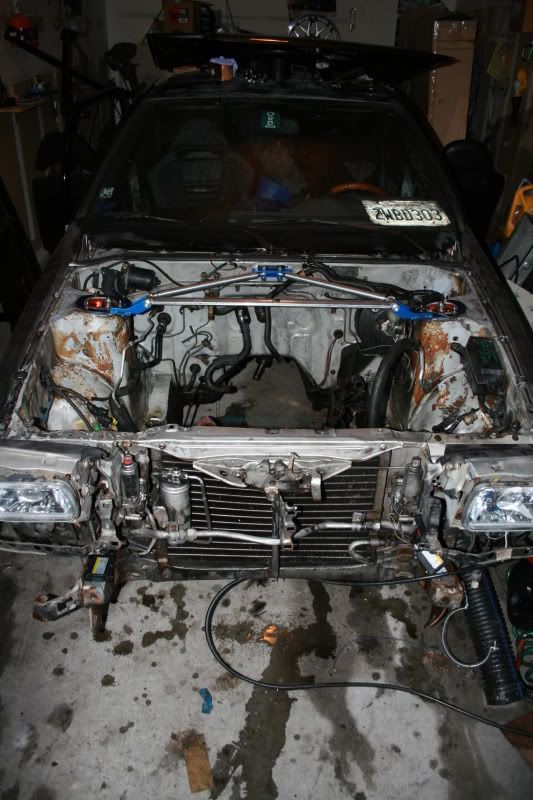
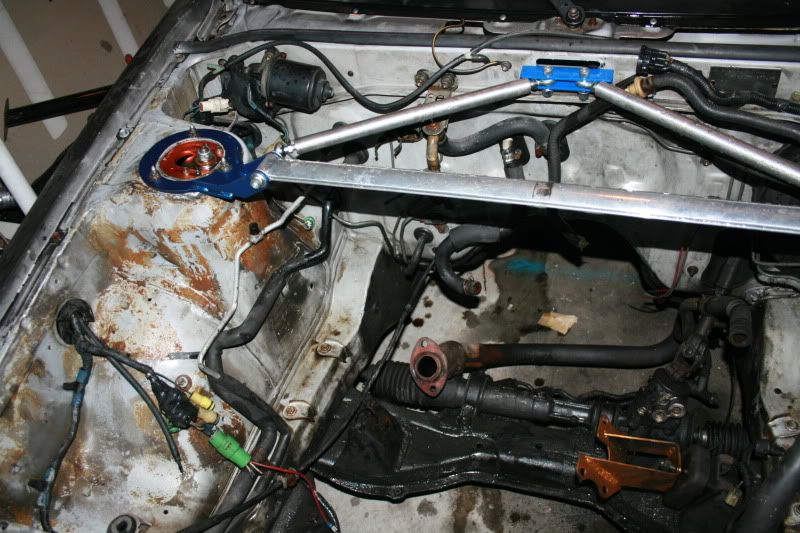
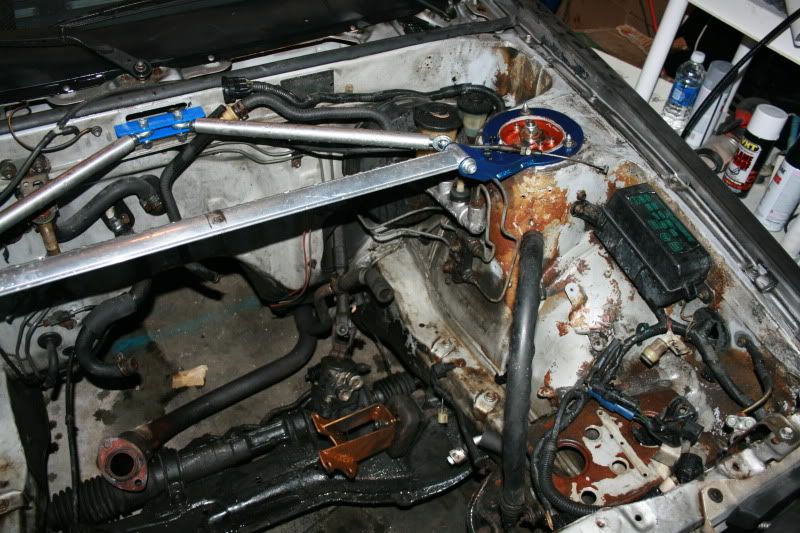
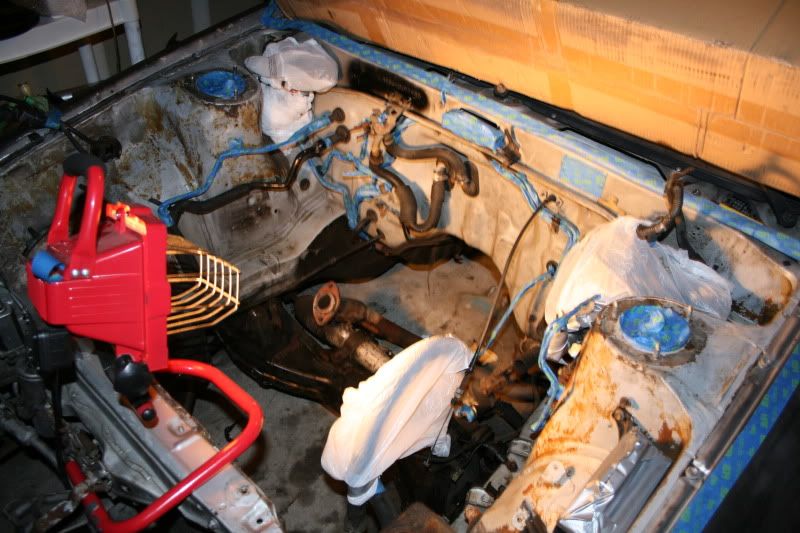
Starting to look cleaner!
I am soaking the engine bay in grease remover, and I will pressure wash it again tomorrow morning, then soak again if needed.
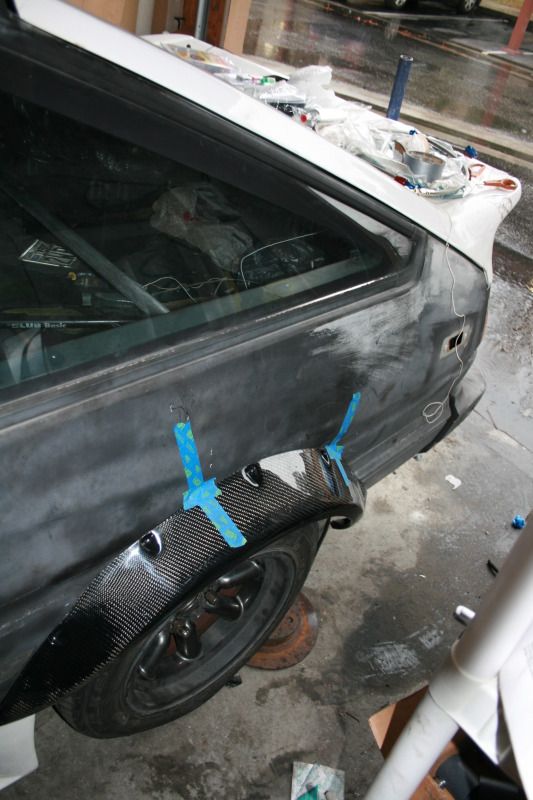
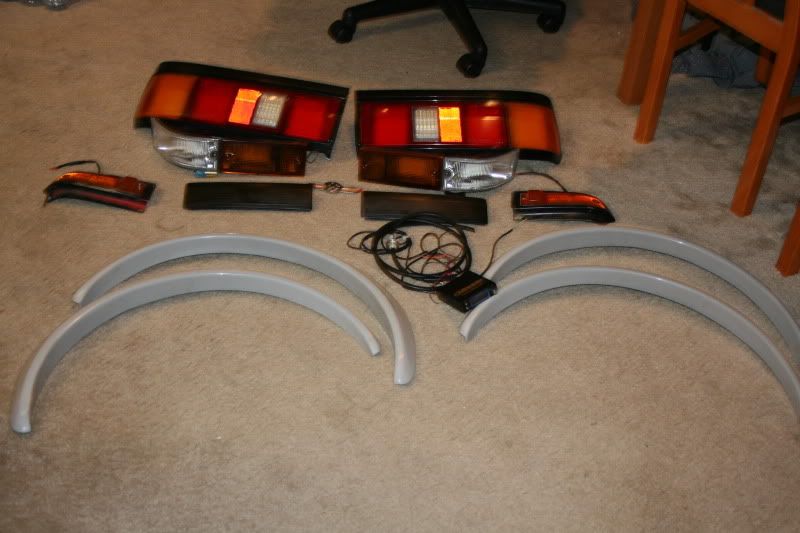
Parts hoard!!!
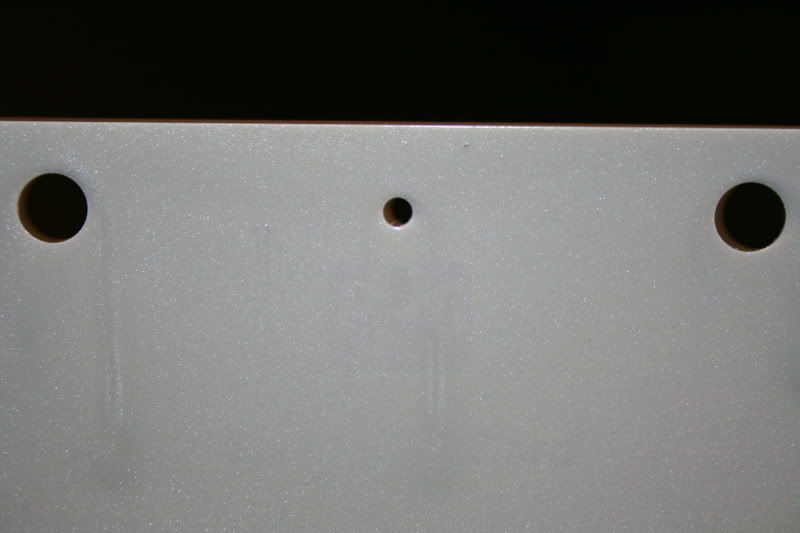
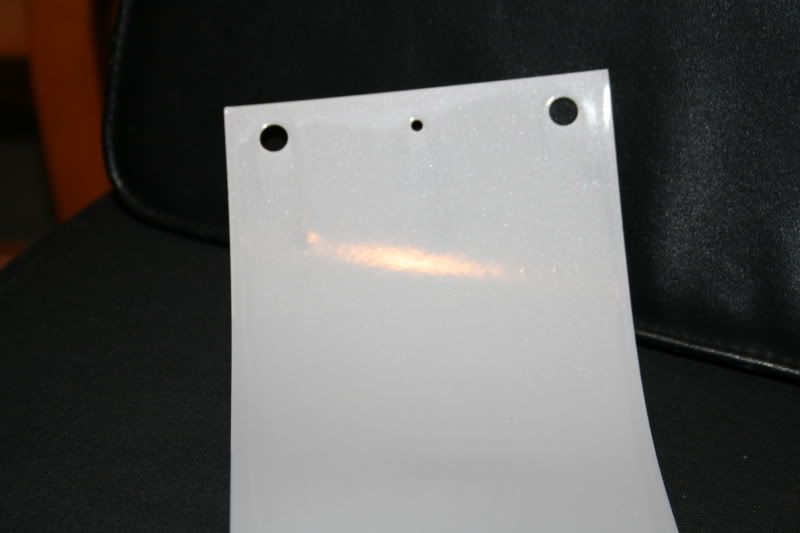
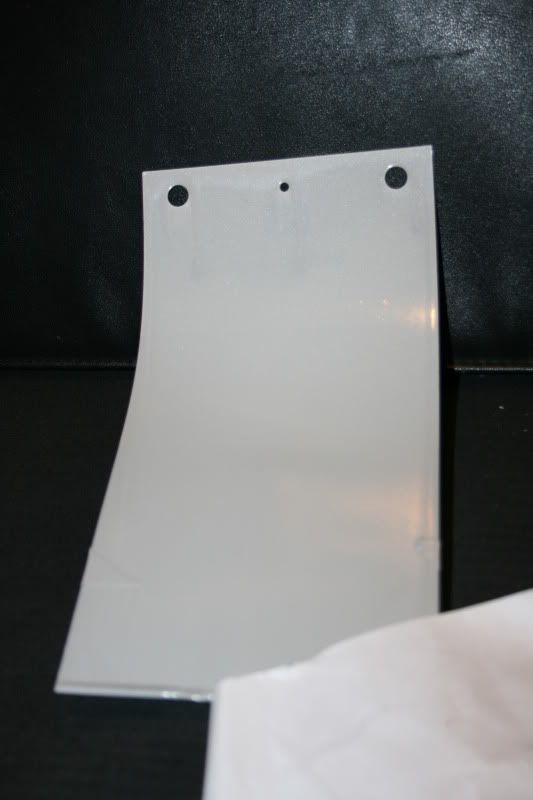
CYB fender flares, Greddy Profec B, LED tail lights, LED JDM corner lights, LED sidemarkers, LED USDM lights, Kouki eye lids, FRS badge, just waiting on my mudflaps, and intercooler piping to come in.

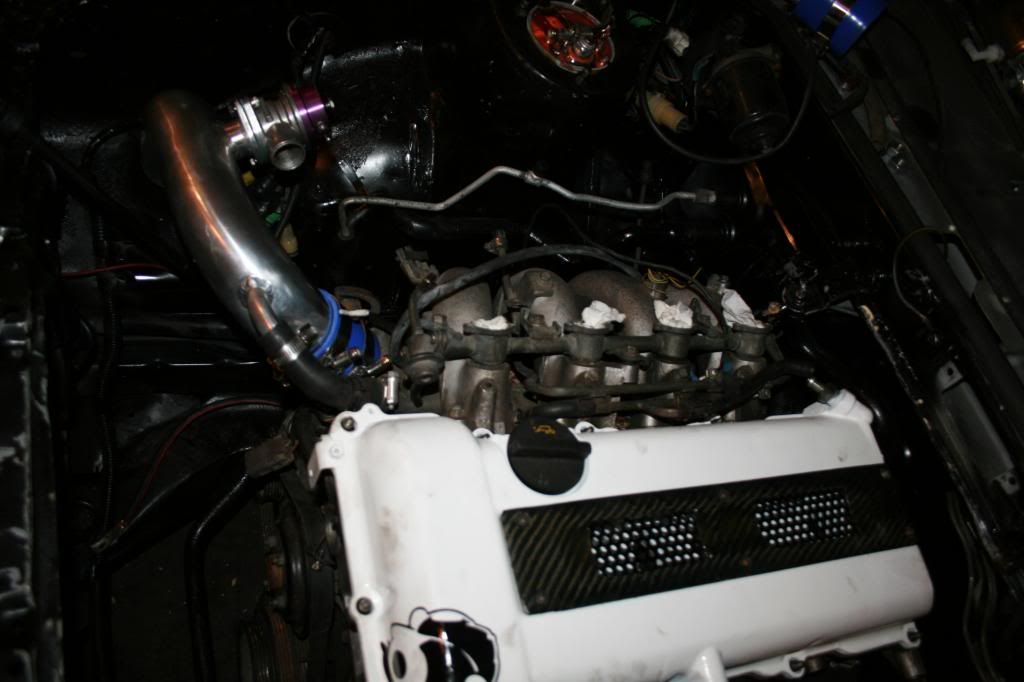
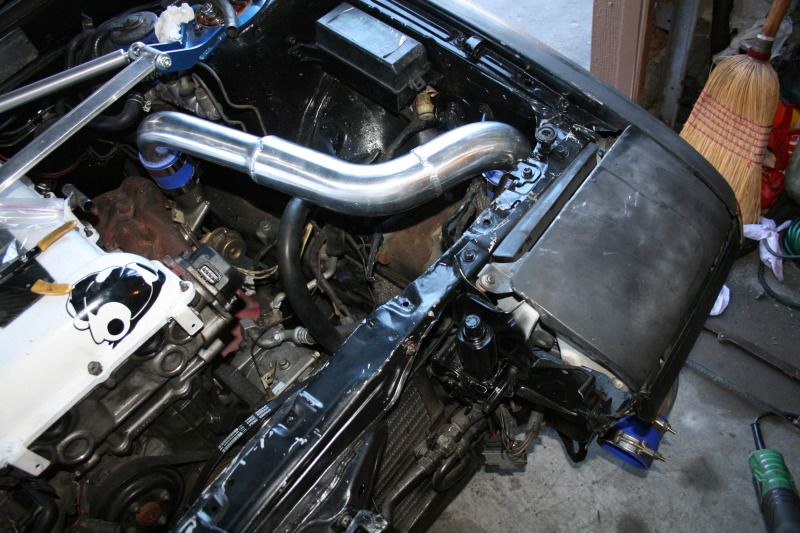
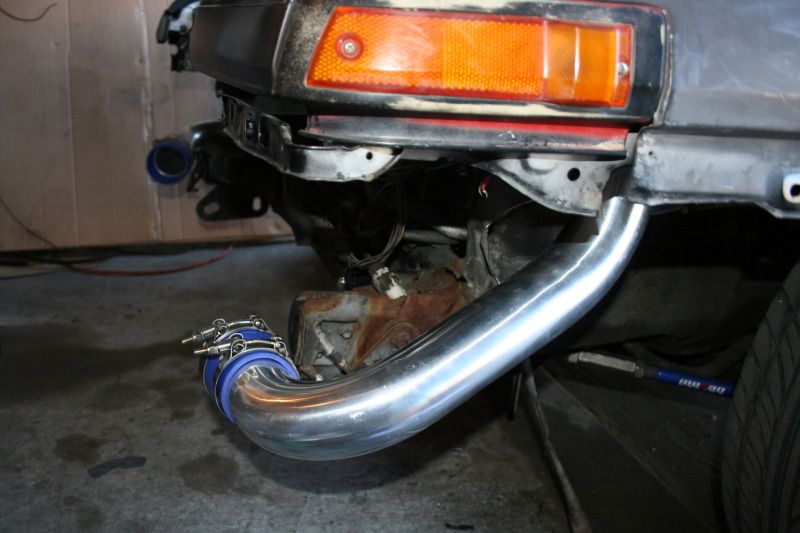
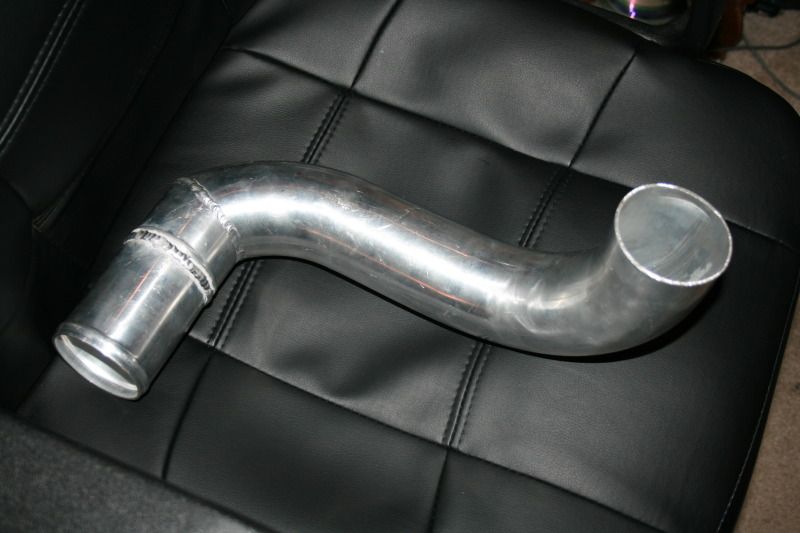
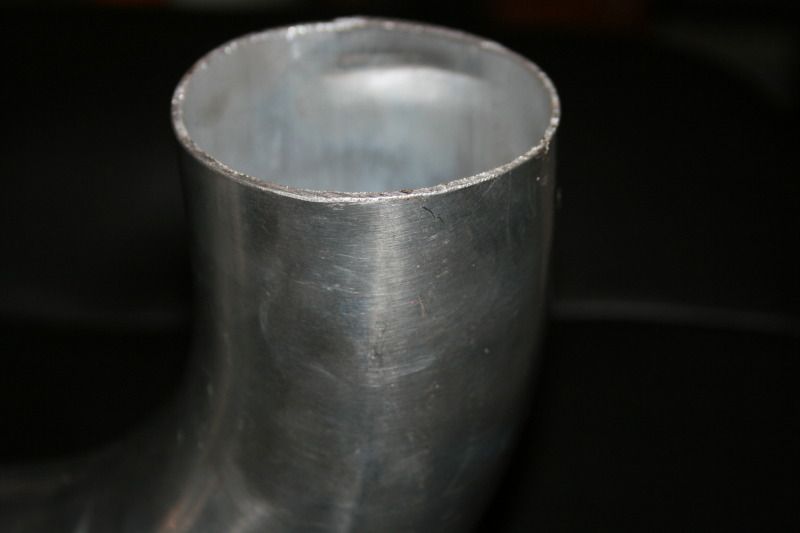
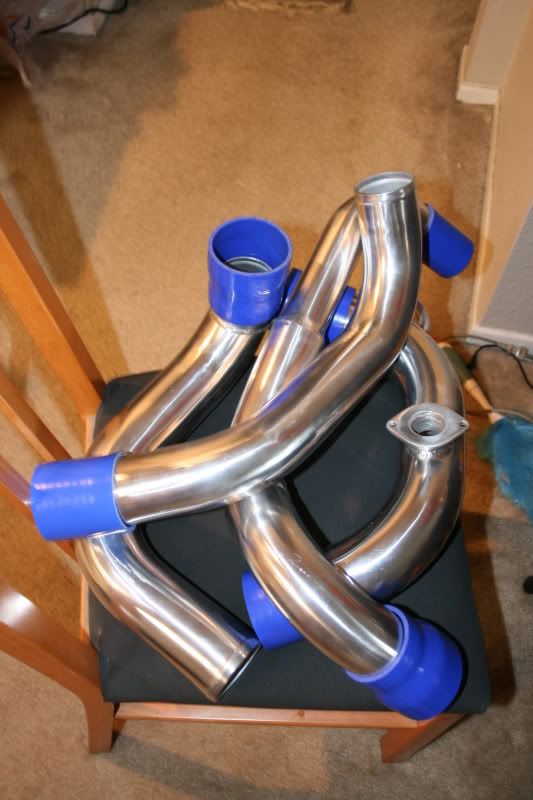
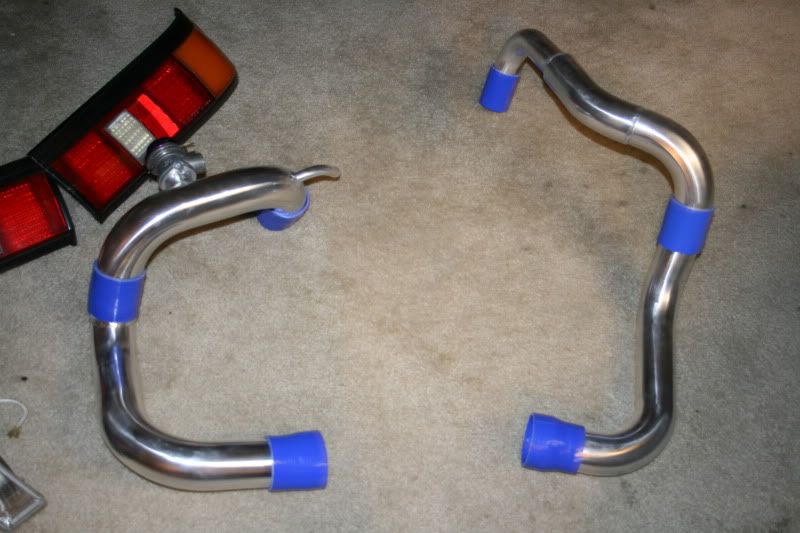
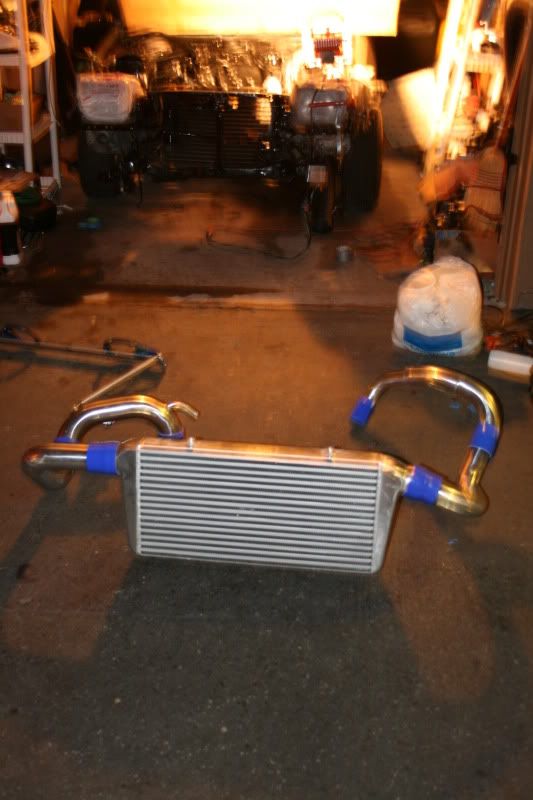
Intercooler piping arrived!
and a nice little accent for the my wheel
Got the engine bay taped off
First couple shots of color
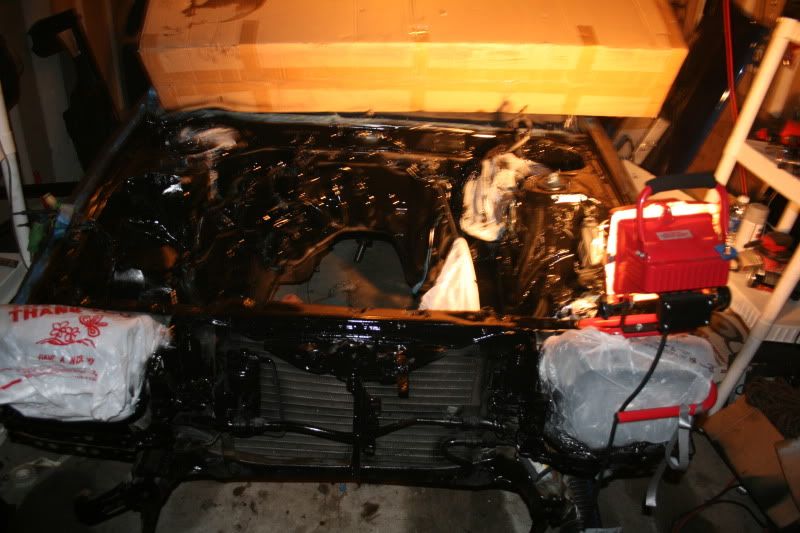
Its getting ready for some POWER!
Fine, whatever I will call the guy I purchased them from, and try to figure this out, F*^%k... whatever!

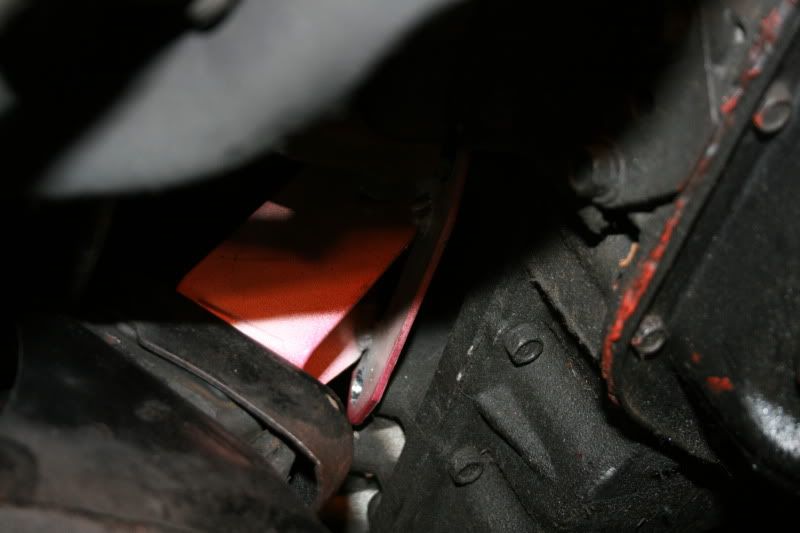
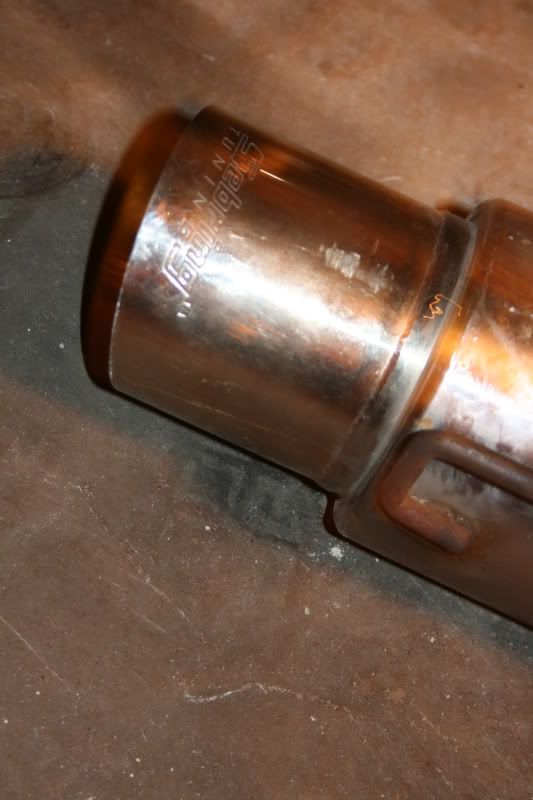
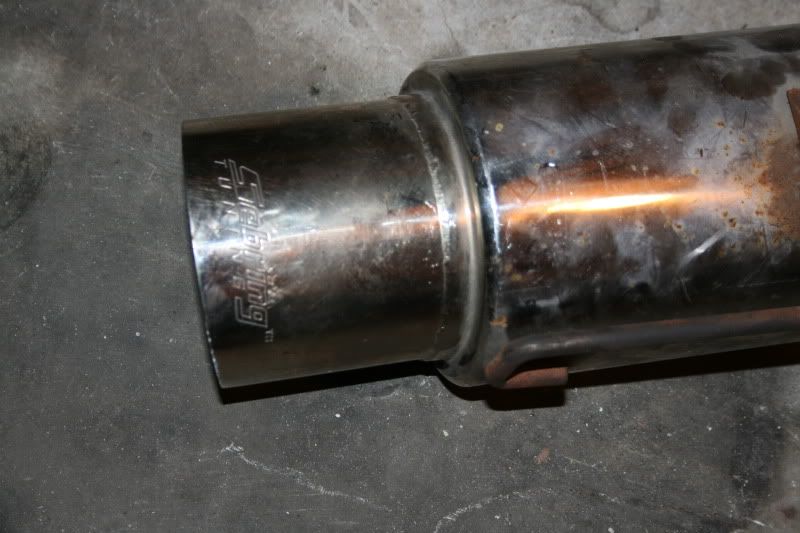
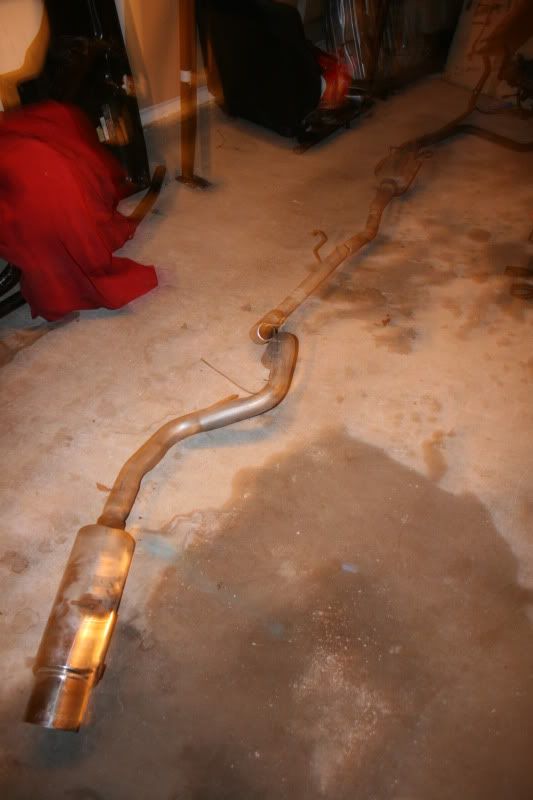
Pull the exhaust, yeah its gone and removed finally, no idea what brand this is at all, toss to the side.
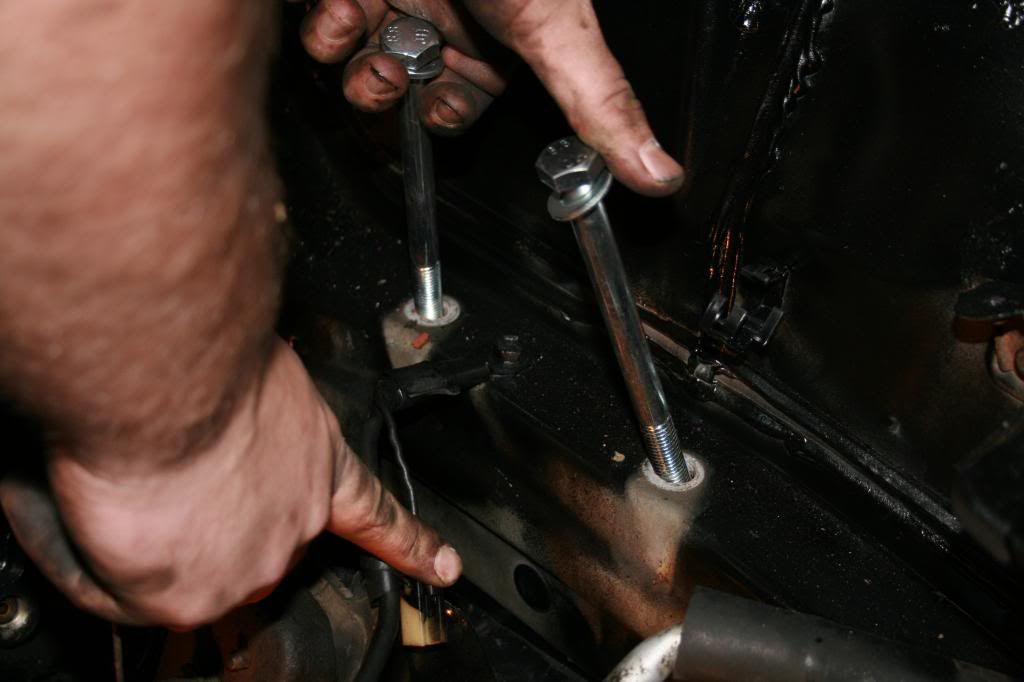
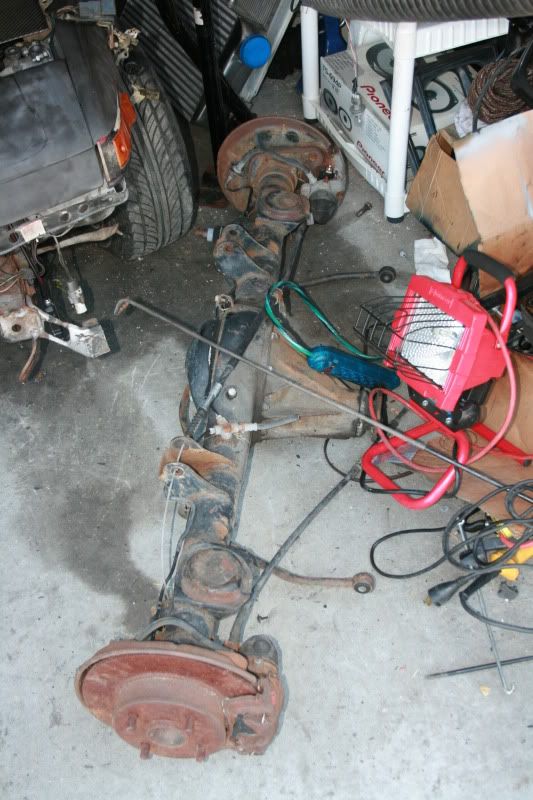
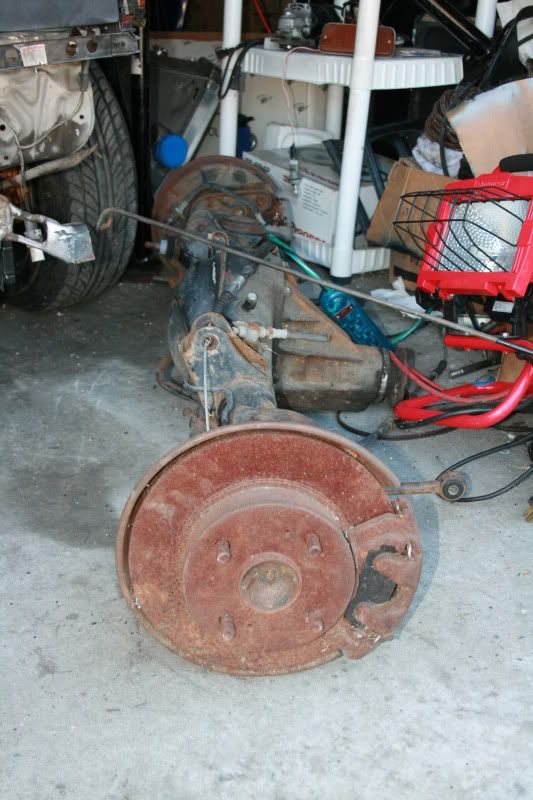
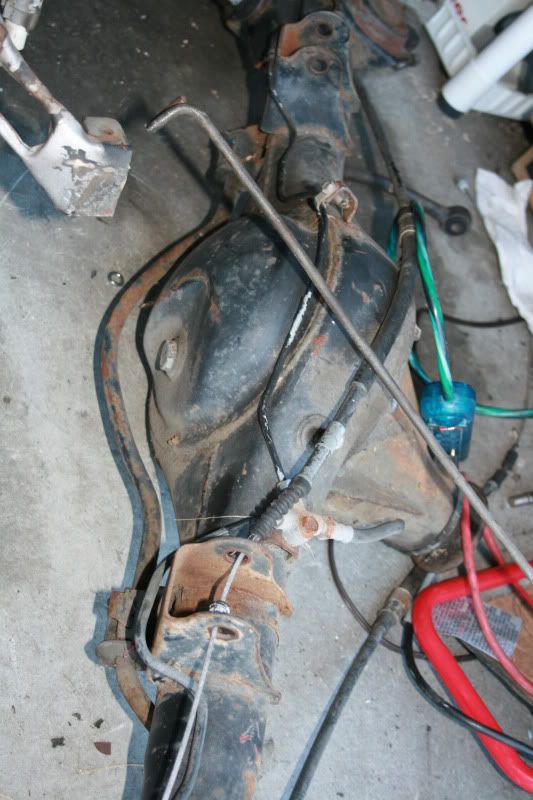
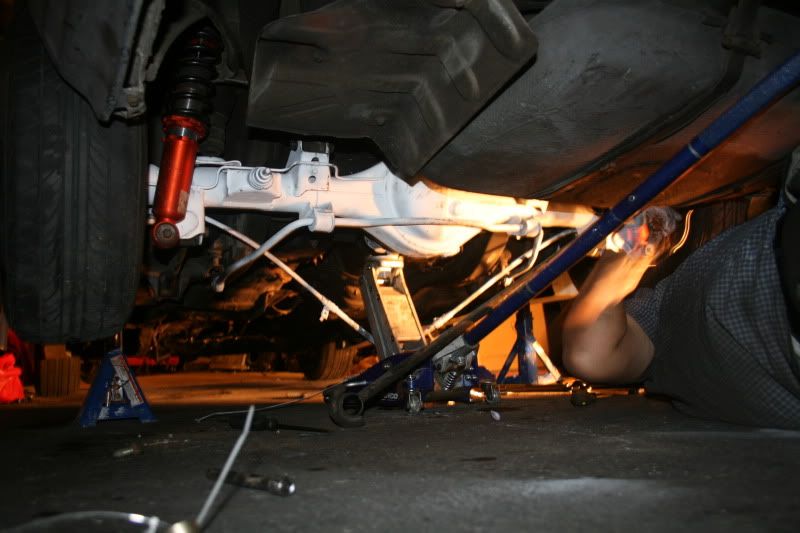
Lurred my friend over with offerings of beer, to help swap the rearend out of the SR5.
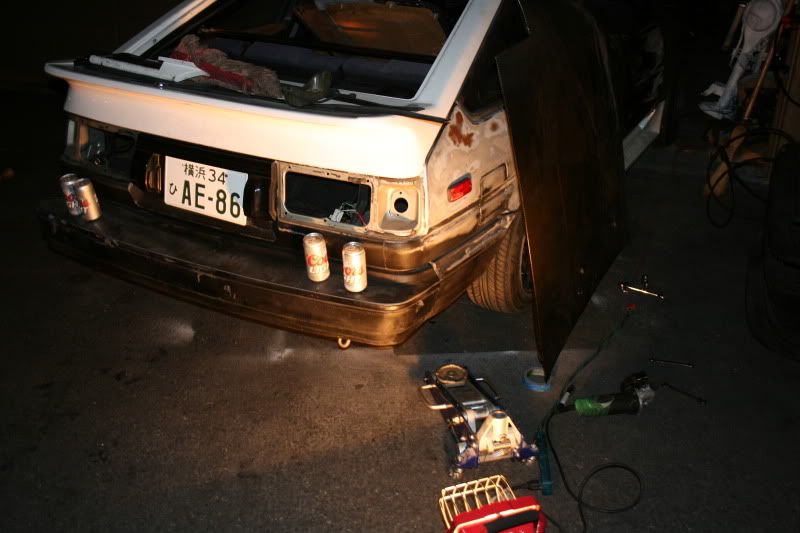
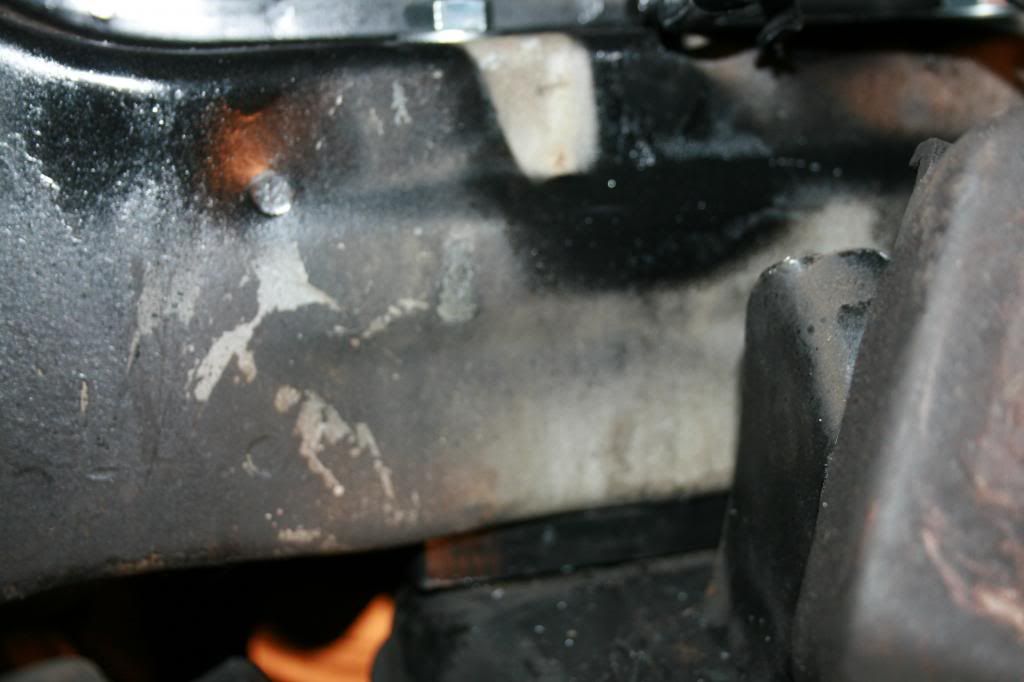
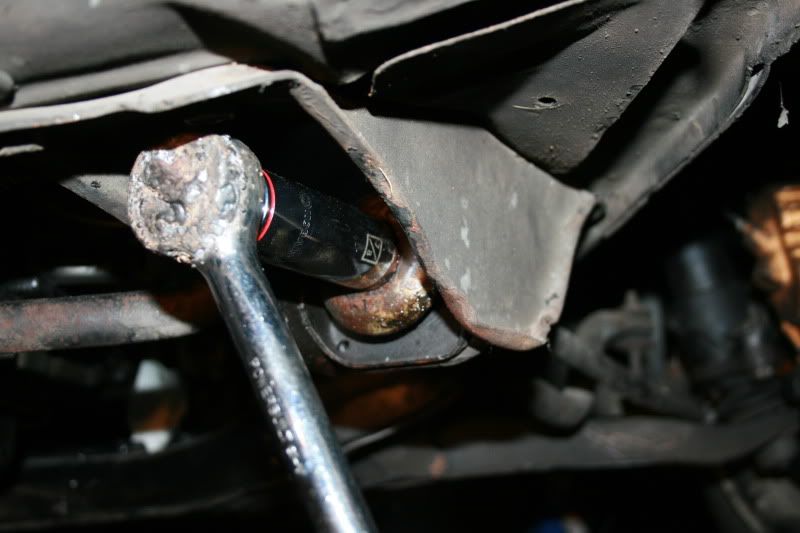
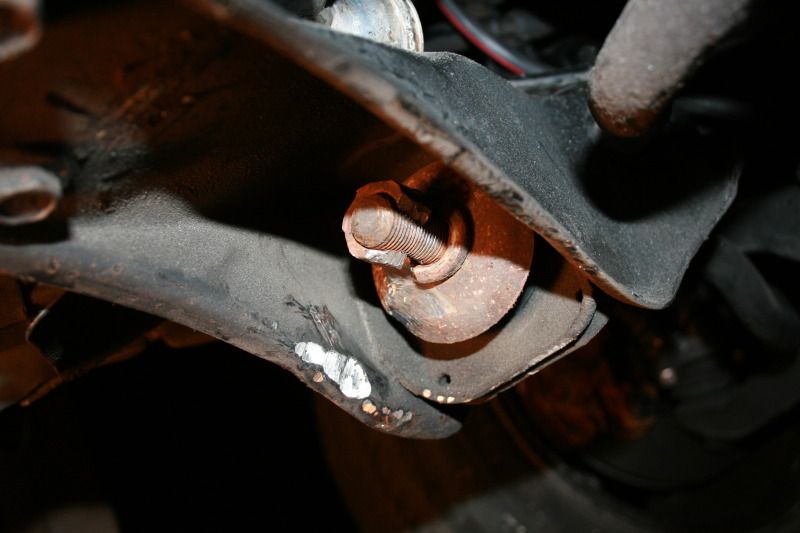
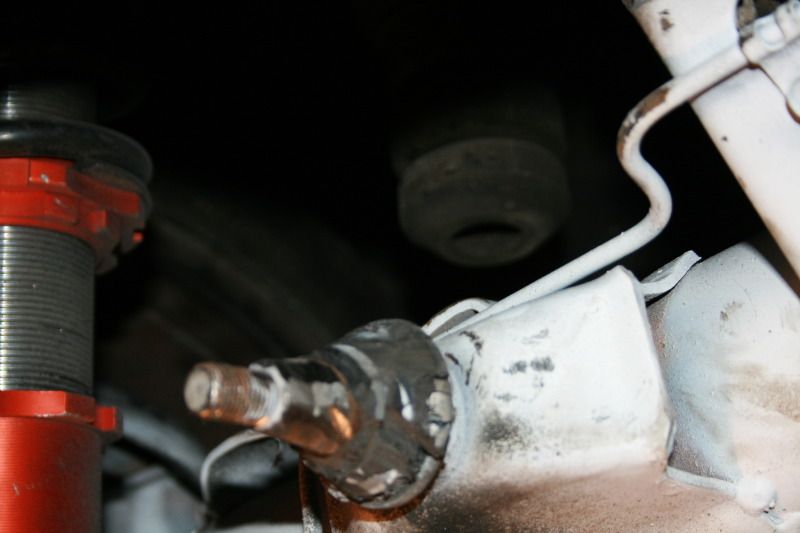
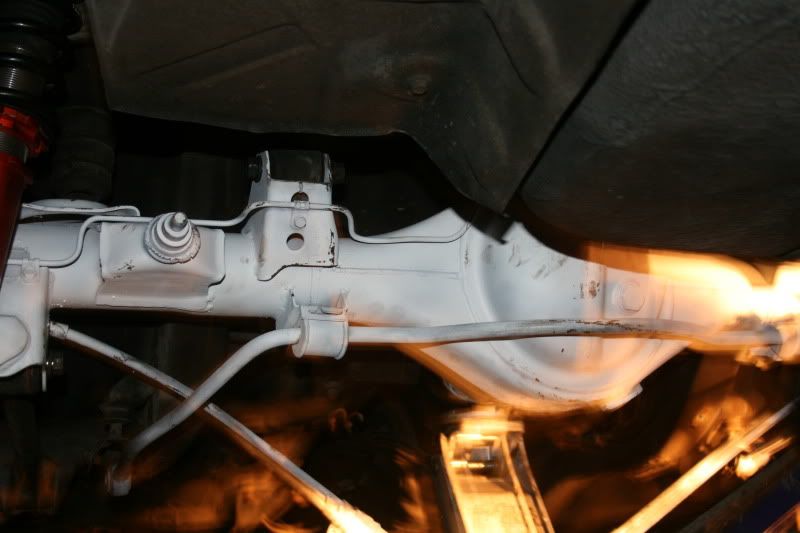
got the rearend removed, what a pain in the ass, so many rusted out bolts.
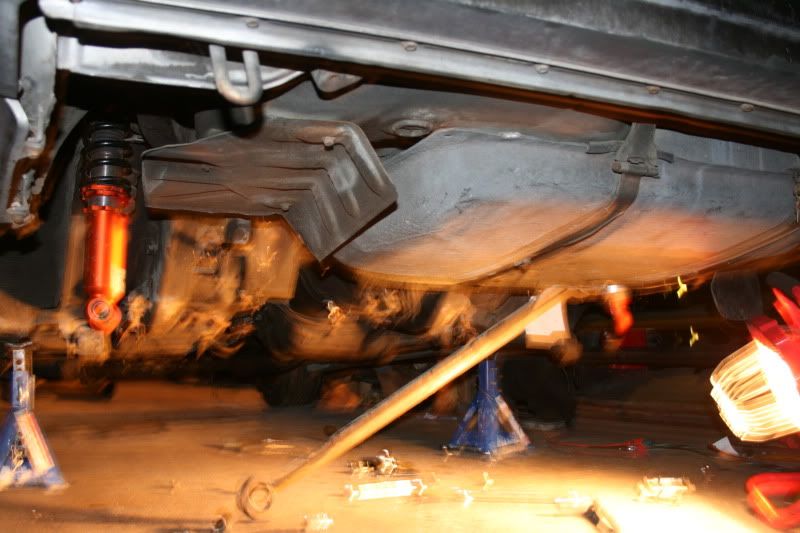
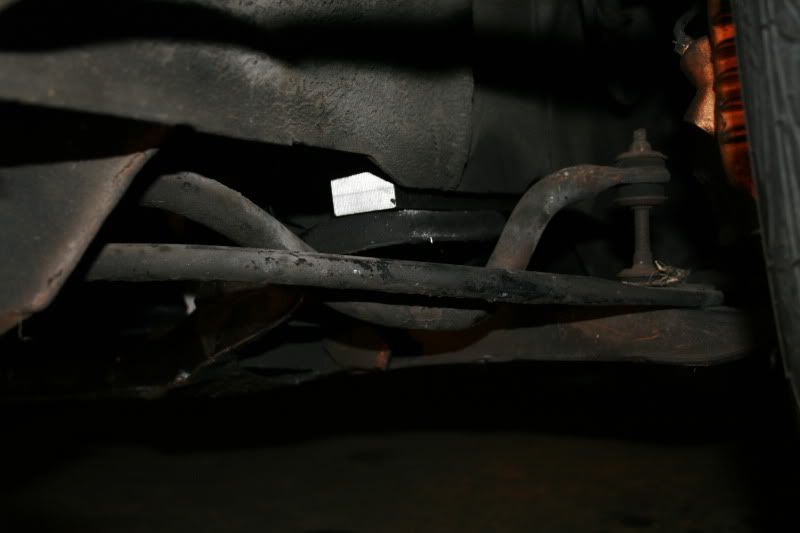
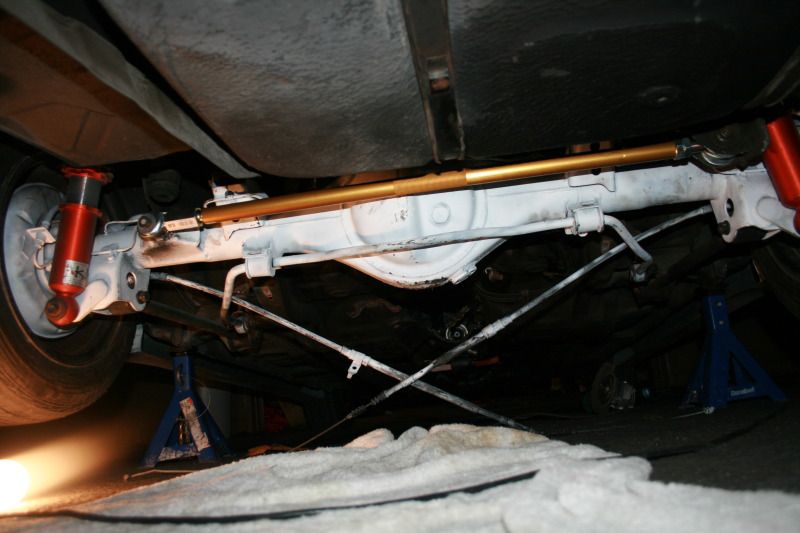
This is where is gets confusing again! So I am kinda really confused.... My MA-47 celica/supra rearend bolted in with out the 4link I purchased (using the OEM SR5 bars, and the Celica supra swaybar) ..... wtf... the only thing that did not fit was the panhard bar.... I am sooo confused.
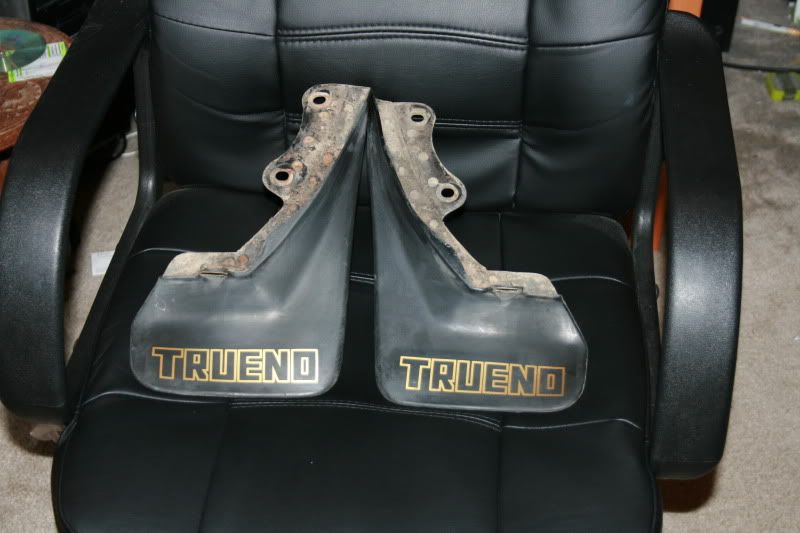
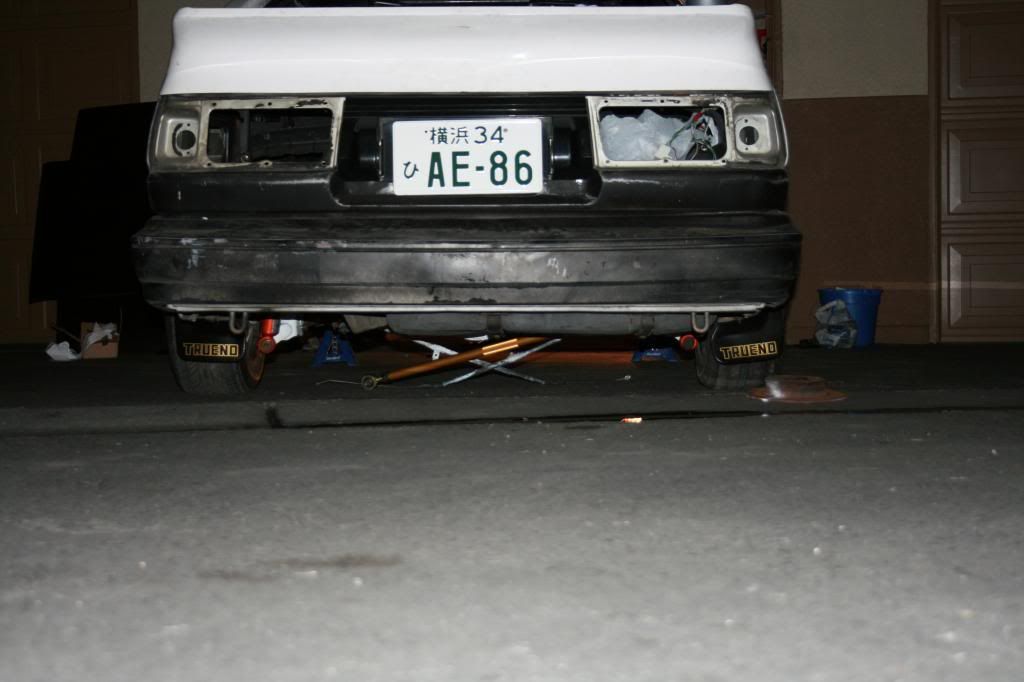
Stance looks way better with the new rearend and mubflaps
Does anyone have an idea why the MA47 rear would fit with out aftermarket 4link??????!?!?!?
I had a great day today! Cleared out room in the garage, sold off the 4link, OEM hood, SR5 full diff, driveshaft, stock antenna, stock mr2 seat! made some cash and got a cleaner garage!!!!
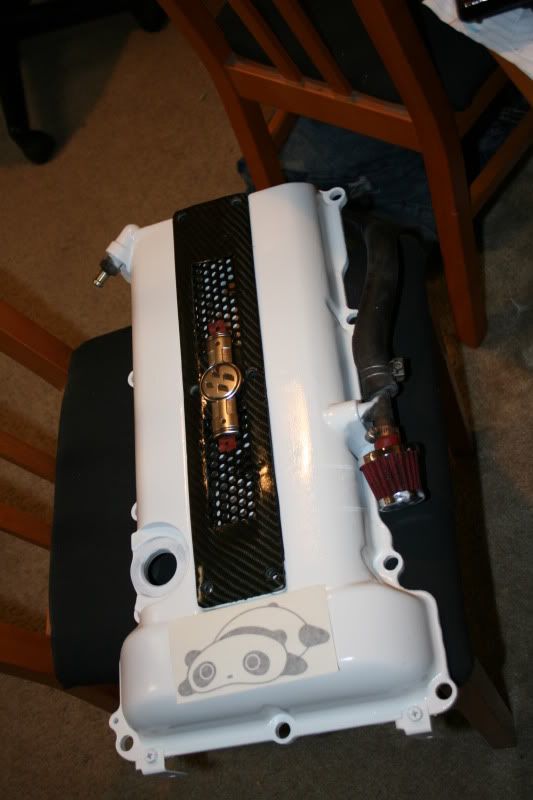
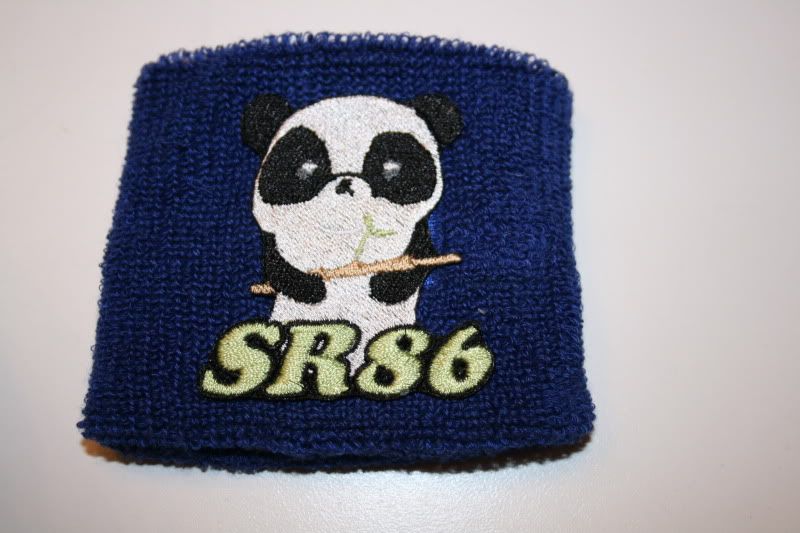
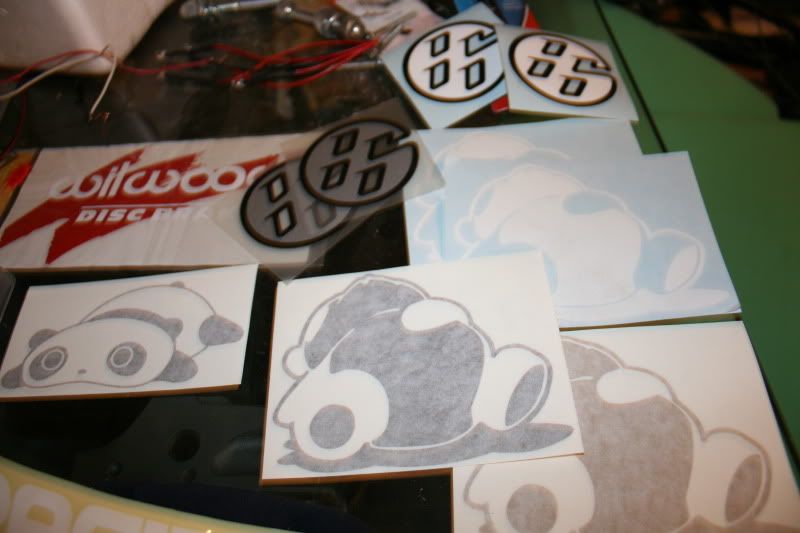
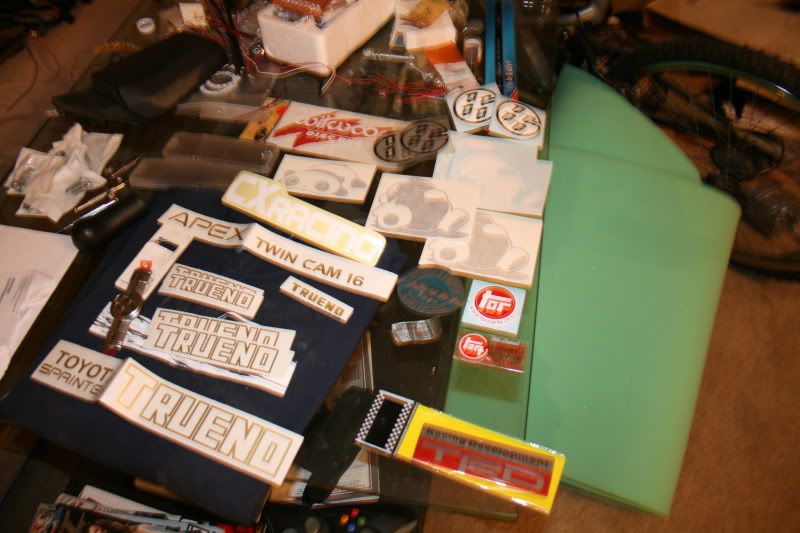
I also got a few things in the mail, AE86 panda sticker, and I made this resevour cover custom embroidered!!

Thanks sidewayssw20, it should be fun!
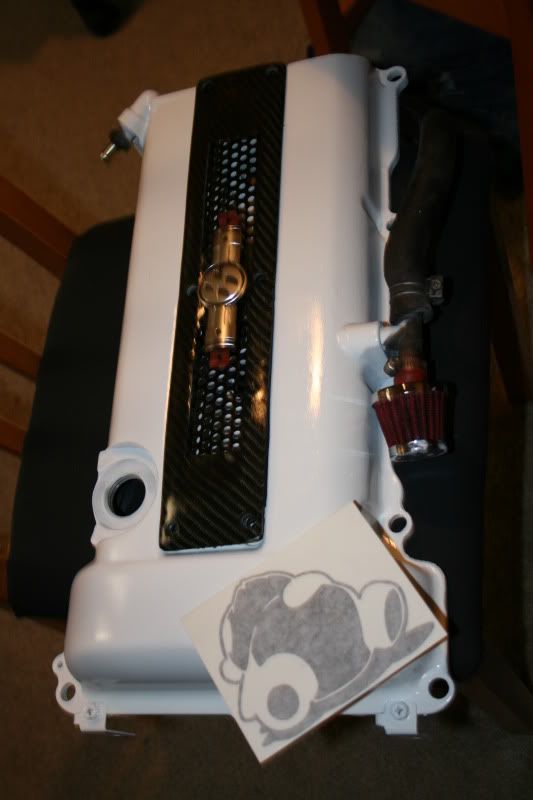
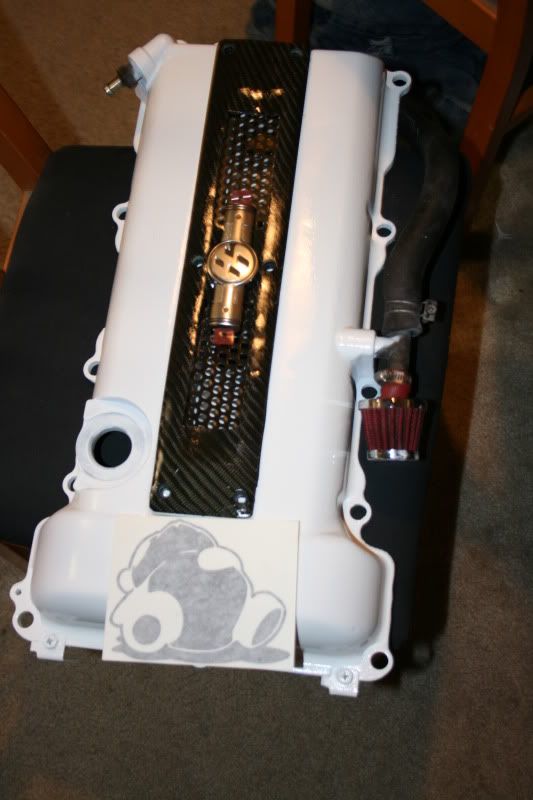
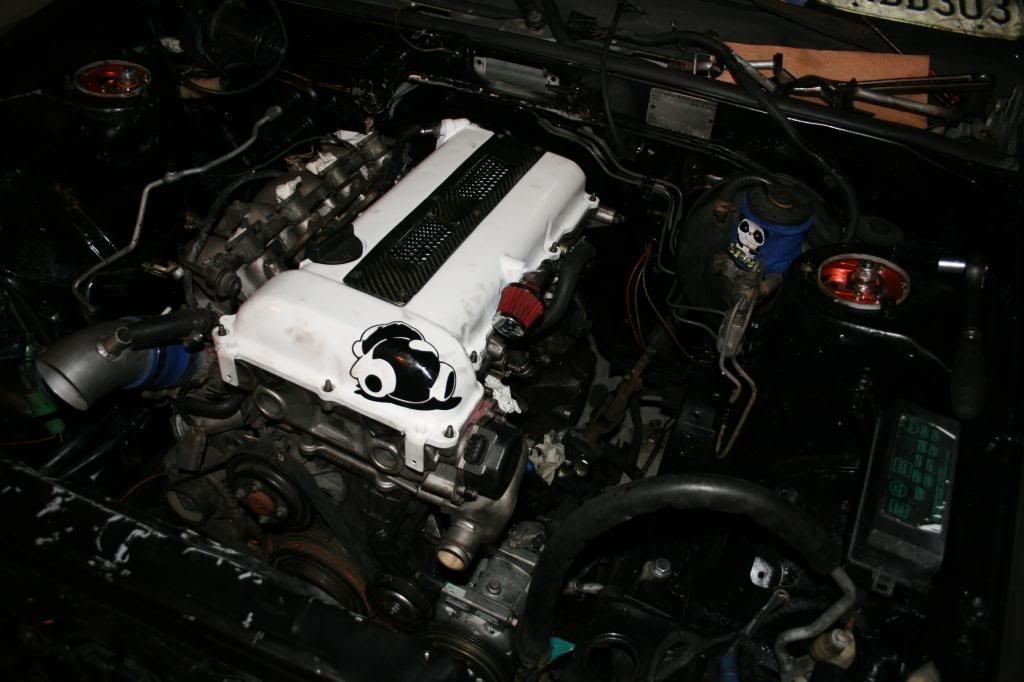
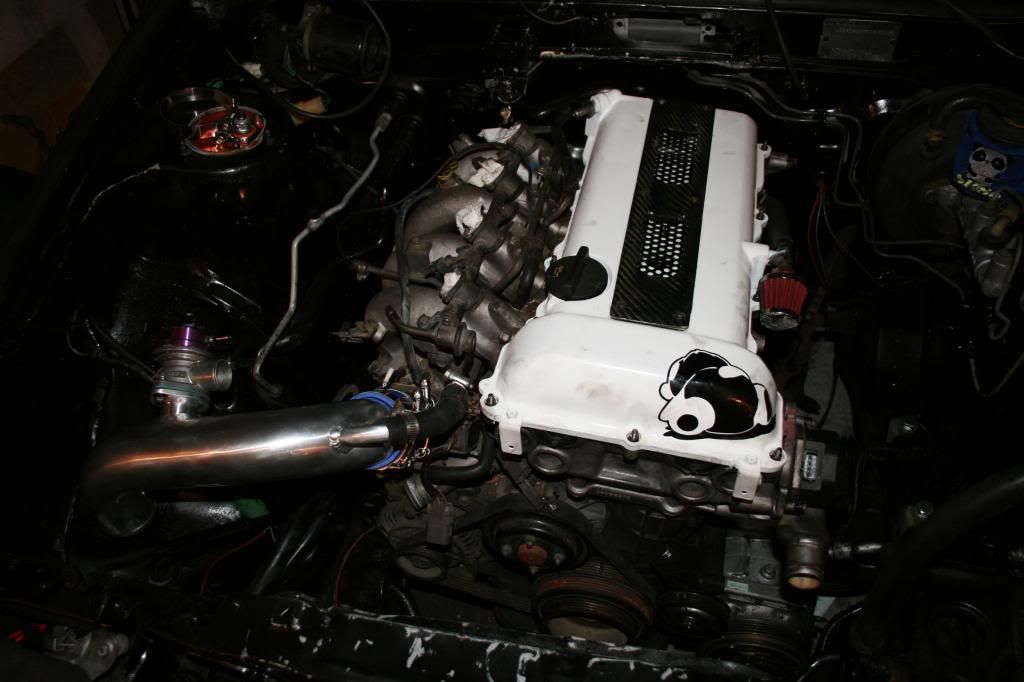
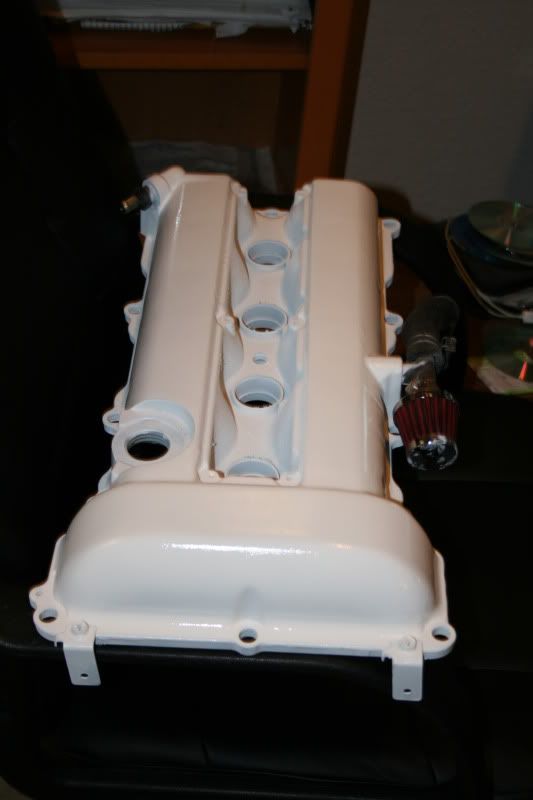
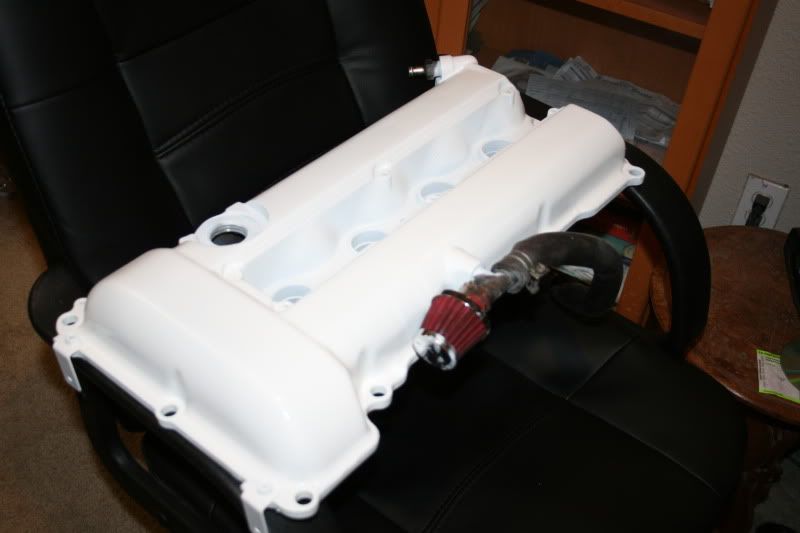
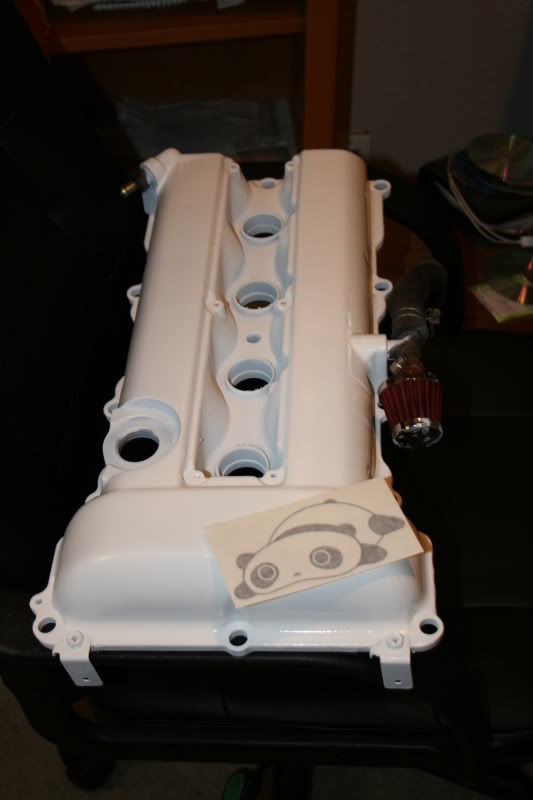
Valve cover is shaved and painted!!!
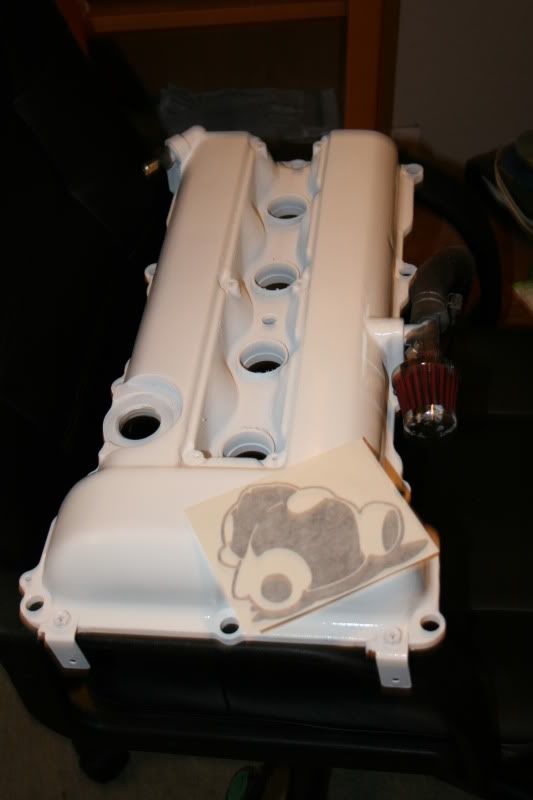
But I can't decide on my theme. here are a few option:
1) sleep panda center
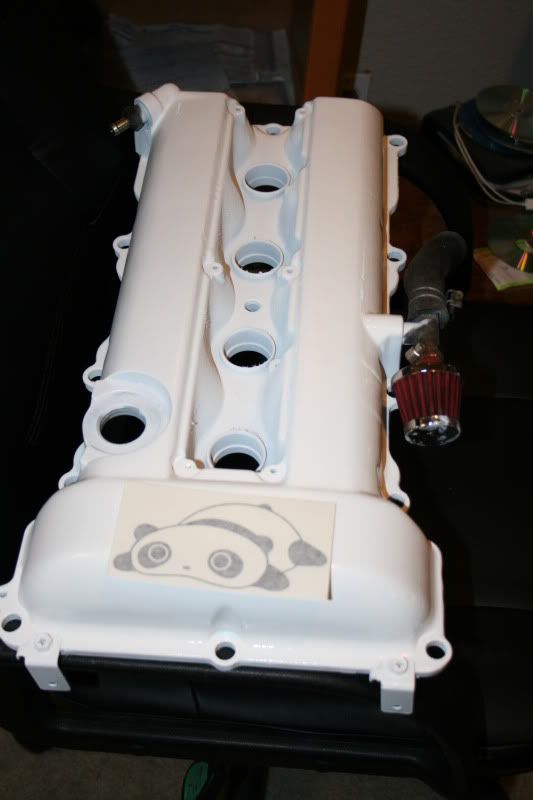
2) sleepy panda off center
3) falling over panda center
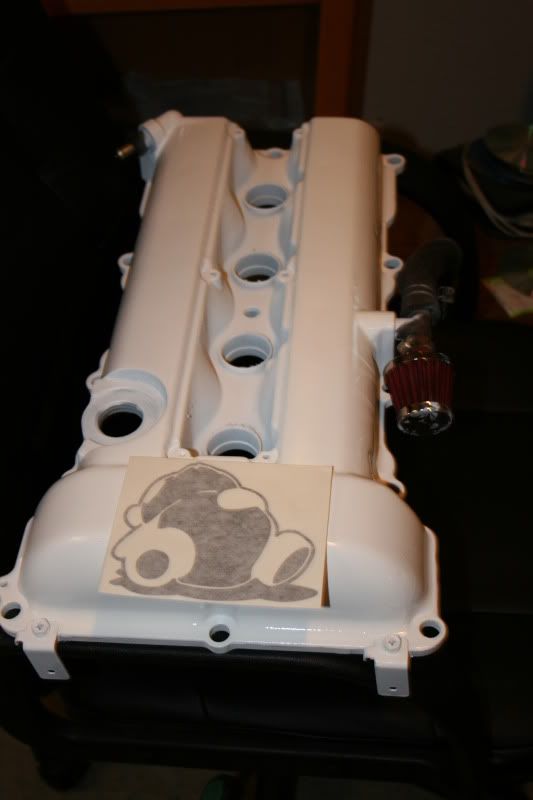
4) falling over panda off center
5) FRS badge center top

6) FRS badge center lower
E86 with the other accents! cant wait to get these in!!!