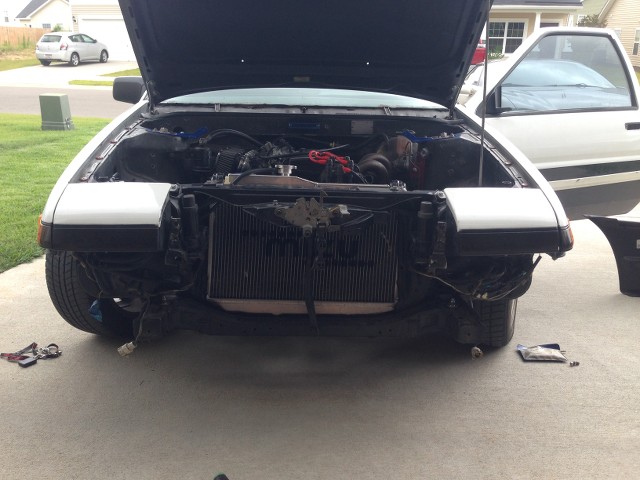
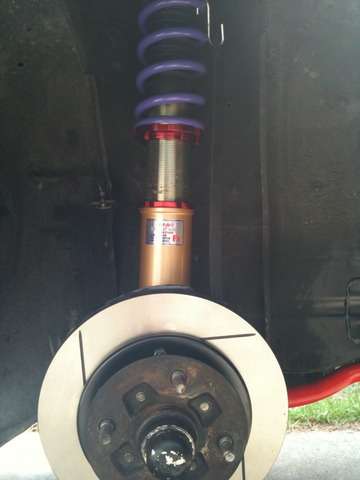
I decided I wanted to track the car so suspension was the first thing I wanted to upgrade. I went with T3 pan hard bar and 4-links, Tanabe sway bars, Polyurethane bushings, JIC Magic front coils and AGX struts with TRD springs in the rear.


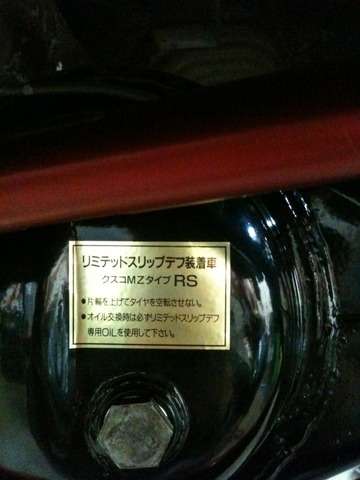
I rebuilt the rear with a weir ring and pinion and Cusco 2-way LSD.
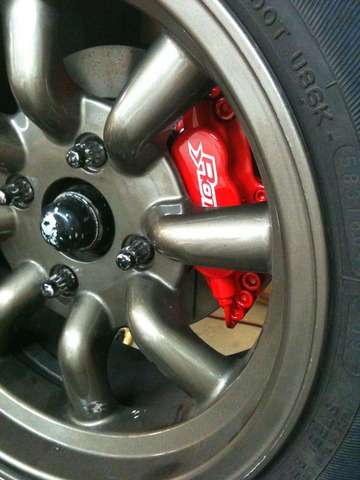
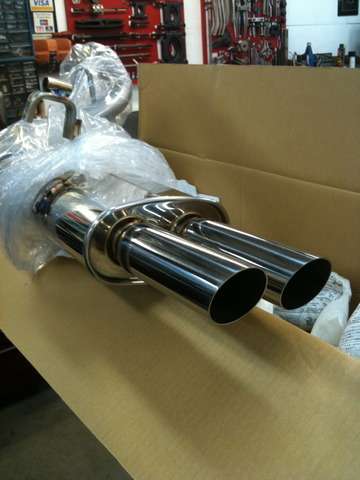
I also went with a Rotora big brake kit up front with stainless lines, moved the stock calipers to the rear in place of the drums, and put on an new Fujitsubo over axle exhaust with a straight pipe.
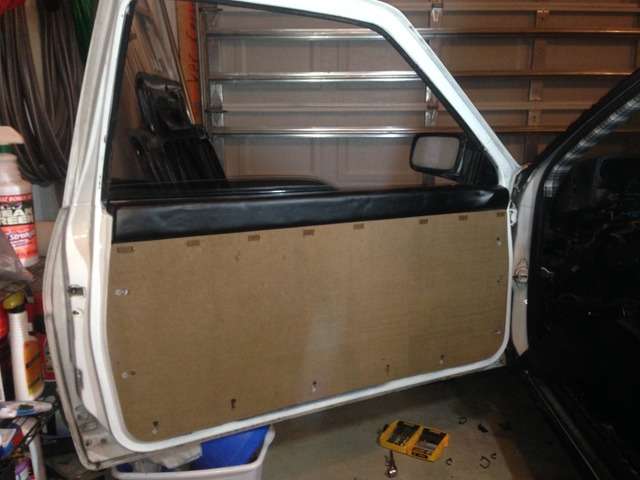
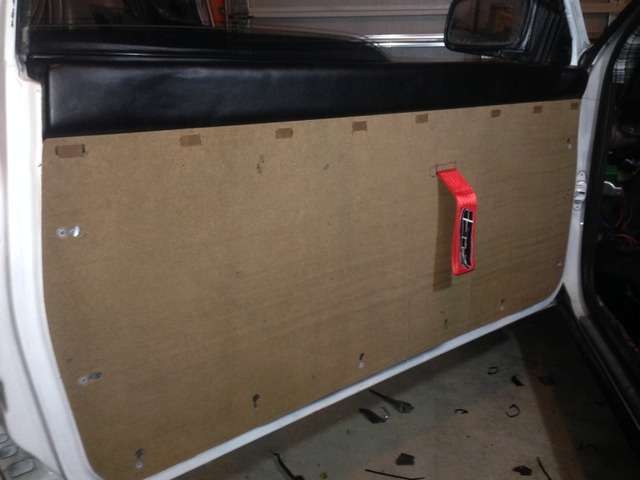
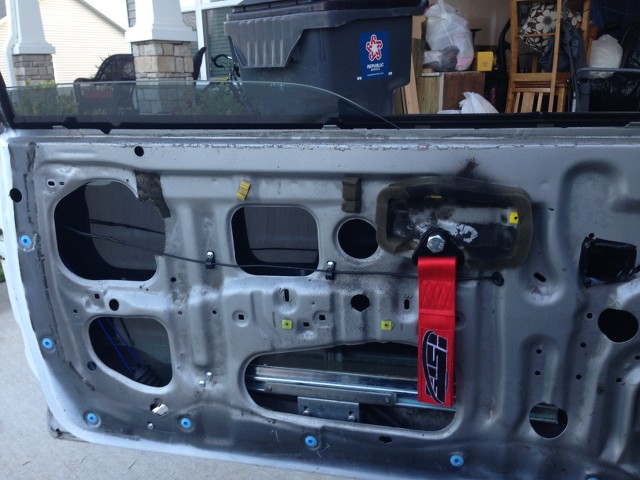
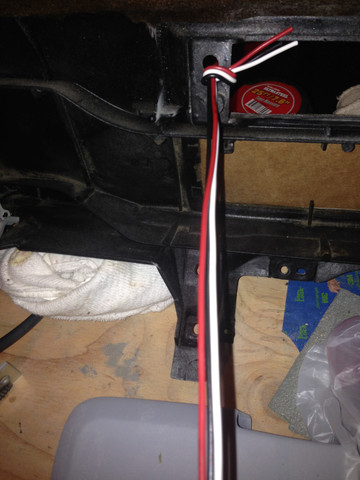
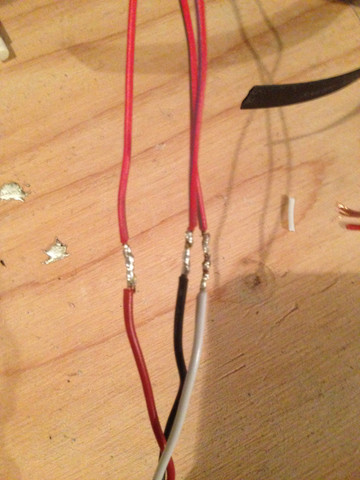
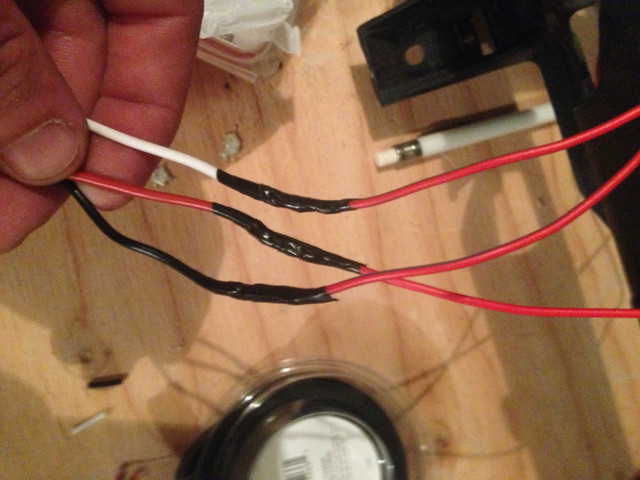
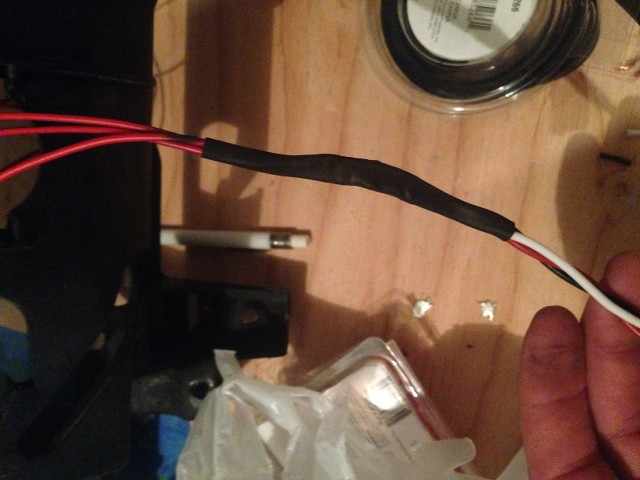
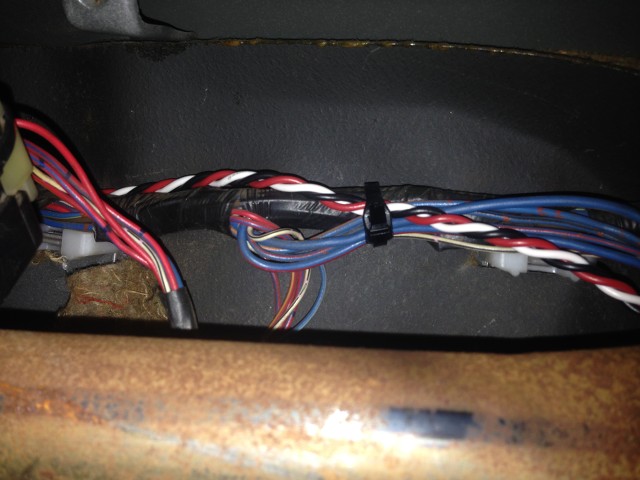
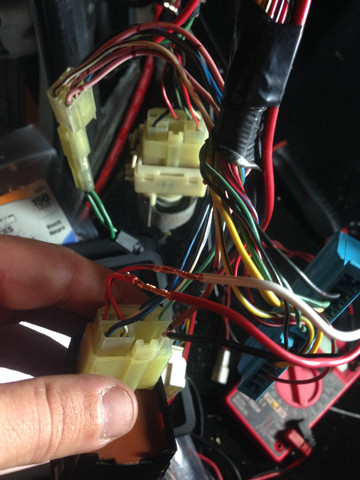
After this work was done, the direction of the car changed a bit. I decided I wanted the car to be trackable but also something I could drive daily if I wanted too. I wanted a full interior and some power options. I have a background in car audio and decided I wanted to get power windows. I hate waiting and doing extensive searching for stuff so I bought a hot rod power window kit and set out to make it work in the car. A few days of fighting and I got them in and working great. They just don't roll all the way down but It's enough.
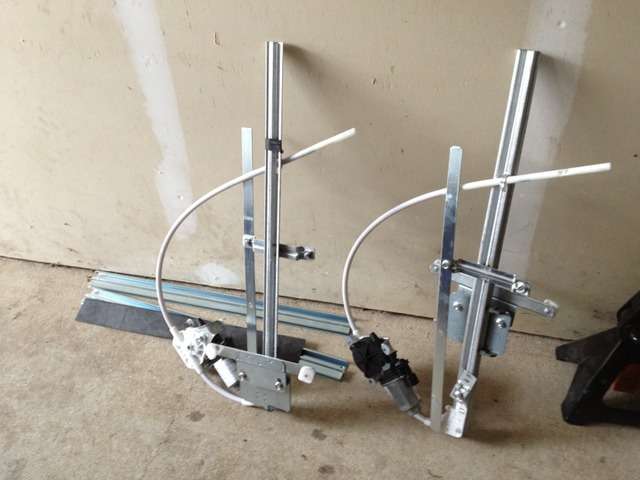
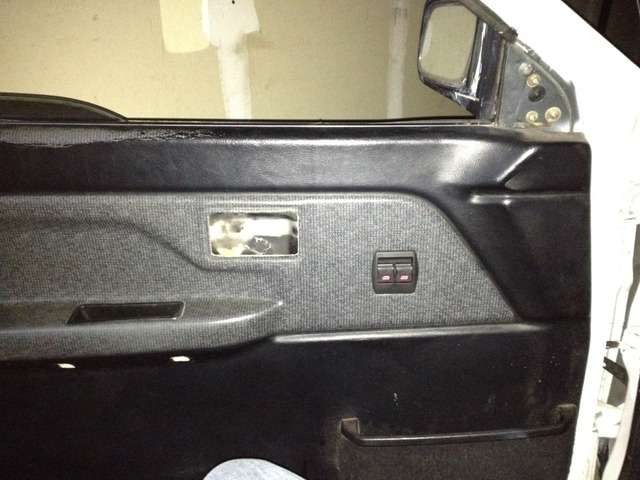
Here's video of them in action:
http://youtu.be/u3H69-EftBs
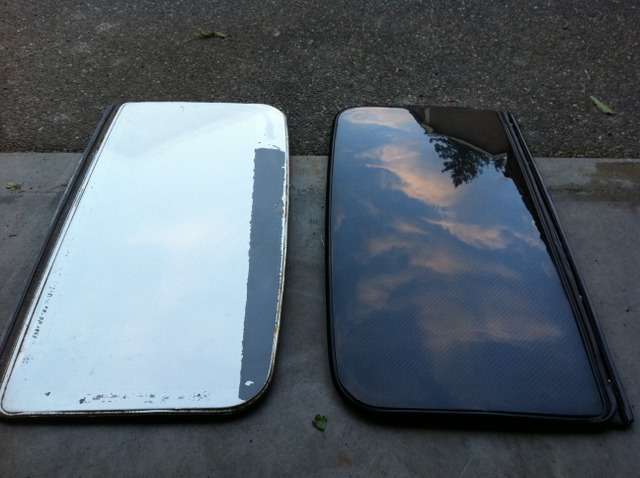
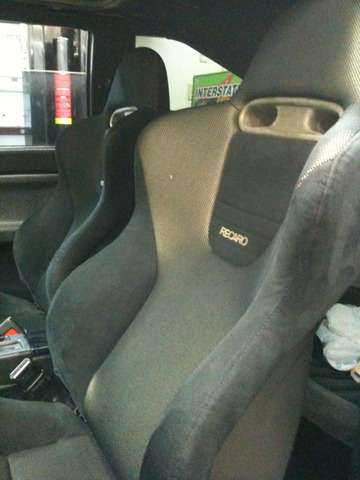
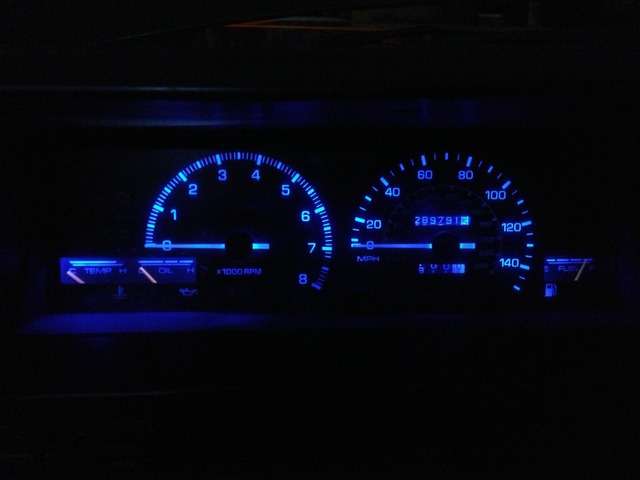
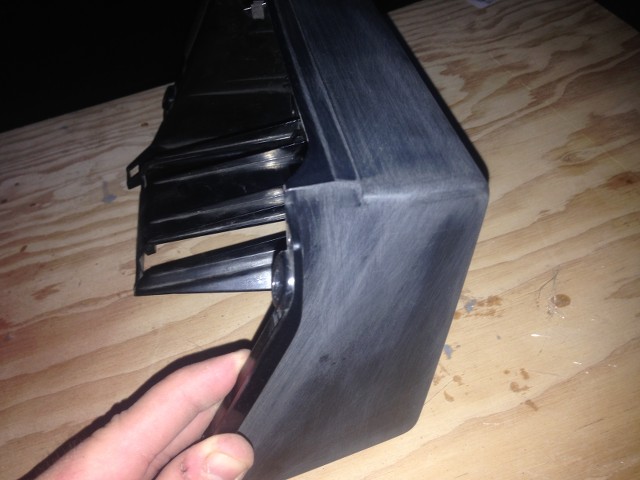
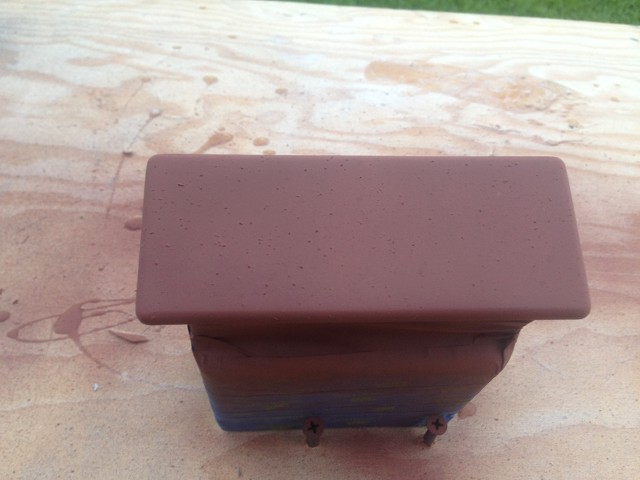
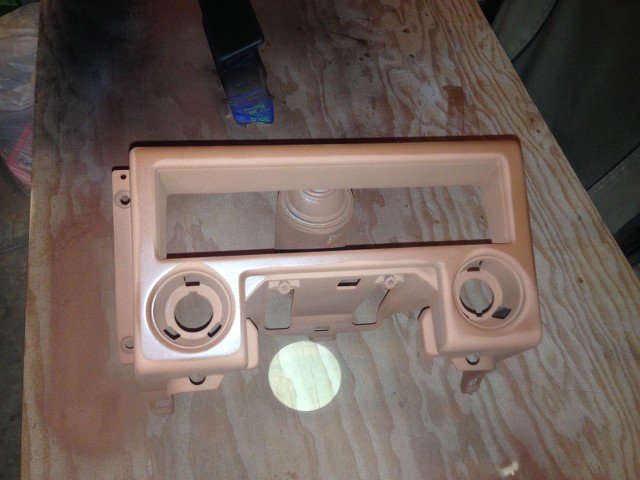
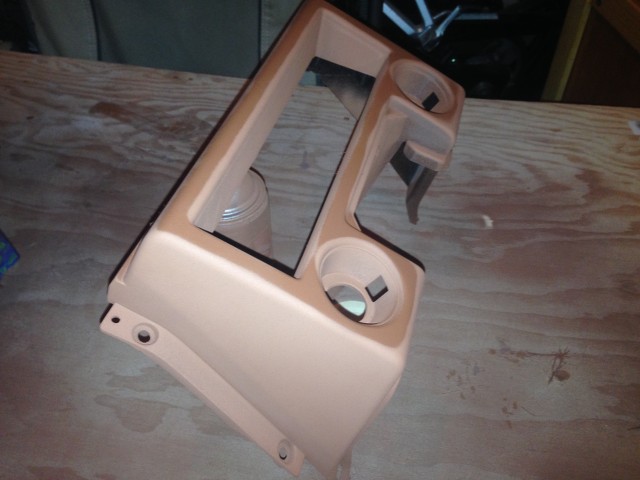
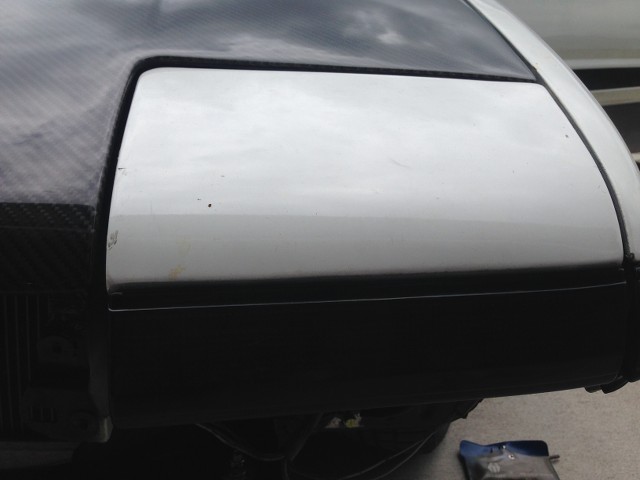
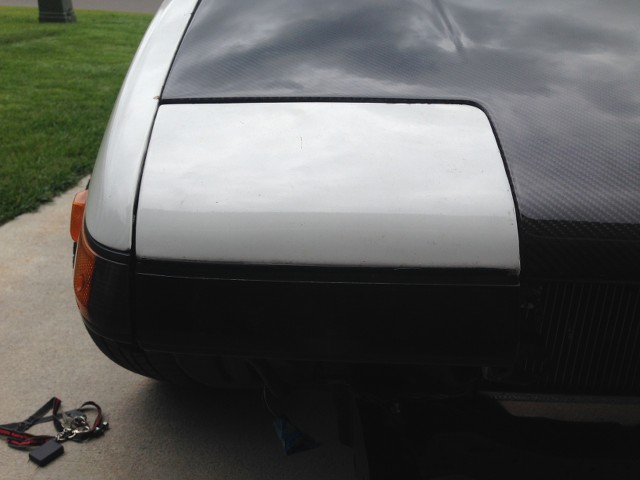
I also fixed the sunroof and got a carbon sunroof panel, replaced the stock seats with Recaros from a Euro R Accord. I repainted the plastics as well and swapped the cluster lights.